How to Use Resin : DIY Resin Gingham Christmas Tray
Just recently, within the last year, I was introduced to resin crafting. I’m not gonna lie, working with resin scared me. I pictured it as extremely difficult to work with and something that you need to be pretty skilled to use…and boy was I wrong. The first time I used resin to create a cute little colorful side table I quickly realized how non-scary it was and actually…how COOL it was to use!! I’ve been painting and crafting for years and every time I paint something, while it’s cute, it just seems unfinished. Today I want to show you How to Use Resin and how to create this DIY Resin Gingham Christmas Tray. Basically, I want to show you how to finish those painted projects so that they last longer and they look more professional like what you can buy in the stores! Let’s get started on how to use resin for Christmas crafting.

Table of Contents
How to Use Resin on Wood
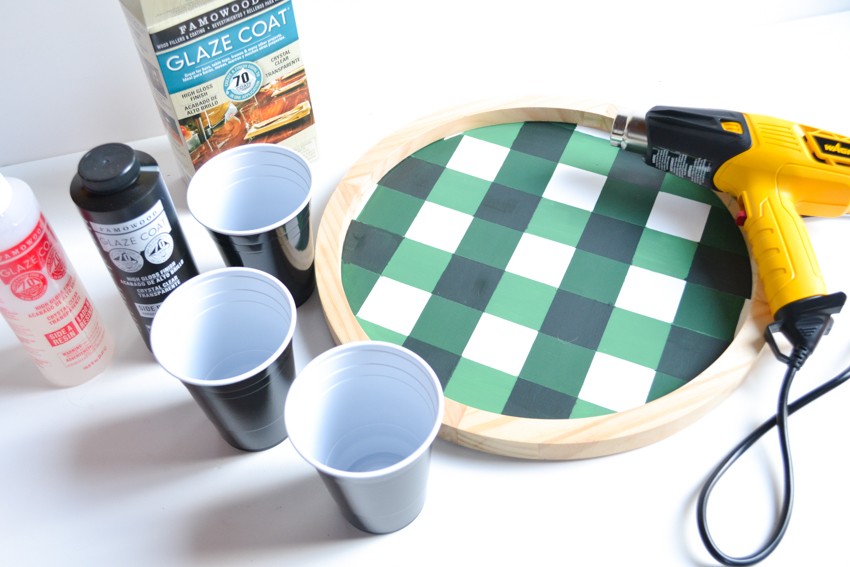
I like to use Famowood Glaze Coat products. Their instructions are super simple, you mix together two bottles of product evenly, stir well, then pour and let sit. All you really need are gloves, three cups, a stir stick, and a place to let your craft cure for at least 24-48 hours. They make resin working super simple. The hardest part is ensuring that you pour exact amounts of each bottle in order to get the chemicals to work correctly.
How to Make Resin
I like using the Famowood products because it takes all the guess work out of working with resin. You just mix together their two bottles and pour on your project, no rocket science needed.
Epoxy Resin for Beginners
So let’s get started.
Here’s what you’ll need for this project:
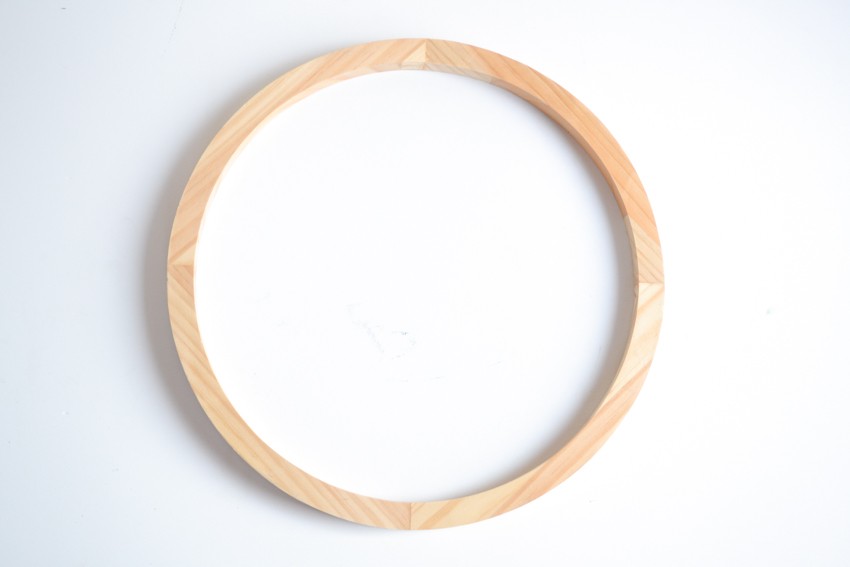
Wood tray (mine is from Hobby Lobby)
Paint (I used two bottles of the same green color, then used white and black to give me the lighter and darker shades of the green)
Paint Brush
Painter’s Tape
Gloves
3 plastic cups
Stir sticks
Heat Gun (recommended)
How to Paint Gingham
First and foremost, we need to get started by painting the gingham pattern onto the tray. I’ve actually already done a post on how to paint gingham before, so please reference that post for more tips, but I’ll walk you through the basics briefly for the purposes of this project. First, I started by using my painters tape to tape off lines on the tray. You can get all mathematical about measuring and what not, but I keep it simple and just use the tape as a guide point.
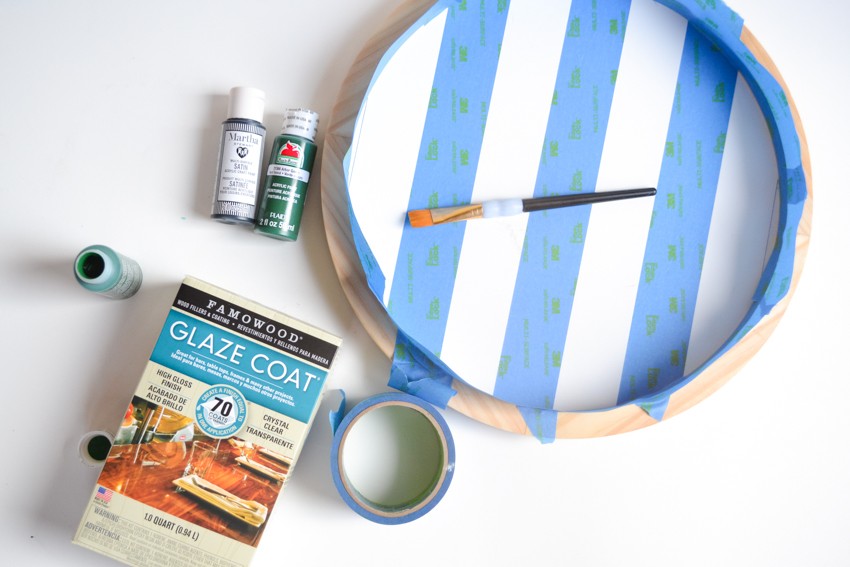
I started by laying down tape across the dead center of my tray. Then I used a spare piece of tape to mark off the width so I knew where the next piece of tape should go. Once I placed the next piece of tape down, I lifted the the middle piece leaving a space. So essentially you’ll place one piece in the center of the tray, a piece immediately after it, and then another piece after that, then you lift the middle/second piece to reveal your stripe, and continue down the tray until you have your stripes. Make sense?? Next I taped off the inside of the tray so I didn’t get paint on it. Also, you’ll notice where the tape was too large to be placed so I drew lines there to follow where my lines should be.
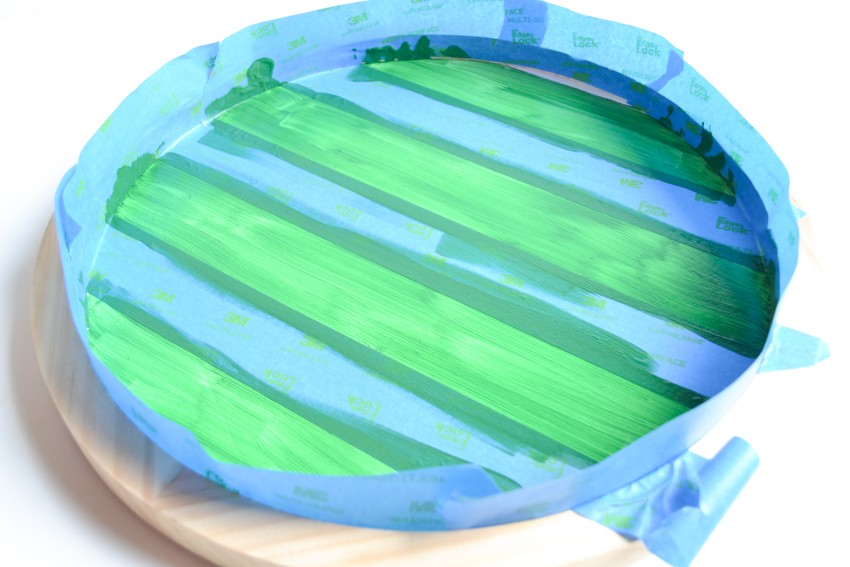
The next step is to paint your current lines the base green color that you have selected. I used 2-3 coats of paint, drying between coats.
Next step is to pull off all your existing tape after your paint has dried, turn your tray so that your once vertical stripes are now horizontal, and do the whole taping thing over again. You’ll get the second set of stripes on your tray then. For this color though, you will use a lighter shade of the same color you used the first time. So for this coat, I took my base shade of green, added some white paint, and created a lighter green color. The end result looks like this….starting to look more light gingham now!!

The final step is to take a darker shade of your base green and apply it to all the squares where the lighter and medium shades of green overlap. To get the darker green, I just added a dollup of black to my base green color. Then I taped off the squares that overlap that I need to paint.

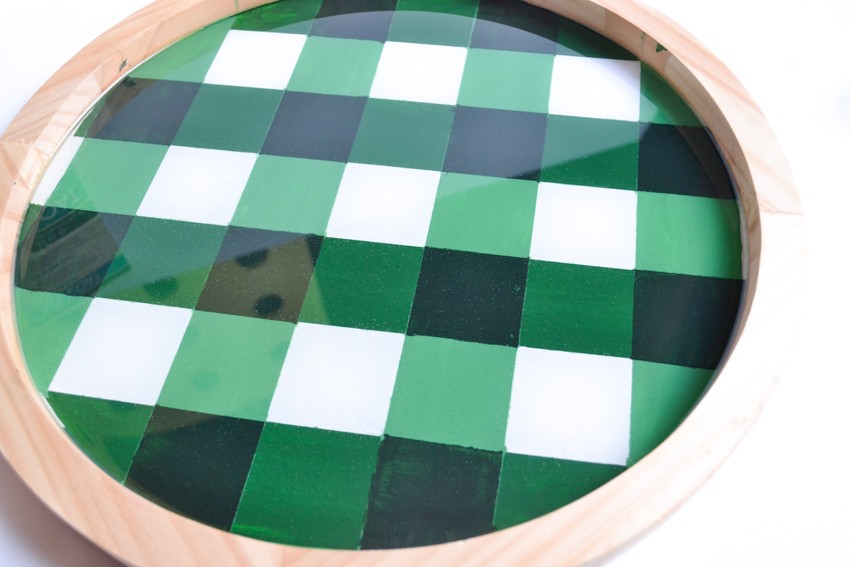
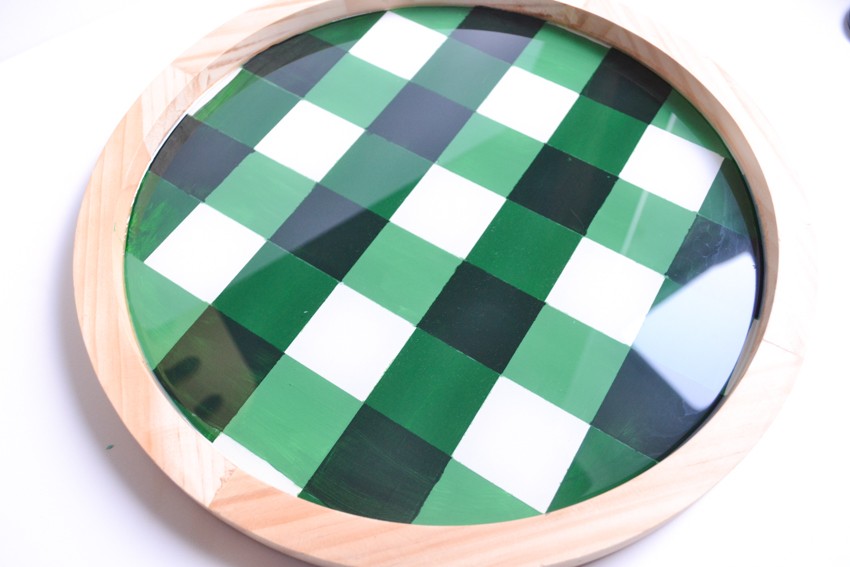
Final step is to touch up any places where your lines bled. I used all three color paints to make any last minute touch ups and I let the paint dry completely. Next step is to apply the resin glaze coat!

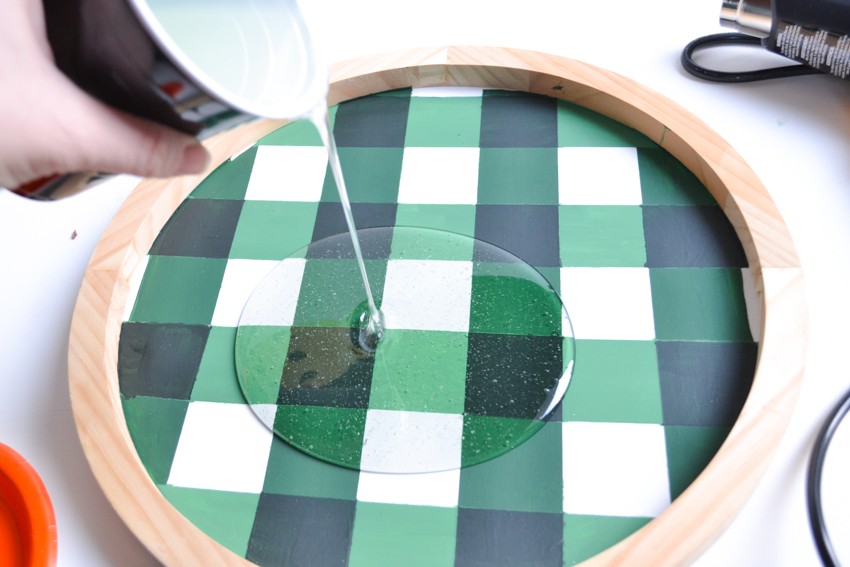
You’ll notice that right now the tray is painted, but it’s very dull looking and unfinished, this is what we used resin…to protect the paint and to give it a beautiful sheen! Start by following the instructions on the Famowood box (I’m not going to walk you through the instruction steps). I poured about a half bottle of each the mixtures into two cups, then combined them into a third and mixed for the amount of time required in the instructions.


Once all mixed, you can pour directly onto your tray. Turns out that this tray can leak, so be sure that you have something underneath it to protect whatever surface you’re letting it dry on. You’ll notice as you pour that there are loads of bubbles in the resin that don’t get a crystal clear look that we want.
This is where the Heat Gun comes in…I use the heat gun to gently get the bubbles out of the resin and give it that crystal clear finish we want. This step in imperative and the Furno 300 is a must if you regularly work with resin.
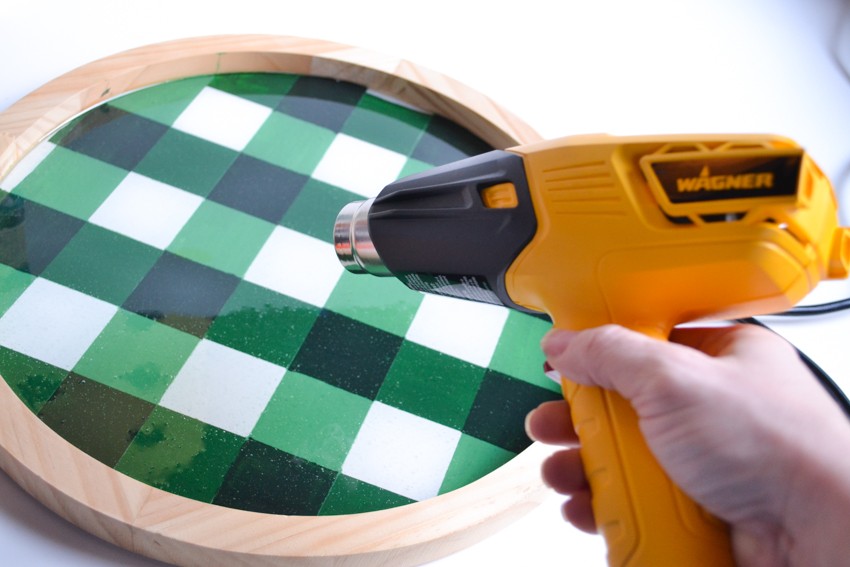
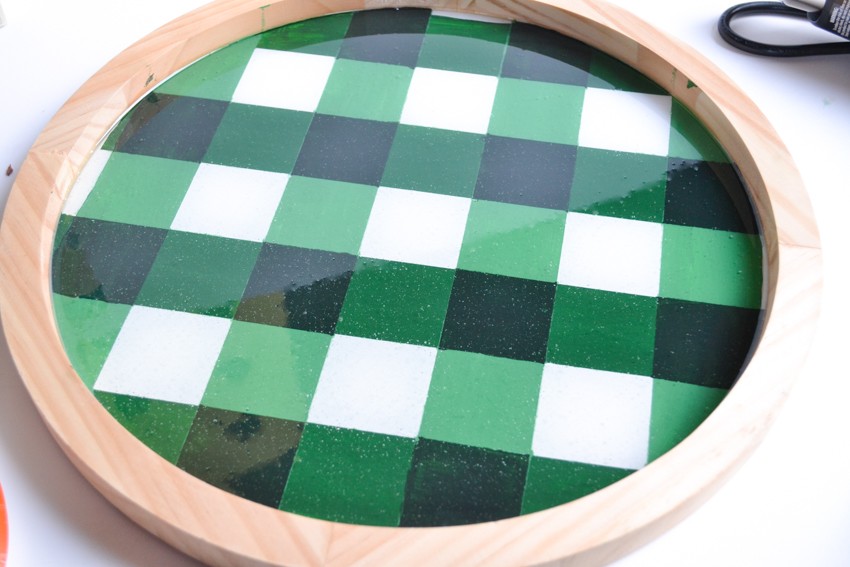
You can see that with just a few minutes of using a heat gun, all the bubbles are removed and now you have a beautiful gingham Christmas tray! You will let the resin dry for at least 24 hours and then you can style with all the Christmas decor your heart desires!!
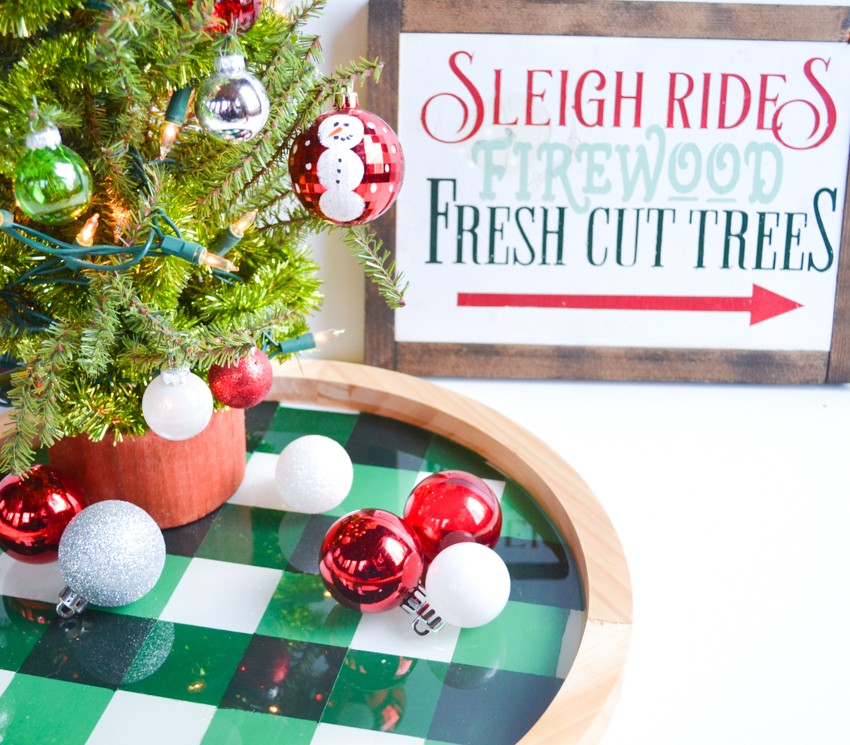
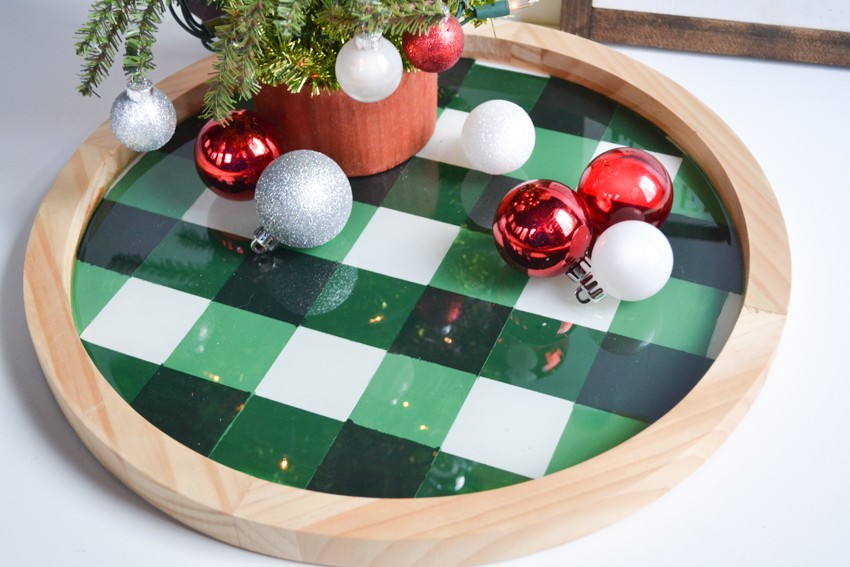
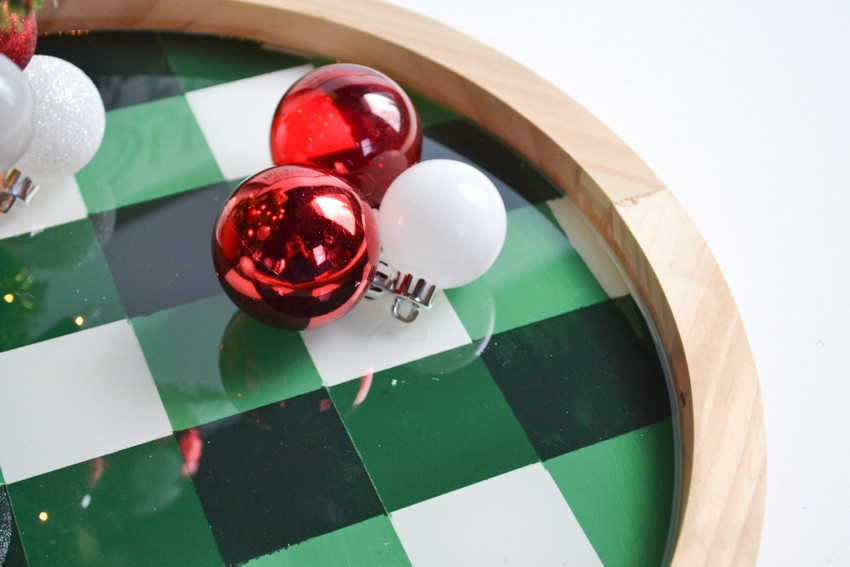
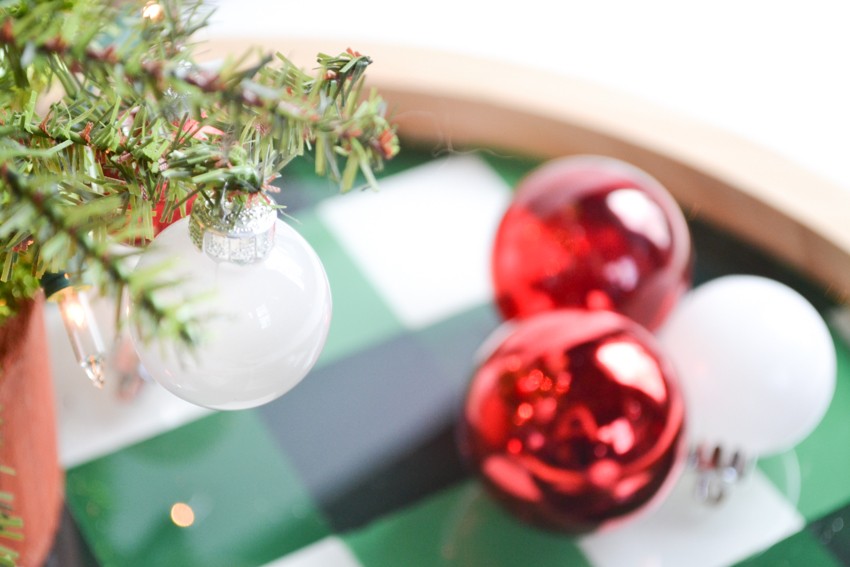
I just love the contrasting greens paired with our traditional Christmas decor…it’s so fun and festive.
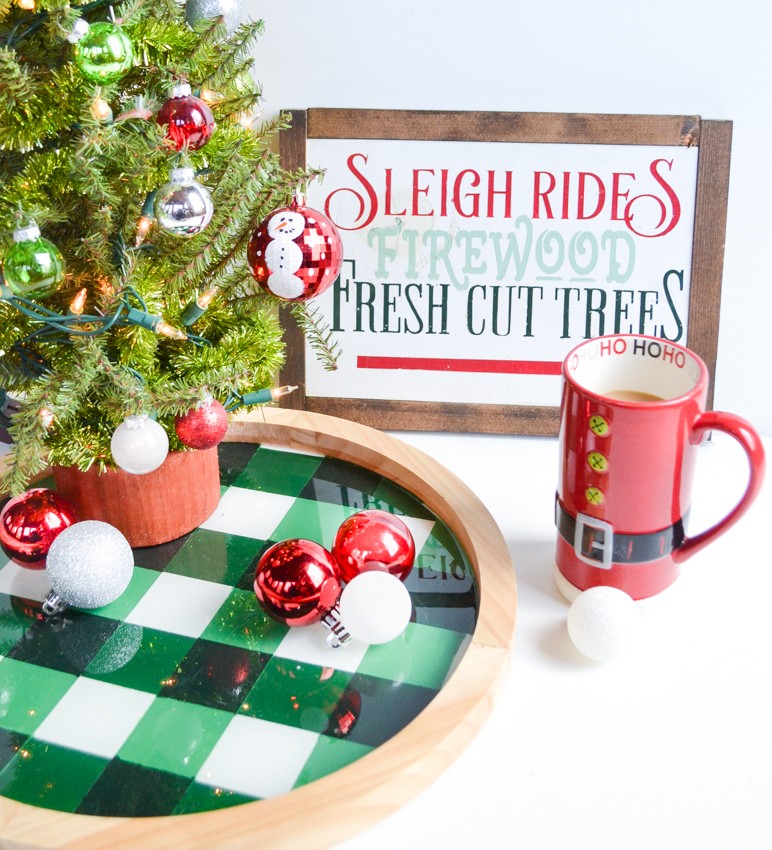
I hope you enjoyed this easy resin crafts tutorial. I am a resin convert now…cover all the things in resin, I say 😉 I hope you guys give crafting/DIY’ing with resin a try this holiday season. Finish those handmade gifts off with a coat of resin to protect them forever!
Pin it for later…