Welcome Summer Wreath
This is a sponsored post written by me on behalf of Cricut for Cricut. All opinions are 100% mine.
One of my favorite things to craft is things for my front door. Your front door is the one space outside where people can truly see your style and vision for your house and I love being able to show personality for different seasons and holidays. I’ve had my spring wreath on my door for quite some time now, so I decided to change it up with an easy Welcome Summer Wreath that I plan to show you how to make today. The fun thing about homemade wreathes is that you can customize your wreath colors to match your home, your favorite color scheme, or take on a number of patterns that you like. Options are endless! Today I used my Cricut Maker to help me customize my summer wreath and I want to show you how easy this project was to make with just a little vision and a few hours of your time! Let’s hop right in…. 
Table of Contents
Summer Wreath Materials Needed:
- Wreath form
- Scrapbook paper (at least three patterns)
- Cricut Basswood (thickness is 1/16″)
- Cricut Maker
- Ribbon of choice
- Hot glue
- Glue stick or mod podge
- Project Files through Cricut Access
- Cricut Strong Grip Cutting Mats
- Cricut Knife Blade
- Cricut True Control Knife Kit (helpful when cutting basswood)
- Masking tape
How to make a Summer Wreath:
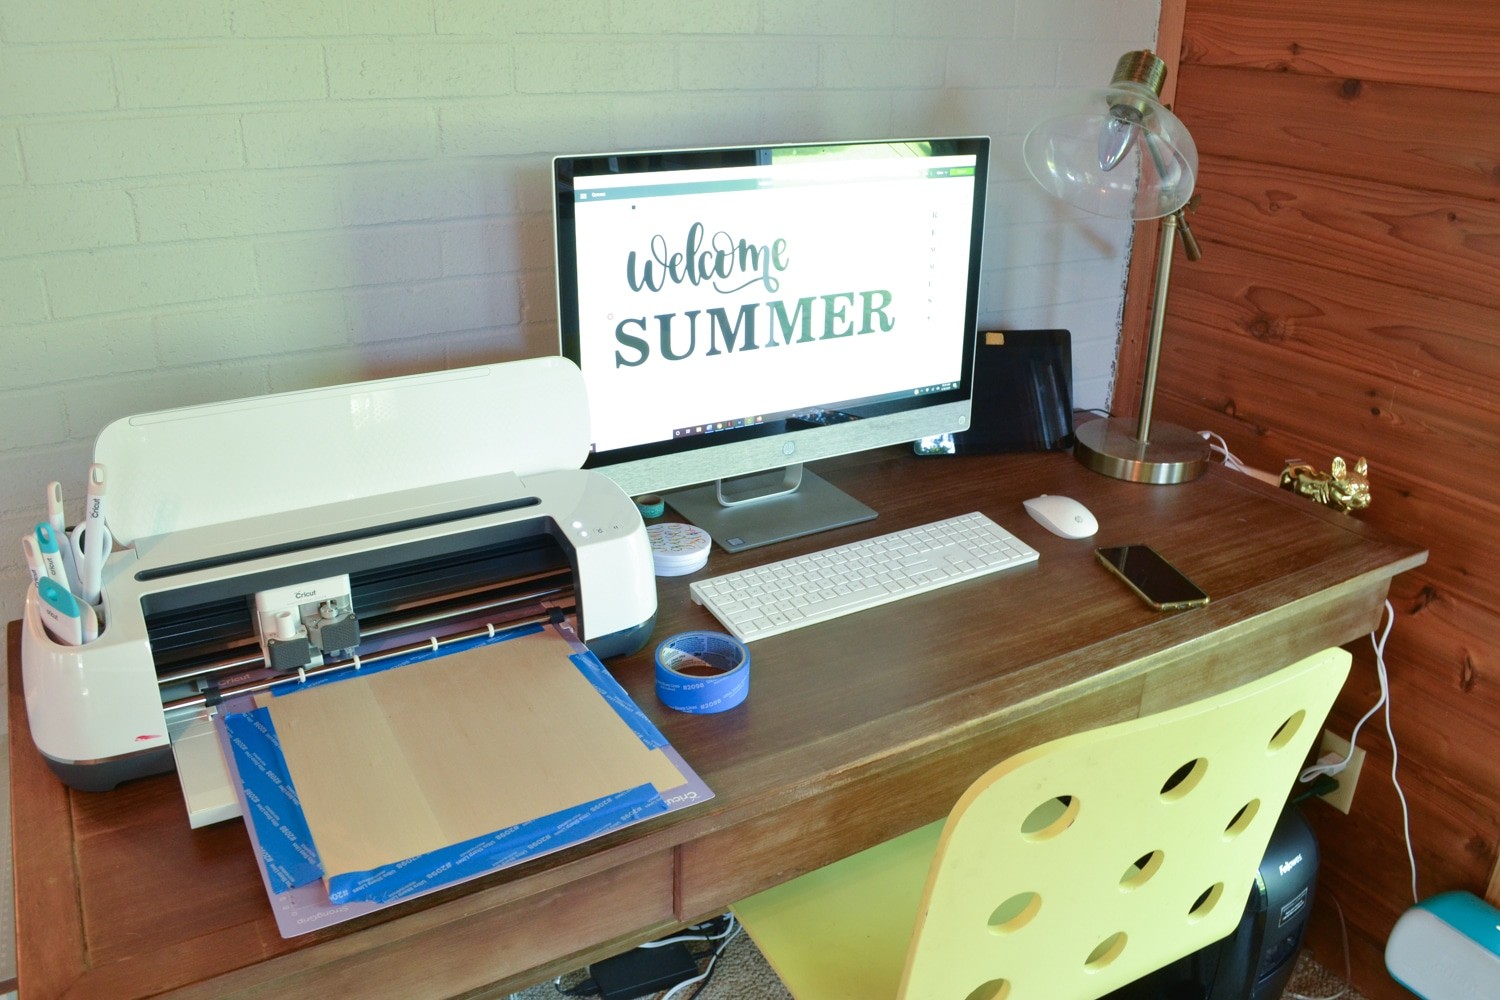
I started this project by gathering up my wreath form, choice of scrapbook papers, and ribbon. I went with a summery, water vibe using teal papers that looked like water reflections and mermaid scales. I also picked out some teal ribbon. For the wreath form, I just grabbed one I had used before in my home that I got from Hobby Lobby. When I make wreathes, I try not to hoard too many for the same season–so I like to deconstruct older wreathes and reuse the forms when I can rather than buying new ones. After that, I gathered up my Cricut materials. I’ve been dying to try out the basswood cutting feature, so I pulled out my basswood and got to work figuring out how to cut it. Because I’m new to cutting wood, I found this article from Clarks Condensed super helpful! She walks you through an intro to cutting wood with your Cricut Maker. I then worked on designing my cuts in Cricut Access. You can download the exact file I used here. Next step is to set up your cutting mat and Cricut Maker. The Cricut Maker is the ultimate smart cutting machine. It accurately cuts over 300 materials, including everything from delicate materials like crepe paper, to fabric, to thicker materials like matboard, leather and even basswood in this case! When cutting wood, you have to use the Strong Grip Cutting Mats and the Cricut Knife Blade. Place your basswood (either 11×11 or 6×12) onto your Strong Grip mat and then use masking tape to tape down all four edges. It’s imperative that the wood does not move while cutting! You also need to move the four little white rollers (shown below) over to the far far before cutting (not shown in the photo below). 
 Some pointers when cutting basswood with your Cricut Maker:
- Be prepared for the amount of time it takes to cut. Mine cut my letters approximately 14 times and took about 2 hours and 15 minutes. This is not your standard quick cut project.
- Despite the time it takes to cut, there may be some places where the knife didn’t go all the way through, so you do have to be careful when getting your cut loose. I like to use the Cricut True Control Knife Kit to help me out.
- Don’t use overly thin designs or fonts when cutting basswood, thicker is better and consider how “floating” items may look when cutting wood depending on what you’re doing with it.
- Be careful after cutting when getting your cuts loose, basswood is very fragile and you can easily break your cuts without much effort.
It took a couple hours to cut, but once done I used my Control Knife to help me get my letters loose. Next up, I used the same exact designs for the “Welcome” and “Summer”, got a Light Grip mat, and placed my scrapbook paper on it and cut out the letters from the scrapbook paper. 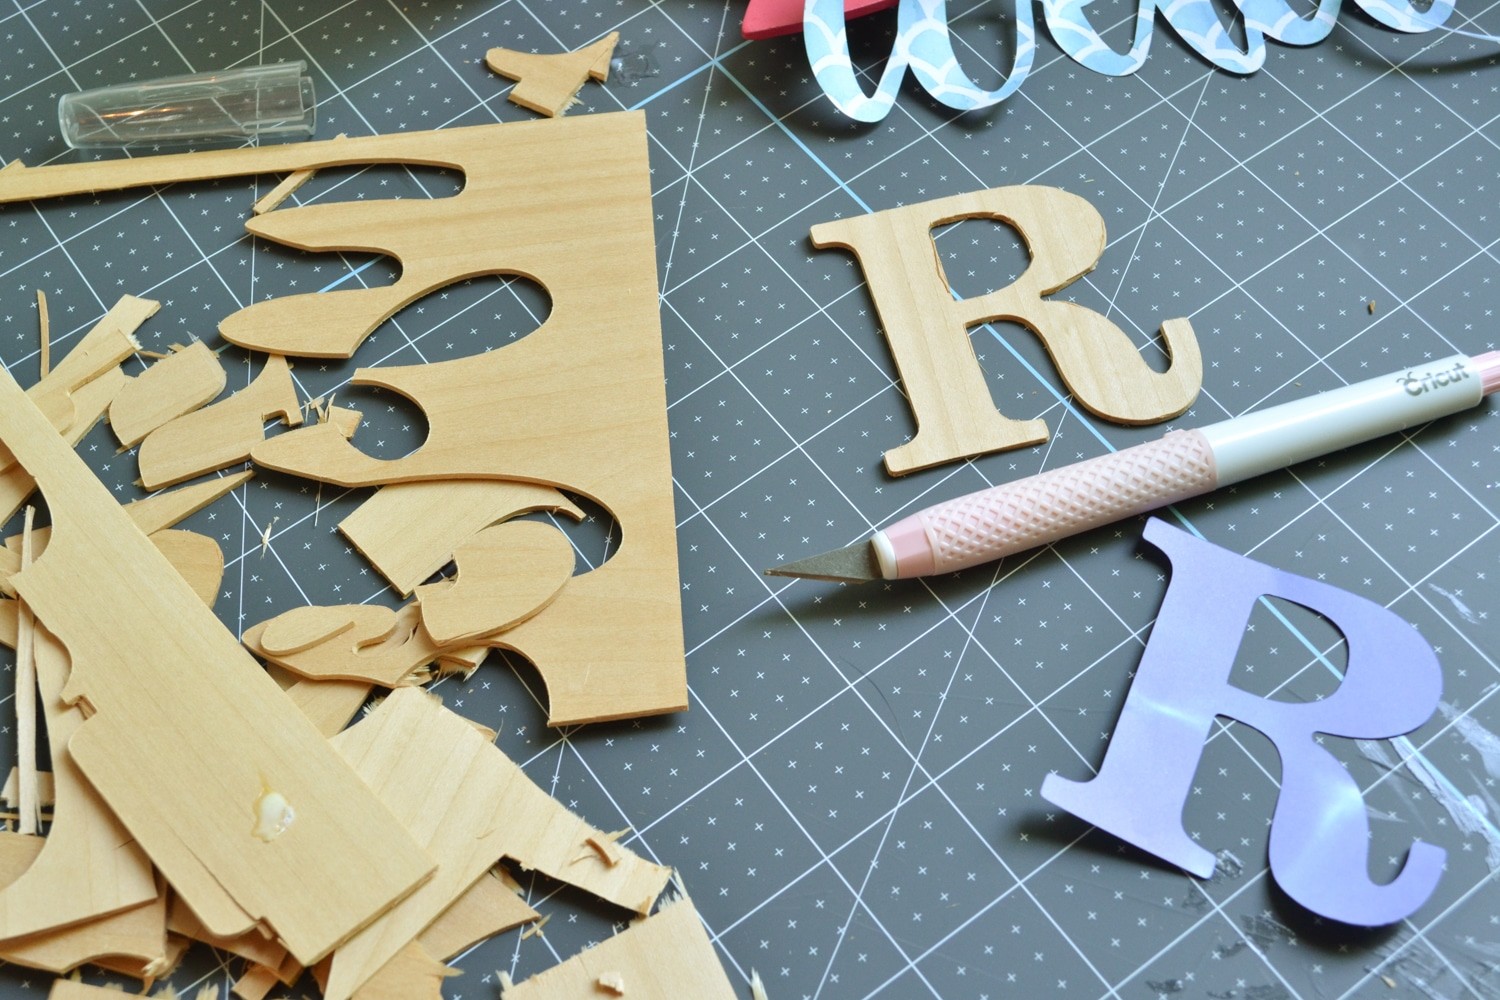 I then used Mod Podge to adhere the scrapbook letters to the basswood letters. Just a little mod podge and a paint brush and they stuck on great!
 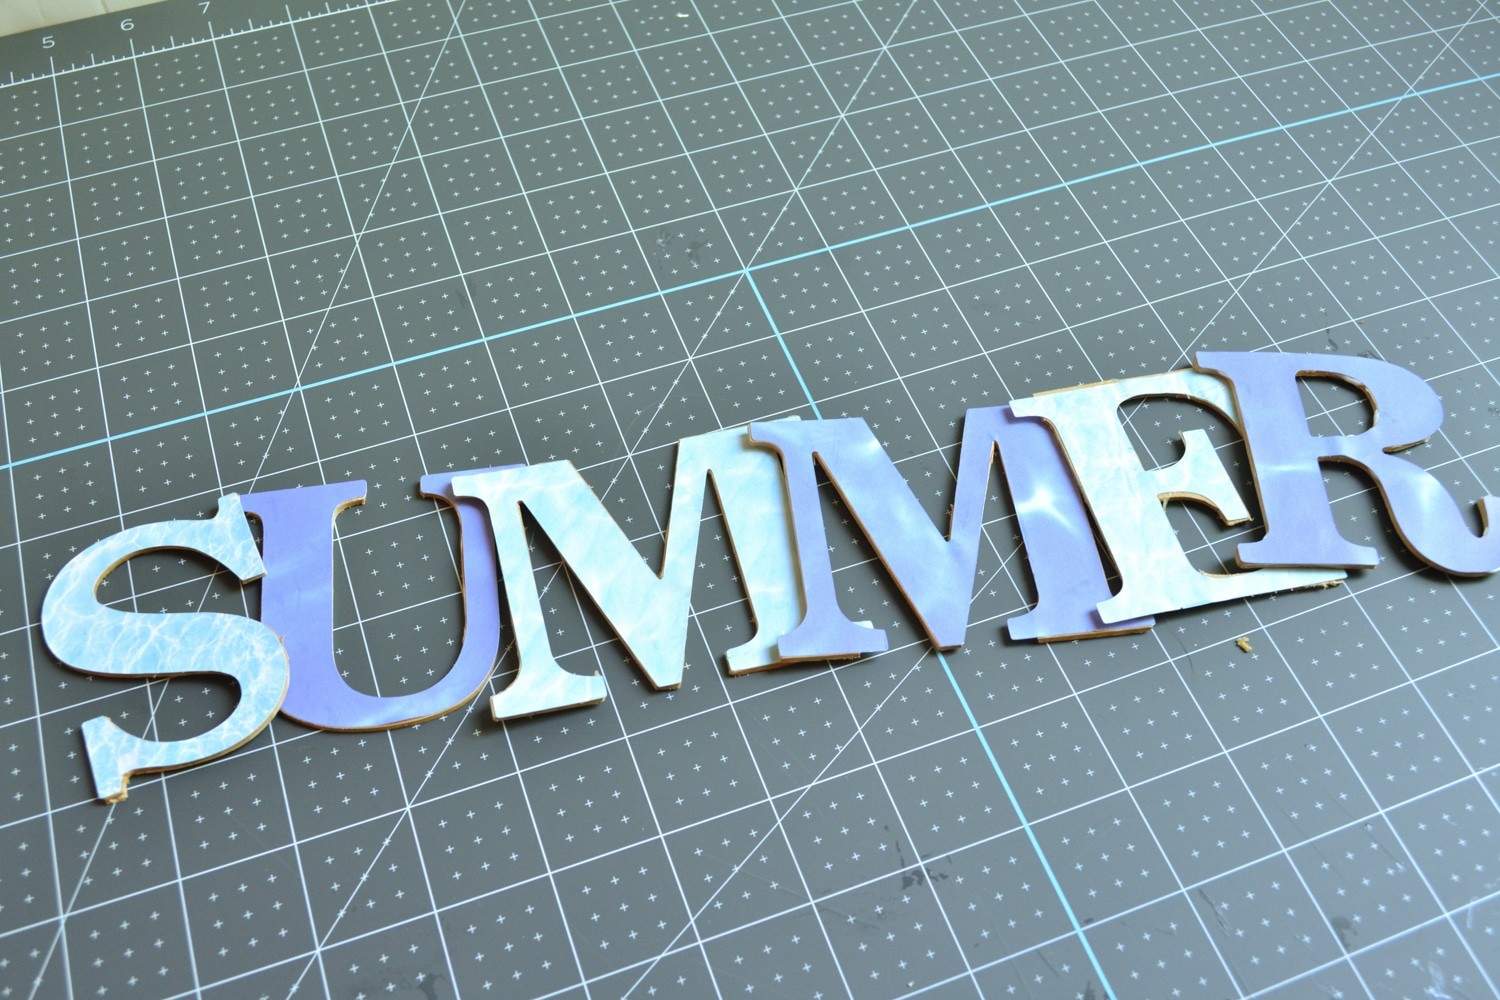 The thing I like about this project, versus buying store bought wood craft letters, is that you can easily cut paper and customize your letters and use any fonts you desire for your project. When using craft store wooden letters, you’re stuck with limited design options and you mostly can just paint the letters vs. applying scrapbook paper. I did the same thing to my “welcome” word that I cut out with the basswood.
 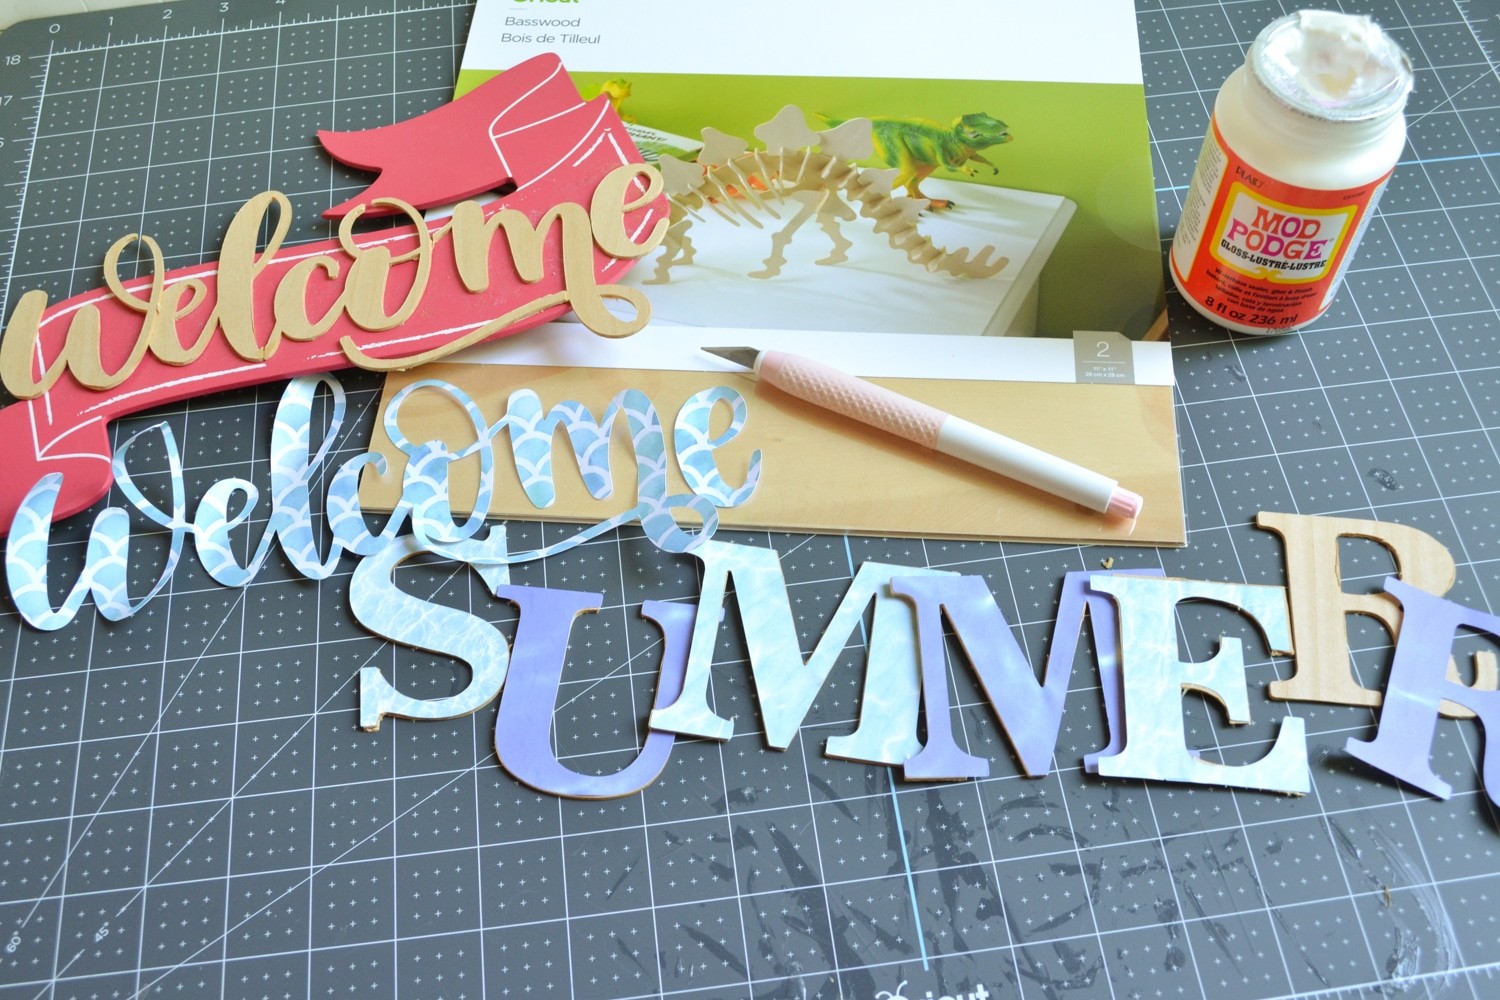 I had this cute pink flourish sign from YEARS ago from the Target Dollar bin, so I applied the welcome onto there with a little glue and then I hot glued my sign and letters directly onto the wreath form.
 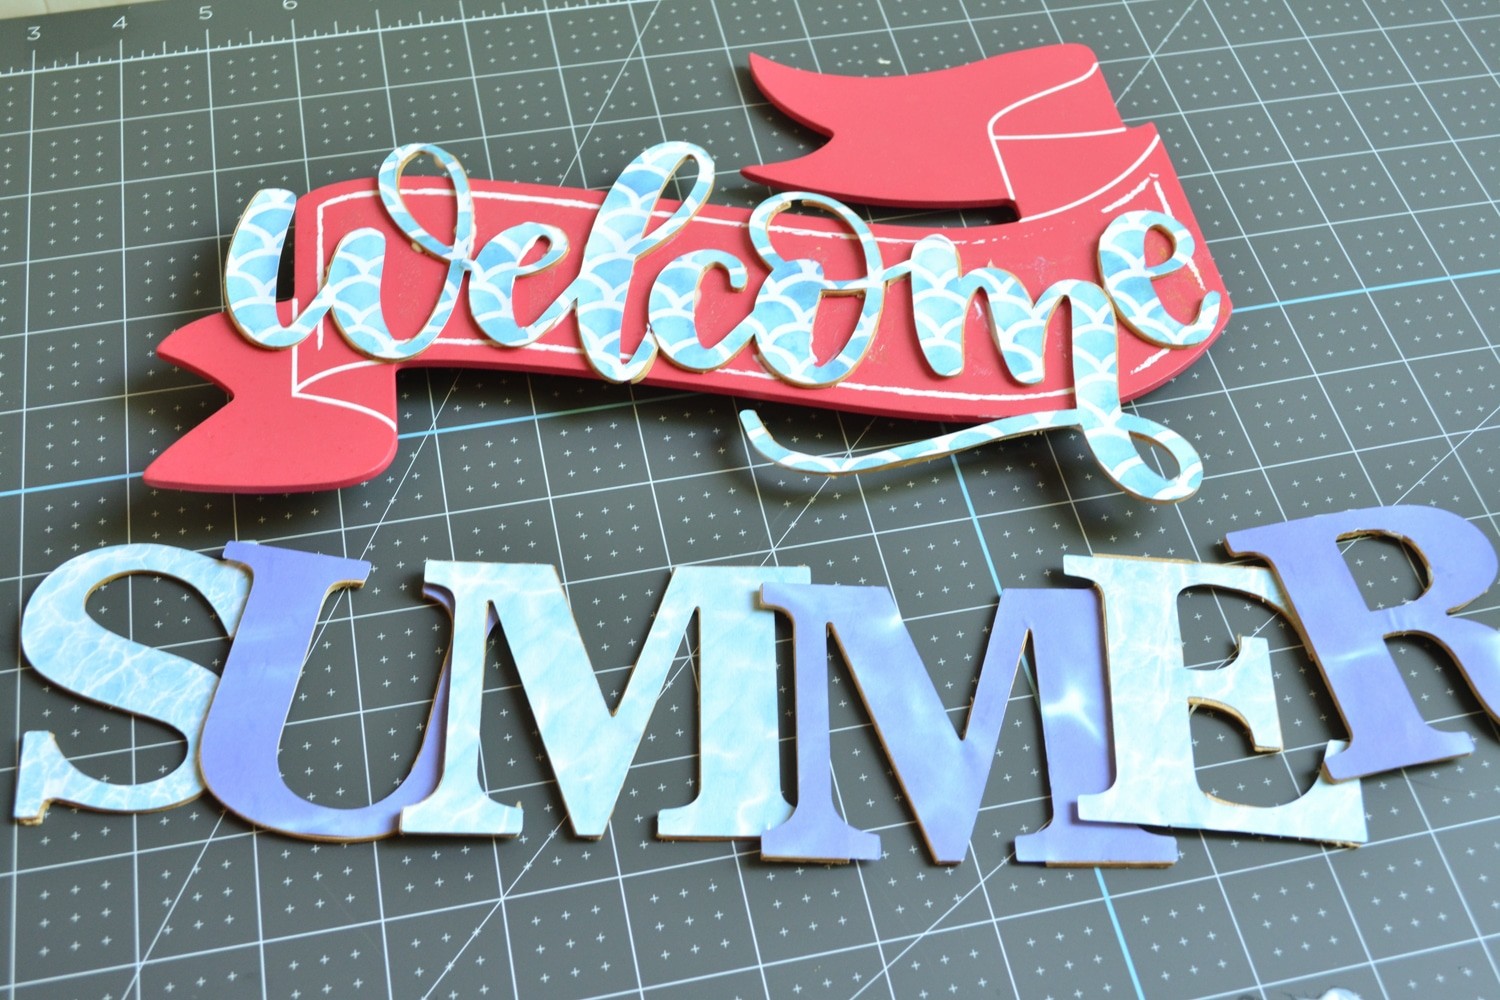 The finishing touch was to add a simple ribbon at the top of the wreath and then hang on my front door!
 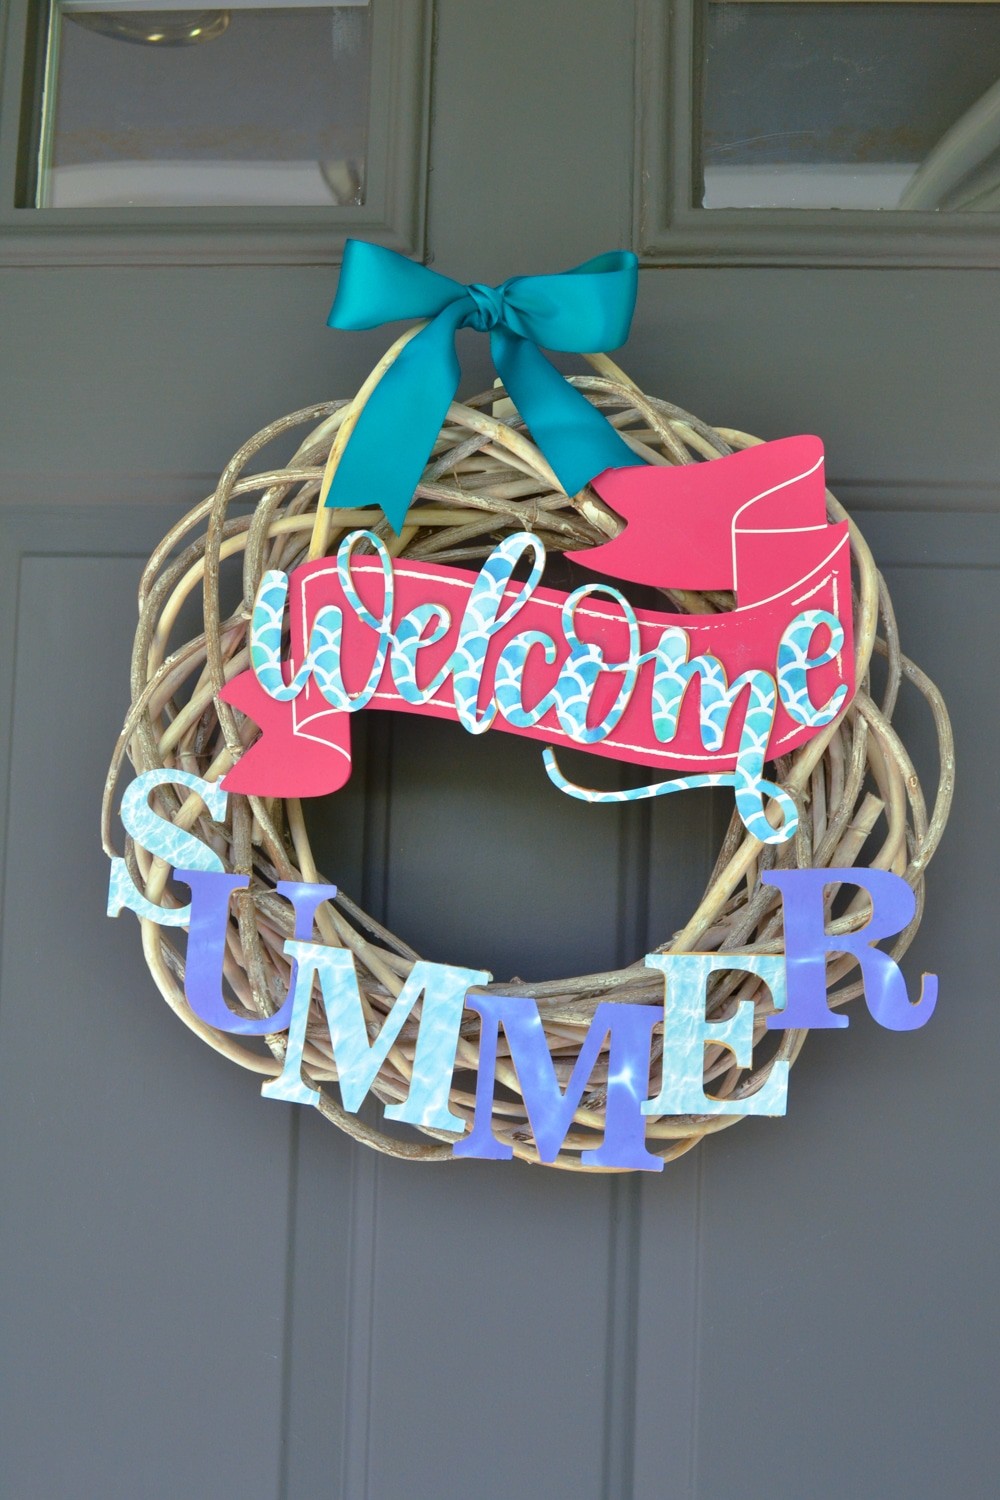 I love how happy and summery it is and I really enjoyed trying something out new on my Cricut Maker! The Cricut Maker is easy to set up, and allows DIYers and makers to get up and running with projects quickly. With Cricut Design Space on desktop and mobile, you can design and make from anywhere within quickly and easily. Cricut Maker’s expandable suite of tools allows makers and DIYers endless possibilities with the ability cut, draw, score, deboss, engrave, and create perforations and wavy lines, all with one machine. Cricut is dedicated to expanding this suite of tools to continually add value to this machine. Some of my favorite Cricut Maker materials include:
- Infusible Ink
- Leather
- Felt
- Glitter Iron On
- Fabric and more….see complete list of everything it can cut here.
Want more fun projects to make with your Cricut Maker? Visit the Cricut blog at inspiration.cricut.com, where you can find weekly home renovation project inspiration and tutorials.
Pin it for later…