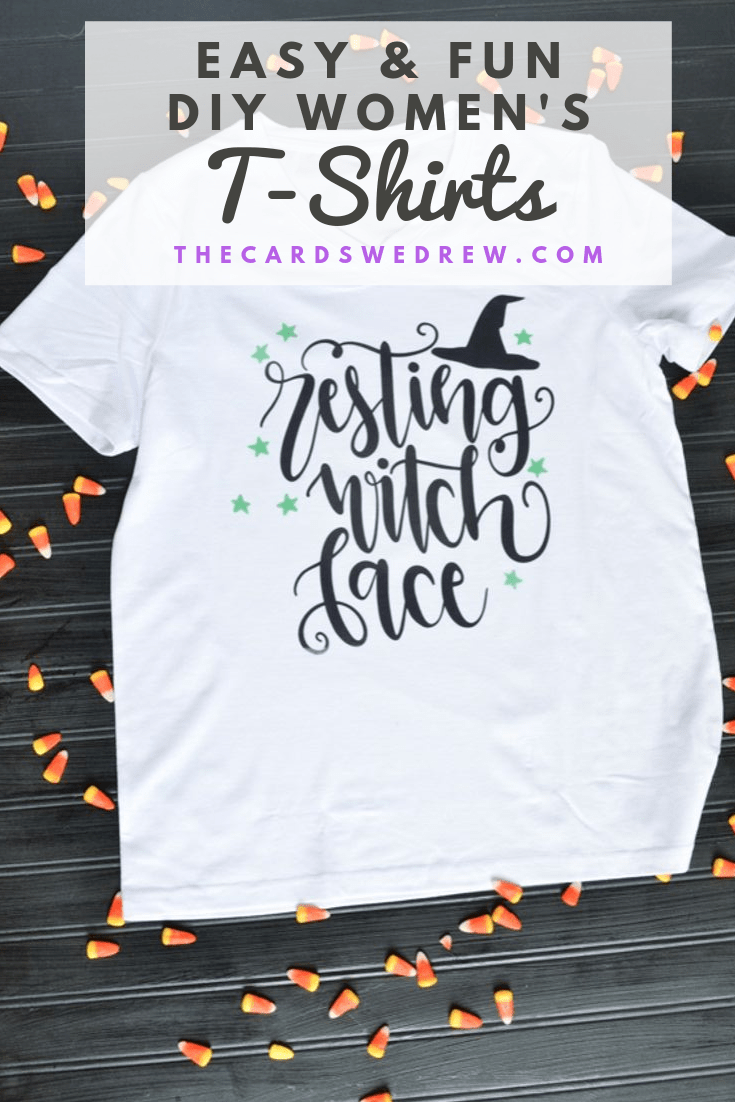
DIY Cricut Halloween Shirts for Witches
This is a sponsored conversation written by me on behalf of Cricut. The opinions and text are all mine.
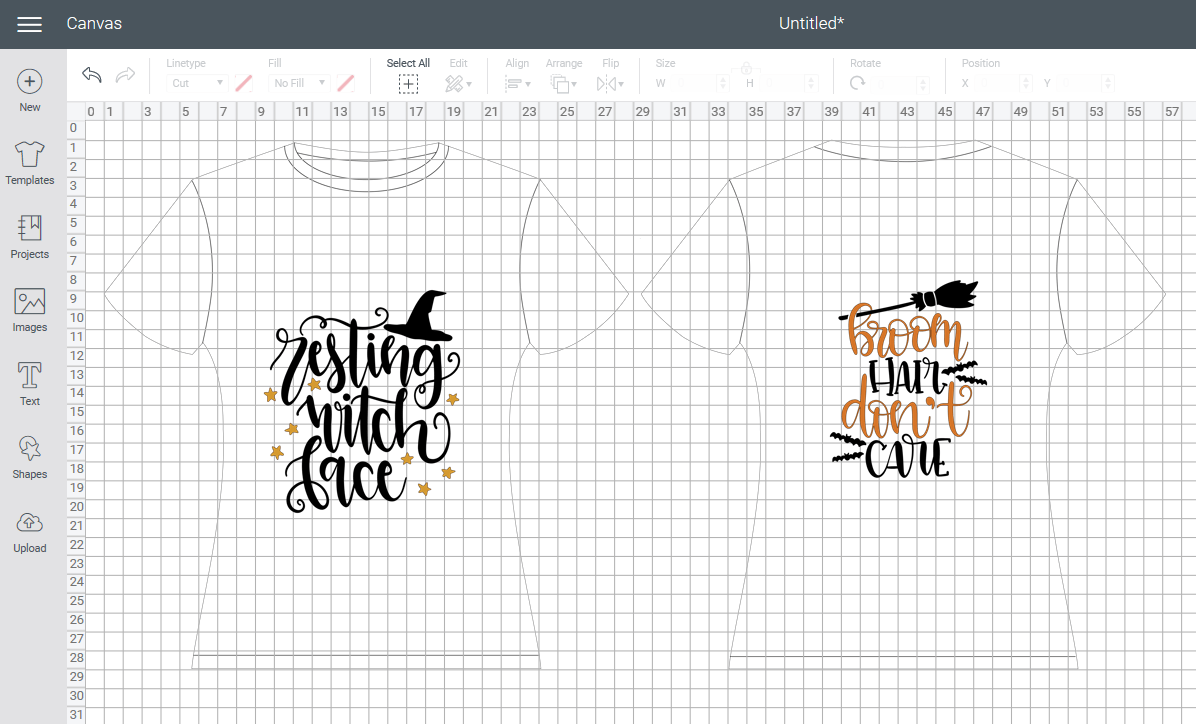
It’s officially fall and even with the 80 degree weather in Ohio, we’re starting to get cool evenings and leaves falling to the ground–and all things Pumpkin Spice hitting the shelves! Next week my friends and I are going to Witches Night Out at Leeds Farm in nearby Ostrander, Ohio and to celebrate, I wanted to make some DIY Cricut Halloween Shirts for my very best witches! 😉 Cricut has all kinds of different templates available if you search “witch” or “witches,” so I used two of their templates in the Cricut store to create these funny Halloween graphic tees using Infusible Ink ad my Cricut Maker (my favorite crafting tool!). I’ve worked with Infusible Ink before, so you can reference THIS post and THIS post for other fun ideas that I’ve made, but today I wanted to make some funny Halloween shirts for women for our upcoming event–no kids invited. 
Witches Night Out is a fun event for women only that supports breast cancer research. All the women dress up as much (or as little) as they want and come together at a pumpkin farm to do all the fun things kids activities you do at a pumpkin farm, but with no kids…and wine. Fun, right?! So we definitely needed the perfect bewitching outfit and I love how easy it was to create these DIY Witch Halloween shirts!
I started by creating the designs in Cricut Design space. I love that you can place a template on the page so that you have an idea of how big to make the design. The template falls off at time of cutting, but it shows you how big the design will be on the shirt, which is genius!
Once you’re ready to cut out the design, you send it over to the Maker. BE SURE THAT YOU MIRROR THE DESIGN BEFORE CUTTING!! The Cricut Maker will have you select the material that you are using and you choose Infusible Ink and be certain to cut it with the inked side facing up.
Because I used two different colors, the yellow and orange items cut out on a separate cutting mat. I decided to combine the mats and cut them out in green so that I didn’t waste any Infusible Ink.
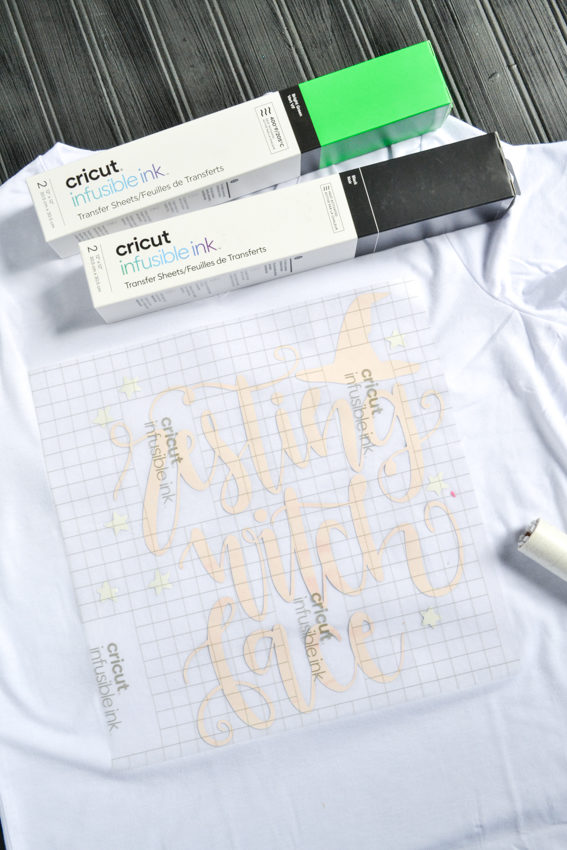
I weeded the infusible ink, only leaving the wording, added in my green stars and then placed ink side down onto my shirt. Before placing on the shirt, be sure that you use a lint roller to gently rub over the area of the shirt you’re applying in to. Next up, I got my Easy Press warmed up and I followed the Cricut Heat Guide instructions for the time and temp I’d need to appropriately apply my Infusible Ink. The Heat Guide also tells you how to later the items so that you make your shirt perfect!! 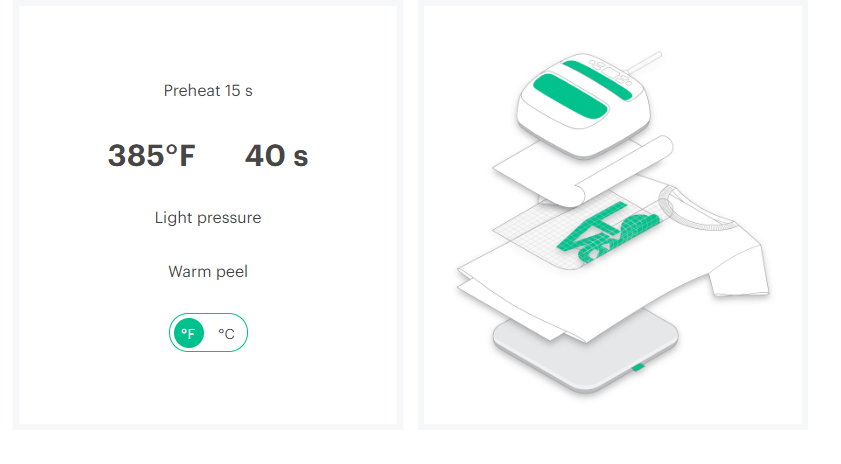
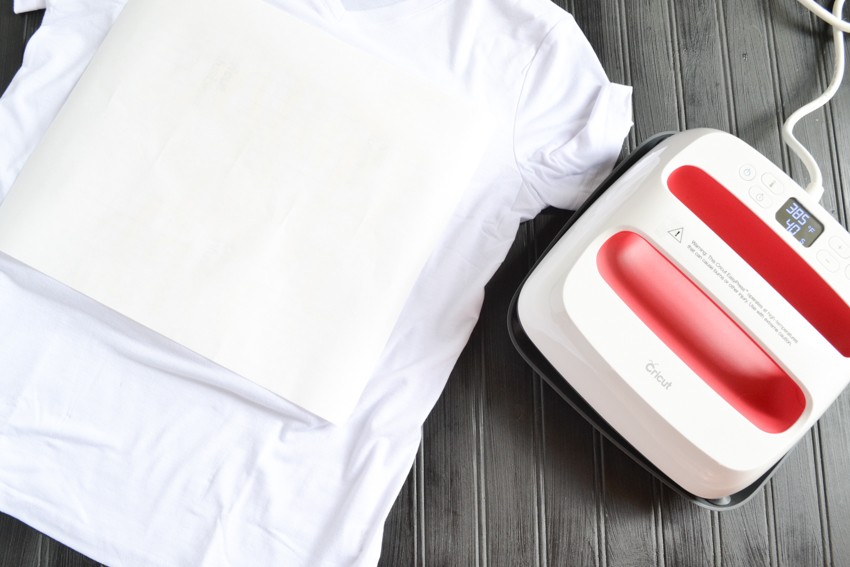
I layered everything according to the instructions and then placed my Easy Press on the shirt at 385 degrees for 40 second. Be sure to lift straight up so as not to move the Infusible Ink and potentially ruin your design. Once done, peel back the paper and be amazing with how easily the image transfers and how beautifully it turns out–bright, vibrant colors compared to the dull color on the actual ink. 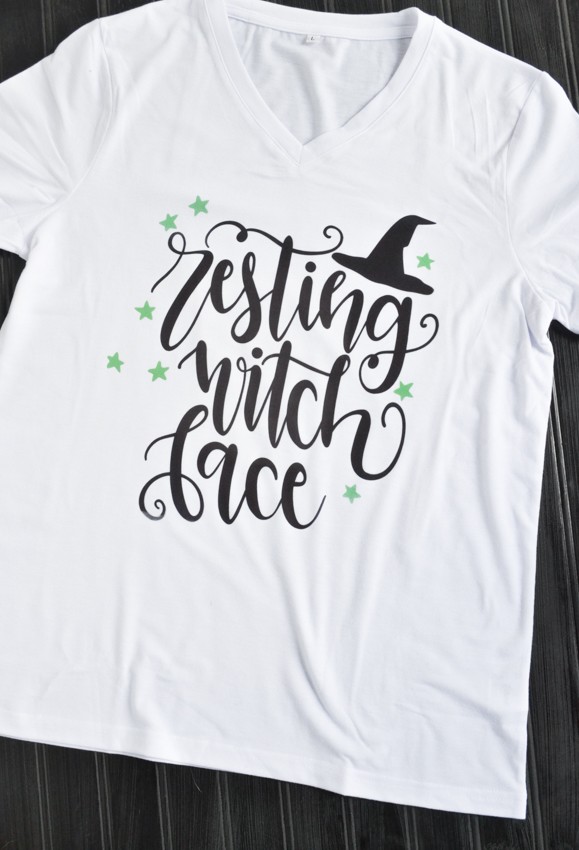
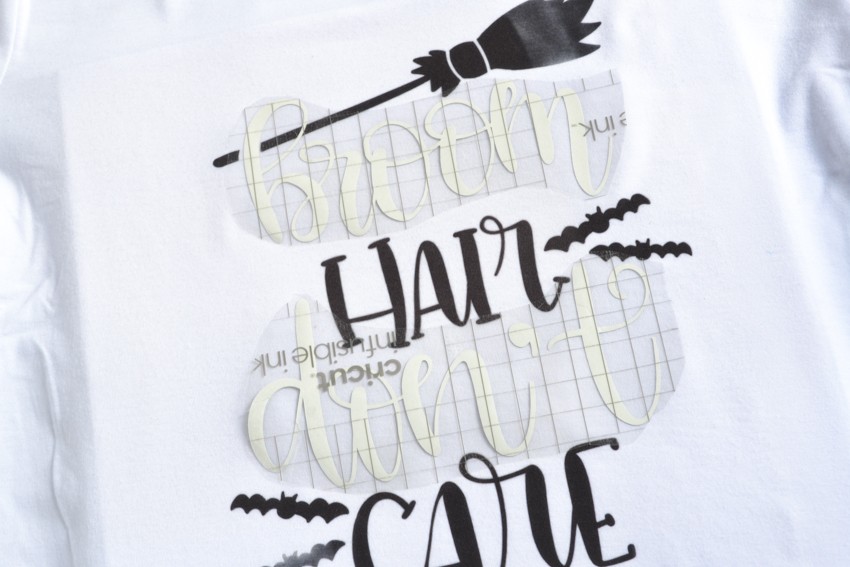
I seriously love how it turned out…so then I created my next!! Because it had two colors, I started by applying the black first, lifted it up and then applied the green second.

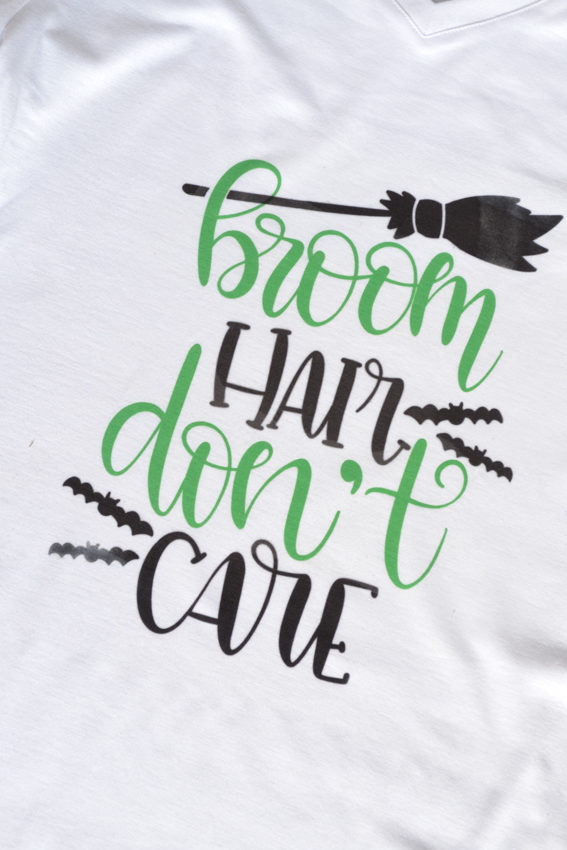
The whole thing took under an hour to make and I love that the infusible ink is so natural feeling and doesn’t leave the same feeling that vinyl can leave! I still need to make one more shirt for my other friend and then we’ll be completely ready for our Witches Night Out next week!! yay!
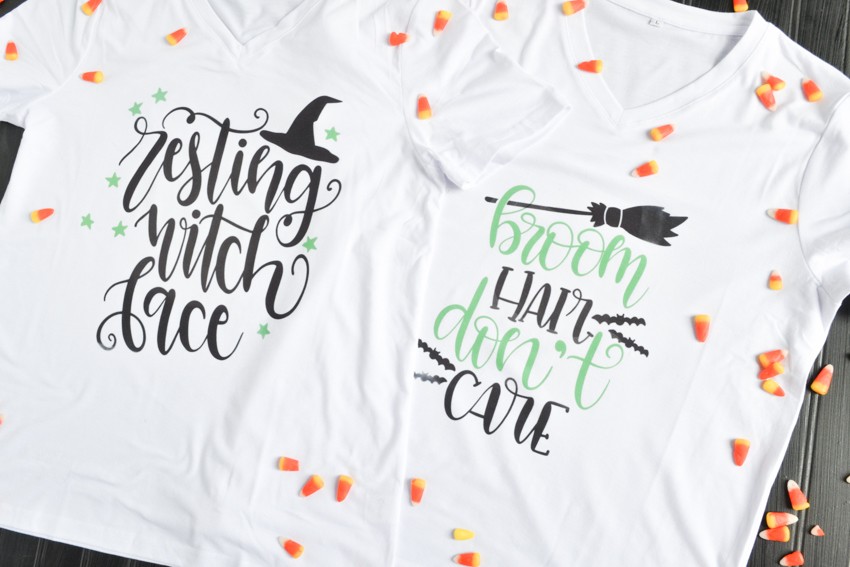
If you have a fun Halloween outing planned or just want a cute or funny Trick or Treat shirt, consider making your own using your Cricut Maker and Infusible Ink this year! It’s fun and you can personalize them any way you like!
If you liked this post, be sure to pin it for later!


Where did u get the white shirts from? Thanks in advance.