DIY Stenciled USA Pillow
Have you ever had a design in mind for something you wanted for your house, but just can’t seem to find in stores? Maybe the colors are just a bit off or the size isn’t just right…whatever the case may be, sometimes you just need to make it yourself to get it just right! Today I’ll show you how I took an unused throw pillow case and turned it into a fun Americana style DIY Stenciled USA Pillow. All you need is your pillow case of choice, some paint and stencils, and a little time. Let me walk you through some simple stenciling tips, as well, to create this pillow!!
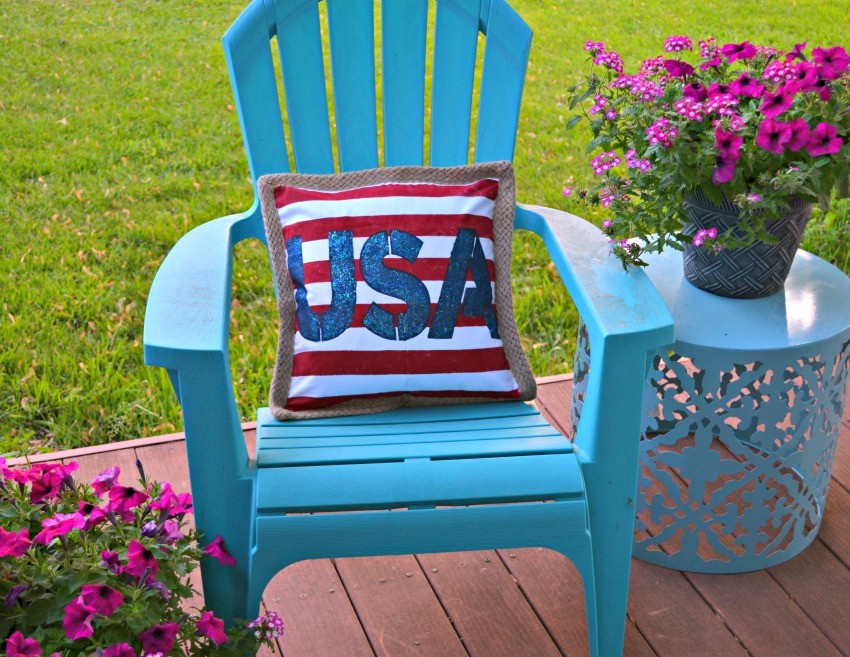
Table of Contents
How to make a DIY Stenciled USA Pillow
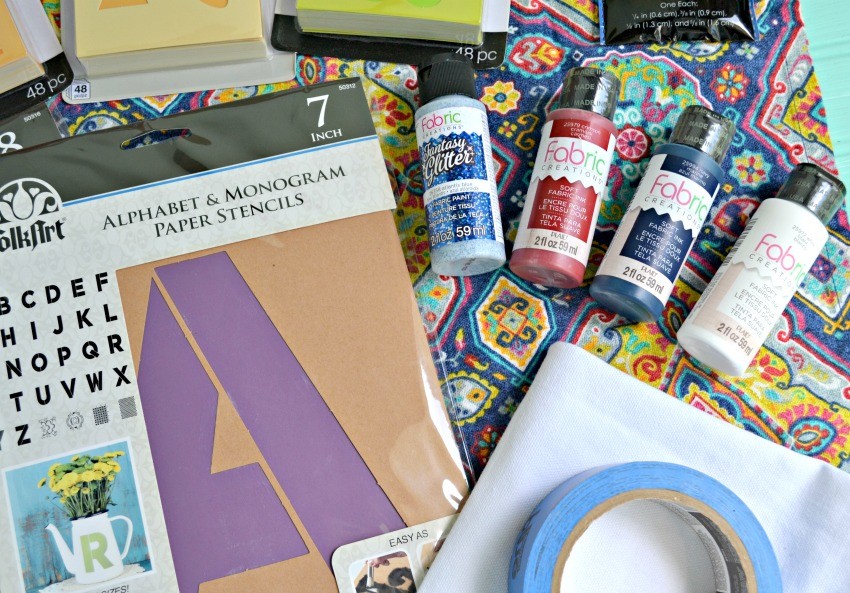
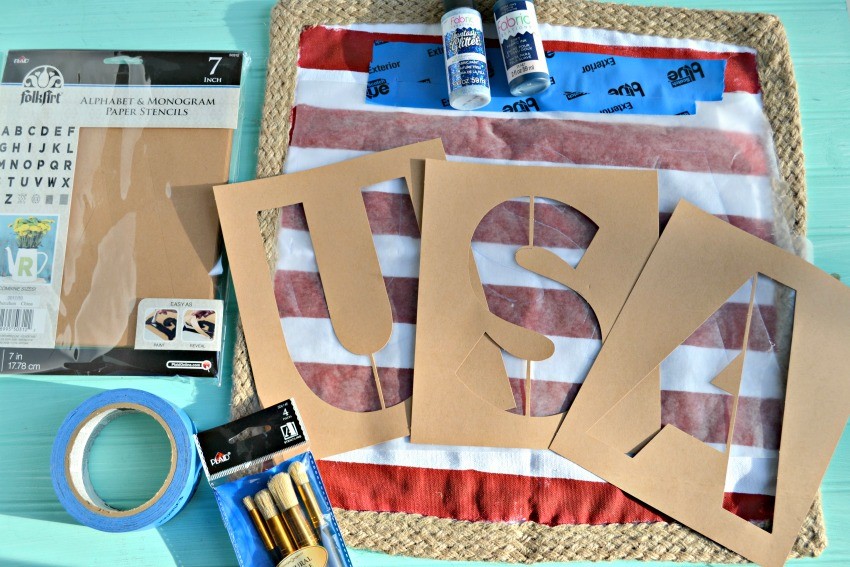
What you need:
Throw Pillow Case
Fabric Creations™ paints in Crimson, Navy, and Atlantis Blue
Painters Tape
Tracing paper or wax paper
How to:
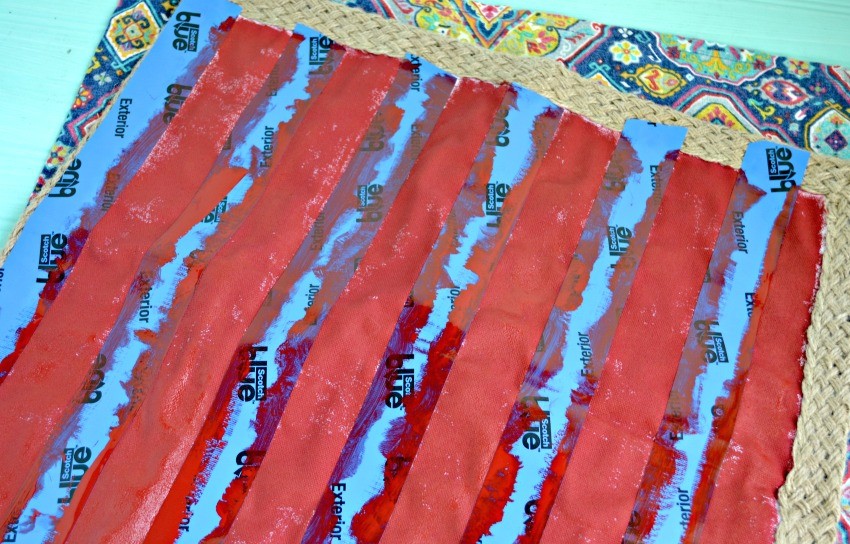
I started by making the red stripes on my pillow. This is very simple. I used 1.5″ painters tape to space out my lines and I taped off the whole pillow. Next I used the Fabric Creations paint in Crimson to paint the stripes on. You remove the tape and let your stripes dry completely before starting your stenciling.
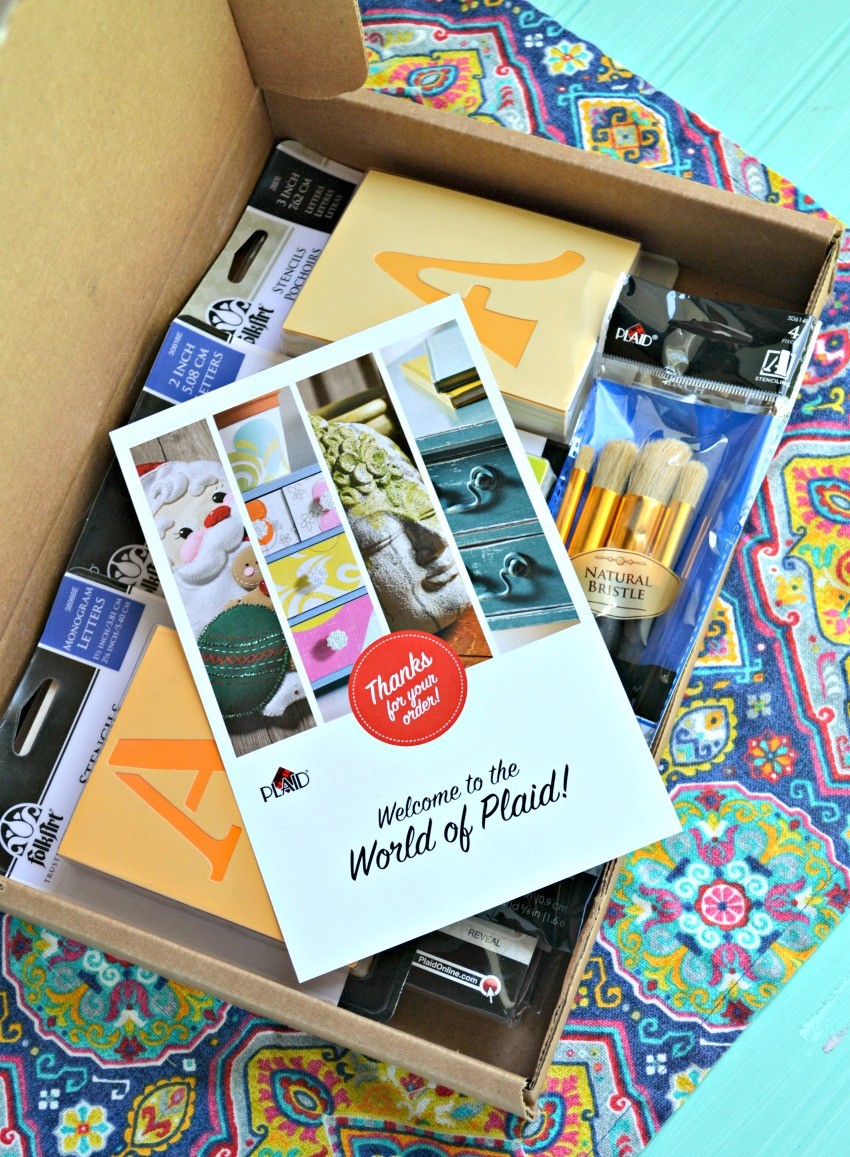
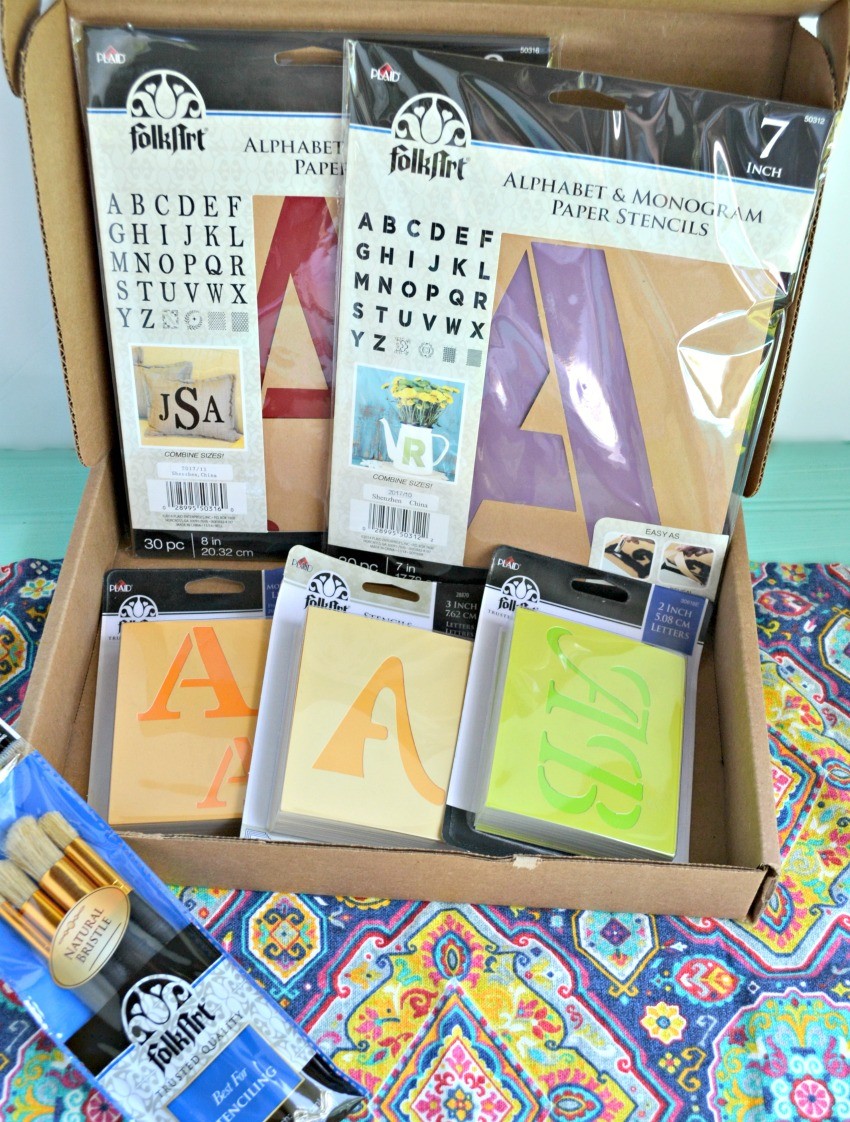
This is the fun part! Bust out your FolkArt ® Ultimate Paper Alphabet Stencil and Brush Kitand get to work! This kit is a new kit, exclusive to plaid online with over 208 pieces! It includes five stencil packs in five different sizes with best-selling serif and san serif styles – sizes from 1 ½ inches to 8 inches along with four sizes of numbers plus 20 shapes/symbols/backgrounds!! In addition to the stencils it comes with four FolkArt stencil brushes with natural bristles!
How often, when you go to stencil, do you struggle with getting the letters to line up correctly or maybe your spacing isn’t quite perfect? I learned an awesome new trick for stenciling at Plaid last month and it has to do with using stenciling paper (or in my case wax paper!).
How to stencil perfectly:
Cut a piece of wax or tracing paper to fit your project (at least the width and close to the height) and lay down on top of your project. Measure the centers of your project (length and width wise) and make marks accordingly so you know where to align your center letters. Next, decide on how you’re going to lay out your lettering (one lines? two lines?). Draw a line on your paper to ensure that your letters are aligned straight when you go to get started.

I start with my center letter (in this case the S) and trace it onto my paper. If it looks correct, then I use my next FolkArt stencil to stencil the A on and then finally the U.

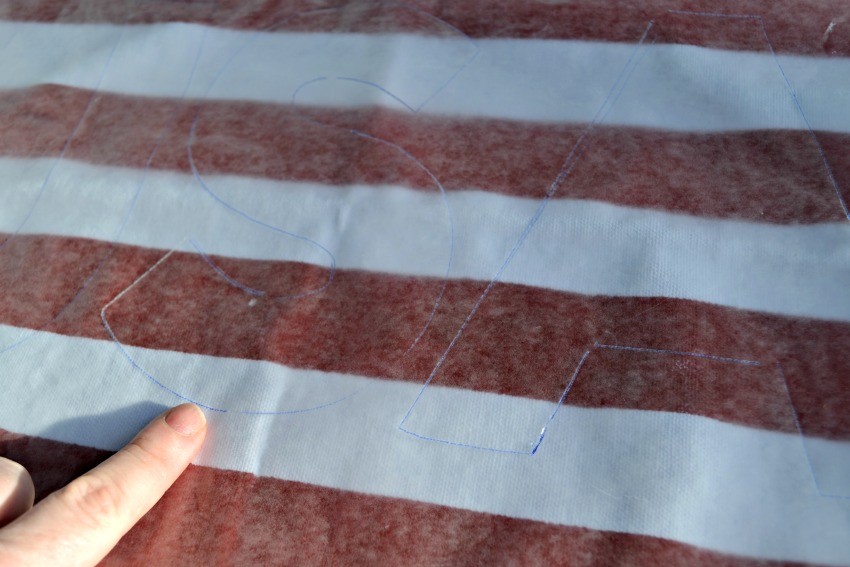
This has now become my template to ensure that when I go to stencil I align the stencils correctly to get accurate spacing and alignment.
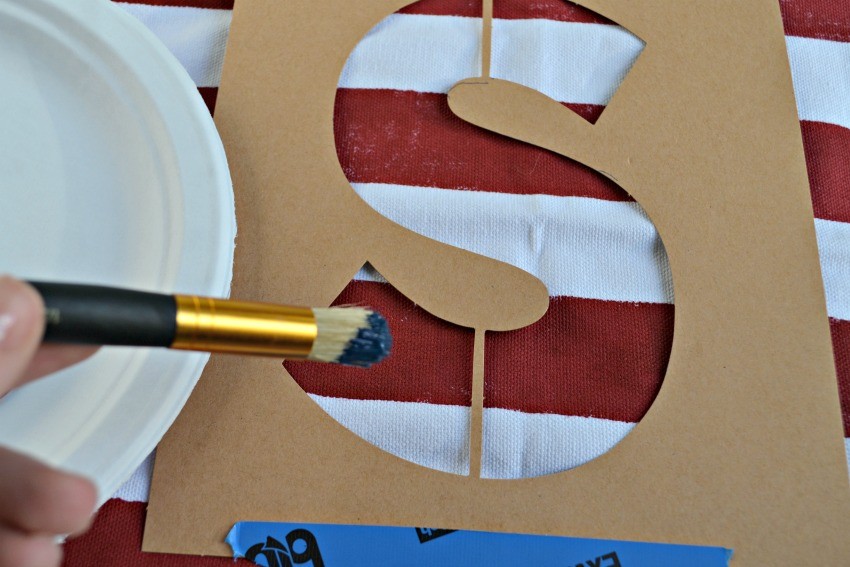
Tape your tracing paper onto your pillow case and then lift it up and slide your stencil in underneath and line the stencil up with the tracing.
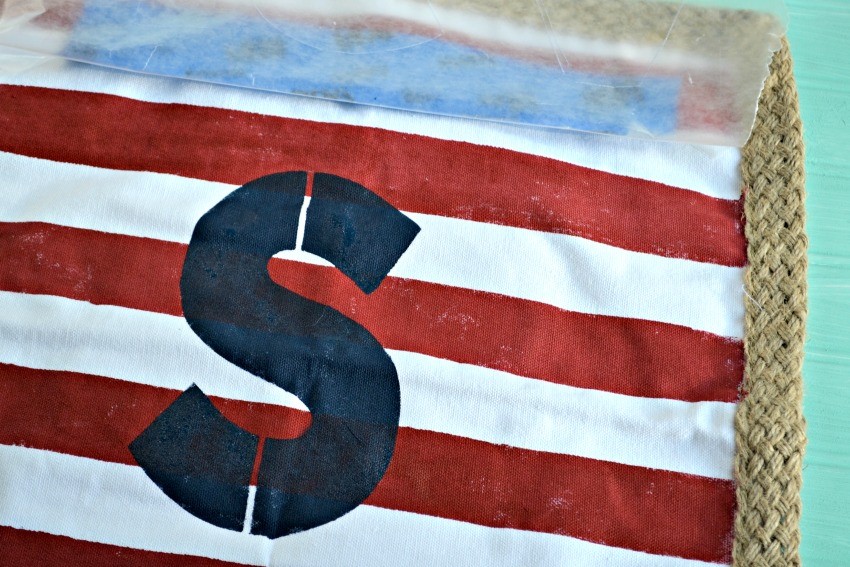
Tape your stencil down and then carefully stencil your project with it in place. Once complete with that letter, lift up and place the next stencil.
The nice thing about stenciling with Fabric Creations is that, unlike regular acrylic paint, you can be quite liberal with the application. Just be sure the edges of your stencil are pushed down and held in place while stenciling that area, but there’s not as much worrying about bleeding with Fabric Creations! Yay!
You’d also enjoy these other July Fourth Posts:

Once I stenciled my letters, I went back over them with Glitter Fabric Creations to add some sparkle to the pillow! Then I let dry and filled it with a form and admired my creation!!
This is a really simple project and just think…you could use this to make tote bags, t-shirts, and so much more!!
Grab your FolkArt ® Ultimate Paper Alphabet Stencil and Brush Kit now and get started with your own creations!
Pin it for later…