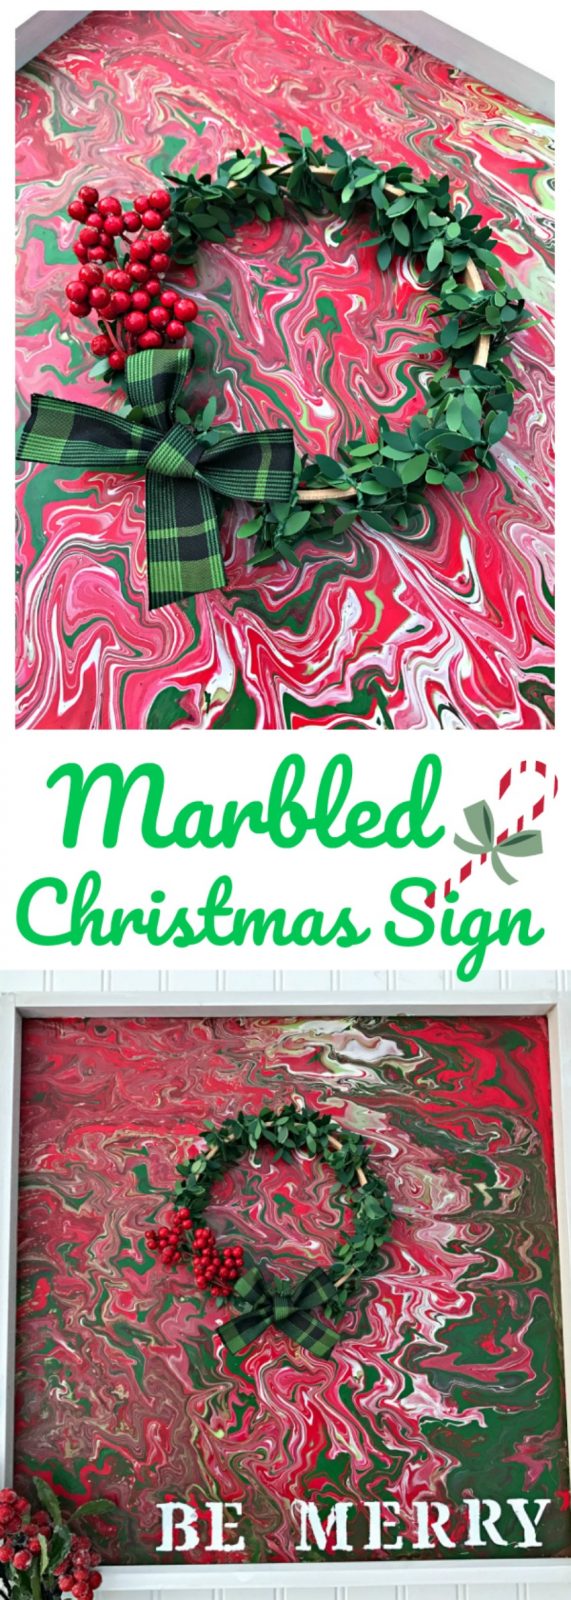
Marbled Christmas Sign
This post has been sponsored by Krazy Glue. All thoughts and opinions are my own.
With the holidays coming up, it’s time to get our craft on! I know I have my list of things I want to make this year and one of my favorite new things to do is “Dirty Pour” artwork. Not familiar with Dirty Pouring? You’ll want to check out my Dirty Pour Pumpkin if you haven’t seen it before, but today I want to share with you the most basic way to Dirty Pour and create gorgeous, handmade marbled pieces for the holidays. They’re fun, unique, and today I’ll show you how you can skip the hammer and nails and use Krazy Glue to hold everything together. So if you’re more on the crafty side versus the DIY, this is an opportunity for you to see how you can create cute signs too using just a little Krazy Glue!
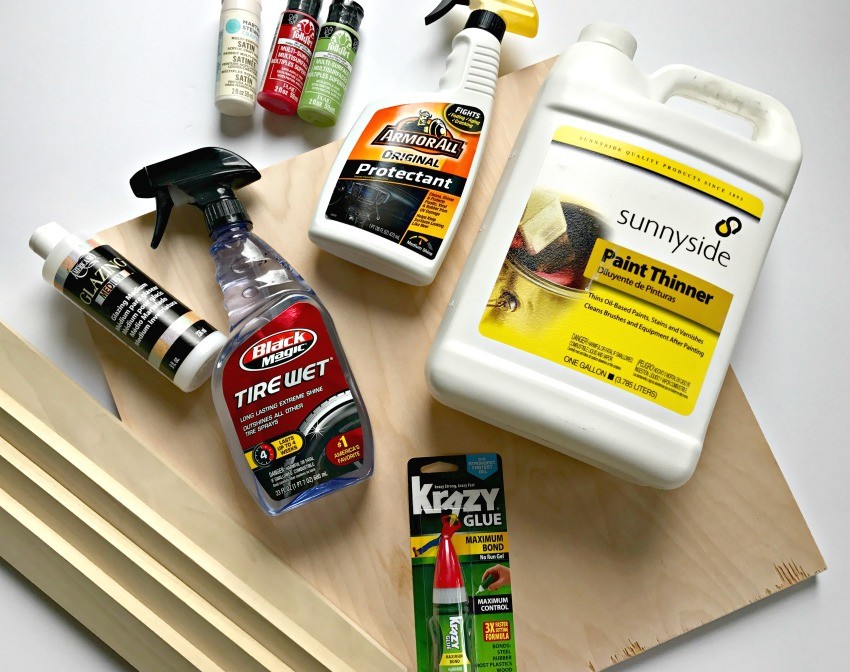
What you need for this project:
Krazy Glue (I got mine at Walmart)
3 colors of acrylic craft paint of your choice
4 plastic cups
Plastic Gloves (recommended)
1 tsp. Paint Thinner
3-4 squirts ArmorAll Original Protectant
3 squirts Black Magic Tire Wet
1 tbsp. FolkArt Glazing Medium
Wooden Board
Trim for around board edges
Plastic or Aluminum tray to pour into
How to:
Set up your four plastic cups. In one cup add the paint thinner, in another add the ArmorAll squirts, in the final add the Black Magic. In each cup, then add paint about ½ inch from the bottom. Finally, add Glazing Medium to all three cups. Using a plastic spoon or popsicle stick, individually stir all three cups. The paint mixture should be fairly fluid, if too runny, add more paint, if too thick, add more glaze.

Once your paint is mixed, carefully pour cups one at a time into the fourth cup. You’ll notice that the colors layer, but don’t mix (that’s the magic of the dirty pour!).
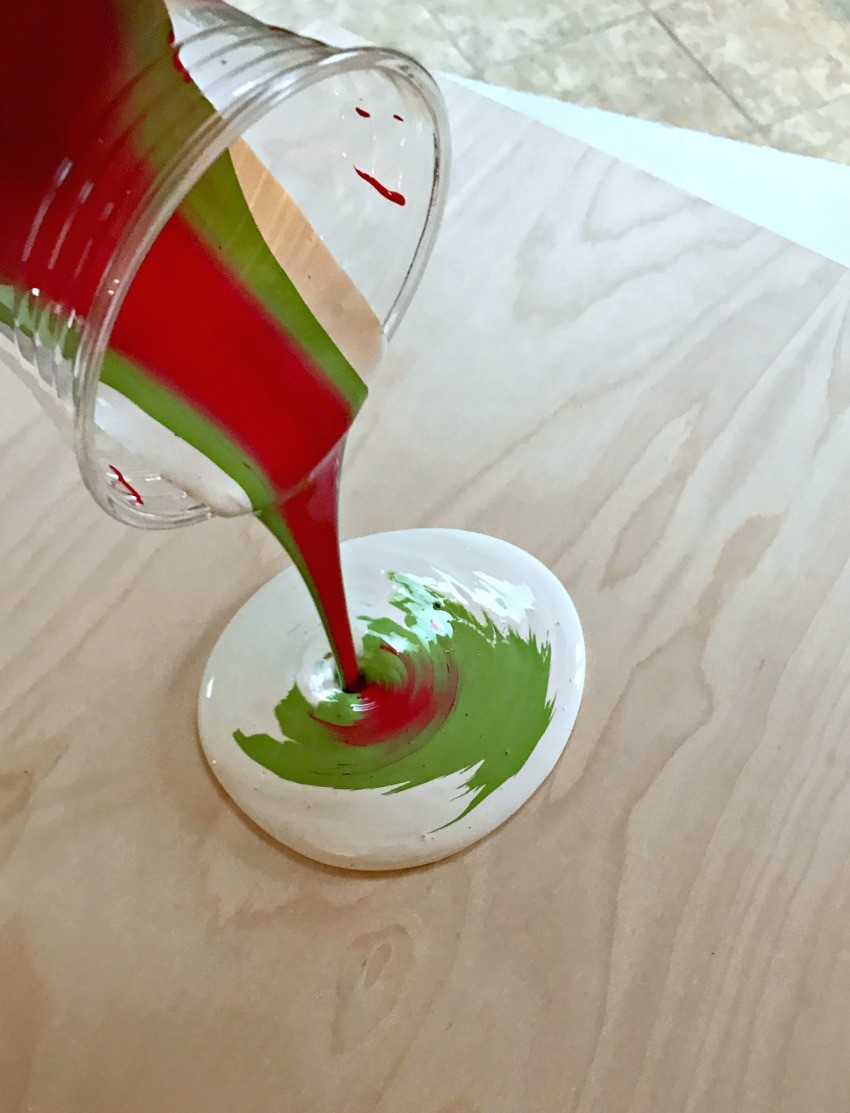
Using your board over a plastic or aluminum tray, gently pour the contents of your fourth cup onto the board, seeing how the colors spread out. The paint will be thick and you’ll rotate and move the board to get your desired look. Be sure to get all of the board covered, then lay flat for 24 hours to dry.

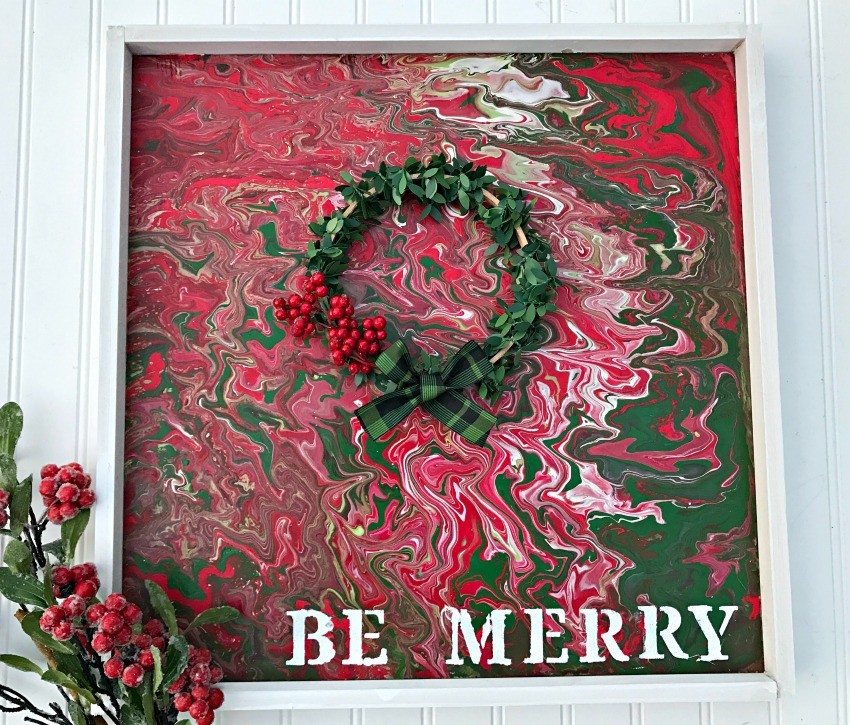
Once dry, add trim to the sides of your sign. I painted my trim white and used Krazy Glue to adhere it to the side of my wood board (skip the hammer and nails). Krazy Glue instant adhesive is America’s #1 super glue! It’s the brand that gives an instant bond to anything from china and collectibles to holiday crafts and more. (Ibotta offer).


Finally, I used some stencils to stencil BE MERRY across the bottom and I added a mini embroidery hoop wreath and bow to the center of the sign.
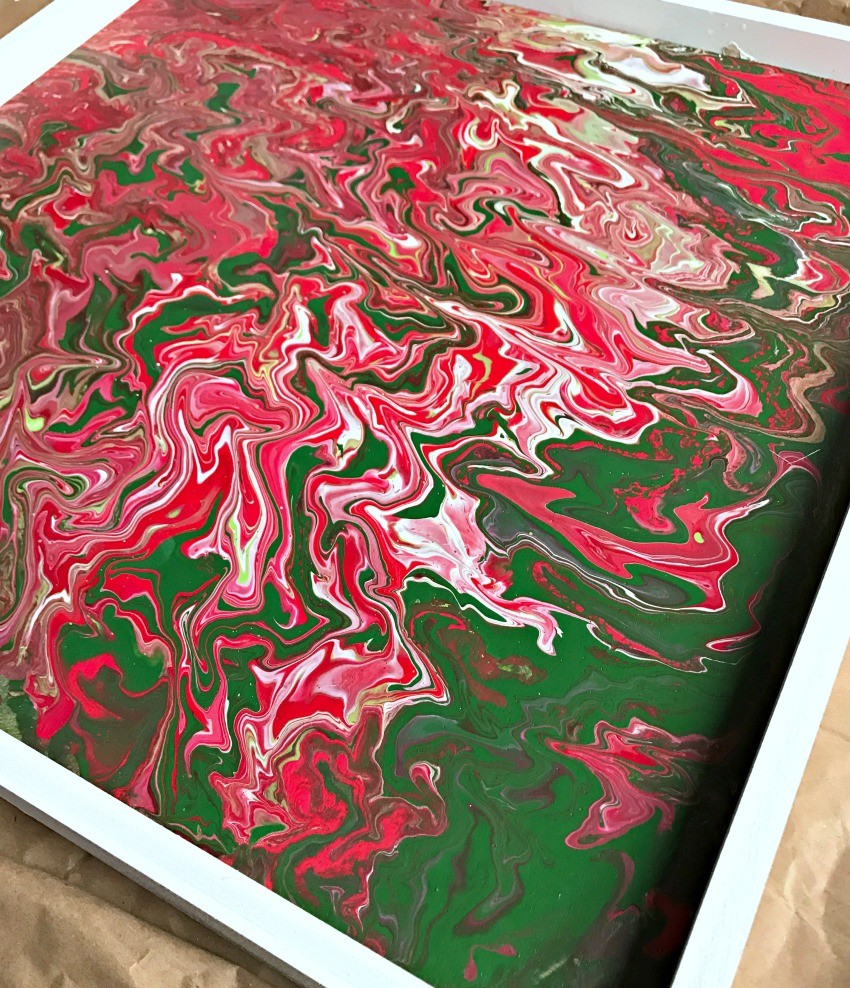
This project is fun because you can use any colors you want and any stencils or sayings you want on the sign. You could put your family’s name, you could make these as gifts or teacher presents, the possibilities are endless. And just think—each time you do this, a new and unique design is created, so no two signs are the same!

Pick up your supplies at Walmart and get started on your crazy Christmas crafting projects!
Pin it for later…