Hi, I’m Amy and I’m the blogger behind The Happy Scraps. I’m excited to be here today helping Abbey out with a guest post, so she can spend more time loving that new little baby. I love paper, paint, fabric and polka dots. On The Happy Scraps, you’ll find ideas for handmade home decor and crafts, card ideas, sewing, and little bit of scrapbooking, and anything else I feel like sharing. I hope you’ll come on over and see the fun projects that I have to share. Today I’m sharing this pretty and colorful paper flower spring centerpiece idea!
I don’t know about you, but when we start to see hints of warmer weather, I get really excited for Spring time. I start thinking about the grass turning green, the trees blossoming, and flowers blooming. I also start thinking about how to bring color into my home. I love color, and after a long cold winter, I look forward to lots of colorful things. This project today is just perfect to help get over the winter blues and bring Spring into your home! I’m sharing how I put this fun project together, with you today.
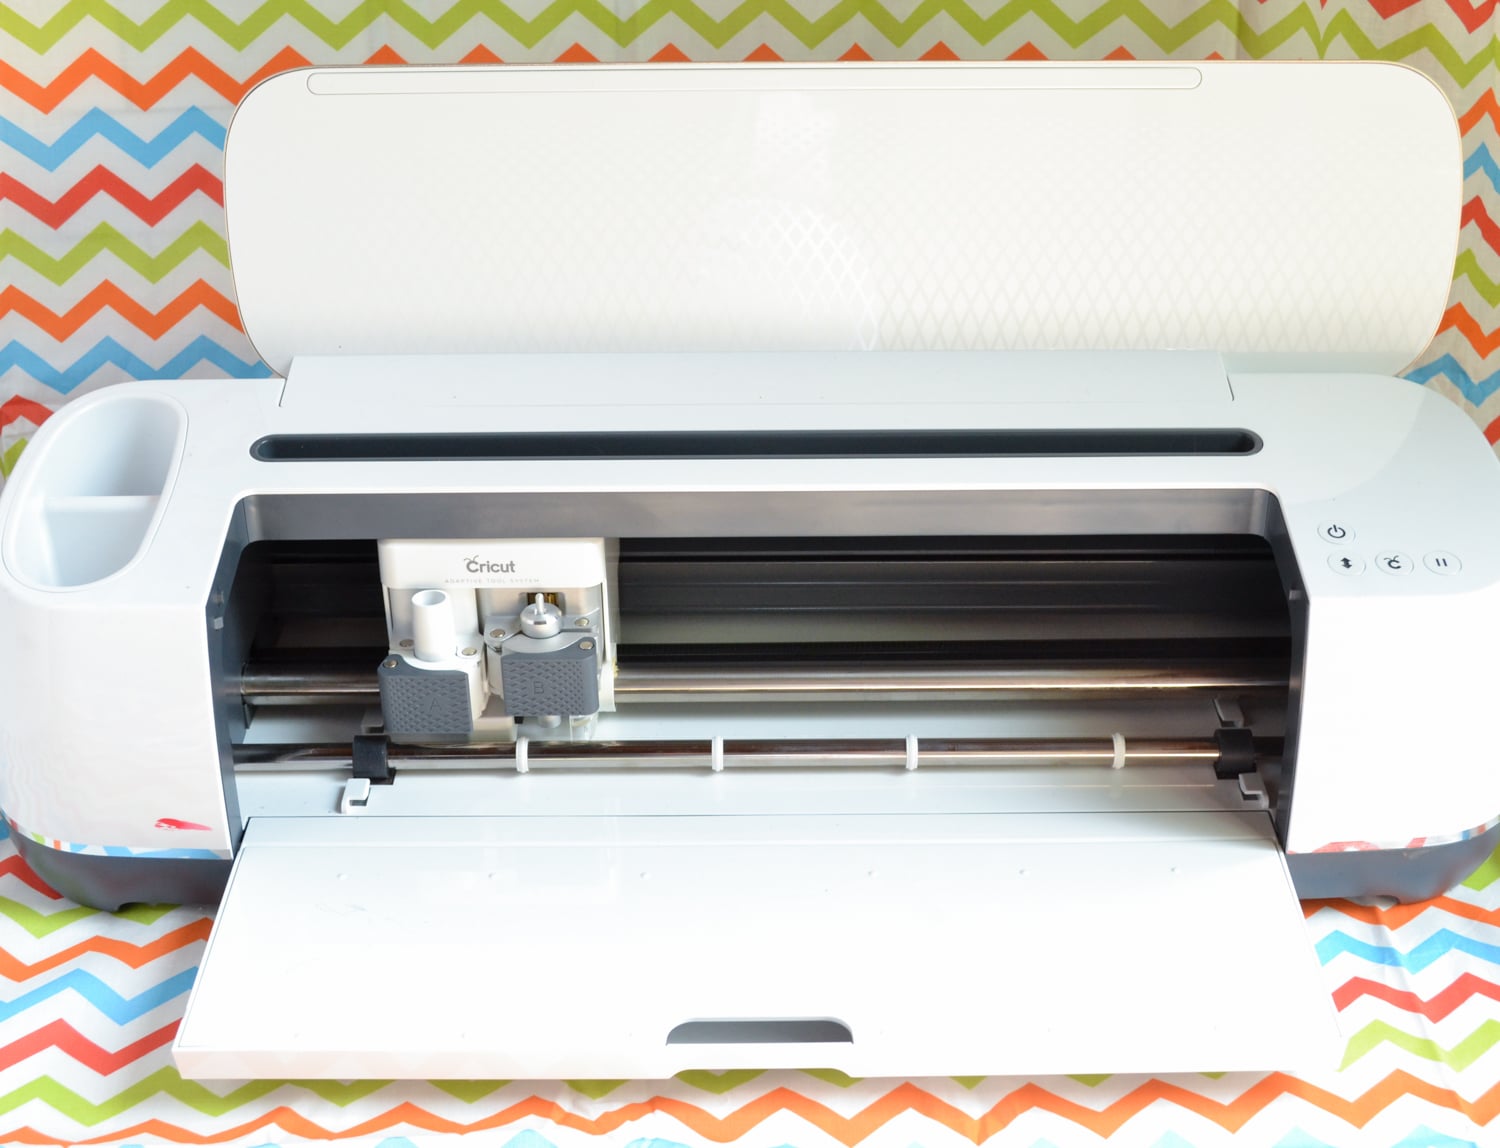
With my personal digital die cutting machine, I cut out several flowers out of all different papers. Using a paper piercer, I started rolling them really small. Once I got far enough with the rolling, I was able to just use my fingers to roll the paper. For some flowers, it was easier to lay it on the table and roll. Once you get to the center, you can let the flower loosen a little bit if you’d like, and then glue the larger circle to the bottom of the flower. I found that glue dots worked really well.
Once all the flowers are put together, you are ready to put them in the container. I chose to use this fun oval shape. I cut some foam core board to put in the bottom of the container, so the flowers would show over the top. Once I had the foam core board as tall as I wanted, I put some coordinating paper down on it. Then I was ready to glue the flowers down. I just used my hot glue gun.
And here is the finished project! Those flowers make me want to squeal!
I love the character that the tin tray adds.
Isn’t it so fun?! I love fresh flowers, but I’ll be able to enjoy these for a few months, and not have to throw them out.
I hope you’ve enjoyed this project! I have several other Spring, St. Patrick’s Day, and Easter projects over on The Happy Scraps. I hope you’ll come on over and check them out! Also, come follow along with The Happy Scraps on Facebook, Instagram, Twitter, and Pinterest. I’d love to have you join me.
Thank you to Abbey for having me over to visit today! I hope she is enjoying snuggling that new baby of hers!







Love this! Gonna give this a shot!
I would love to make these. Do you have an svg file to cut these? Thanks
This is so stunning, and so pretty for Spring! Pinning!
So pretty! They remind me of little succulents in a try. Beautiful project, thank you for sharing.
This is such a pretty project. I would love to try but not sure what “flowers” I should use. I have a silhouette but not sure which designs I need to buy. I would appreciate any help.
Hello Abbey!
These flowers are fabulous! Love them! They are so darn cute and I love how they look like colorful succulents! Thank you for the great DIY!
It’s gorgeous!! I’m so glad I got a cricut explore this week! 🙂
Amy, those are beautiful.
This is absolutely adorable. It looks really great! I’ve not yet gotten in to making any papercrafts myself but when I do, I’ll have to give this a go!