


A few weeks ago I published Part One of How to Build a Batting Cage. We left off with the posts in the ground, cemented in place, and cleaning up the mess. Now comes the fun part! Finishing up the cage!!
For Part Two you will need:
12 x 14 x 55 foot net from Net World Sports
135′ of steel cable
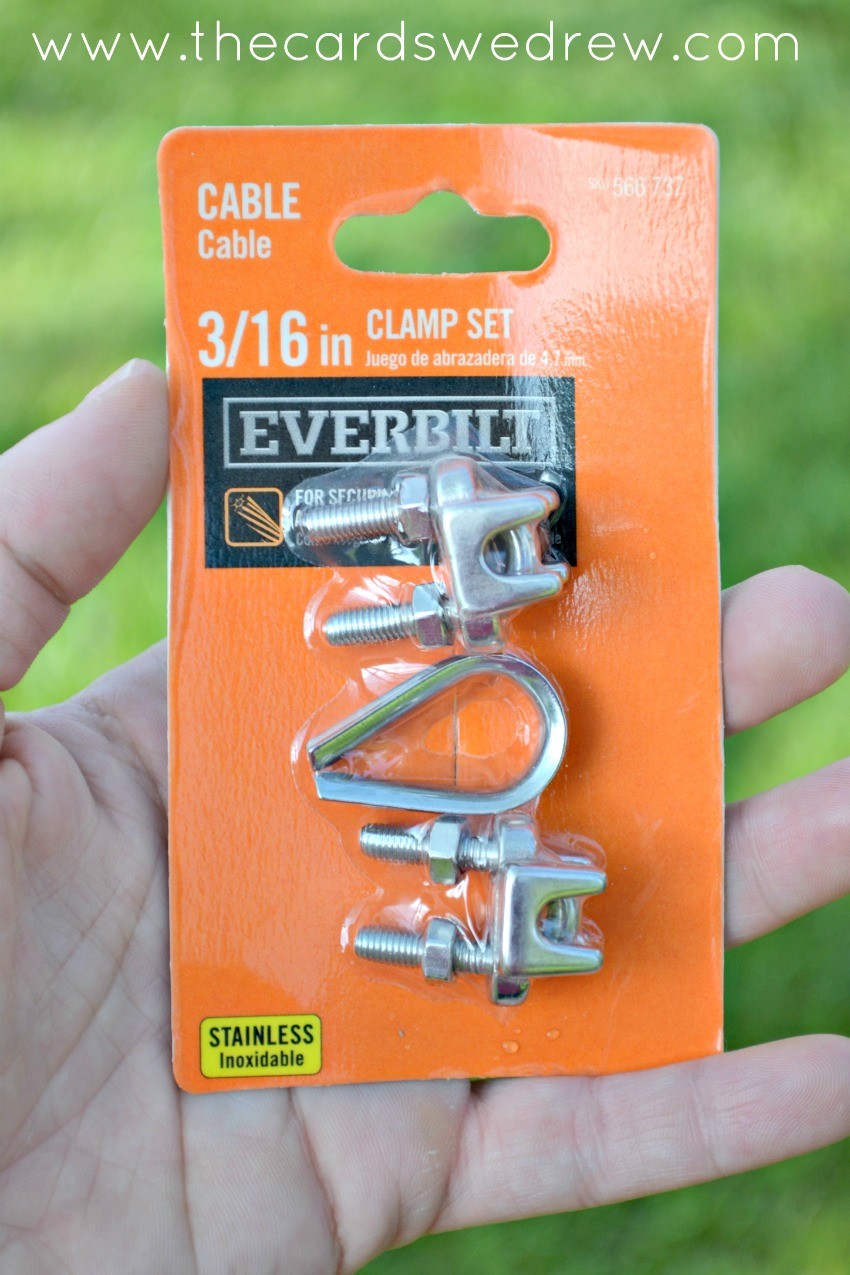
cable clamp set
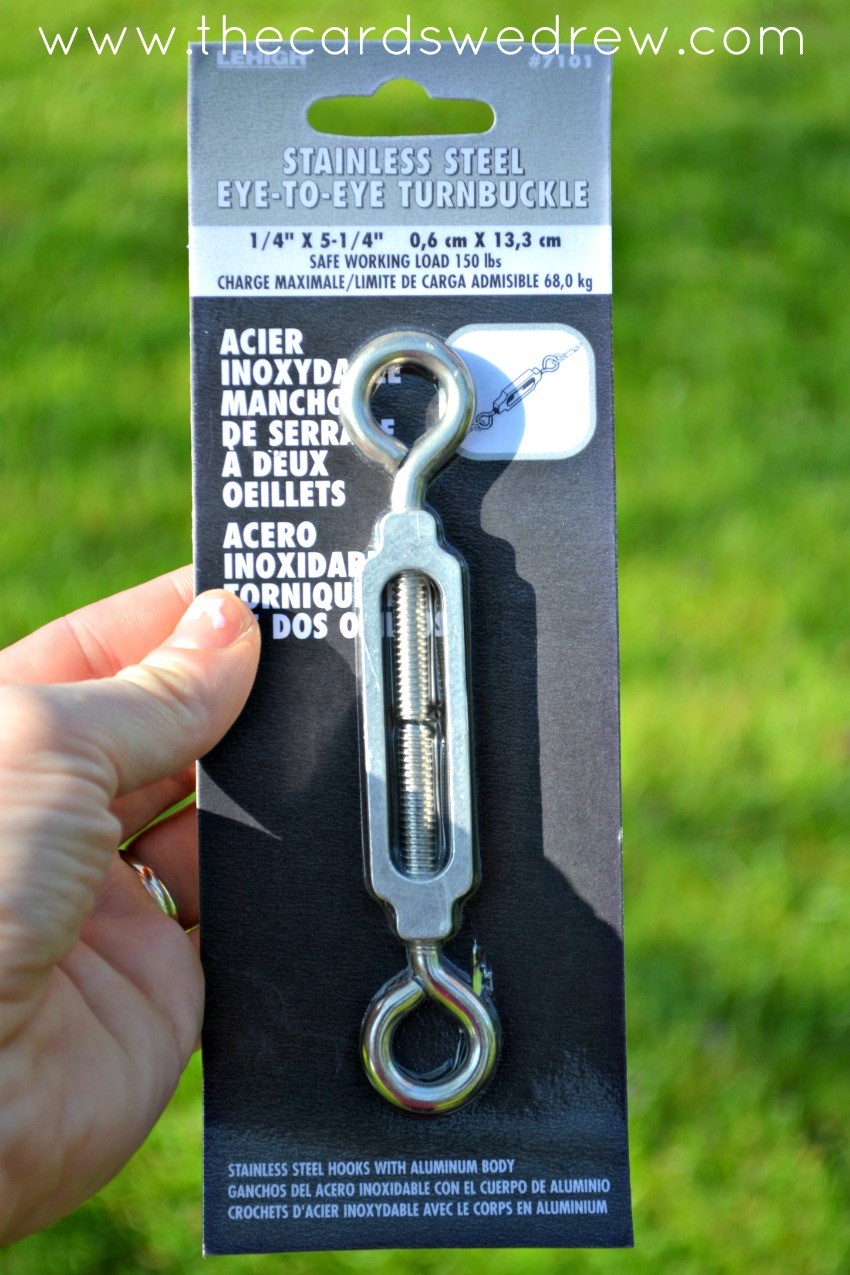
stainless steel eye to eye turnbuckle
two ladders
Instructions Part Two:
Now remember, these steps come after you have completed all the steps in Part One of this tutorial. We left off with the cement posts in the ground.
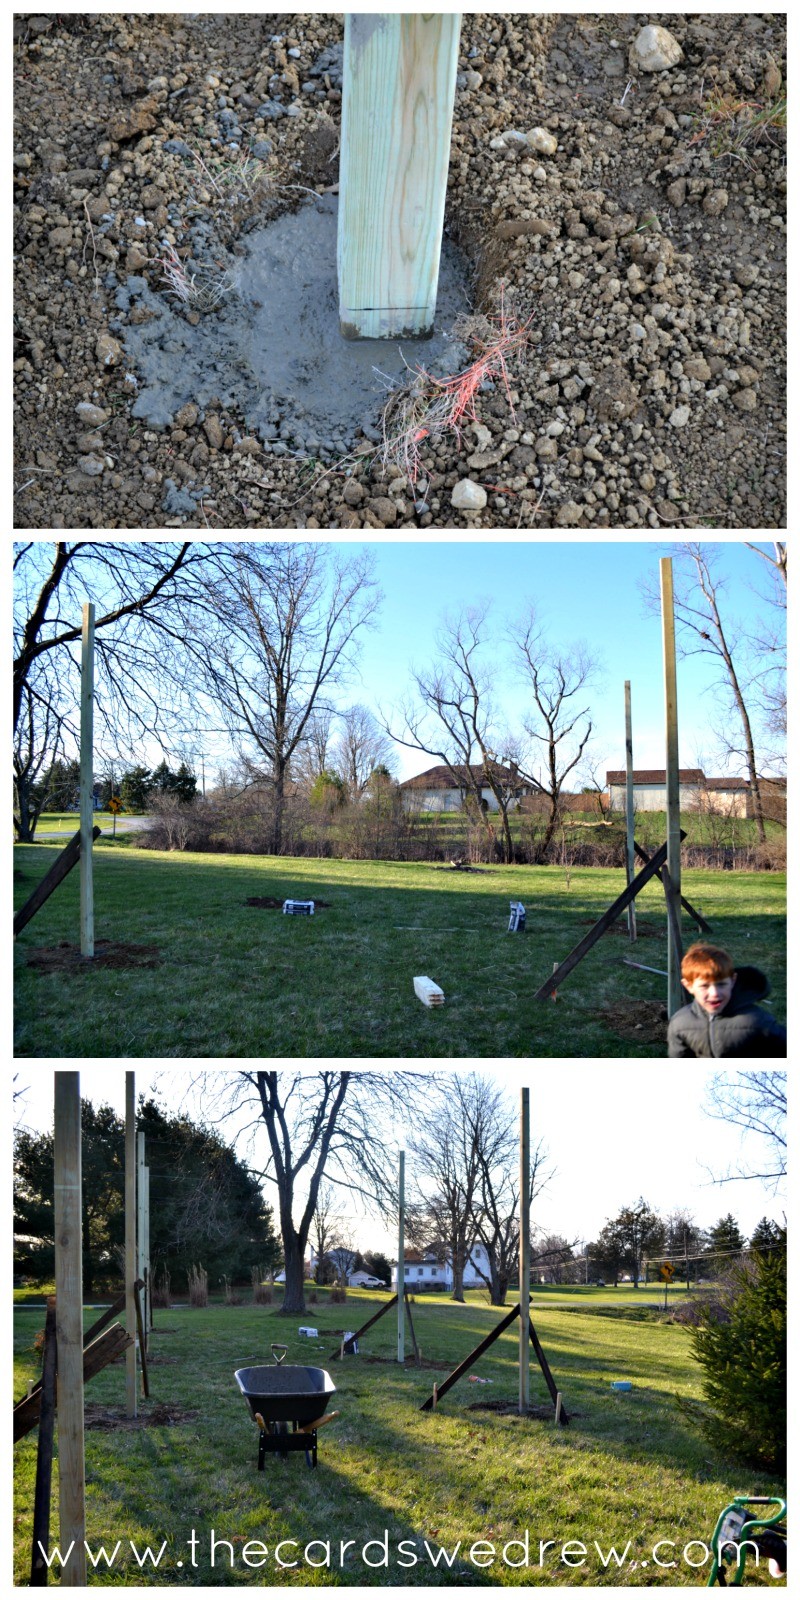
After the concrete had dried for a few days, we removed the supports, cleaned up the grass and dirt around the holes, and got the the final steps!
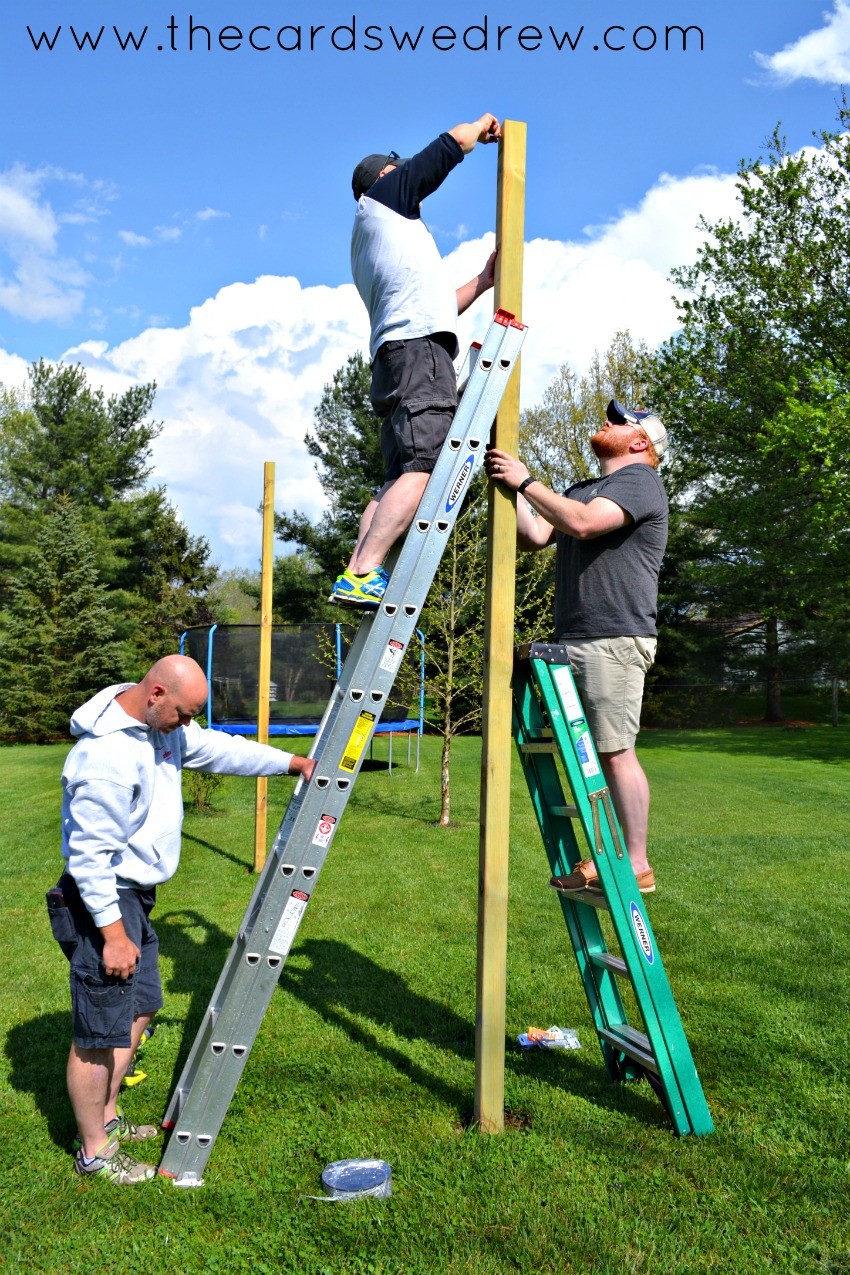
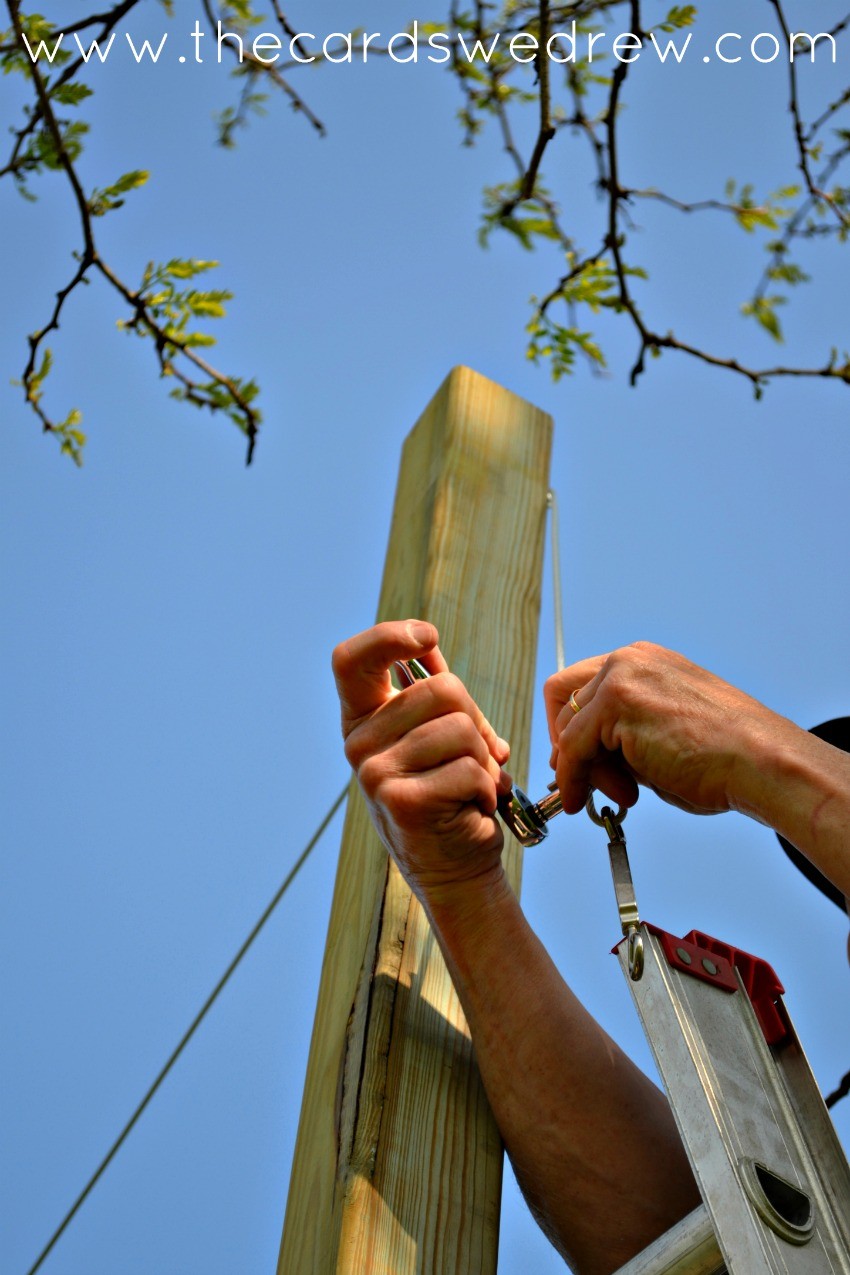
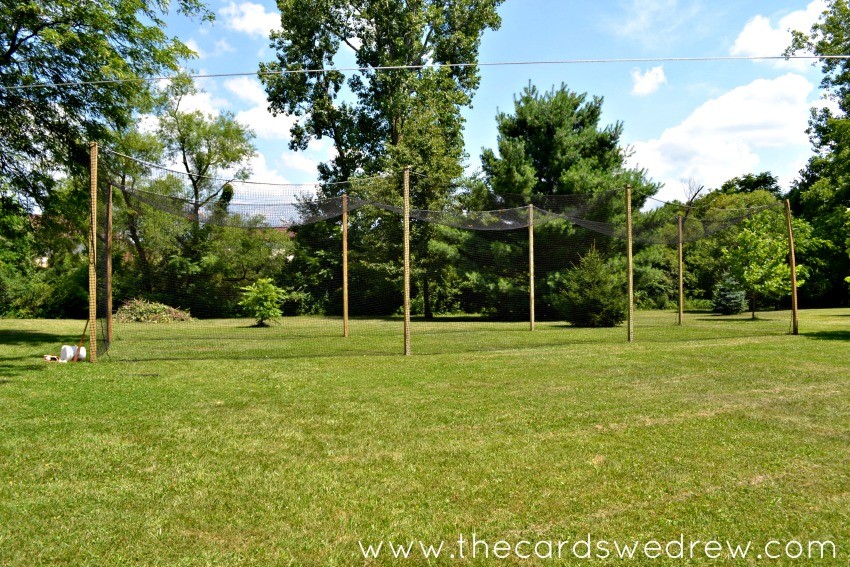
First, we needed to add the eye hooks to the insides of the poles. We used these to run the steel cable through to help support the weight of the net. You’ll find that it’s difficult to get to the top of a single beam, so we used two ladders on either side to balance out the weight and to screw the hooks in. You will do this step at the top inside of all poles.
After all the hooks are added, you’ll run your steel cable through the inside of all the beams.
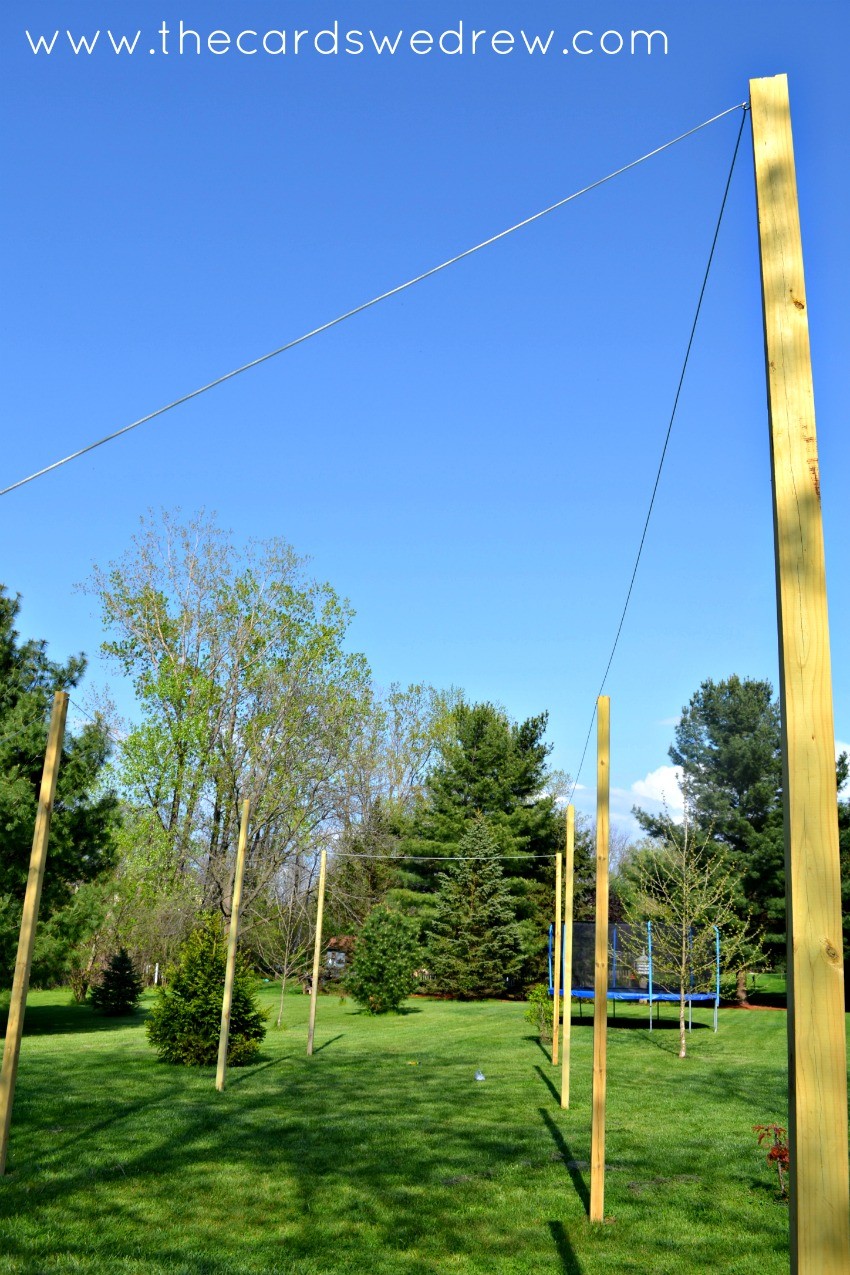
Once it was strung through all the hooks, we then used a cable clamp set to tie it all together. The clamp set holds the two ends in place and the turnbuckle allows you to get it all tight so there’s little movement in the cable.
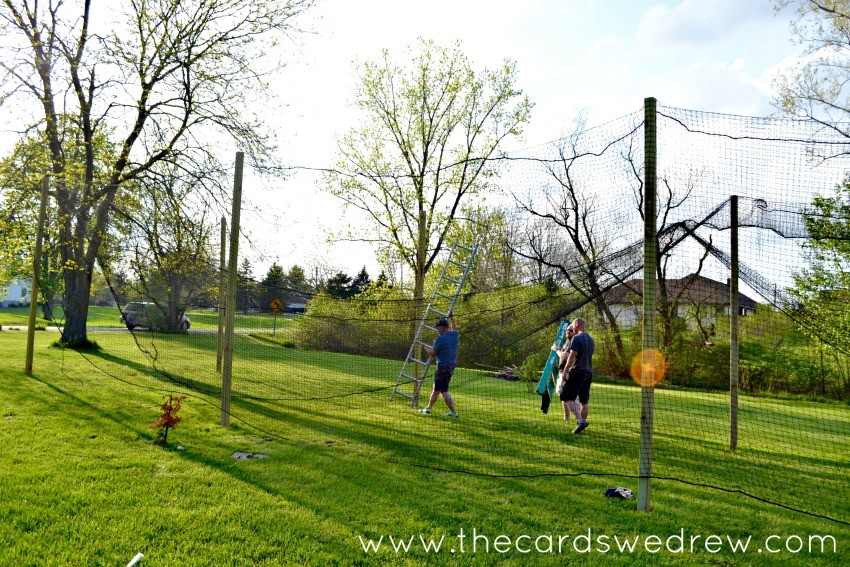
After the cable was tight, our final step was to put the net over top of the whole thing.
This is where you’ll want to invite your friends over, buy some beer and drinks, maybe order a pizza….and have a BYOL (Bring Your Own Ladder) Party. The more people and ladders you can get, the easier this step will be. Because we had two ladders and three people, it took a bit longer and was a bit of a job…probably the hardest part of this whole thing. And that’s because the net that Net World Sports sent us was the perfect fit for the cage that we just walked you through building.
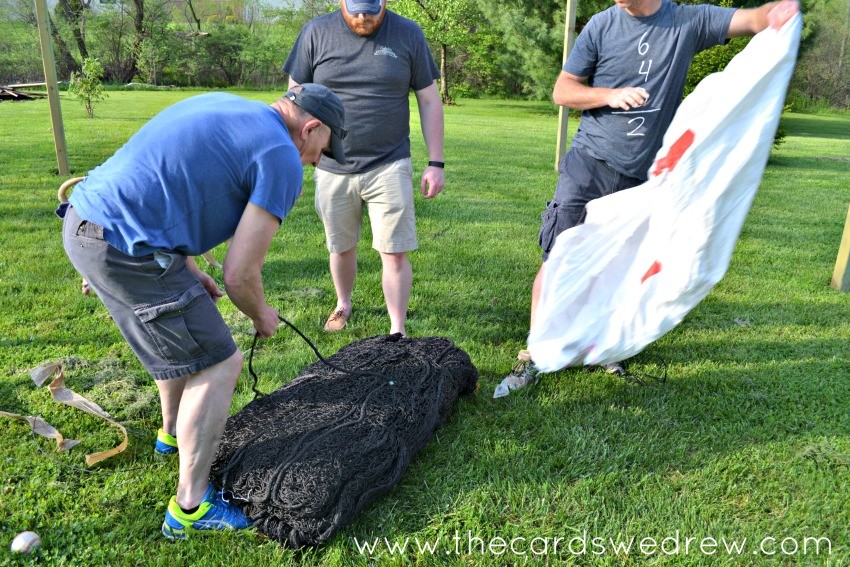
They opened up the net and get it all laid out, then worked on getting it over top of all the corners and sides of the poles.

As you can see…the guys just kind of worked it up and adjusted, worked it up and adjusted, since we didn’t have enough ladders and people on hand. It took several hours to get the net on like it was supposed to be.
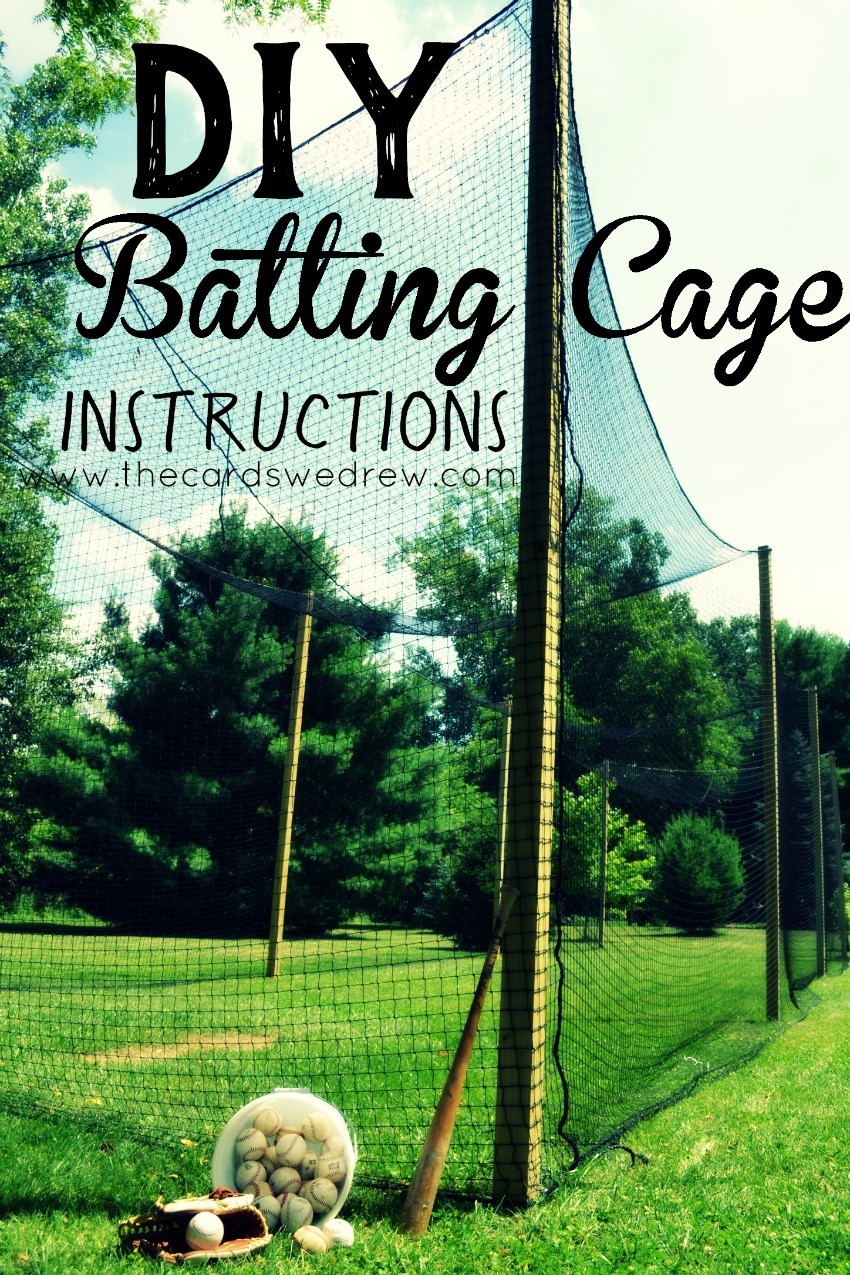
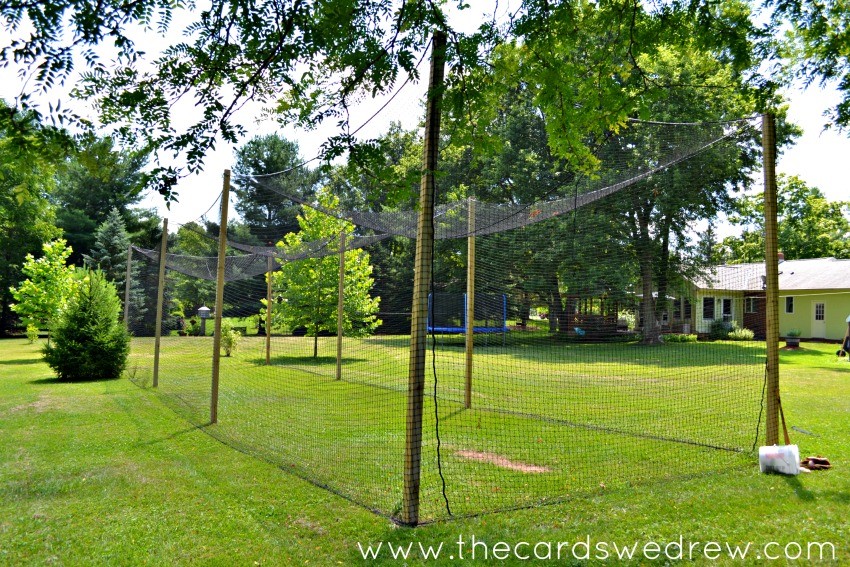
The final product looks like this…..

My husband gives lessons to local youth out of this cage…we lift up the sides and go under to enter the cage. It’s been a real treat for our house guests and friends…you can often find the guys out there hitting balls off the tees or having my husband pitch to them. My son even goes out there for batting practice before his baseball games…how cool is that?!
This was a lot of work, but I’m SO glad that we did it. I wasn’t sure that I really liked having it in the yard at first, but it’s brought so much fun and talent into our very own backyard, I wouldn’t have it any other way!
Be sure to visit Part One of this post for the rest of the instructions.


That is super cool!
Thanks Joy!
Great job! Your kids will always remember having this! What would you say your total financial investment was?
You know, it’s hard to say, but probably around $700-$800??
Hi Abbey,
Thanks for sharing this – the cage looks great! I’m soon to start putting one together in my backyard. One question – curious why you chose to have the wood poles inside the net versus outside? Thanks!
Jake
I’ve left a couple of comment, haven’t heard back. I also played minor league ball and have plans to install a cage on my property and do some lessons. Can you have your husband email me? I’m wondering..
1. what the point of the steel cable is when the cage is just draped over the poles?
2. How the cage has performed since you installed it and what you would do differently.
Thanks!