Upcycled Window Makeover
This post is sponsored by Plaid Crafts, but all thoughts, words and opinions are my own.
If you enjoyed this post, you’ll want to check out my daughter’s finished room reveal!
I’m in the process of finishing up my daughter’s bedroom in our new house for a reveal here (it’s my FAVORITE room of all time, by the way) and I have this fun and simple project to share with you today! Last month my sister in law came by and dropped off two old windows she picked up at an estate sale for me. At first, I really had no clue what I was going to do with them. So they sat in my garage for quite a bit until I decided I needed something for my daughter’s room and I wanted to make it a unique piece. Today I want to show you how I took a simple old window and turned it into this fun Upcycled Window Makeover with a little paint, Mod Podge, and some fun paper!!!
Not familiar with Mod Podge? Where have you been? Just kidding! Mod Podge is an all in one glue, sealer, and finish of choice for decoupage and everyday crafting!
And to clarify, it’s MOD PODGE…no typo. Commonly mistaken for “Modge Podge” which is incorrect–although definitely fun to say. 😉
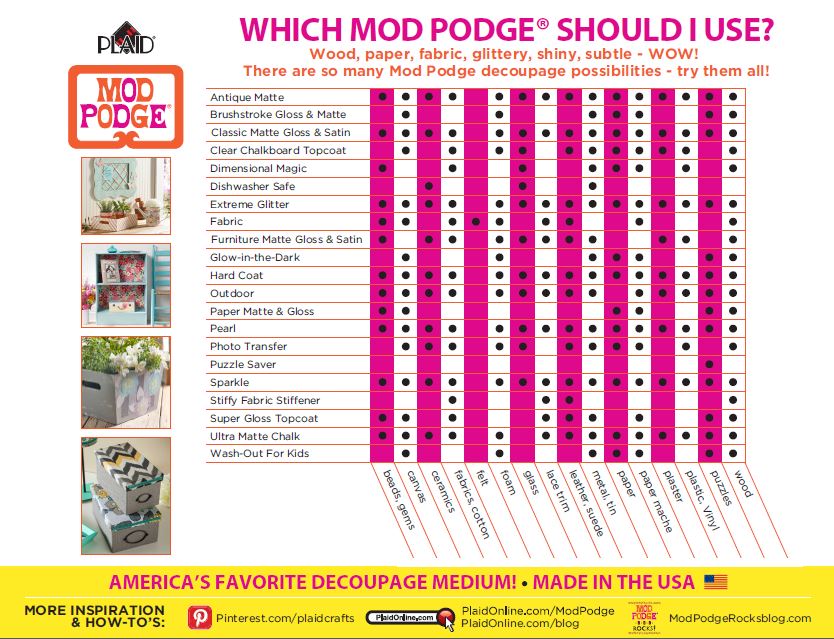
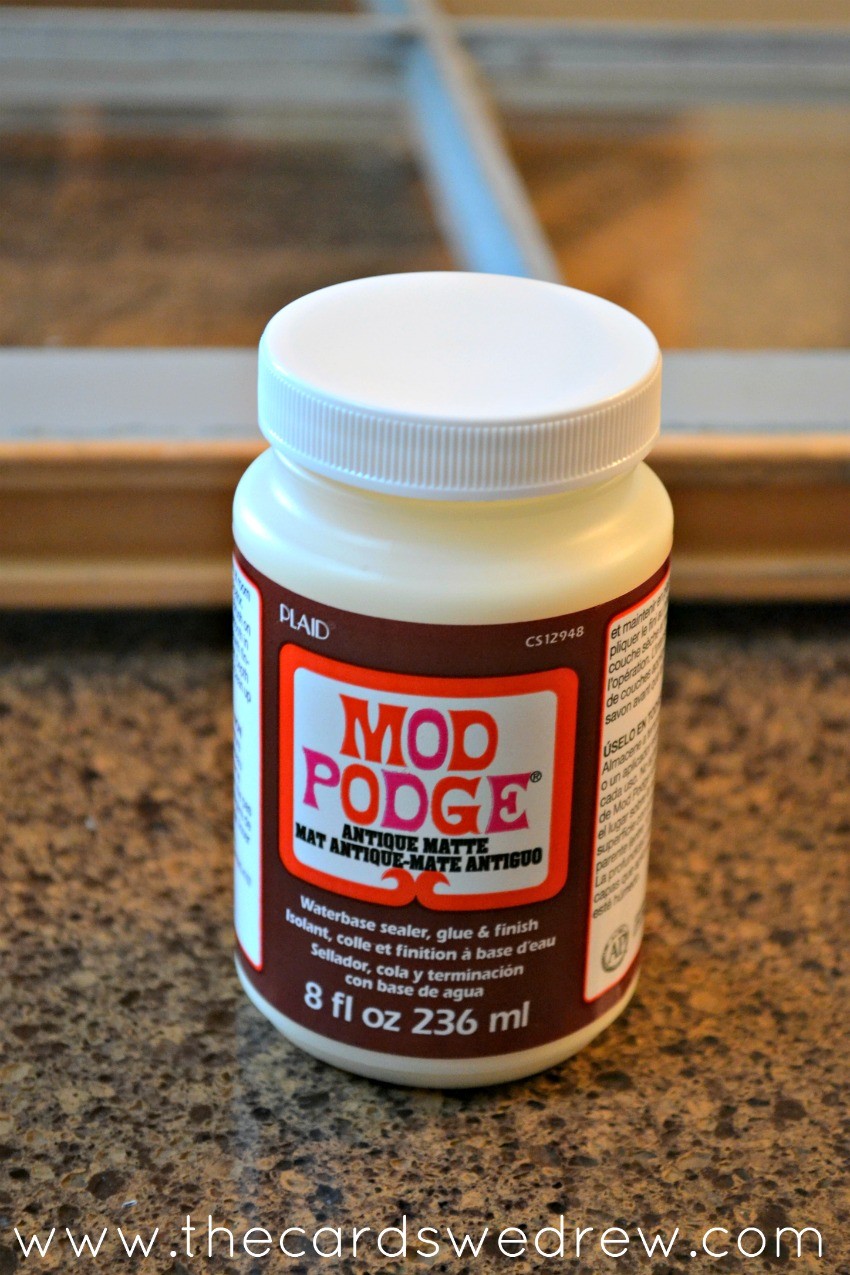
Mod Podge was one of my FIRST crafting tools that I used with my grandma as a kid and I use it ALL THE TIME! Best part about Mod Podge? It comes in tons of different “flavors” so to speak…like Glitter, Dishwasher Safe, Satin, Fabric, Furniture, Outdoor, Gloss, and ANTIQUE! Antique is what I’ll be using today! The Antique formula gives a really cool antique patina that instantly gives that “aged” look to your Mod Podge projects!
Basically, there’s a perfect formula for every project and they can be found at your local craft store.
So today, let’s check out how I created this fun little bit of antique whimsy in this space.
To see the video tutorial of this makeover, check out Hometalk on Facebook to see my Facebook live tutorial from August 23rd.
Supplies needed:
Antique window
Kreg Jig
Screwdriver and screws
Nail gun/nails
Wall hooks/hammer
Wood Glue
small piece of wood sized for your window to act as a shelf
Wood corbels for below shelf (optional)
FolkArt Milk paint to paint corbels and shelf (optional)
Mod Podge Brush
wrapping paper or paper of choice
Scissors
How to:
My original inspiration came when I was searching online for ideas for windows weeks ago. I wasn’t sure what I wanted to do with those windows and then I came across this cute idea….(source unknown)
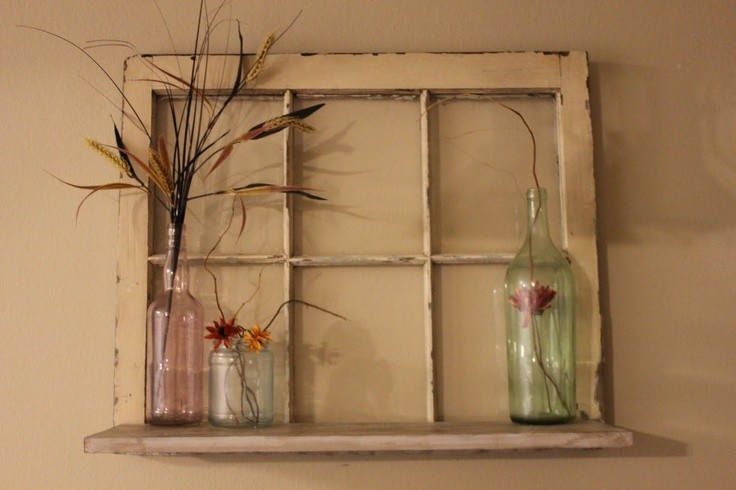 Their design was a little different than mine, but overall was what I was looking for in the usage. So off I went!
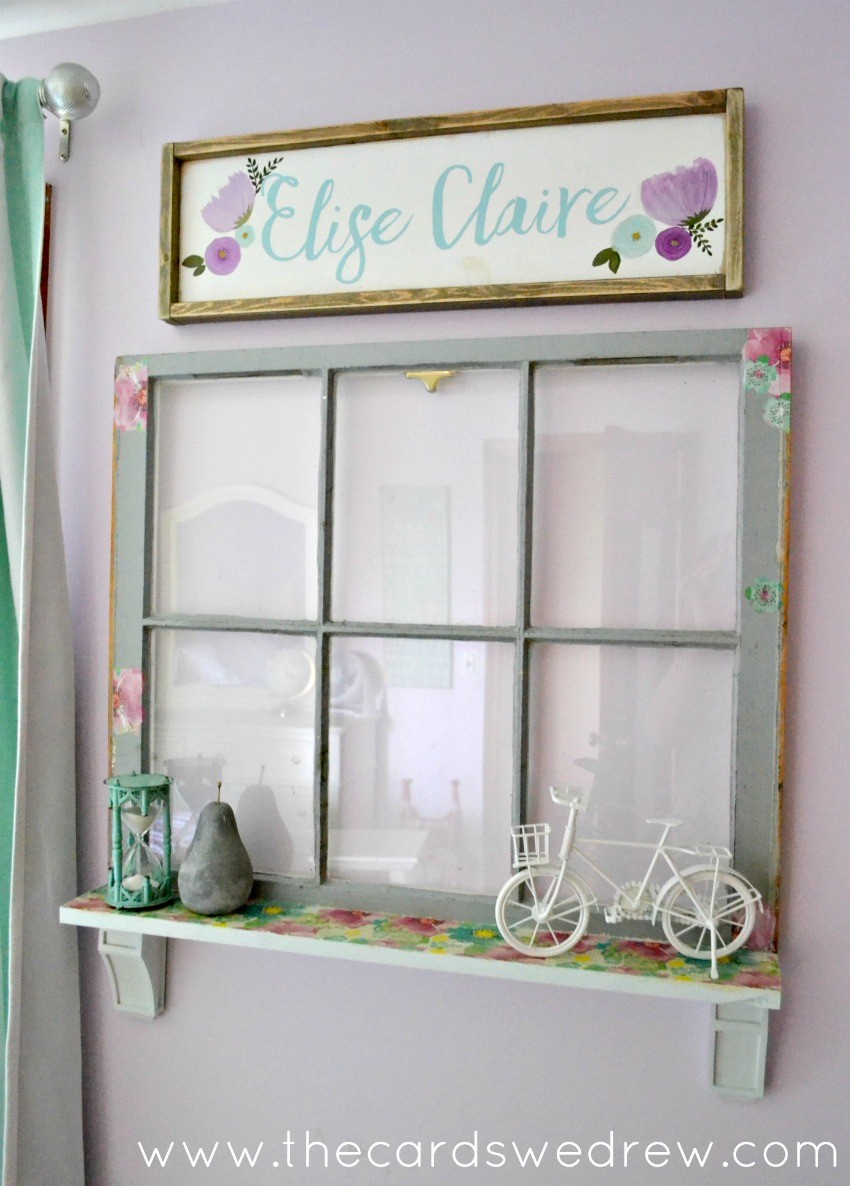
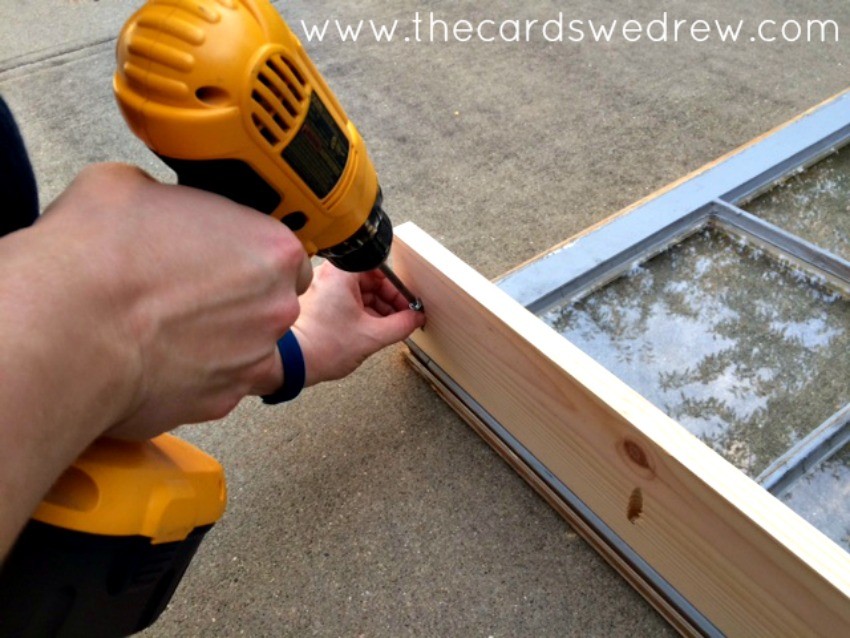
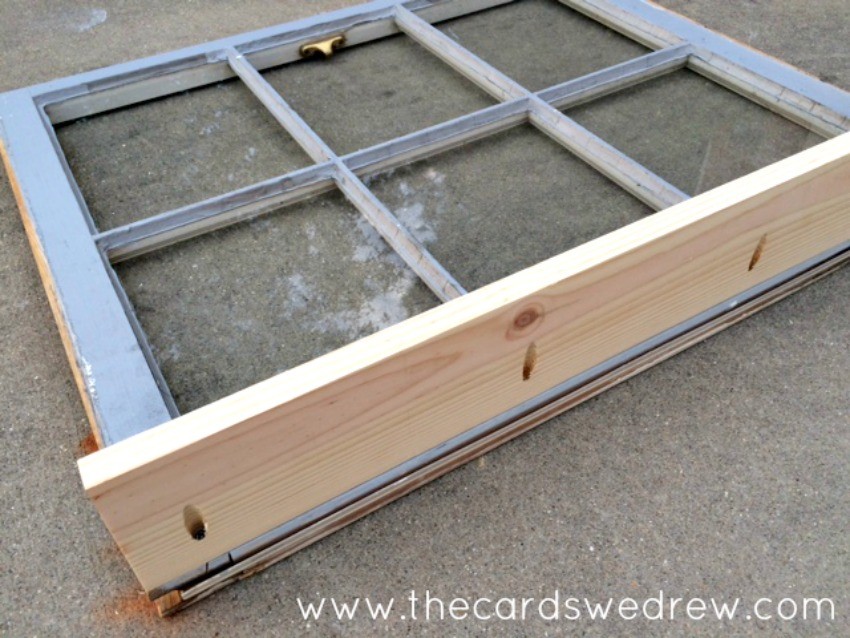
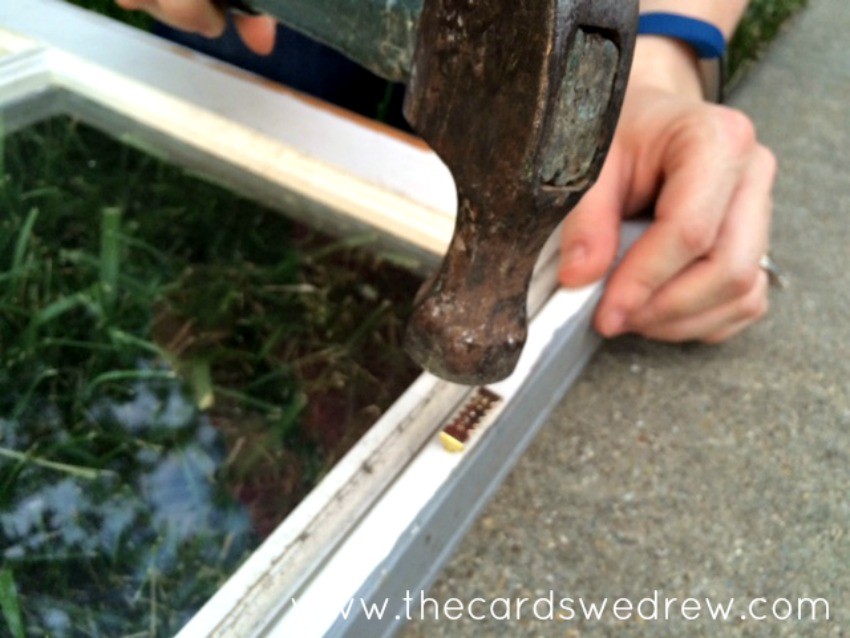
Start by building your window. I cut a piece of wood to fit exactly below my window, then I used a Kreg Jig to drill holes through the shelf to connect to the window. Using a drill and screws, connect your small shelf to your window quickly this way!
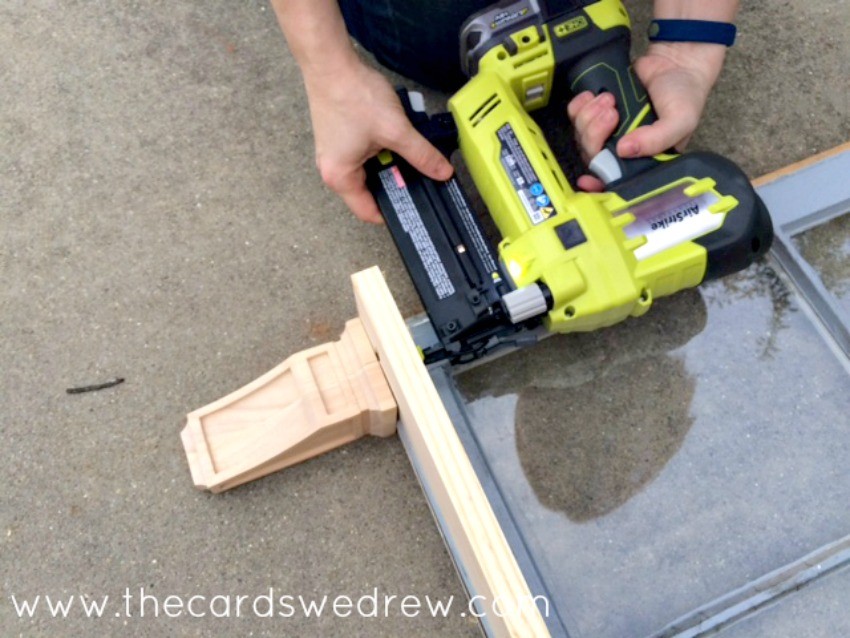
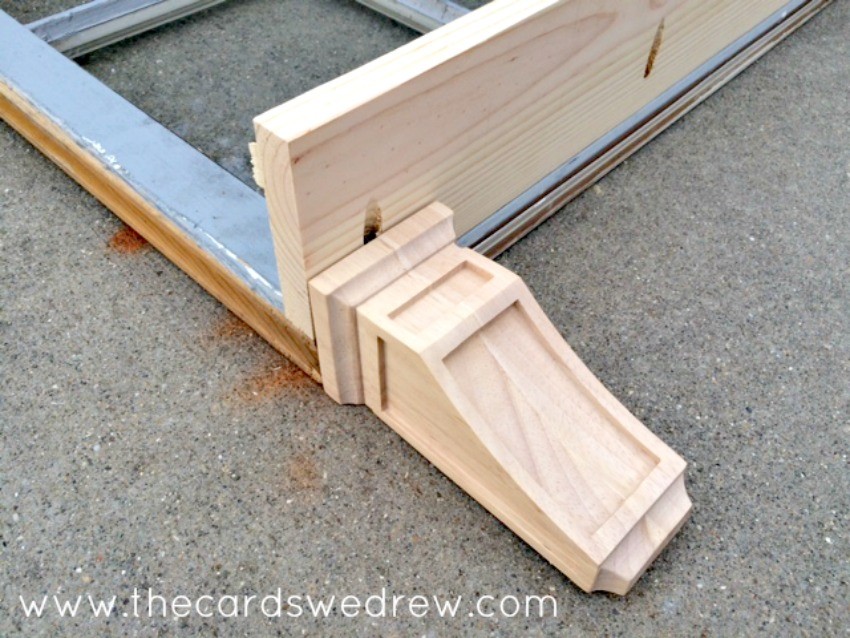
After the window was screwed together to the shelf, I added the corbels to the bottom of the shelf with wood glue and for extra measure, I used a nail gun to nail the shelf and corbels together.
Finally, I added some hooks on the back of the window to hang the window on the wall.
The next day I came back and painted my shelf and corbels and got started on decorating the shelf.
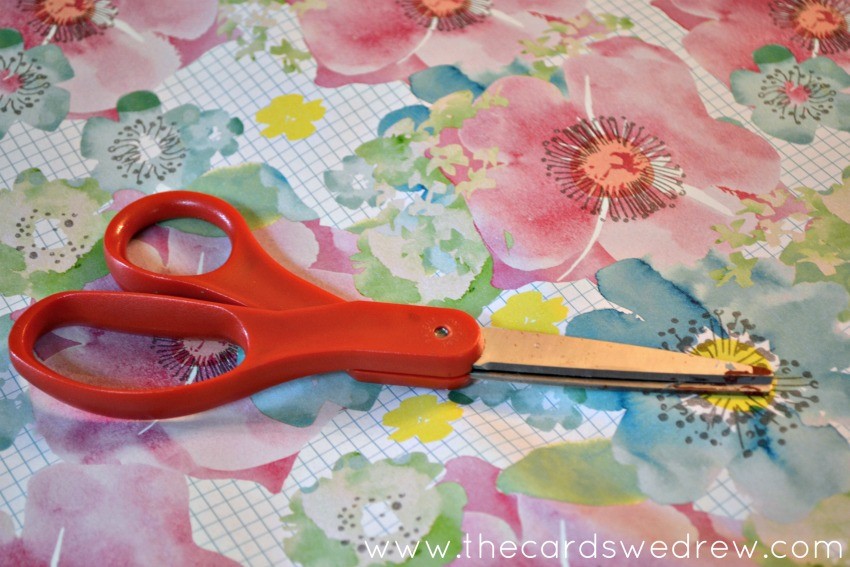
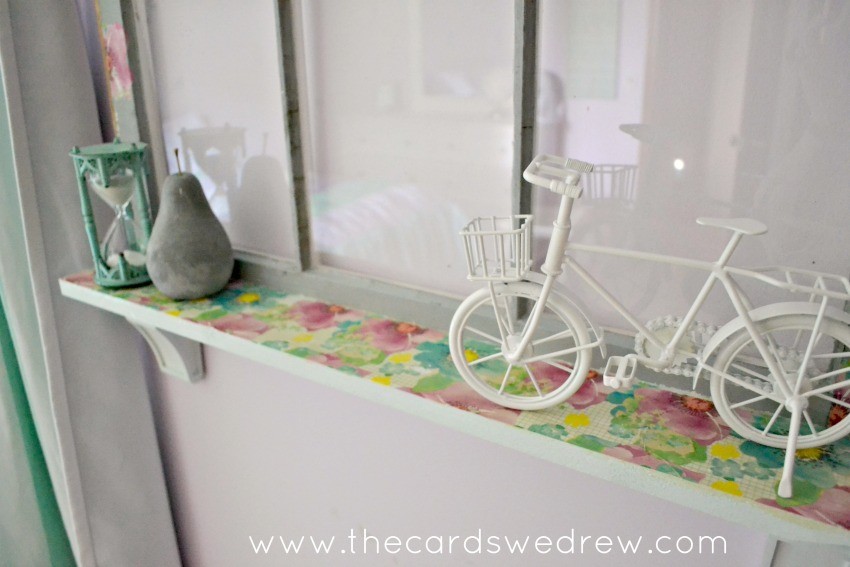
Using scissors, I carefully cut a piece of wrapping paper to fit the length of the top of the shelf. I then laid down a thick coating of antique Mod Podge on top of the shelf and quickly placed my paper over top of it, smoothing out the wrinkles as I went.
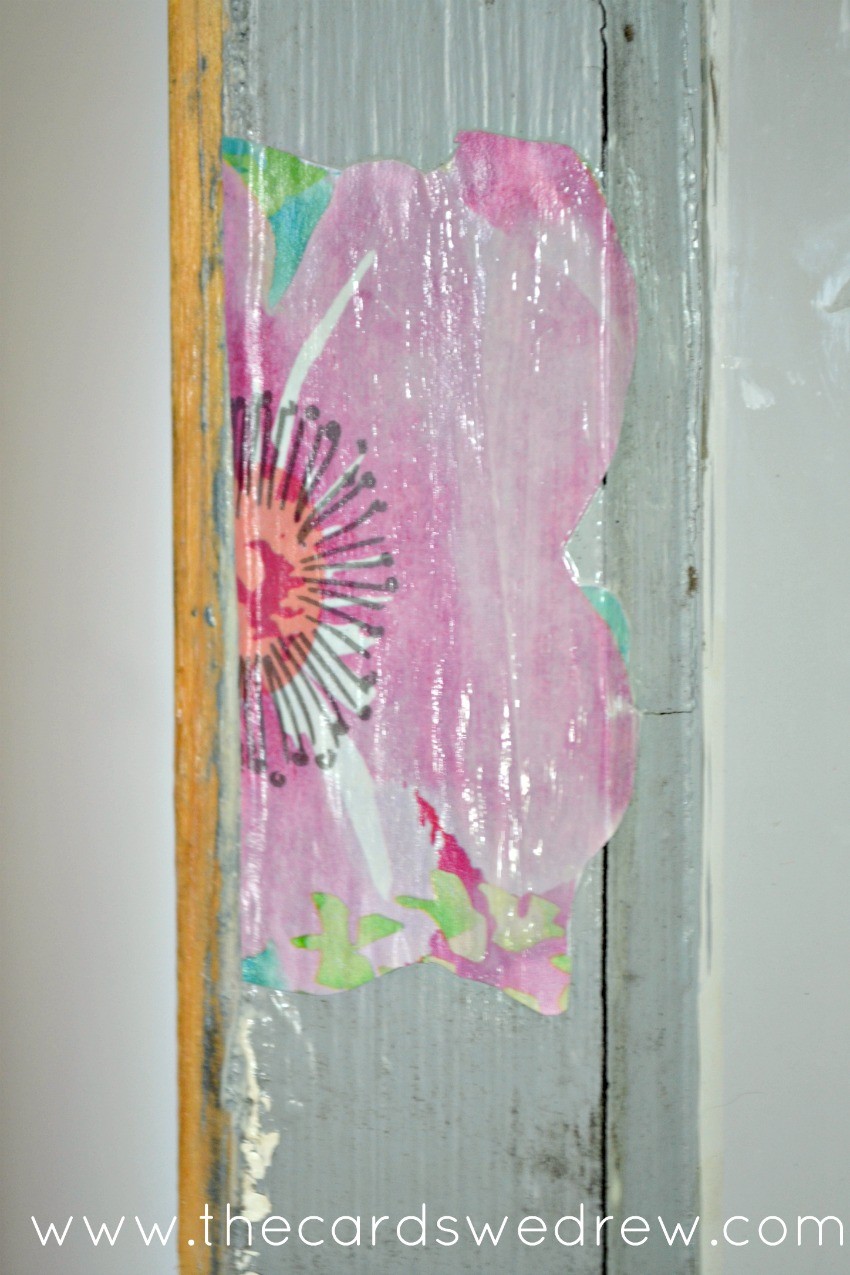
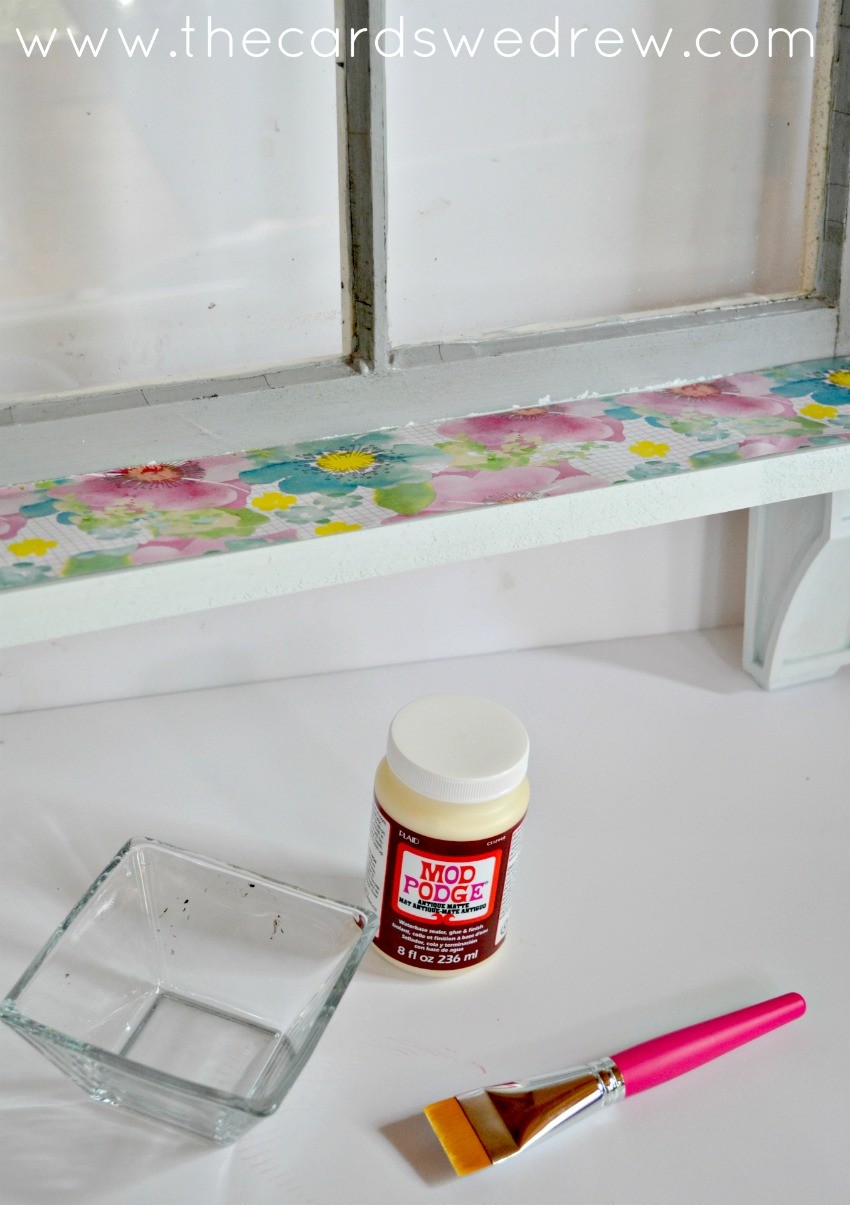 Once the wrinkles were out, I added a coat of Antique Mod Podge directly on top of the paper. I layered about 3-4 coats on top of the paper to make sure it stuck and to properly seal it. Next, I used my scissors to carefully cut out some of the individual flowers on the paper. I used these to spread on the actual window itself to pull together the pattern and really–it’s what made me love the project that much more!
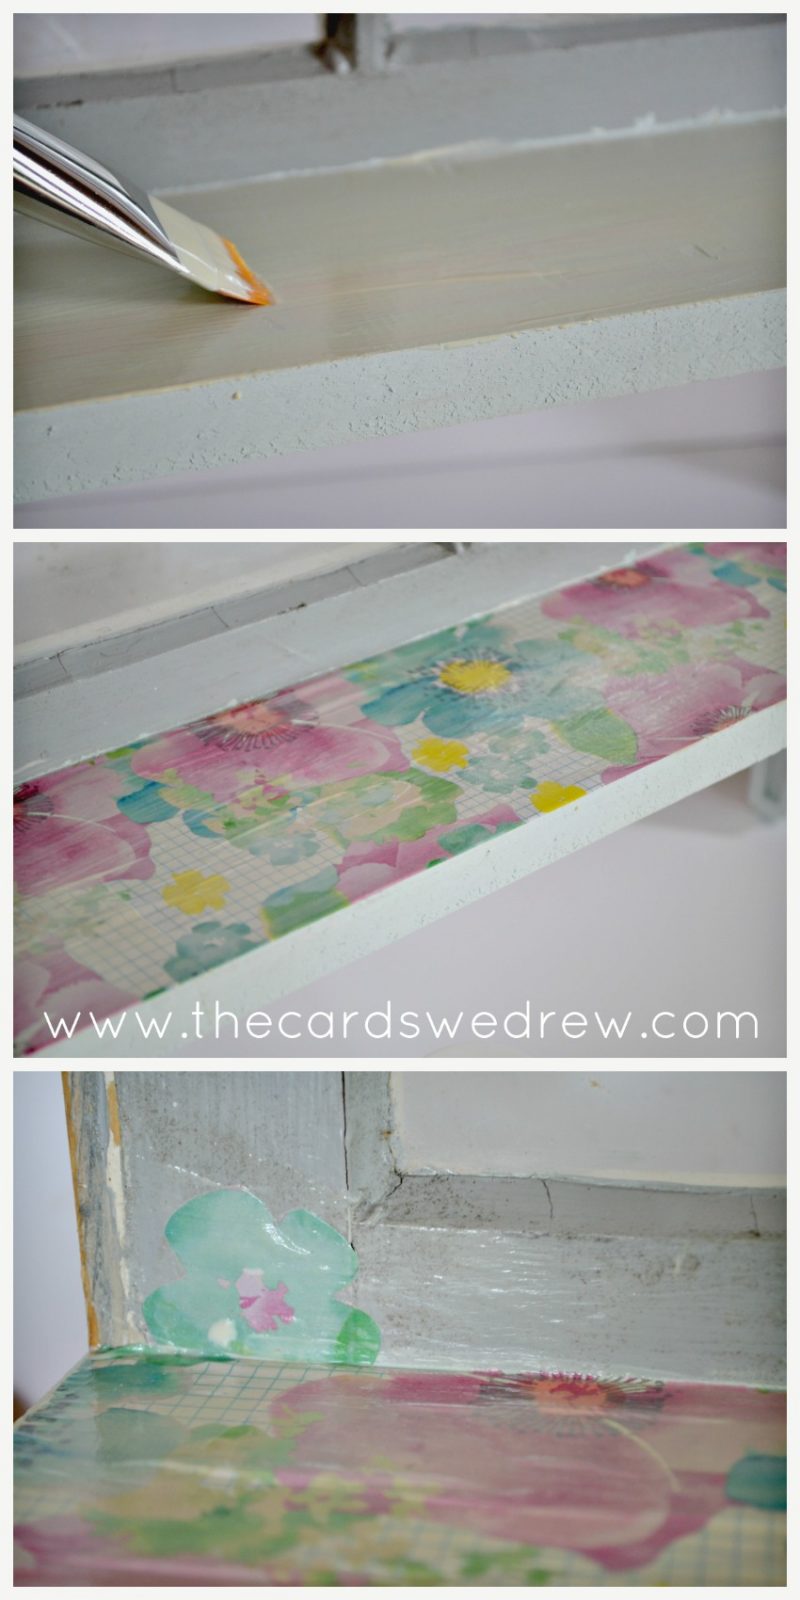 I just added Mod Podge directly to the back of the cutouts and then placed them carefully on the windows, adding antique Mod Podge over the top.
 Let it all dry, add some nick nacks to your shelf and then hang it on the wall. I can’t wait to change the window decor up for the seasons…add cute wreathes to it, snowflakes for the winter, pennants for the spring…so many options!!


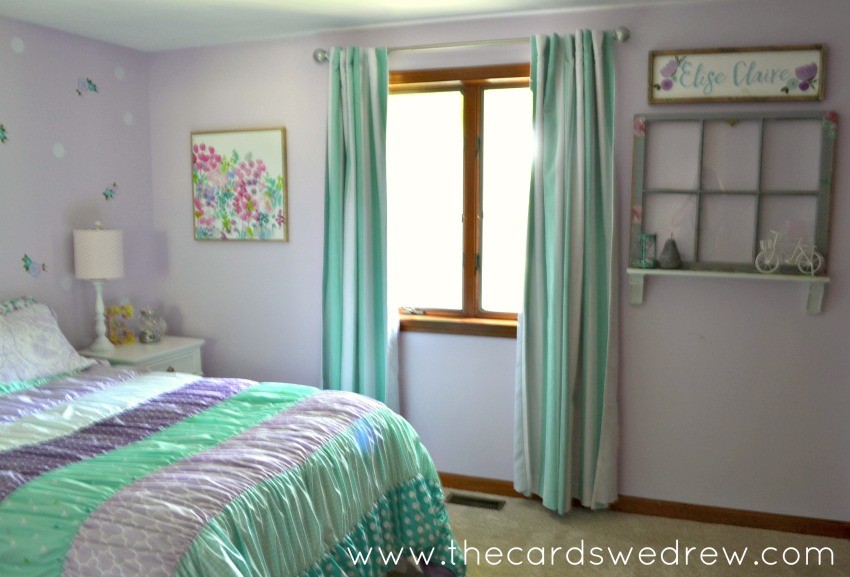
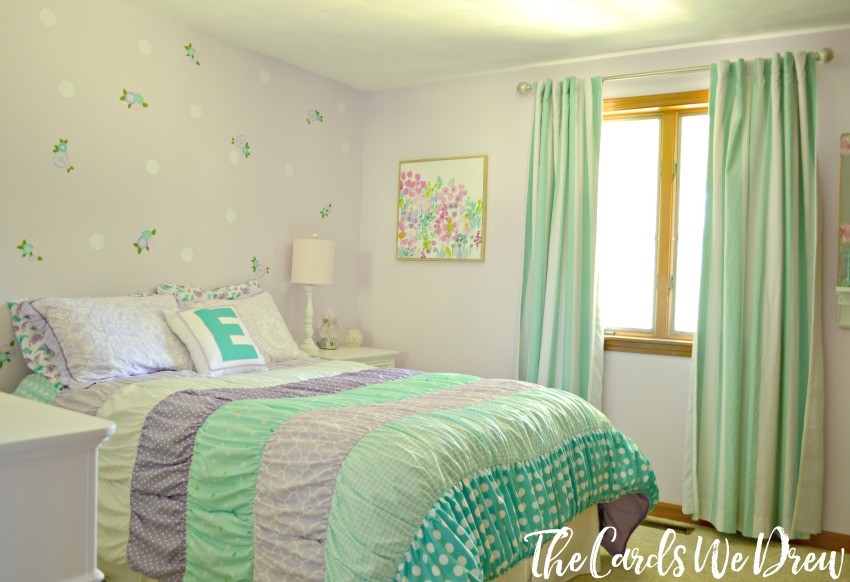
What do you think!? Here’s a little sneak peek of the room….
If you like this tutorial, be sure to pin the image below to save it.
Check out Plaid online on Facebook, Pinterest, and Instagram.

Be sure to check out the final reveal!


Great tutorial Abbey. I love the wrapping paper!
This is such a sweet idea for a girls room! I can’t wait to see how you “pretty-it-up” during the year 🙂
Seriously one of my Fav projects you have done 😀
This is so cute Abbey!! I love the way the window turned out and that floral paper is so pretty!!