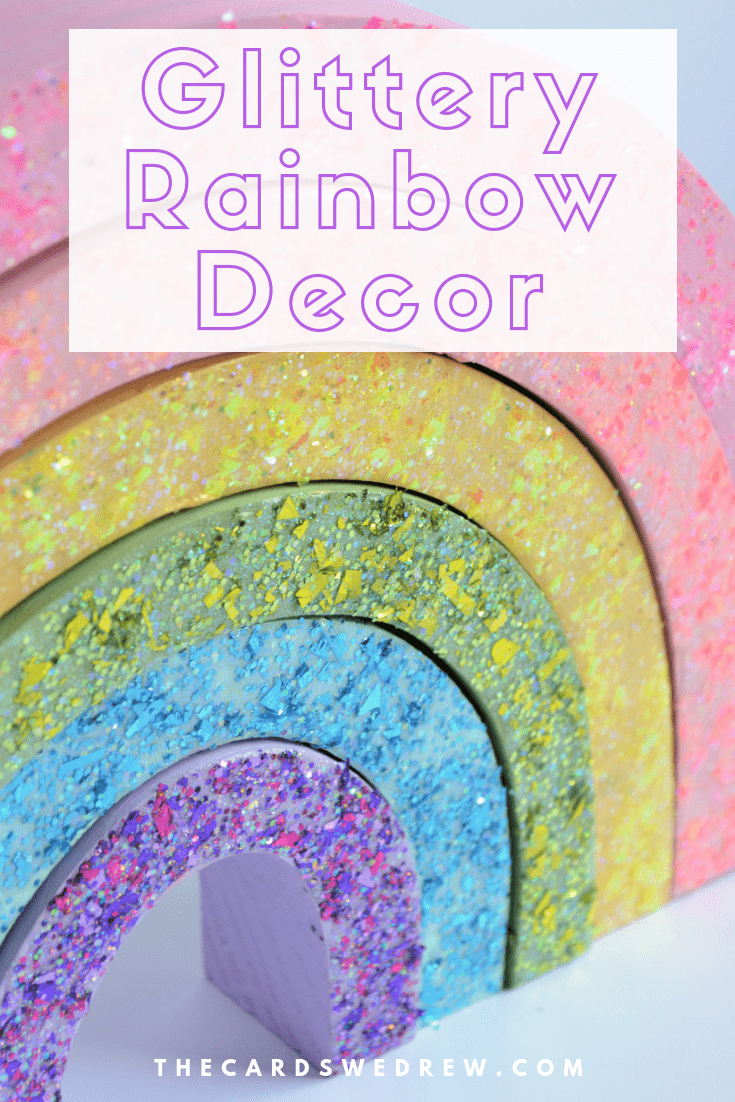
Glittery Rainbow
This post is sponsored by Plaid, all opinions are my own.
I have a little girly-girl in my house, so naturally we love ALL things rainbow and glitter. The more glitter, the better! But as we all know, glitter makes a terrific mess….or does it?? The makers of FolkArt products, Plaid Crafts, recently debuted a product that sets all you glitter-conservative moms at ease because you can now enjoy the glitter WITHOUT THE MESS. How is that even possible, you wonder? Enter FolkArt’s Glitterific. Let’s check out how to make this fun Glittery Rainbow decor for your home.

Glitterific Paint is everything the crafter in you always wanted and more…no mess, easy to clean up, and ALL THE GLITTER. Glitterific provides mesmerizing glittery coverage, but in a “gel-like” formula that’s easy to go on and stays clear. It’s ultra high-gloss finish makes it perfect for projects and you can use it on wood, metal, glass, canvas, decorative fabrics, as well as plastic. And it comes in such fun colors too….
So today I wanted to show you how to combine your kiddos’ love for glitter and rainbows with this cute little painted Glitterific Rainbow decoration I made for my daughter’s room. This cute little rainbow craft was fun for my daughter and I to paint together and of course, we could use ALL the glitter because I wasn’t stressed about finding it on my floor for the next 10 years to come!
What you need for this project:
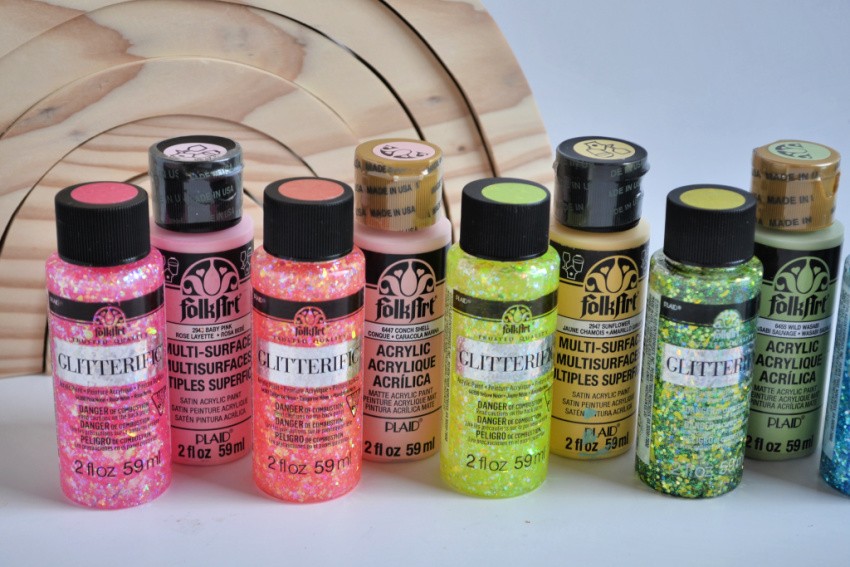
FolkArt Paints
Glitterific Paint
Paint Brushes
How to Make a Glittery Rainbow
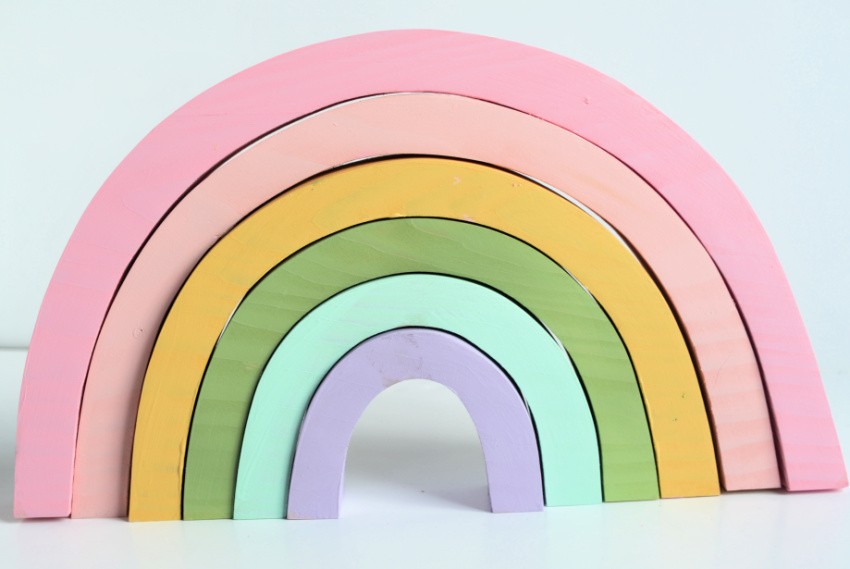
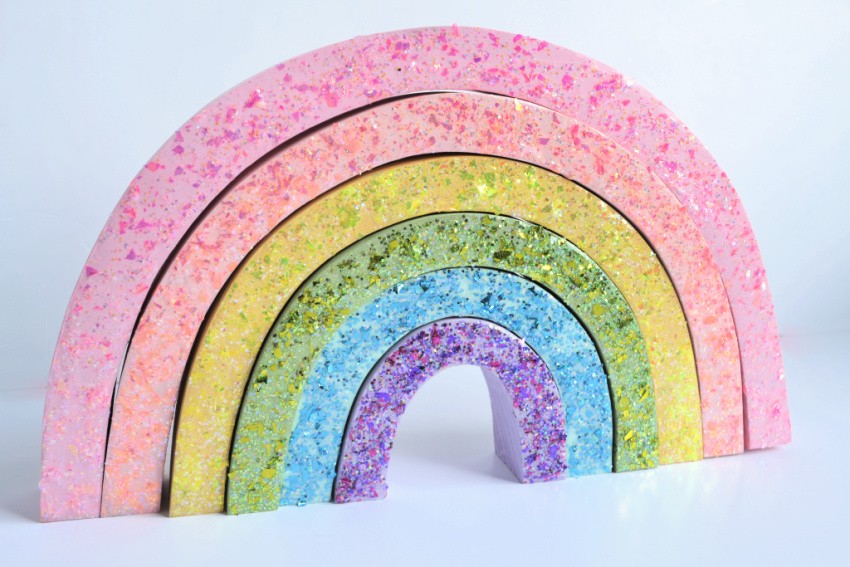
This is SO simple…basically, I started off by painting each level of my rainbow my chosen color. I went with pastels for this project because I wanted a really soft, glittery look for her room, but you could go with neons, primary colors, or any other fun rainbow color palette you desire.
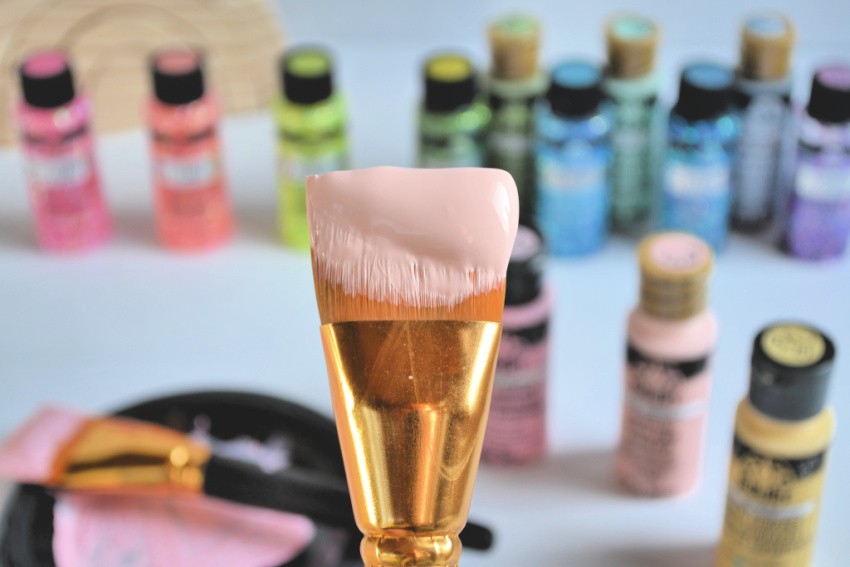
I painted each level of my rainbow with two coats of FolkArt paint and then let dry.
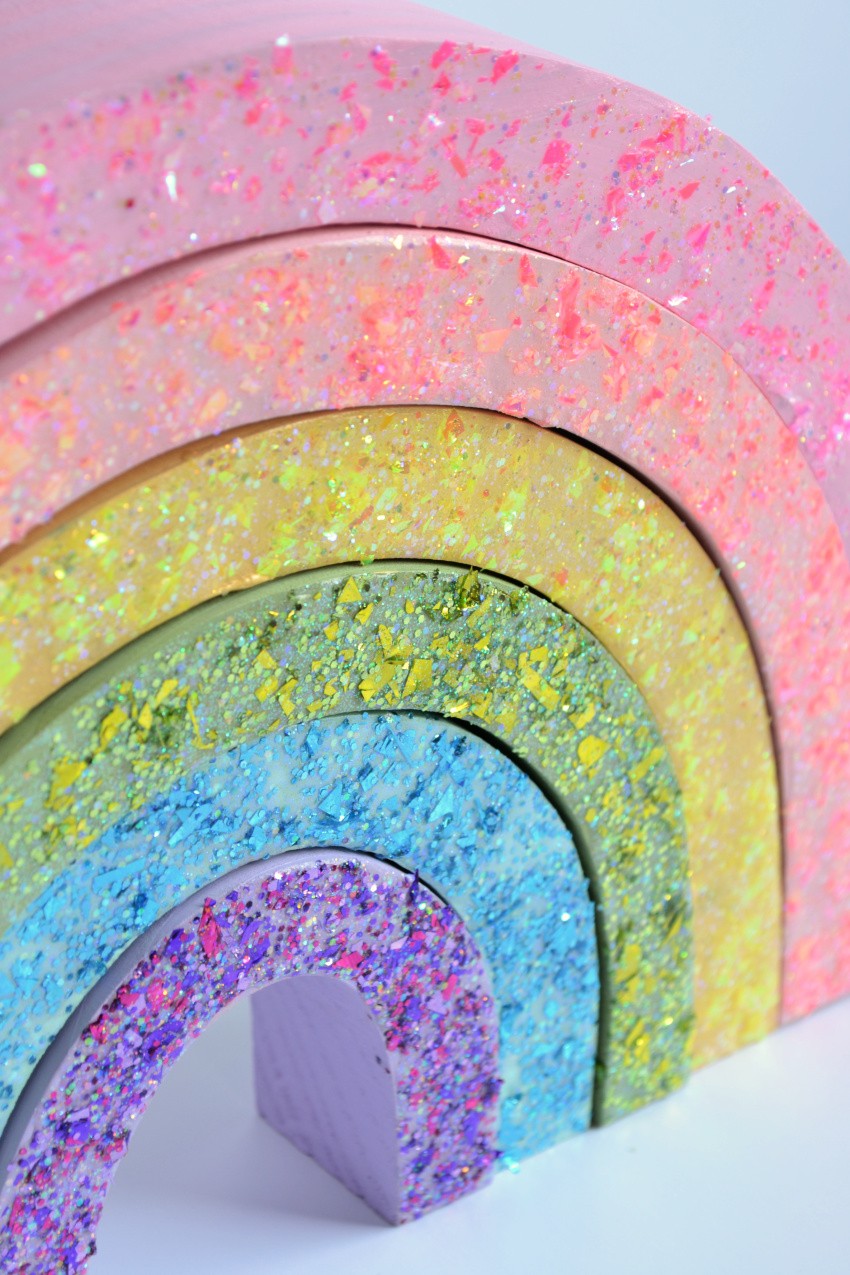
A few hours later I came back and added the corresponding glittery layer with my Glitterific paint on top. The nice thing about Glitterific is that you can really just “glob” it on and then use your paint brush to spread it around to get the desired amount of glitter you want. You can spread it thin for a sparse look or you can lay it on thick for the most glittery goodness.
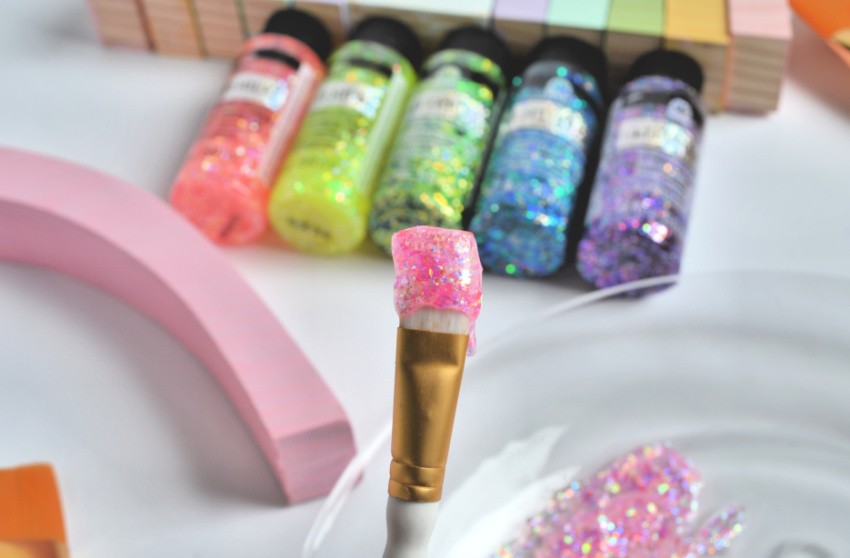
I think we all know that I’m the “lay it on thick” kind of girl with this project. Afterwards, just let it dry and then admire your creation!

I think this would make the CUTEST nursery decor…you could put it in a basket with a big fluffy white “cloud-like” blanket and some other rainbow themed toys. It’s also fun because it can double as a puzzle as the kids get older too!

I hope you enjoyed this sparkling post…I know this is definitely not the last time that we break out the Glitterific for a little crafting fun!!
Pin it for later…