Easy Way to Clean a Keurig Coffee Maker
Easy Way to Clean a Keurig
Whether you love or hate the Keurig Coffee Maker, it’s still one of my favorite and most used appliances in my house. I am the lone coffee drinker in my house and I love the convenience and taste of Keurig coffee. One thing that’s frustrating with a Keurig coffee machine though is how to clean it! You’ve all heard the stories about the bacteria that builds up in the Keurig and how to descale a Keurig on a regular basis, but I have the easy way to clean a Keurig Coffee Machine without any chemicals!! Therefore, I’ll show you how to get rid of that mineral buildup (ugh, limescale!) quickly – a perfect spring cleaning job with no outside cleaning solutions! Just plain water and white vinegar!
Let’s start with the basics on how to clean your Keurig Coffee Maker.
Table of Contents
What you need for the easy way to clean a Keurig
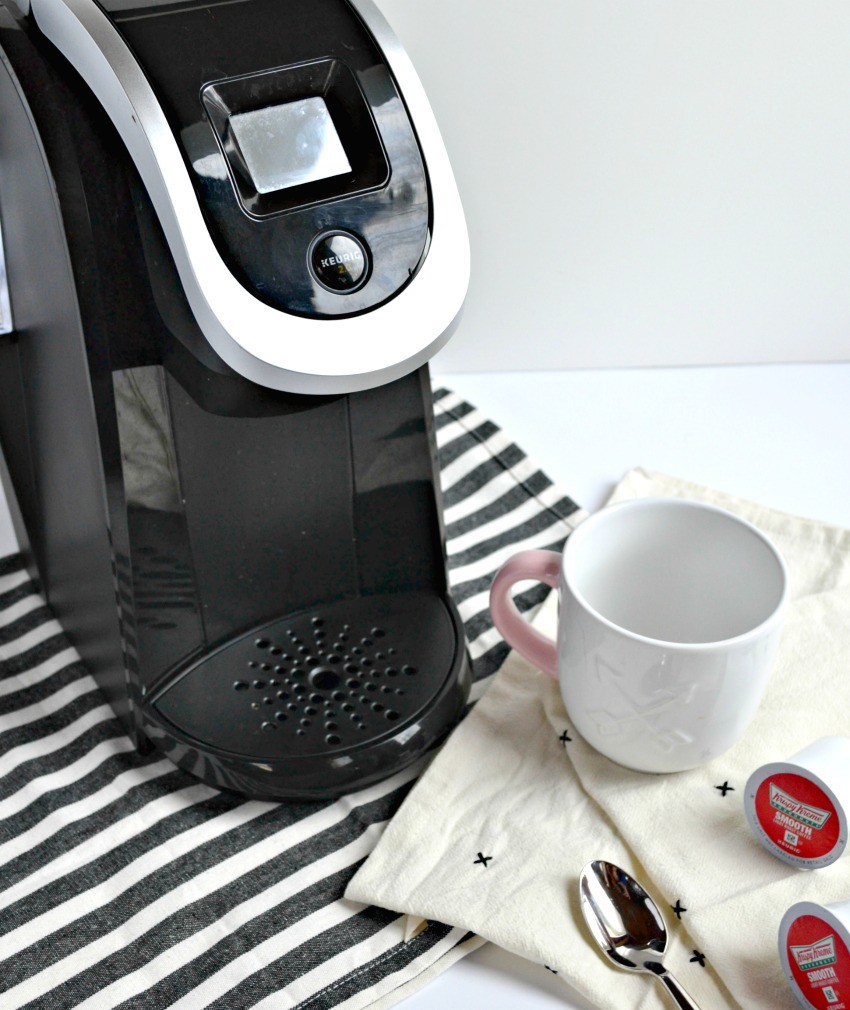
Coffee Mug
Damp Cloth – preferably a microfiber cloth
Dry Towel
White Vinegar
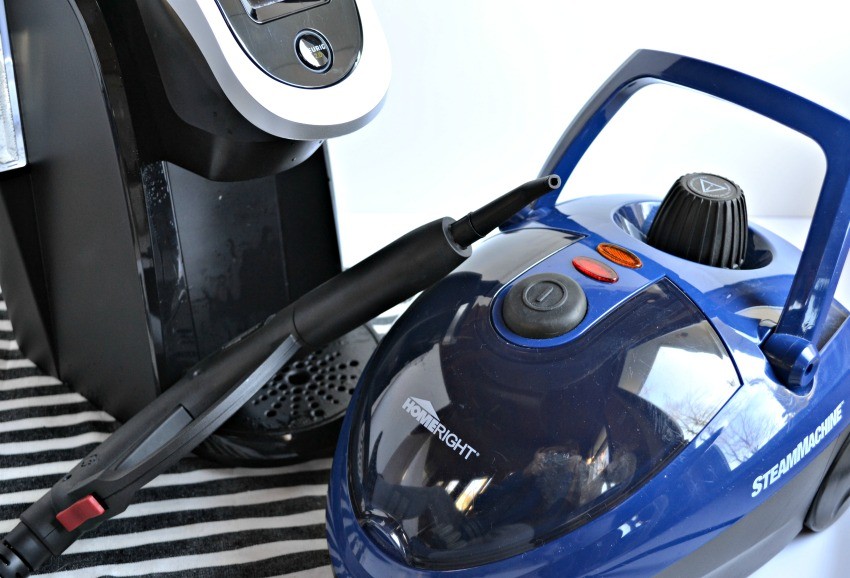
Steam Cleaner
Step One
Unplug your Keurig coffee machine and get a coffee mug, damp cloth, dry towel, and white vinegar.
Step Two.
Fill your Keurig water reservoir about half full with white vinegar and swish around the tank with the lid on. If you want to descale the Keurig, then white vinegar helps with this process. Add water to fill the rest of the reservoir up and then run the Keurig coffee maker on the brew cycle without the K-cup inserted. The Keurig will likely ask you if you want to dispense hot water, which is what you want.
*Repeat this process until all the water in the reservoir is used up.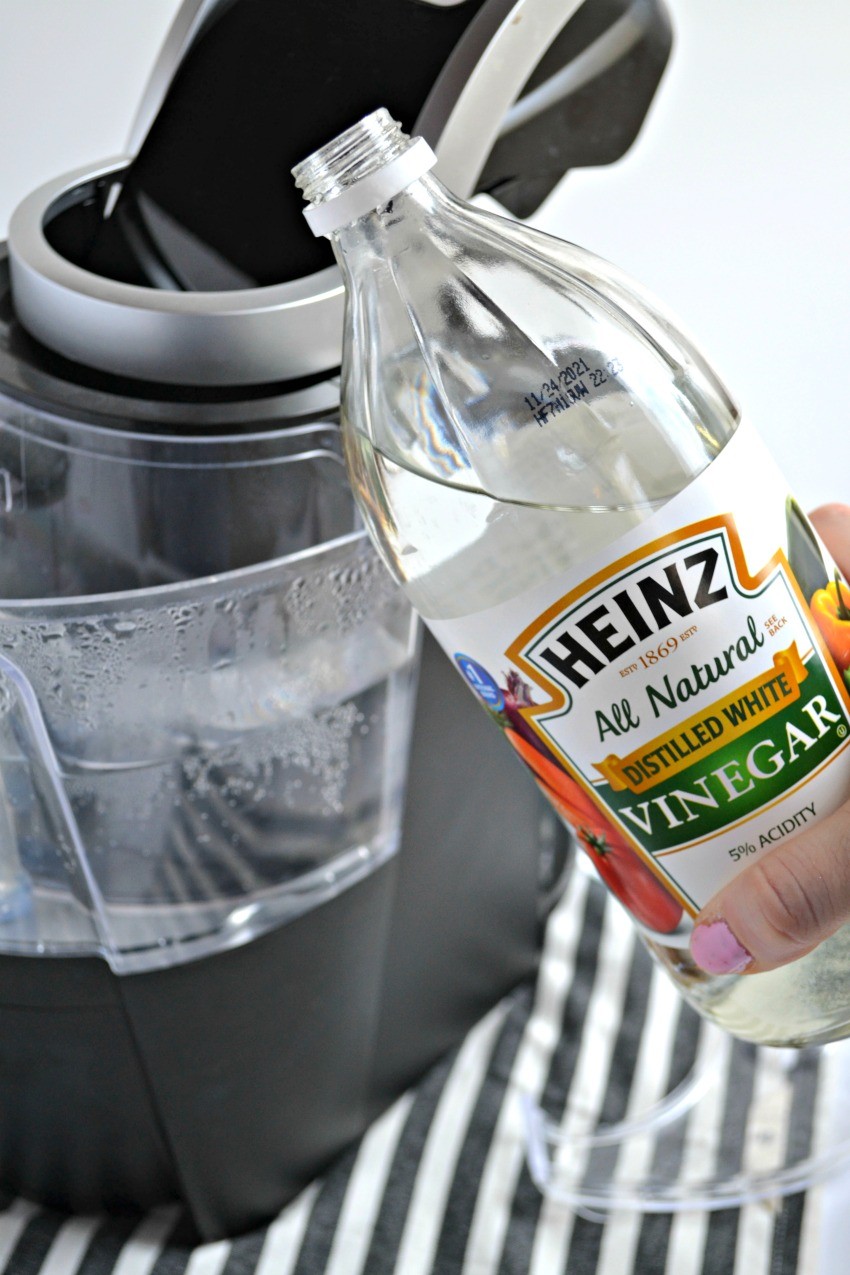
Step Three – easy way to clean a keurig!
Fill the water reservoir up completely with fresh water again and repeat the process of running hot water through the tank. This helps flush out ALL the vinegar. If you don’t do this well, you’ll notice that your coffee creamer will curdle in your coffee the next time you make it (no bueno!). No one loves the Keurig when it clogs up like that!
*It’s recommended that you do this deep clean every 3-6 months with your Keurig.
Step Four.
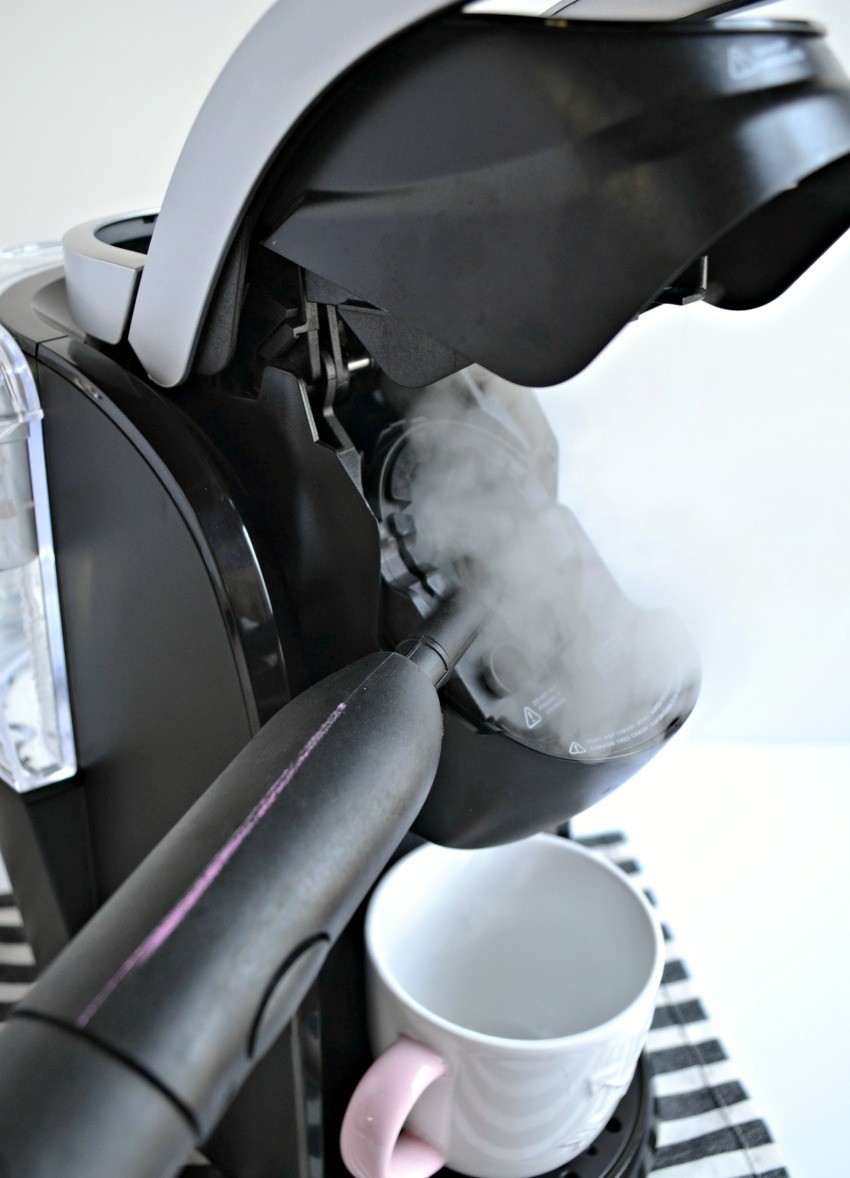
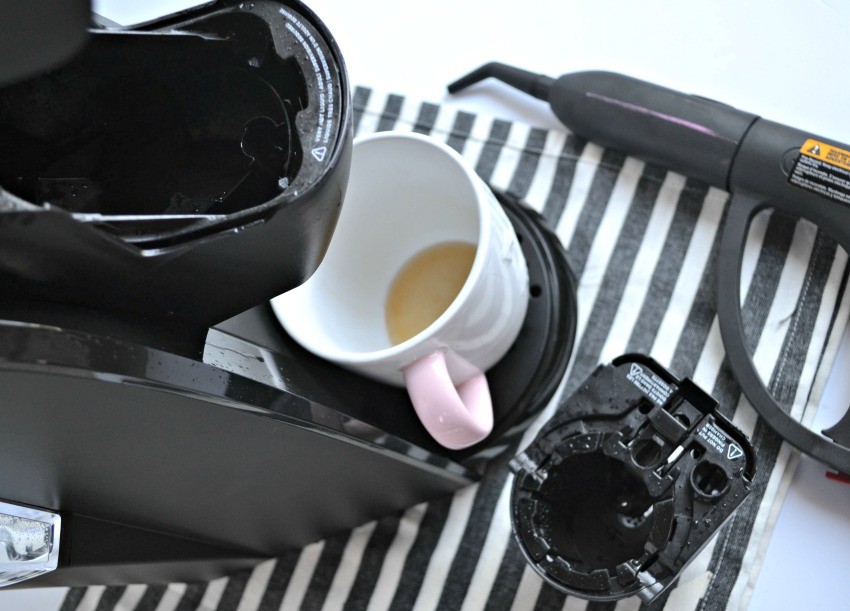
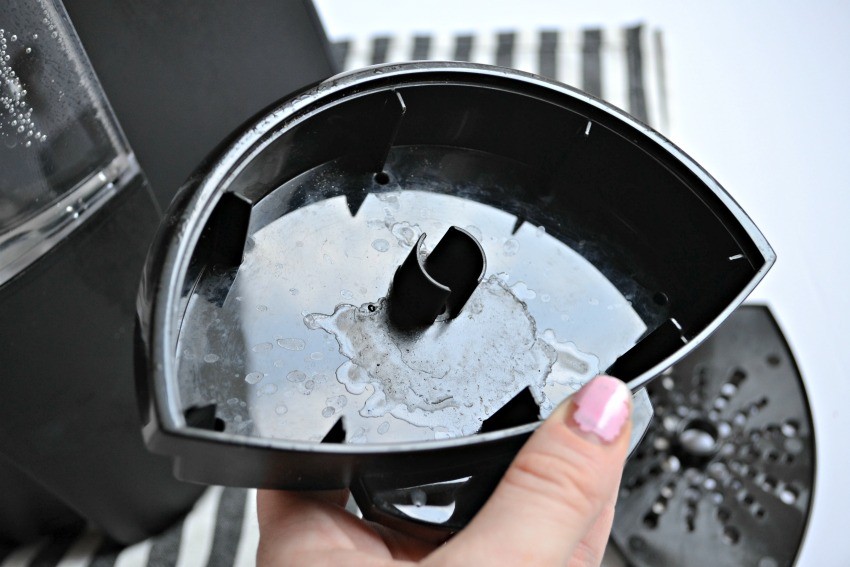
After your reservoir is nice, clean, and descaled, focus on taking apart the inner pieces where the K-cup holder goes (don’t you love all the removable parts?!). I like to use my Steam Machine’s smallest nozzle to get in there and steam clean the insides of that area. I place a coffee mug underneath to catch the fresh water and what falls out as a result was fairly gross. The Steam Machine kills 99% of germs within your Keurig just by using the power of STEAM! This is the chemical free way to clean a Keurig AND you can let the machine air dry after. We love a good cleansing brew!

Step Five.
Then wipe your Keurig down with a damp cloth on the outside and dry off thoroughly. Don’t forget to wash any parts that come off with warm, soapy water (this includes the base of the machine which catches the excess coffee! It’s the perfect place for MOLD to grow!), hence why we use warm water. Plus, you don’t want your Keurig carrying a vinegar taste after we’re done cleaning. So, make sure you’re rinsing well!
Step Six – truly, the easy way to clean a Keurig!
Finally, reassemble your machine and enjoy the peace of mind knowing that your Keurig is clean and chemical free. Doesn’t doing a deep clean feel so good!?
Don’t forget while you’re going through this process to check the status of your Keurig Water Filter to ensure that it doesn’t need replaced. You should be descaling the Keurig with this process every 3-6 months to ensure top quality performance and tasty coffee!
And bam! You’re back to enjoying your espresso and cup of coffee in no time! The EASY way to clean a Keurig is even easier than I bet you thought it would be – no need to buy supplies from Amazon here! So, let me know if you have any questions or Keurig Cleaning Tips in the comments! In addition, if anyone has used the Keurig descaling solution, I’d love to hear how it went!
See these other posts with more cleaning tips and tricks…
Love it? Pin it!


One Comment