


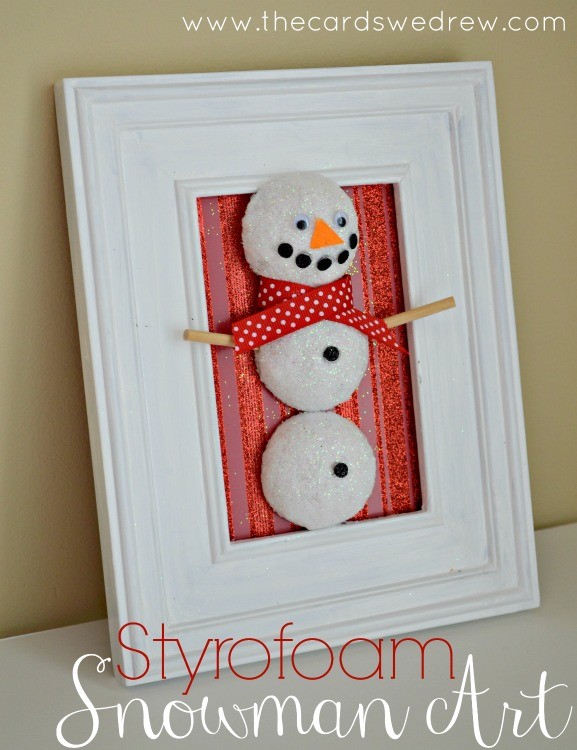
Are you guys like me? Still trying to get your home Christmas ready 10 days out?! I did a little Christmas crafting this weekend using FloraCraft Styrofoam and tools and had such a good time making ONE that I made a second to put out too! These days I have so much craft stuff and decor I can pretty much shop my house and craft room for what I need. So I came up with these cute 3D Christmas Tree and Snowman Art displays to go in my front hallway with my new Christmas stuff.
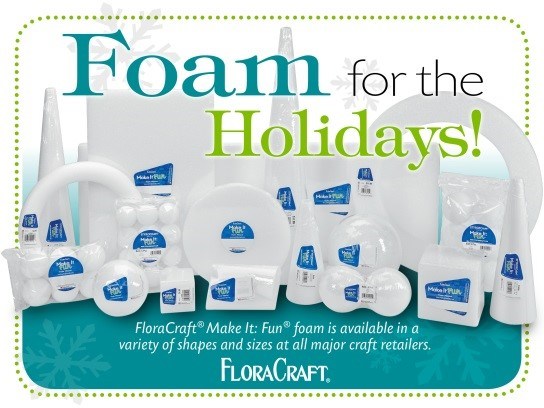
I was challenged by FloraCraft to come up with a holiday craft project using their Styrofoam. They sent me a box full of Styrofoam balls in various sizes and here’s what I came up with!
 The whole thing wasn’t hard at all to make…here’s what you need:
Supplies:
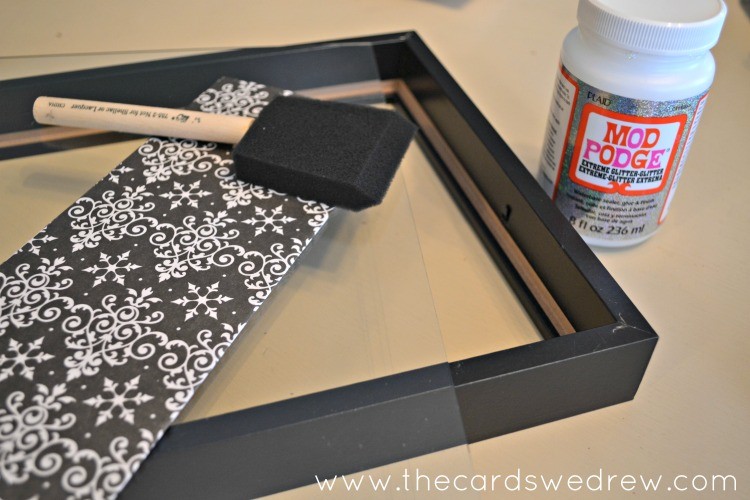
Old Picture Frames
Scrapbook paper
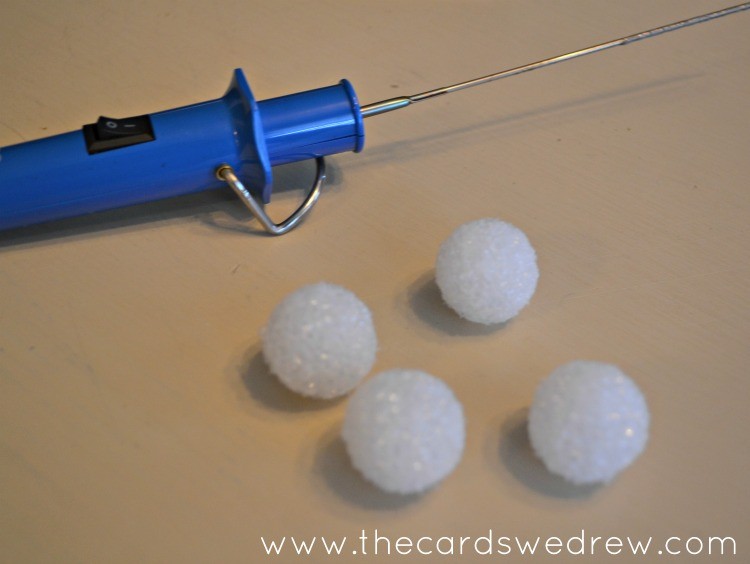
FloraCraft Styrofoam Balls in small and medium size
FloraCraft Foam Cutter or Knife
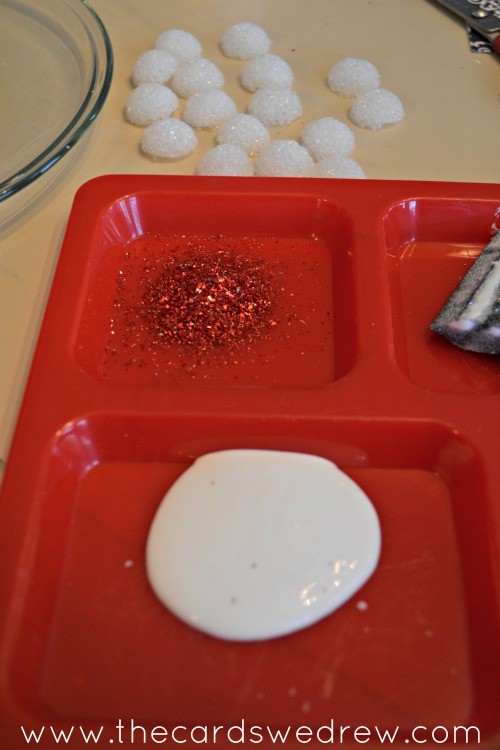
German Glass Glitter or regular Glitter
Mod Podge
Paint brush
Hot Glue
Decorations for your snowman
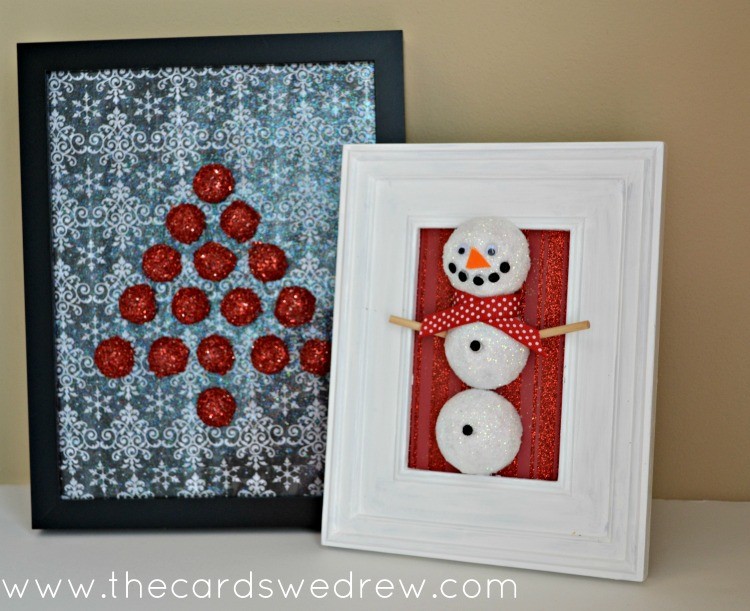
I made two frames, both were pretty much done the same way, except one has glass in the frame and the other does not.
1. Start by using a FloraCraft foam electric foam cutter or a knife to cut your Styrofoam balls in half. I used 8 small Styrofoam balls to create the Christmas tree and 1 1/2 medium foam balls for the snowman.
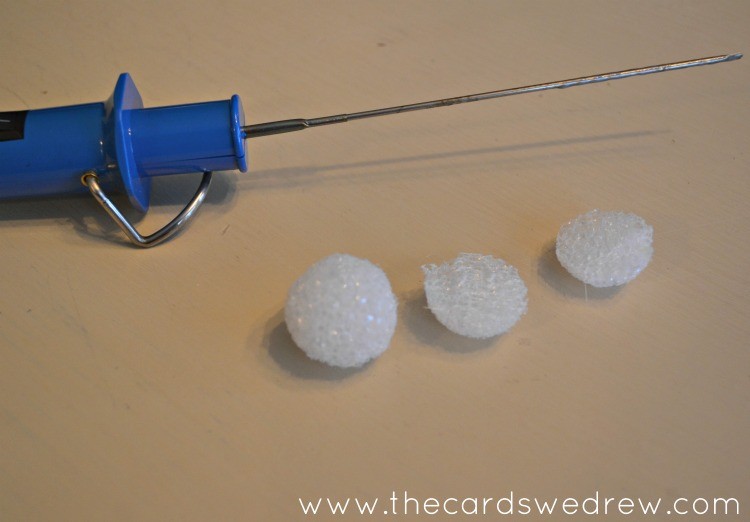
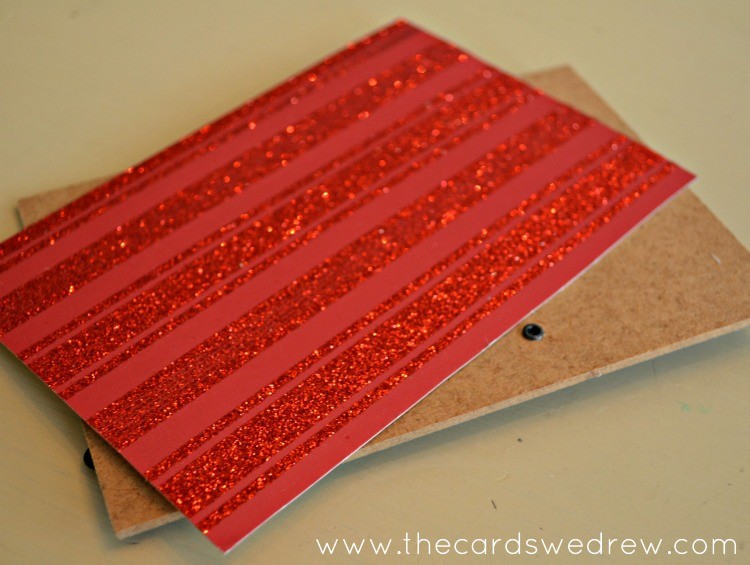
2. The foam cutter definitely makes things easier, but it’s not necessary for this project. From there, I started setting up my frames. I painted one of my older frames white for the snowman project. I used a black Ikea frame and used mod podge and paper to apply a background to the glass for the Christmas tree project.
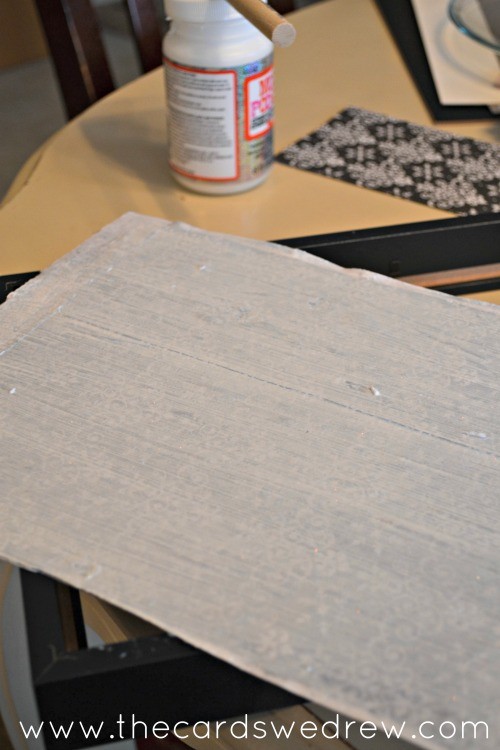
3. White the mod podge dried on the glass and the paint dried on my white frame, I started preparing my foam balls for the German glass glitter. I chose glass glitter because it’s thicker and not as fine as regular glitter from the store, but I had to buy it off Etsy. So if you want to just use regular glitter, it will still look just as pretty.
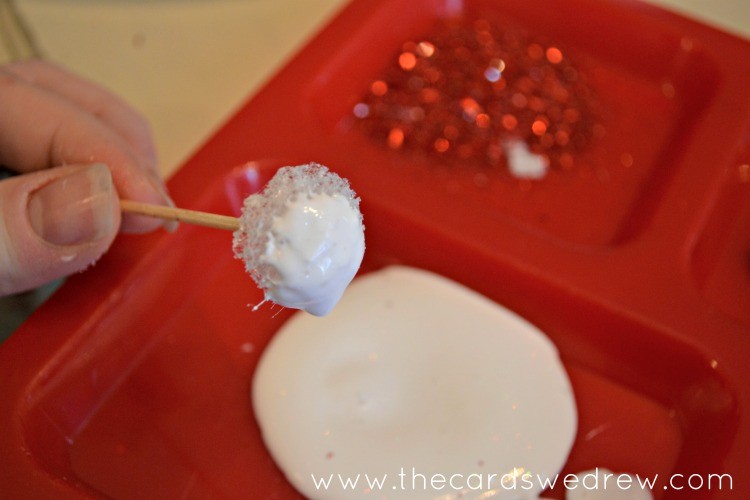
I dipped the halves of the Styrofoam balls into mod podge using a toothpick and then dipped them in the glitter and set aside to dry.
4. Allow the foam to dry completely and then arrange them on your frames and hot glue down. For the white Snowman Frame, I used a piece of scrapbook paper and put it in my frame before I hot glued the snowman into the frame.
5. I created a simple Christmas tree by placing one ball at the top and adding one more to each layer and hot gluing the whole thing together. For the snowman I hot glued the three foam balls down and then used some ribbon and eyes to create the whole snowman. Because I used glitter mod podge, the Christmas tree art has a pretty shimmer to the whole thing.
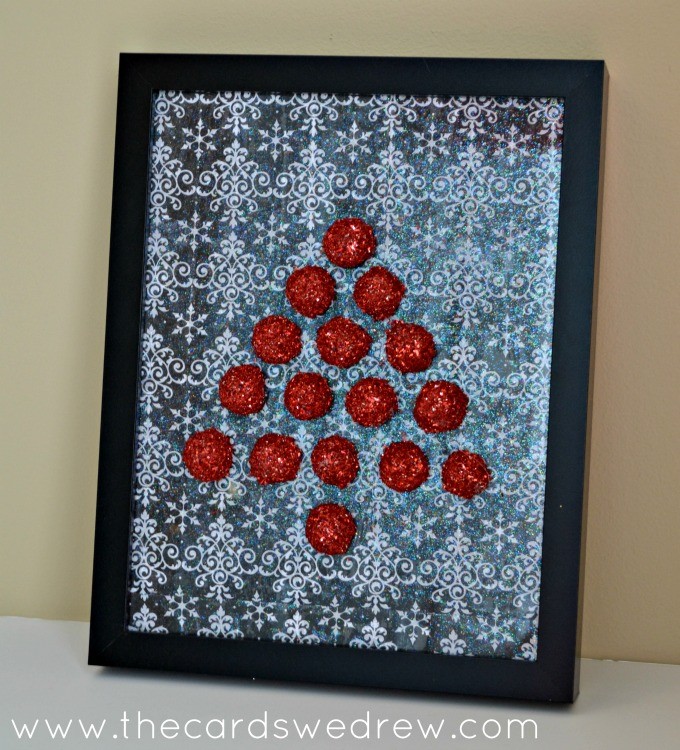
I really love how these came out and they look really nice and fun with my Christmas decor. You can customize your own art to match your decor and mix up colors or use larger or smaller frames…the possibilities are endless. And these would be fun gifts to make with your kids for other family members, as well!
FloraCraft sponsored this project, but all ideas, thoughts, and opinions are 100% my own.


So cute! And the glitter tree is really pretty. The kids would love to make their own snowman picture, don’t you think? Pinning!