


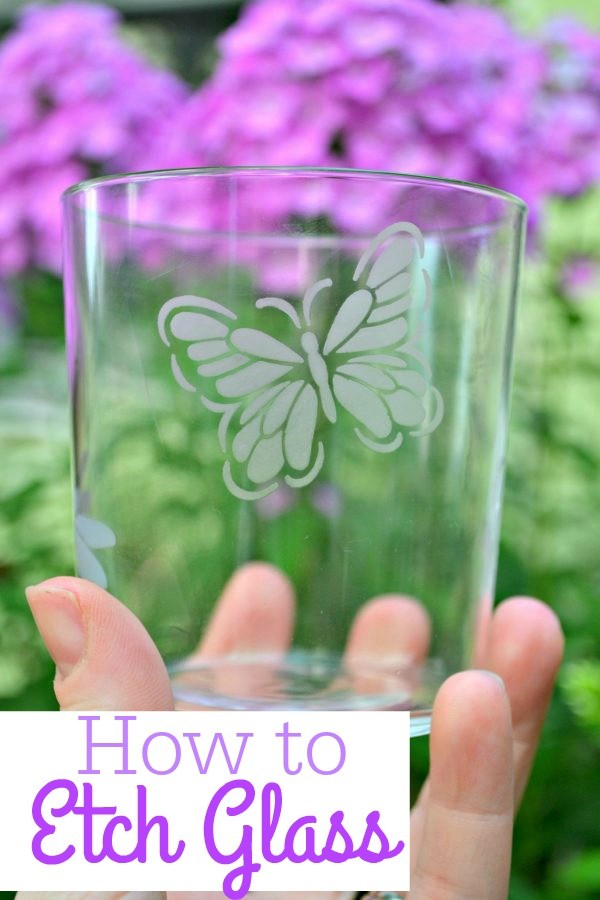
Have you guys ever wanted to try a crafting project before, but don’t know where to start? Afraid to try something because it seems too hard? Well, I promise you that this project will be something ALL of you can do and it’s one of my favorite crafts to do because it’s so versatile and so easy! Today let’s learn how to etch glass! Think about all your options for etched glass! You can etch windows like I did HERE or you can make personalized gifts. You can even make items like Christmas ornaments! There’s a million different uses. Let’s see how easy it is to etch glass…
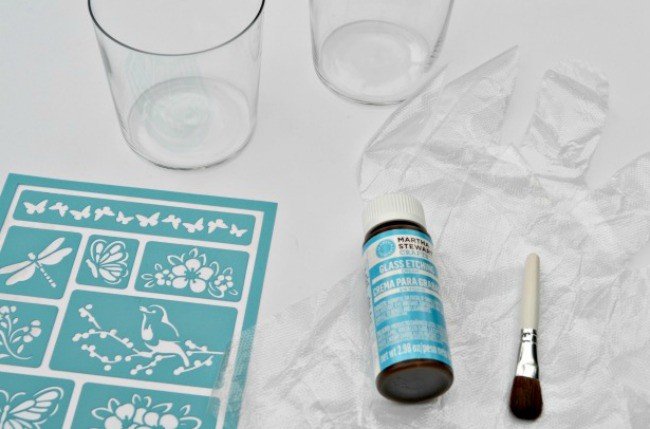
Here’s what you need:
Etching brush (or regular paint brush)
Gloves
Stencil of choice
Glass
How to:
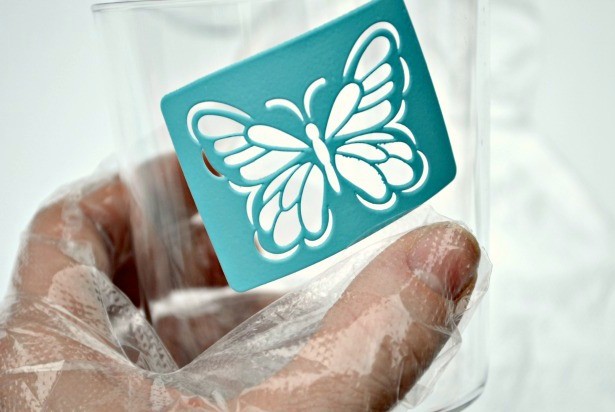
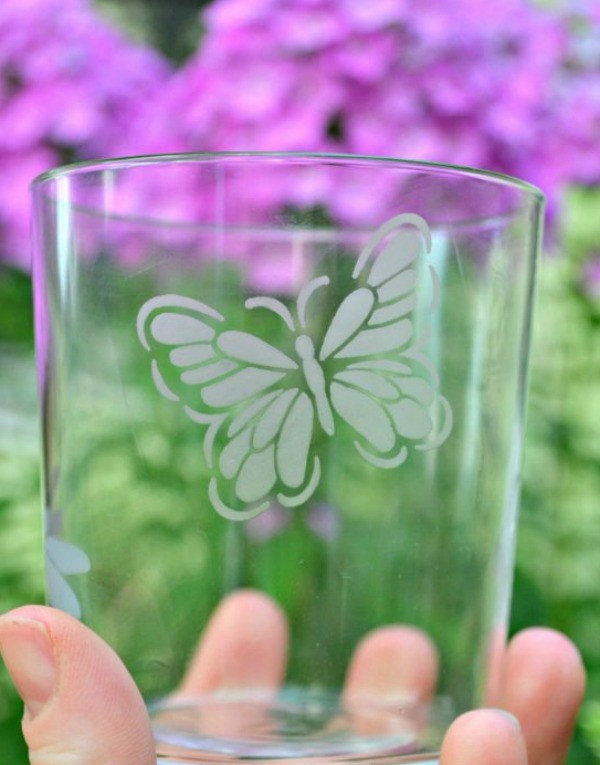
Start by washing your glass(es) thoroughly and choosing the stencils of your choice. If you don’t want to use a stencil, you can use tape and tape off geometric designs on your glasses, which is another really fun option.
After your glasses are washed, apply your stencils to the glass and be sure they are secure. For extra protection, add tape around the edges if you want to ensure that you don’t get etching cream on the glass. Remember, anything the cream touches on the glass will be etched.
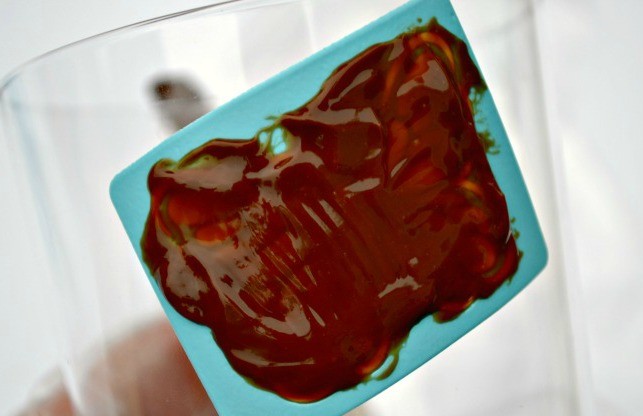
Next, apply a thick coating of etching cream over the stencil and allow to sit for 15 minutes.
After 15 minutes, carefully rinse away the cream, remove the stencil, and enjoy your creation!!!!
I like to get re-useable, peel and stick alphabet stencils and make water glasses for favors or for my guests when they stay over. Glasses are really inexpensive and you can take your etching cream and put it back in the bottle if you so choose and reuse the excess.


