New Mother Gift Idea {How to Use Cricut Infusible Ink}
This is a sponsored conversation written by me on behalf of Cricut. The opinions and text are all mine.
My friends recently had dinner with us and shortly after going out to dinner their new baby girl arrived and we couldn’t be happier for them. The new mom really loves to enjoy wine, so she was particularly excited for the baby to arrive so that she could enjoy her favorite Italian red again. Because I wanted to do something nice for her for when the baby came, I decided to fire up my old Cricut machine and make this New Mother Gift Idea featuring How to Use Cricut Infusible Ink, now available at Michaels! My friend Cori at Hey Let’s Make Stuff gives an EXCELLENT overview of what Cricut Infusible Ink is and I learned so much from her site about how to use it appropriately, but I’ll also give you a quick run down about what I know…
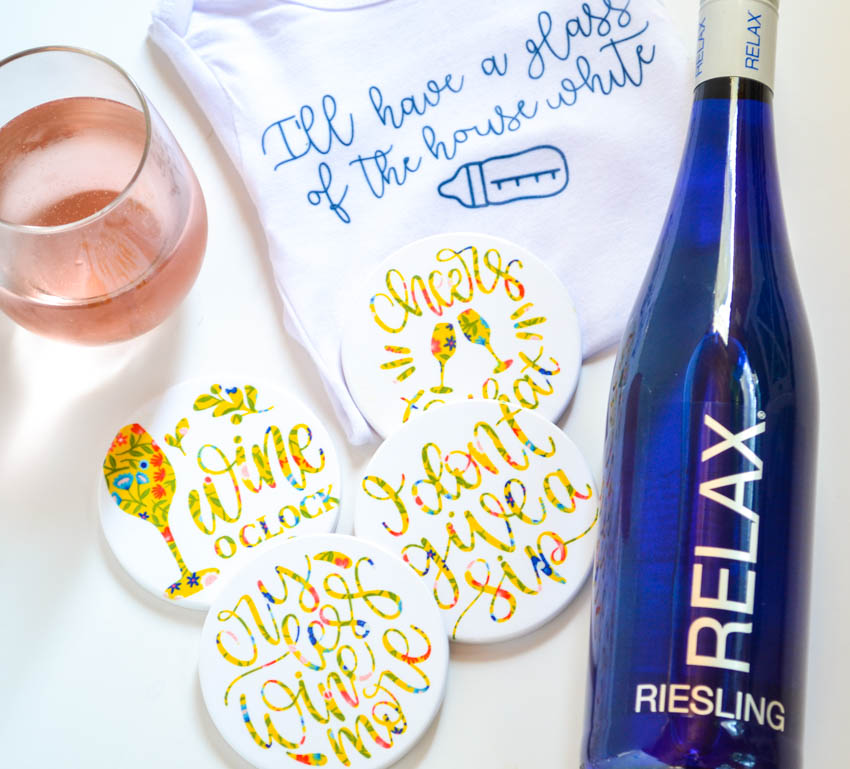
Table of Contents
What is Cricut Infusible Ink? And why should you love it?
Infusible Ink is really unique because, unlike iron on vinyl, it is an ink transfer material that allows you to transfer the designs you love DIRECTLY onto the fabric or Infusible Ink medium of your choice. Here’s the key thing though…you have to use Infusible Ink Compatible Blanks bases such as shirts, tote bags, coasters and more….it won’t work on just any old shirt!
I love this product because unlike the issues we can sometimes have with vinyl lifting or peeling, infusible ink gets rid of all those problems! It’s peel-proof, flake-proof, and wash-proof! The vibrancy will last wash after wash. After you make your first item, I guarantee your friends will be going…”I can’t believe you made this!” because it looks professional and the ink seeps into the fabric to give it that professional, yet personalized look!
Cricut Infusible Products
Infusible Ink Transfer Sheets
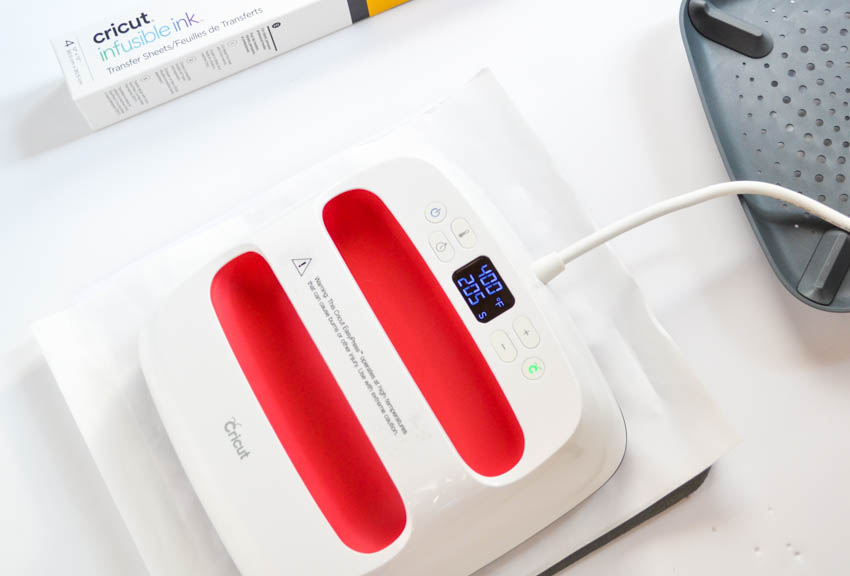
Cricut Infusible Ink transfers sheets come with dry ink on them and when heat is applied, the ink is transferred into the material you choose. No seams, no edges, no weight, no bulk. Nothing to distract you from your art. Every Infusible Ink project comes out perfectly smooth to the touch – and with the perfect touch of your creativity. You will need an EasyPress 2… its even heat plate, robust temperature range (up to 400°!), and portability make it the go-to heat companion for Infusible Ink. It’s advanced features ensure flawless Infusible Ink results every time.
The interesting thing about the Infusible Ink transfer sheets is that the colors on the sheet look very muted, but when applied to your base, like a shirt or coasters, the colors are bright and vibrant! Cricut has a number of Infusible Ink Transfer Sheets and designs to choose from including prints and solids.
Infusible Ink Bases
Again–Infusible Ink will ONLY work on an approved Cricut blanks. Right now they have baby onesies, kids and adult t-shirts, as well as tote bags and coasters.
Infusible Ink Pens
Cricut also sells Infusible Ink pens that allow you to make your own designs, however you need to remember that designs have to be reversed before putting them on your blank. So you will have to be careful about that if your intent is to hand-letter anything.
What type of Cricut do I need to use Infusible Ink?
The Cricut Maker, Cricut Explore Air, and Explore Air 2 will all work with Infusible Ink Transfer sheets and pens. Remember, you’ll also need the EasyPress 2 for any Infusible Ink projects. I personally own the Cricut Maker and I love the myriad of materials that it can cut and score, including of course Infusible Ink.
Ok–so I hope I have answered some basics about what Cricut Infusible Ink is and what it can do…now let’s see how to use it!
How to Use Cricut Infusible Ink
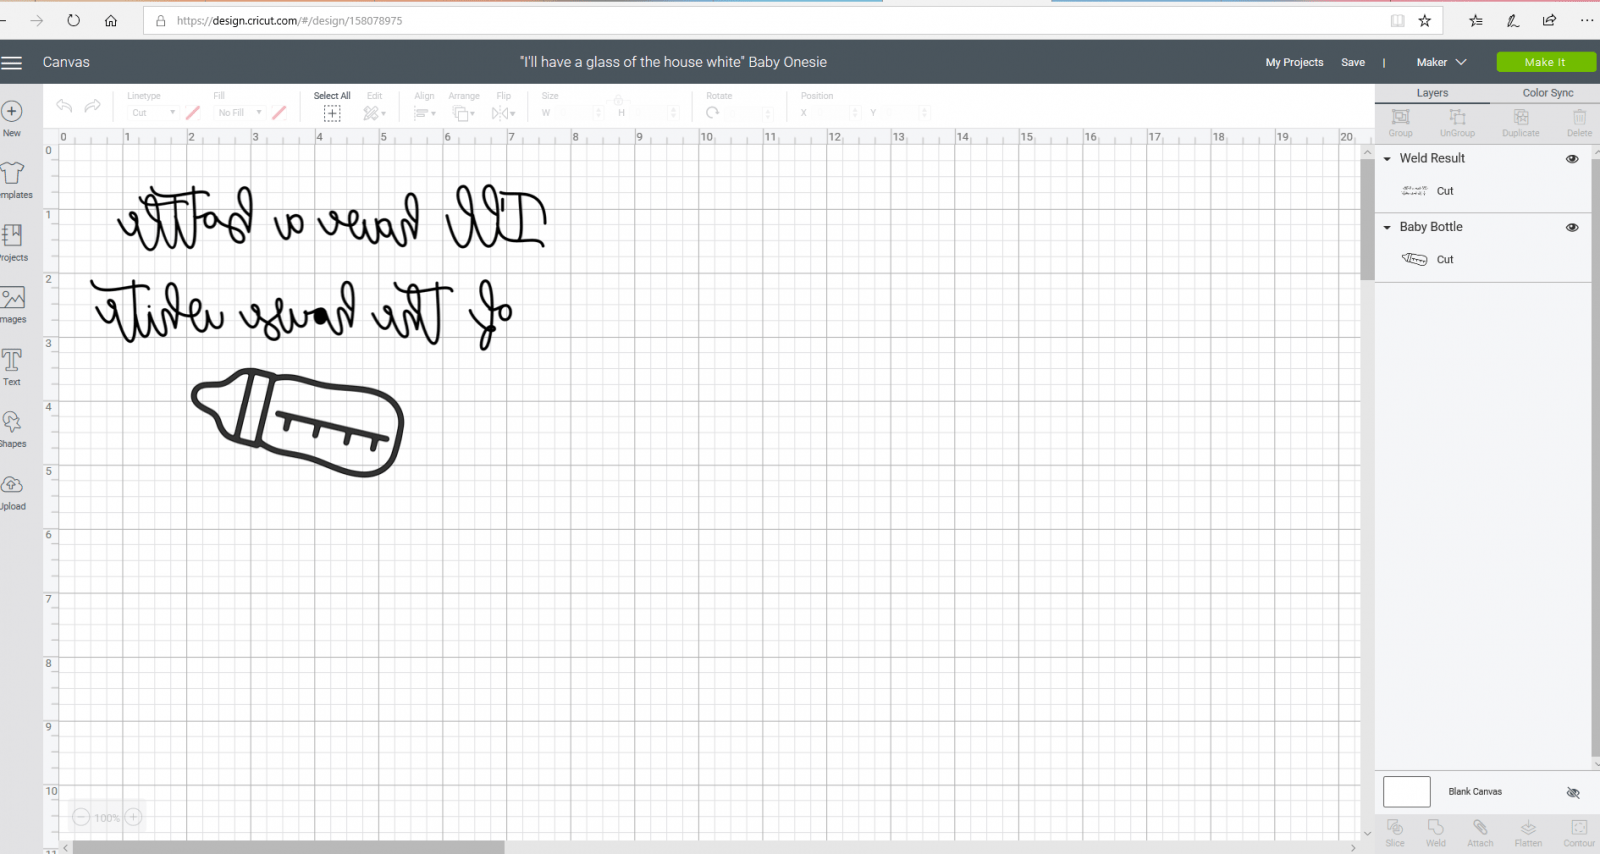
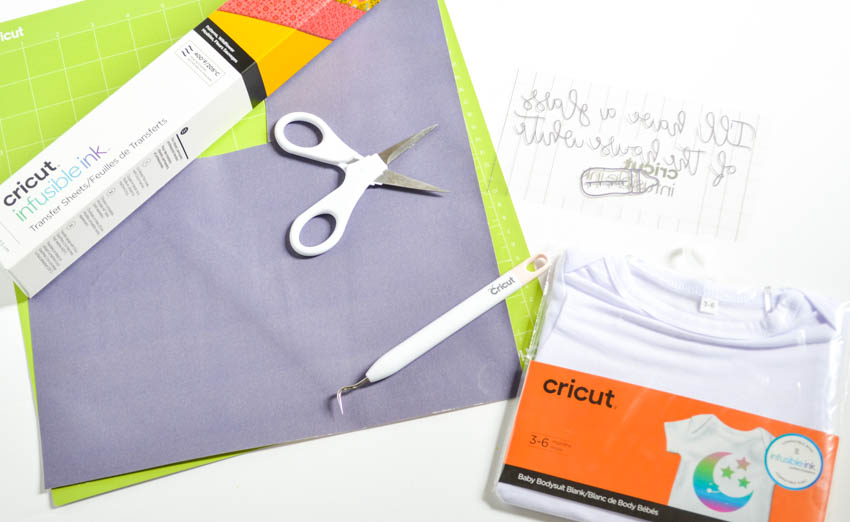
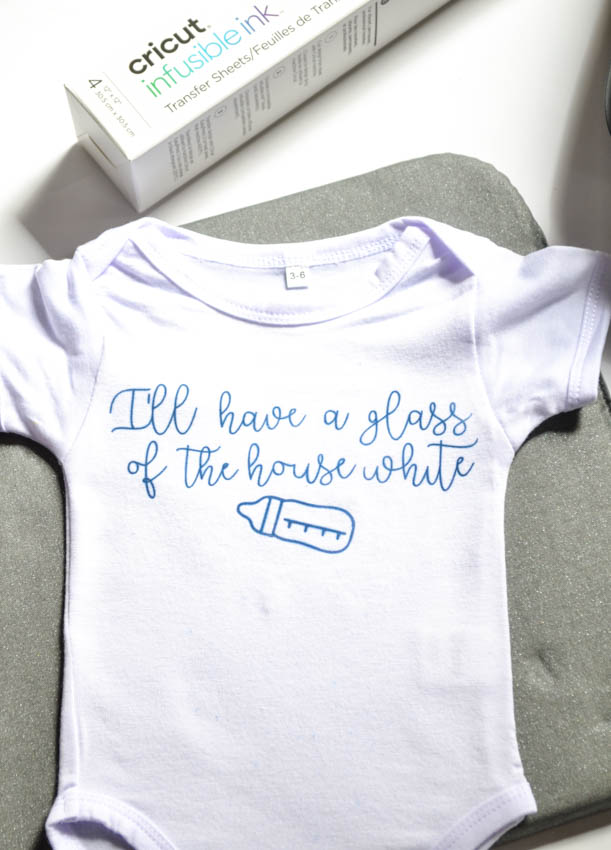
First of all, you’ll need to use Cricut Design Space to create your design. You can access my design HERE. For this project, I decided to make my friend a baby onesie that says,”I’ll have a glass of the house white” with a baby bottle on it and then for the new mom, I made cute Infusible Ink Wine Coasters and paired it with a bottle of wine. Let’s walk through how I made the onesie first.
First, download the design that I used by clicking here. In Design Space, you can edit it as desired, make it smaller, larger, etc. Once you’re ready to cut you hit “Make It” in the bottom right corner and you’ll be prompted to your cutting mat settings–make sure that you mirror your image before cutting or you’ll be disappointed when it comes out backwards on the blank! One thing that I STUPIDLY did on this project was when I fixed the wording, I put in “glass” instead of “bottle”, so I corrected the verbiage on the template in Cricut–sorry about that, apparently I had a glass of house white wine on the brain!
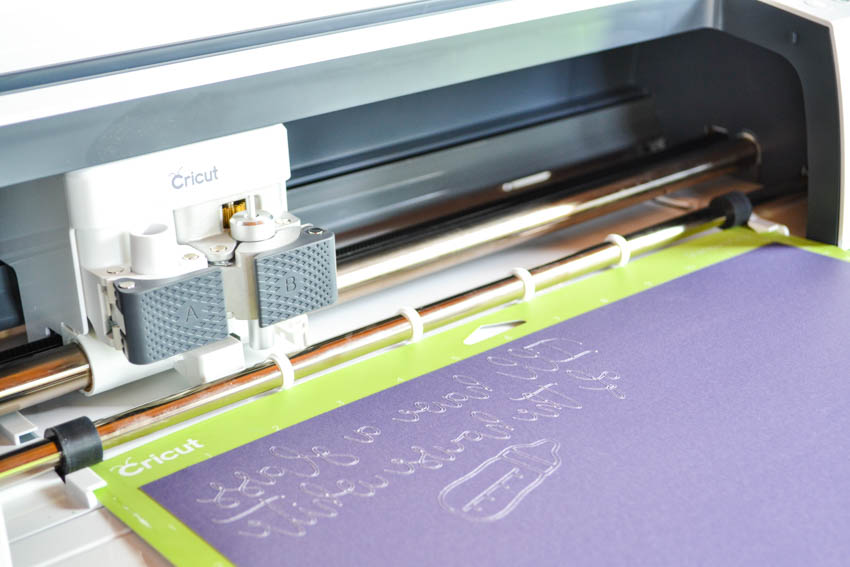
When you’re ready to cut, place the infusible ink on the green mat ink side up and feed into the Cricut and hit start. It cuts seamlessly and in no time at all.
Once cutting is complete, you can start weeding. I found weeding the image very easy with Infusible Ink transfer sheets. I used my weeding tool to hold down some of the words, because I chose a very thin font, but I was mostly able to weed with my hands.
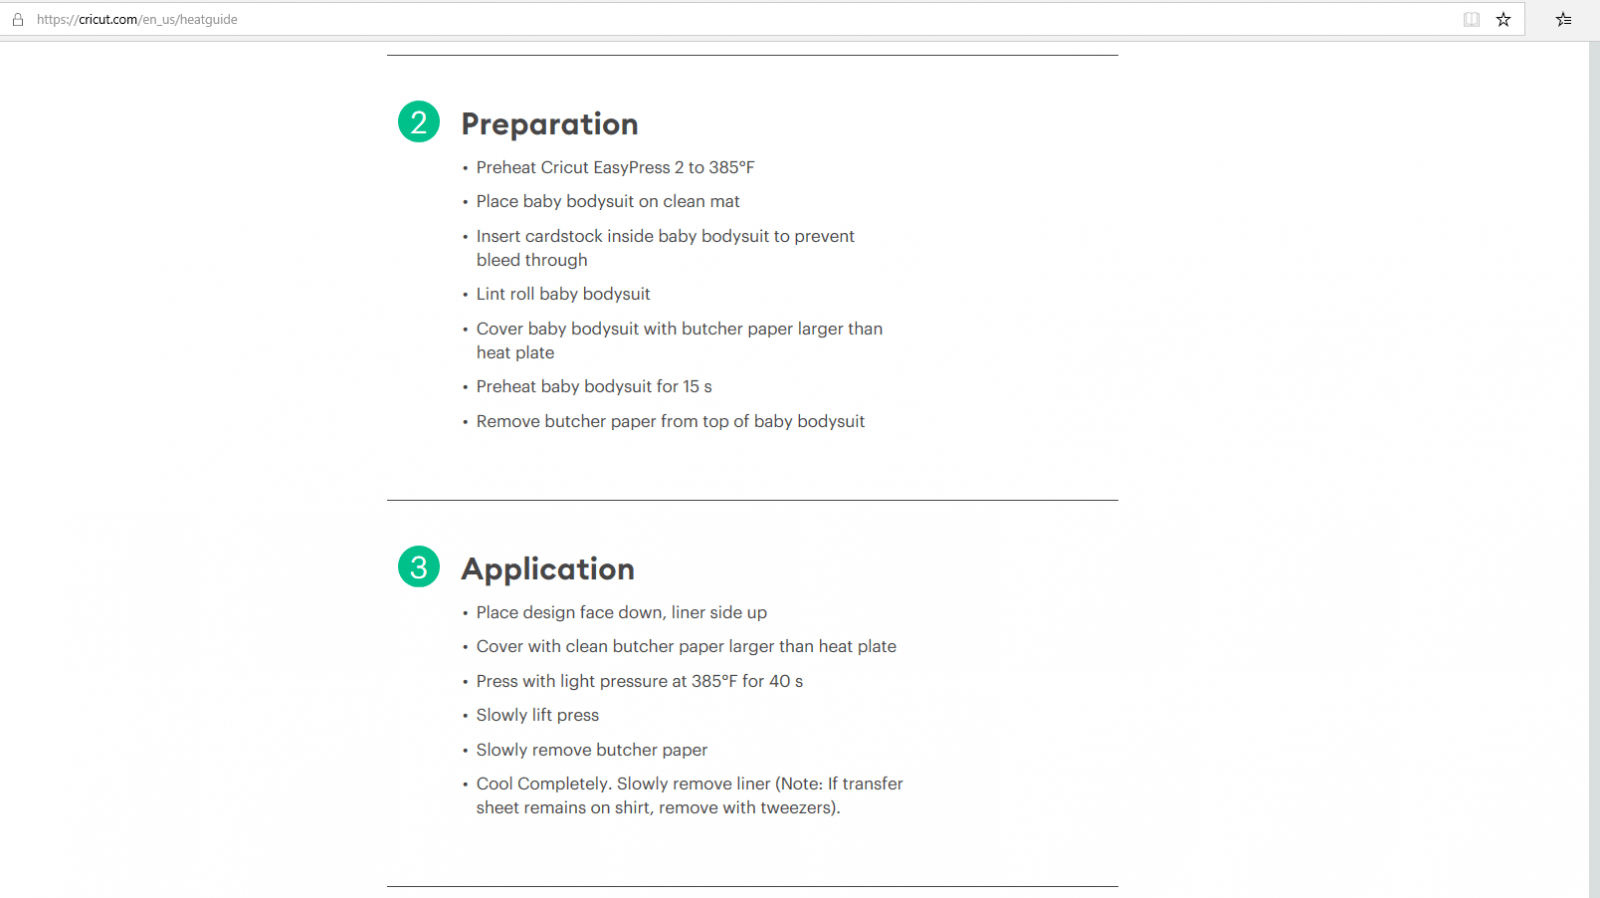
Next up, we get started with our EasyPress 2. Using the Cricut Heat Guide, select the materials you’re using and the guide tells you what to set the Easy Press 2 temperature at, as well as how long you need to hold on there to get the ink to transfer. For the baby onesie, they suggest 385 degrees for 40 seconds and they give you preparation tips and application instructions below. Don’t skip any of the steps for optimal adherence.
It’s very important to use a lint roller on your onesie or shirt first to ensure that the ink adheres properly to the shirt! Don’t skip this step!
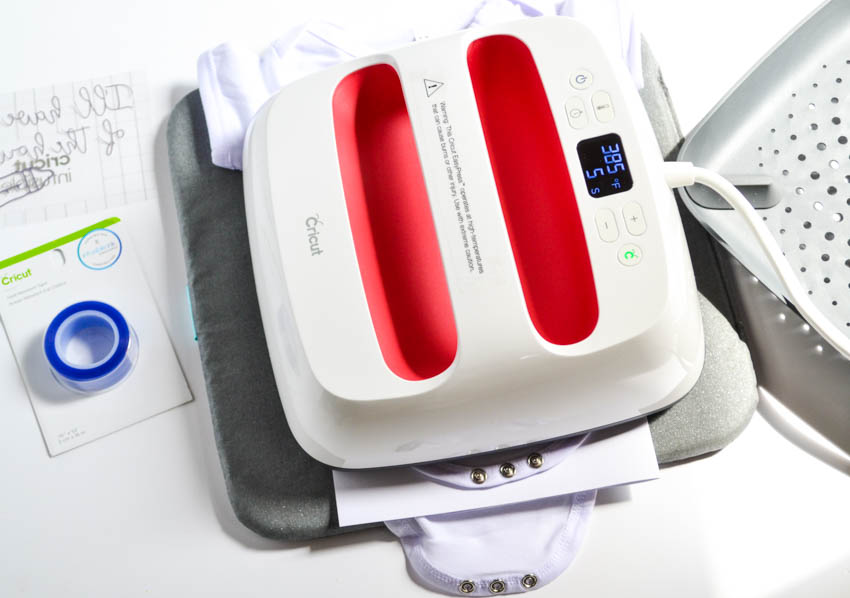
After the onesie is preheated and completely cooled, I placed my design ink side down onto the onesie and secured it in place with heat resistant tape. Then I placed my Easy Press 2 on top of it at 385 degrees and set the timer for 40 seconds. After timer is done, lift straight up being careful not to shift the onesie at all and let cool.
So easy to make!! Let’s get an up close look at the ink transfer…it’s right in there as you can see!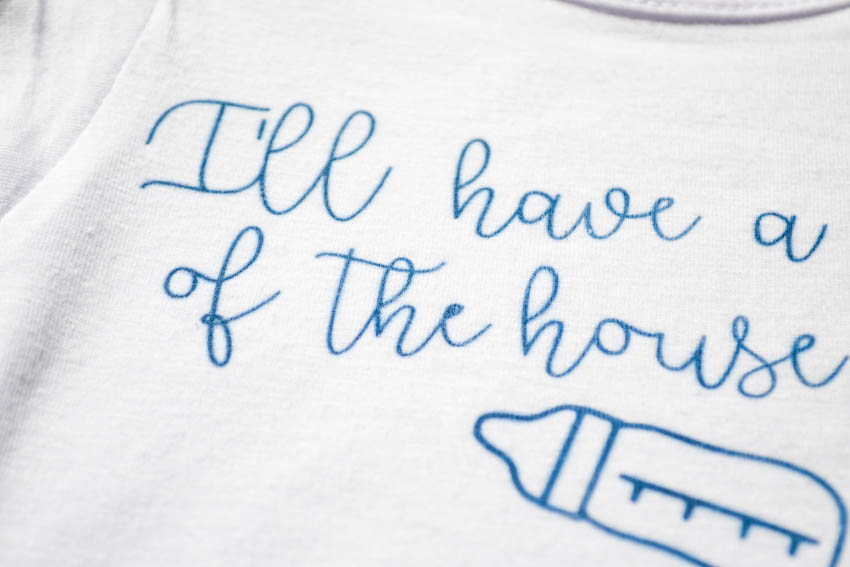
It’s so cool to see your design just seamlessly transfer into the fibers of a shirt!! Next up, let’s see how it looks on the ceramic coasters. Below the coasters you can see the muted Infusible Ink transfer sheet and how BRIGHT it transfers onto the coasters…look at that color!
Using THIS DESIGN, you can create the same coasters as I do.
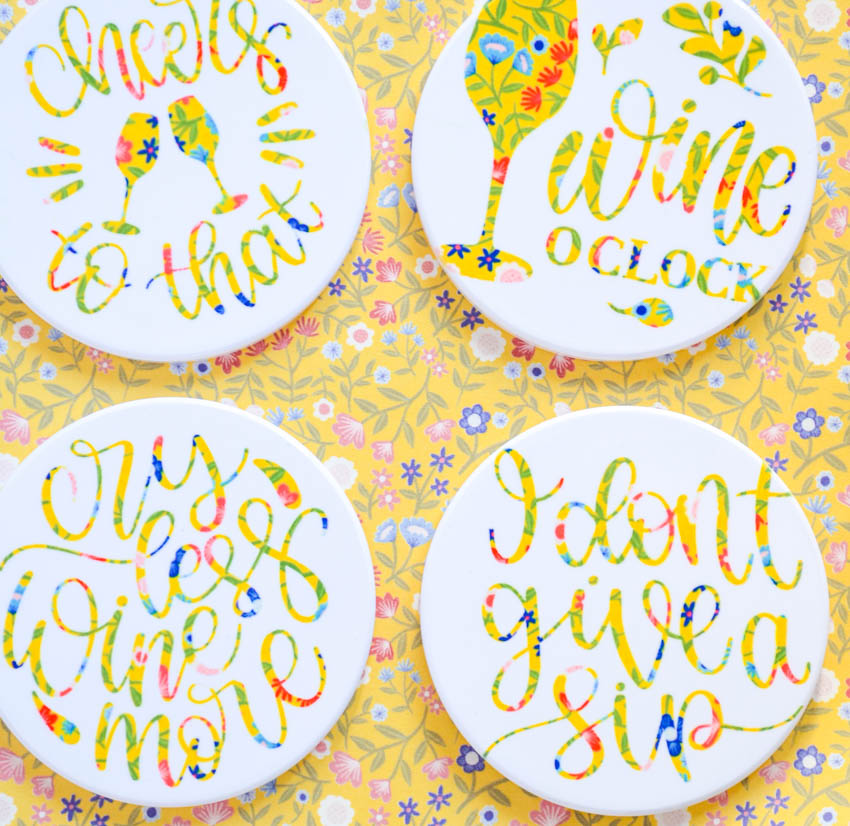
You follow the same process like the onesie. Cut it, weed it, follow the instructions in the Cricut Heat Guide that direct you on how to prepare the coasters and apply the ink. it’s important again to remember that you have to mirror your image for the print to come out right. You also will need to wipe your coasters down with a lint free cloth before applying the Infusible Ink Sheets to them. Additionally, the coasters go FACE DOWN onto the East Press mat and they “bake” a little longer under the Easy Press 2 than the onesie does. 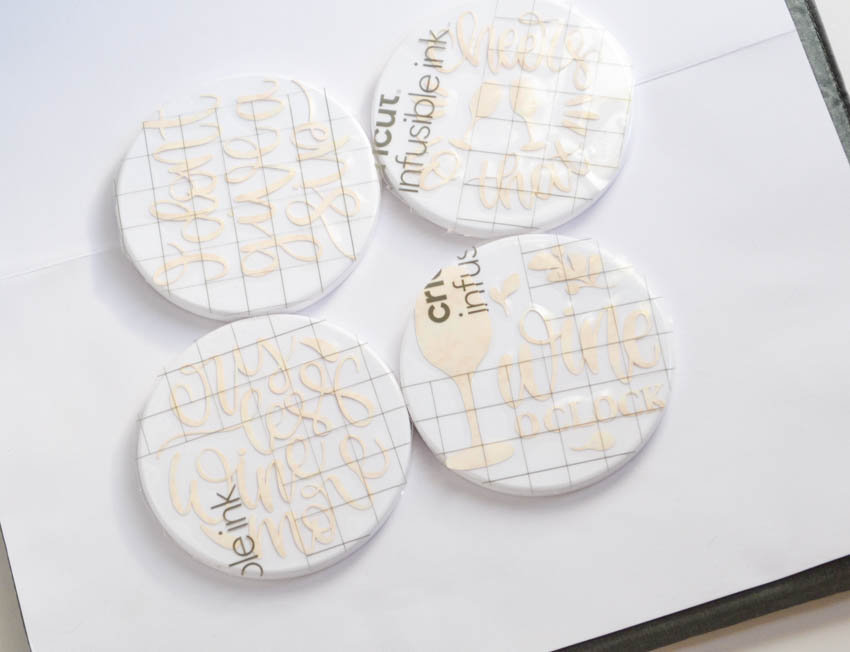
Once the timer goes off, let the coasters cool COMPLETELY before removing the transfer sheet. You’ll be shocked at the beautiful, vibrant colors that show up on your coasters in just a matter of minutes.
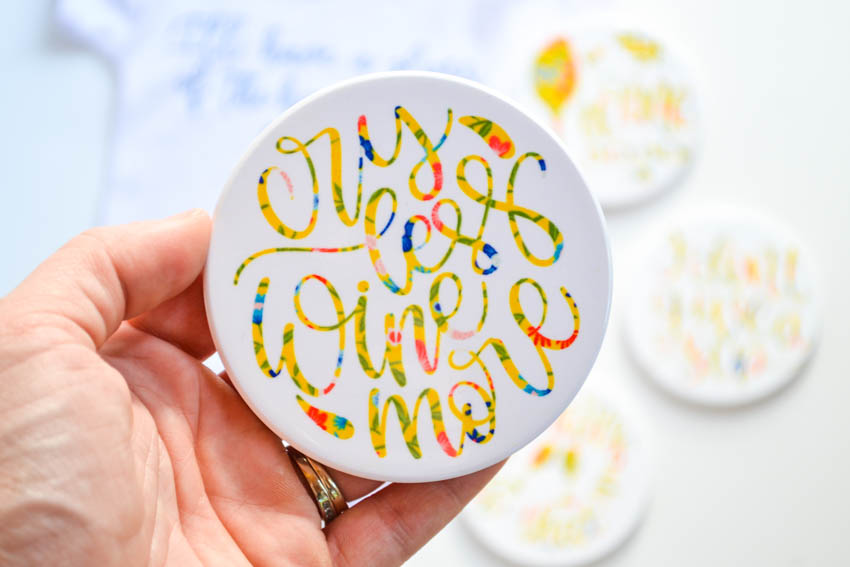
Now we have a cute coordinating gift to give to the new mom and baby, as well. All personalized to my specifications and handmade!! I just love how it turned out!

Get more info or purchase the goodies you need to make your own gifts like this by visiting the Cricut page here. I hope you enjoyed this easy Cricut Infusible Ink tutorial!!
Pin it for later…


2 Comments