DIY Class of 2032 Grow with Me Shirt (Cricut + Back to School)
This is a sponsored conversation written by me on behalf of Cricut. The opinions and text are all mine.
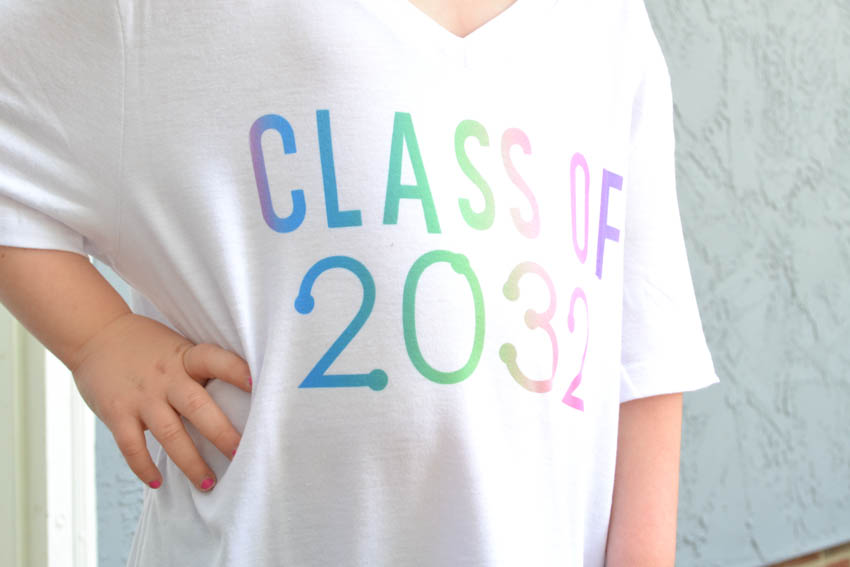
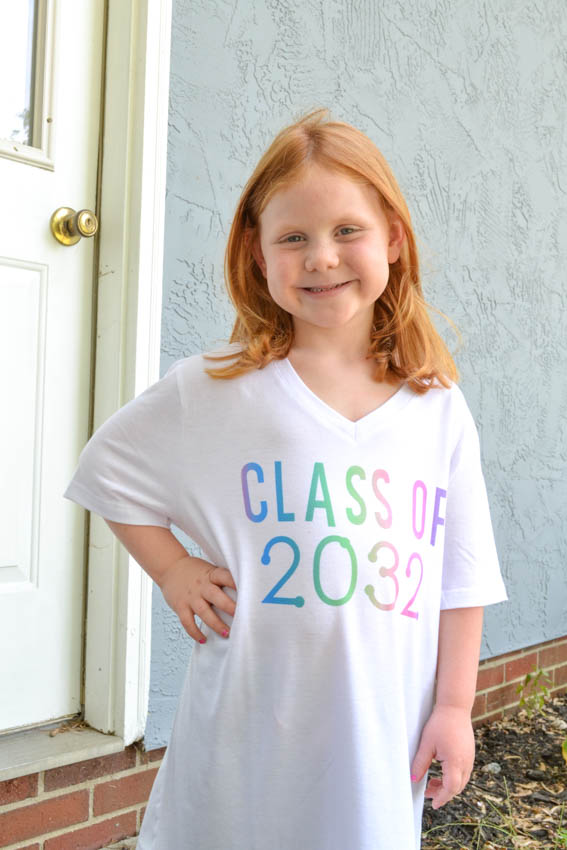
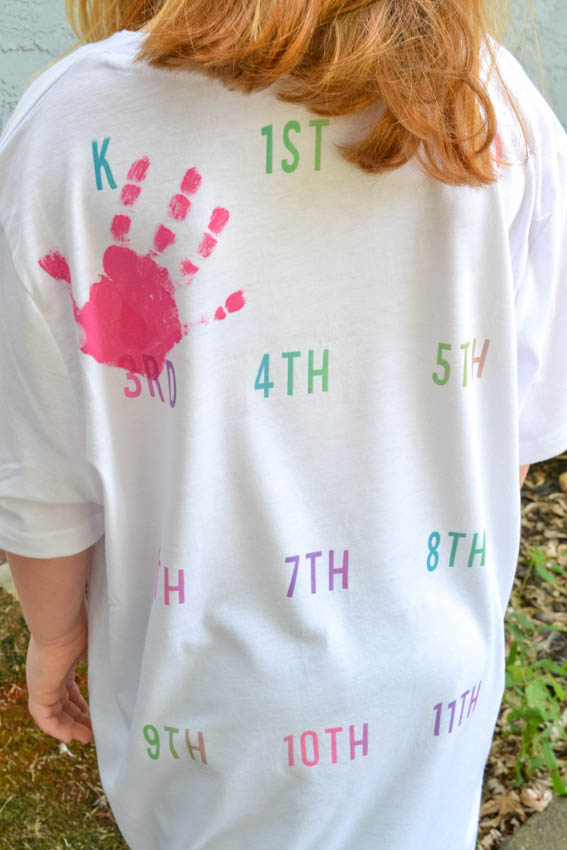
My youngest started school this year (tear) and I can’t even believe that I now have two kiddos in school. It’s crazy how fast it’s going already and for that reason, I wanted to do something special with my daughter that I never thought to do with my son. I decided to make her a DIY Class of 2032 “Grow with Me” Shirt using my Cricut Maker. Basically, the premise of this is to make the shirt and then take a photo of her in it each year until she graduates to show how she gradually grows into the shirt over the years. On the back of the shirt she can use paint and stamp her hand for each year/grade up until graduation and then you can give it to them at graduation as a keepsake. Pretty fun, huh!? I decided to use my Cricut Maker and Infusible Ink to create this easy Class of 2032 / Grow with Me Shirt Pattern. You can download the pattern on Cricut’s page HERE. Let’s jump into this easy Infusible Ink project idea!
How to Make a “Grow with Me” Shirt
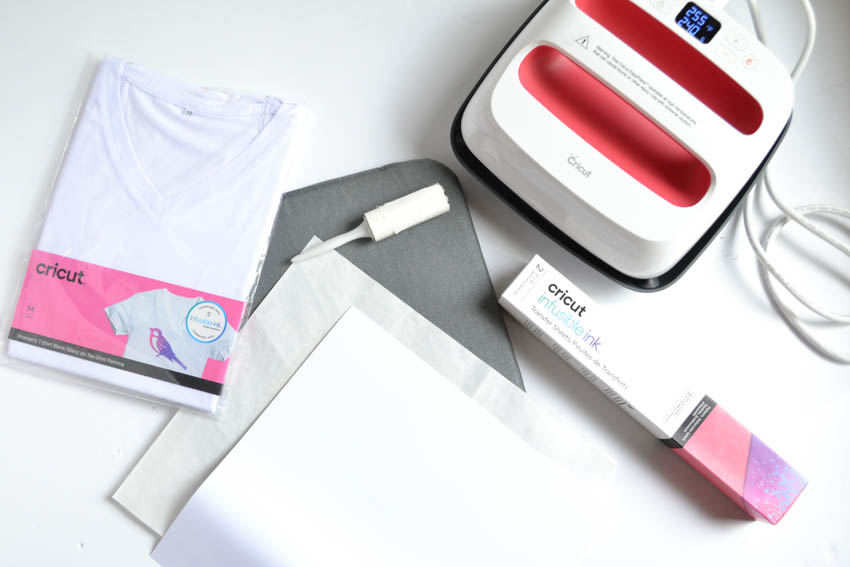
What you need:
Grow with Me Shirt Pattern with Cricut
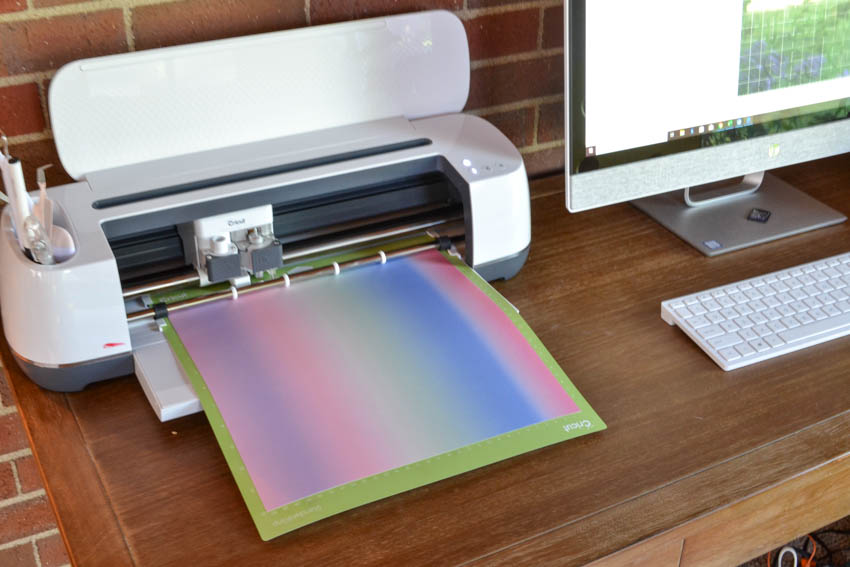
Open up your Cricut Design Space and download the Grow with Me Class of 2032 Shirt pattern to create this shirt. You can use whatever infusible ink pattern you’d like to use for this project. You will create your design in Cricut Design Space, then cut it and weed it. Be sure that you do not forget to Mirror the image before you cut, otherwise your shirt will come out backwards!
Once you’ve cut out your design and weeded it, the next step is to get your Cricut Easy Press 2 warmed up and ready to go! I use the Cricut Heat Guide to tell me how to use the Easy Press for Infusible Ink including the temperature and time settings.
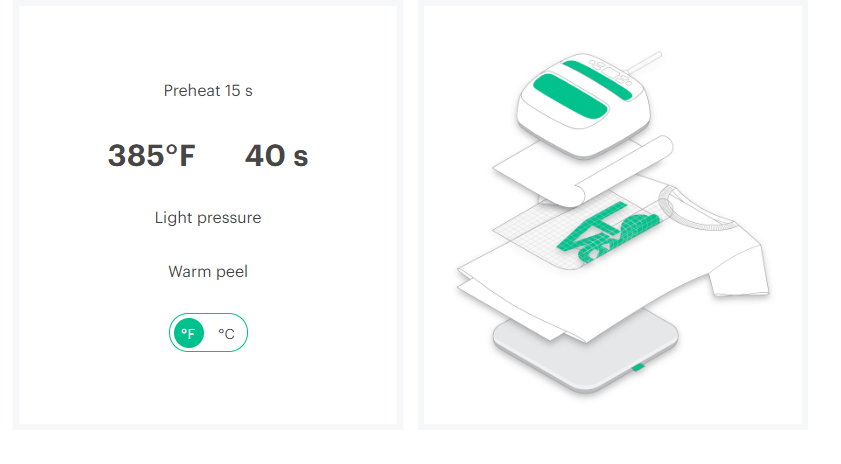
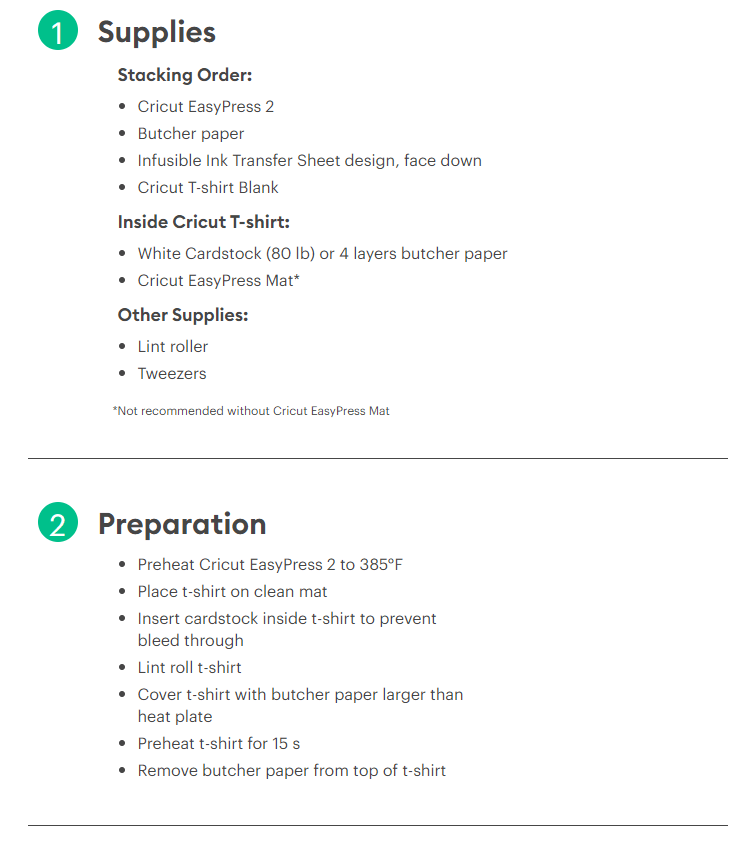

Follow the instructions for use and do not skip the step of using the lint roller on the shirt! Once you’re all set up, apply your design ink side down on the shirt, place a piece of butcher paper between the shirt design and the Easy Press 2 and follow the instructions for how long to keep heat on the design.

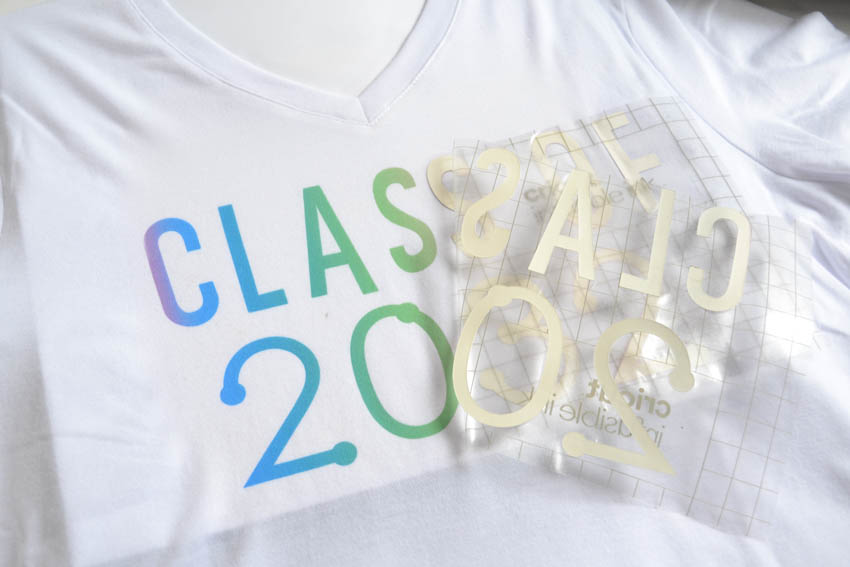

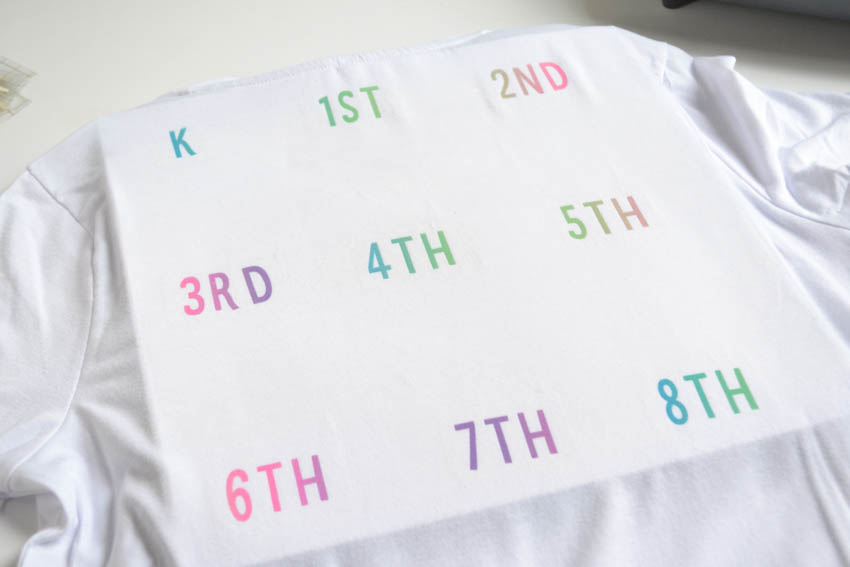
You peel your infusible ink sheet off of the paper and the ink is left on the t-shirt beautifully, just like a custom screen printed design! The final step is to add a handprint for the grade you’re starting at and you have the beginning of a fun and custom keepsake for your child.

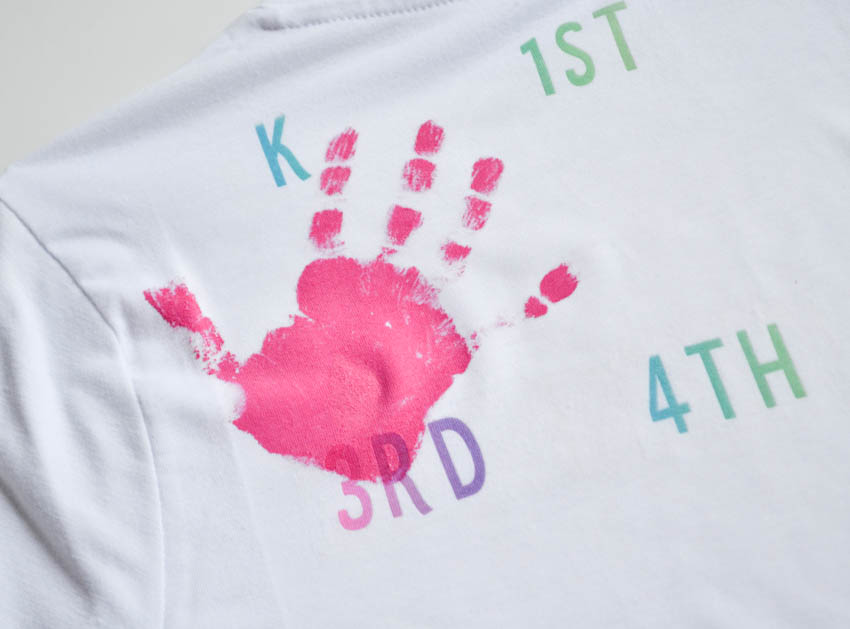
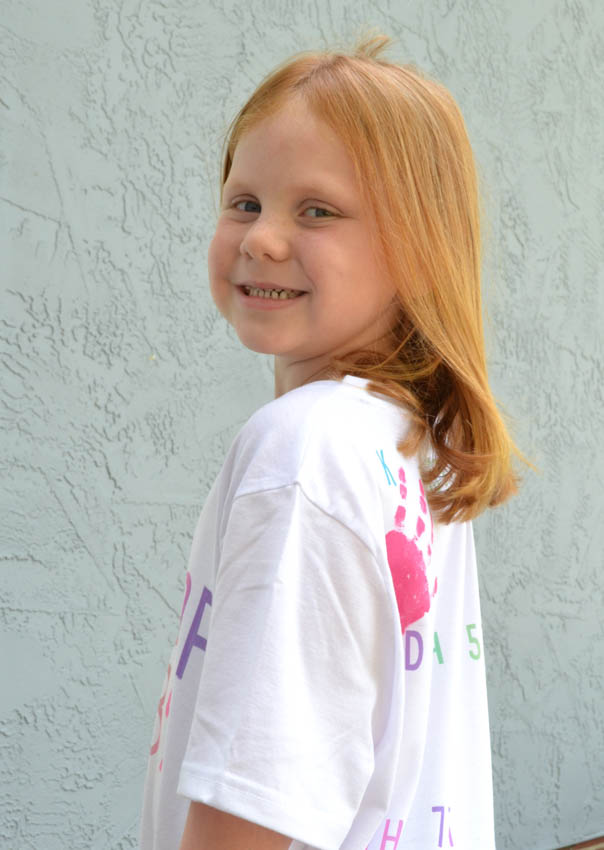
My daughter loved that we made this shirt together (I let her pick out the Infusible Ink that I used on the project) and we’re excited to keep this little traditional going each year. We didn’t mind that her hand print crossed over a little bit into future grades because by the time she graduates her hands will completely fill this whole shirt, which is super fun!
I love it when I remember to start things like this at the right time…so even if your first day of school has passed, it’s not too late to create this Class of 2032 shirt and start a tradition with your Kindergartner that they will appreciate as they grow older.
Grab everything you need from Cricut.com!
Pin it for later…


One Comment