


I don’t think I told you guys this yet, but the owner of my son’s daycare asked me a few weeks ago if I’d plan her company Christmas party for her! I’ve mentioned in the past how much I’d love to be an event planner and she just recently had a new baby, so I think with that and the holidays and her busy work schedule that she needed some extra help to make a special party for her staff. So I’ve been spend a LOT of time trying to come up with ideas for the event and this week I finally started crafting up my vision and this JOY Ornament Wreath sign was at the top of my list.
The colors are going to be traditional red, green, and white/cream because I figure decor in those colors can be re-used over and over so she can recycle it for future Christmas decorating in her home or one of her daycares. I envision some chalkboard elements coming into play on the dessert table with a black kraft paper backdrop and a large selection of delicious dessert options.
With the dessert table, I decided to go with a really pretty JOY Sign and Wreath as the focal point and then “to the world” written on the black kraft paper backdrop underneath the sign.
So today I want to share with you the JOY Wreath and Sign for the party’s dessert table focal point.

- Two wood letters from JoAnn’s $5.99/letter, but use a 40% off coupon on them
- Red paint and red sparkle paint (my sparkles really don’t appear even in this photo do they?)
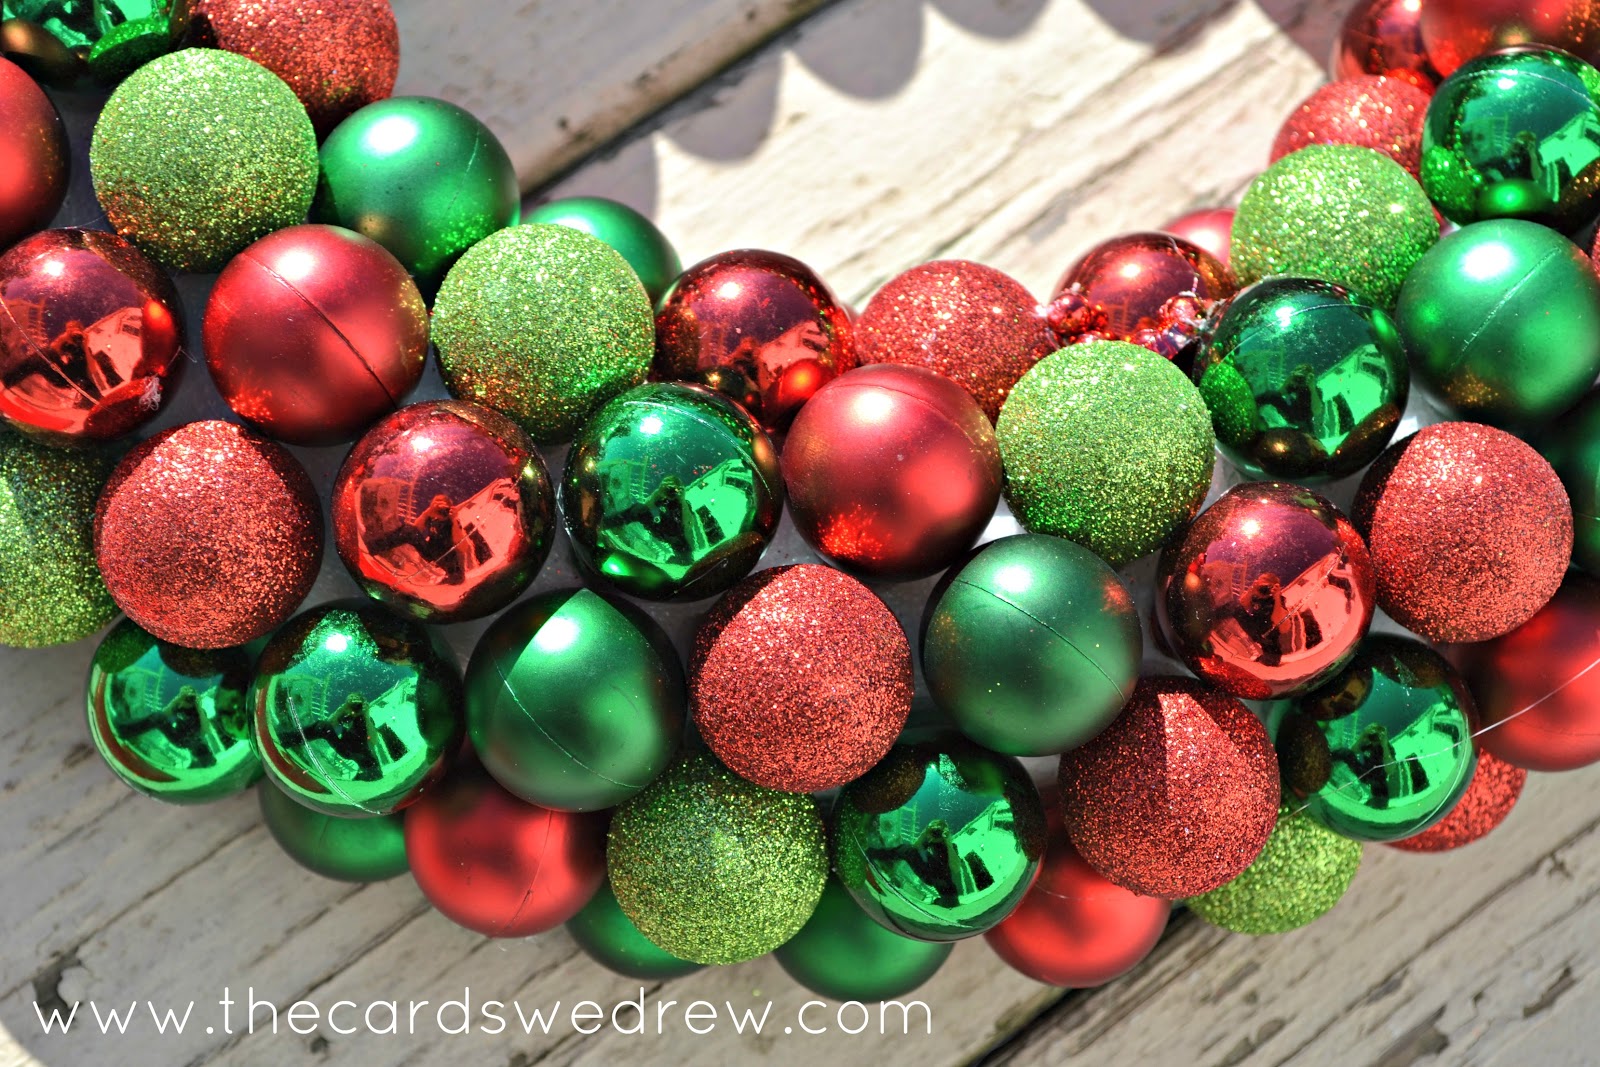
- Small ornaments–I got these in 24 packs from JoAnn’s for 40% off. I ended up using almost 7 boxes of shatterproof red and green ornaments.. So you’ll need around 170 ornaments (boxes were $5.99/box at 40% off so I spent roughly $25 on ornaments).
- Hot Glue
- Styrofoam Wreath Form
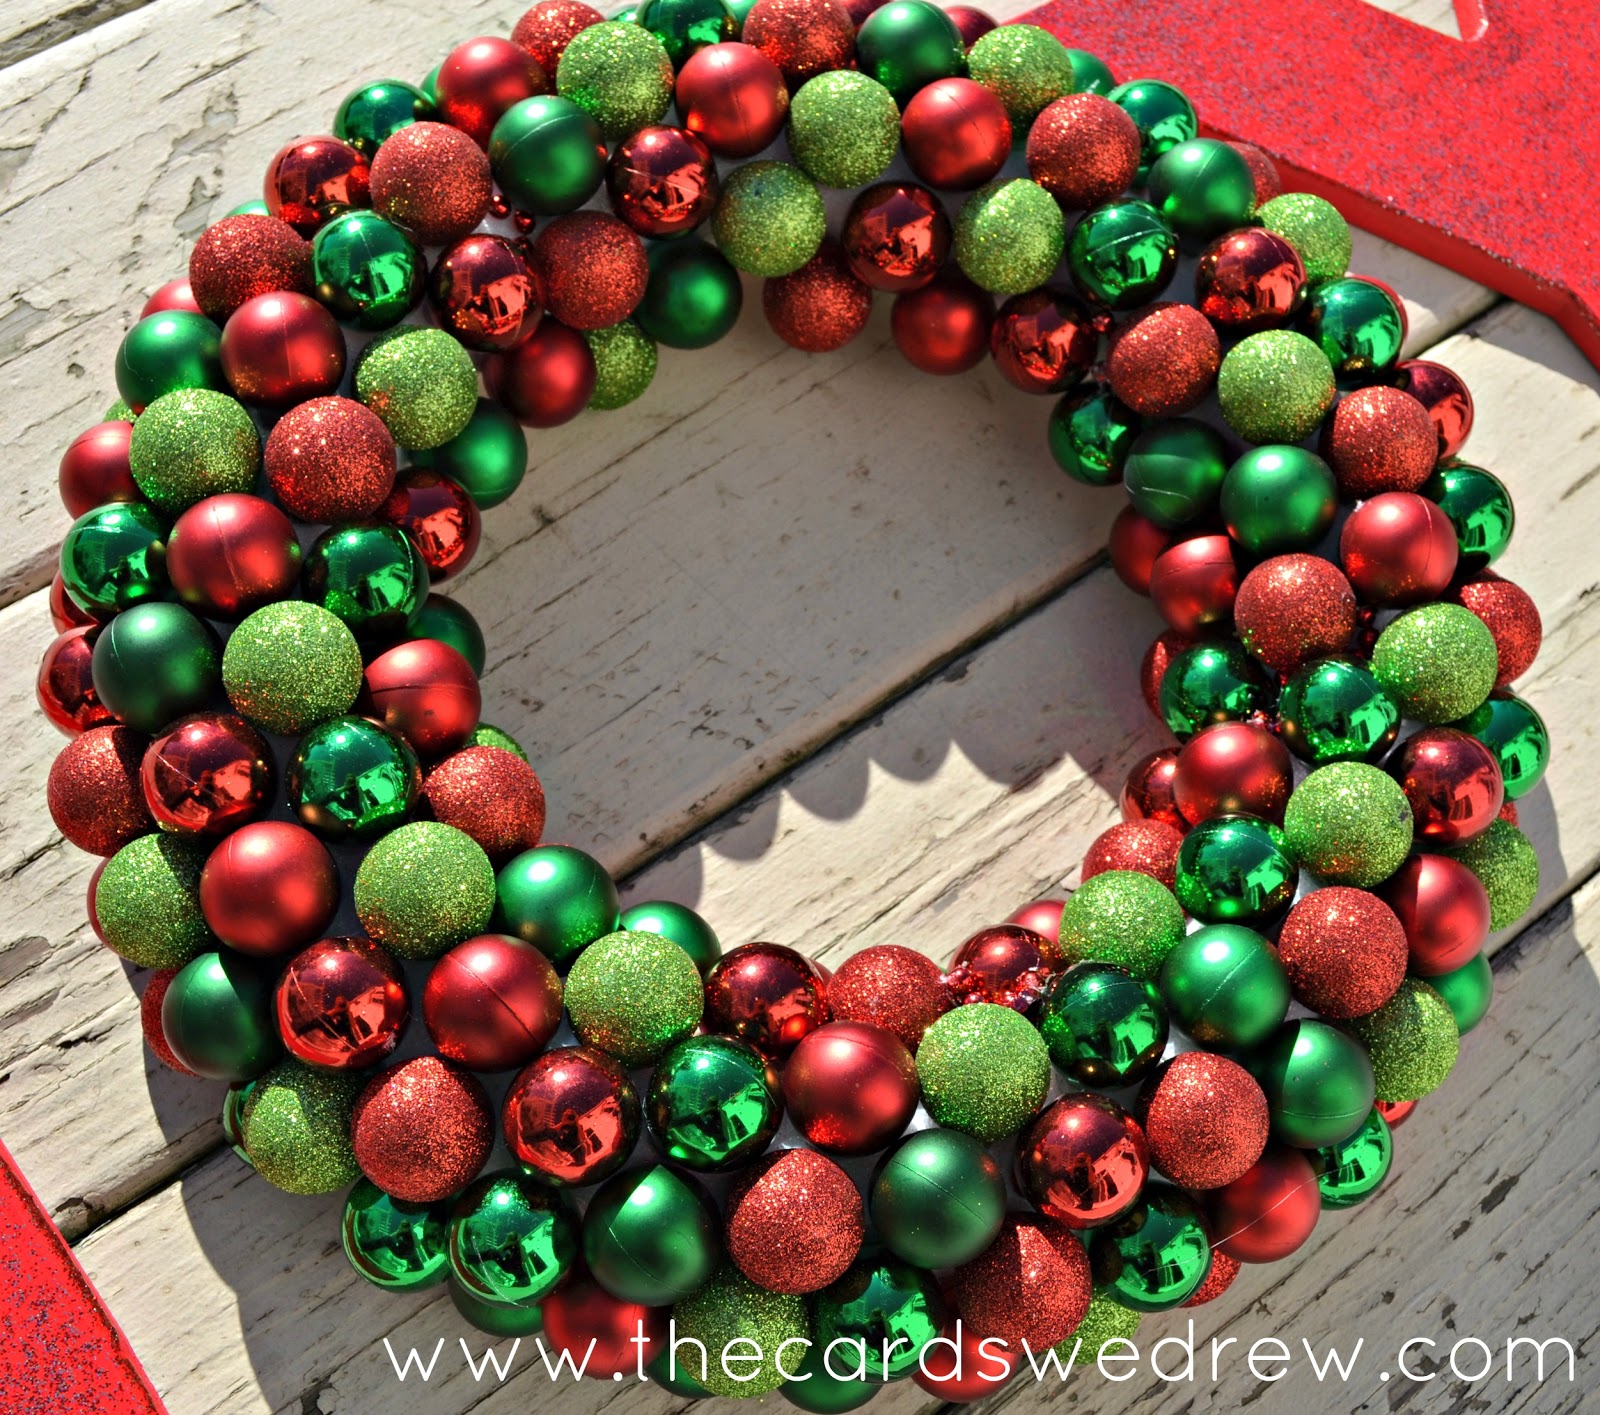
This wreath is so easy. Pop the gold top off your ornament to get rid of the “hanging piece” of the ornament (is there an official word for that??). Push that end into the Styrofoam wreath so that you know the position you want and it indents the Styrofoam. Then pull it out, add some hot glue around that end of the ornament and then onto the tip and stick it back into the wreath indent you just made. Repeat about 169 more times and you have yourself an ornament wreath.
There are some small gaps and if they bother you add some mardi gras red beads into the gaps to fill the space. I’ll eventually add some mini white battery operated lights to the wreath for the party I’m styling and it’ll be night, so I don’t mind the gaps too much.

What Christmas decor have you started working on?? Check back for more party craft updates coming in the next few weeks!


Toot your own horn, that looks amazing!
Such a pretty wreath, and I love how you paired it with the letters to write out “JOY.” I’ve pinned it to the “Amazing Wreaths of STYROFOAM” on Pinterest. Happy crafting! Sharon (www.CraftsnCoffee.com)
Toot! Toot!
Love this whole idea!
Oh my apple pie! I just love this! I shared it on my Some Kind of Wonderful Party! Thank you so much for sharing with us!
Saw you on I heart nap time.. This is just adorable! I love the letters & am always looking for a way to use them… I think I’d cheat & buy an ornament wreath from target. They’re cheap and less effort for me… Bit I’m awful!! Haha.
SO DARLING, LOVE IT. xo jen
Very cute! Good job 😉
Very cute! Good job 😉
So pretty! I would love if you would share on Fall Into the Holidays-
https://redcrowgreencrow.wordpress.com/2012/11/24/fall-into-the-holidays-10/
This is awesome. I love it. AND I love how you made the wreath. It’s so much easier than using an old hanger and lots of glue!!!! I am featuring this at somedaycrafts.blogspot.com
You always amaze me, girl! Love the wreath and I wanted to tell you to link it up next week for the Christmas wreath challenge on The CSI Project. The link up starts Wednesday.
http://www.thecsiproject.com
I love the whole impact of the wreath with the letters! I think my wall needs one of these!!!
this is super sweet!!!
It’s a beautiful project that has inspired me to use up the thousands of sweetgum balls I’ve picked up in my backyard ! ! ! So, rather than the Christmas ornaments, I’m going to spray paint the balls in either greens, golds and reds . . . OR . . . leave them natural and just dust them with different shades of glitter. Maybe someone would be interested in buying them if they saw them.
Thanks so much for the idea.
I’ve been wanting to make one of these signs for years, and I swore this would be the year. Love it!