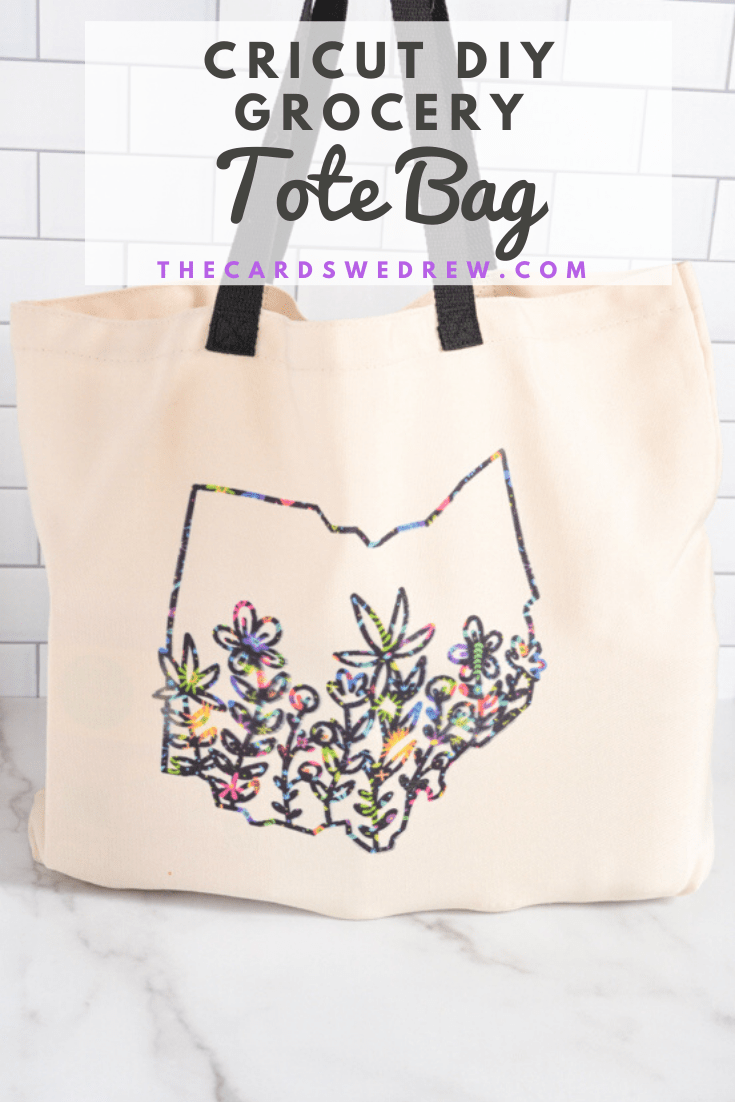
DIY Grocery Tote Bag with Cricut Infusible Ink
This is a sponsored conversation written by me on behalf of Cricut. The opinions and text are all mine.
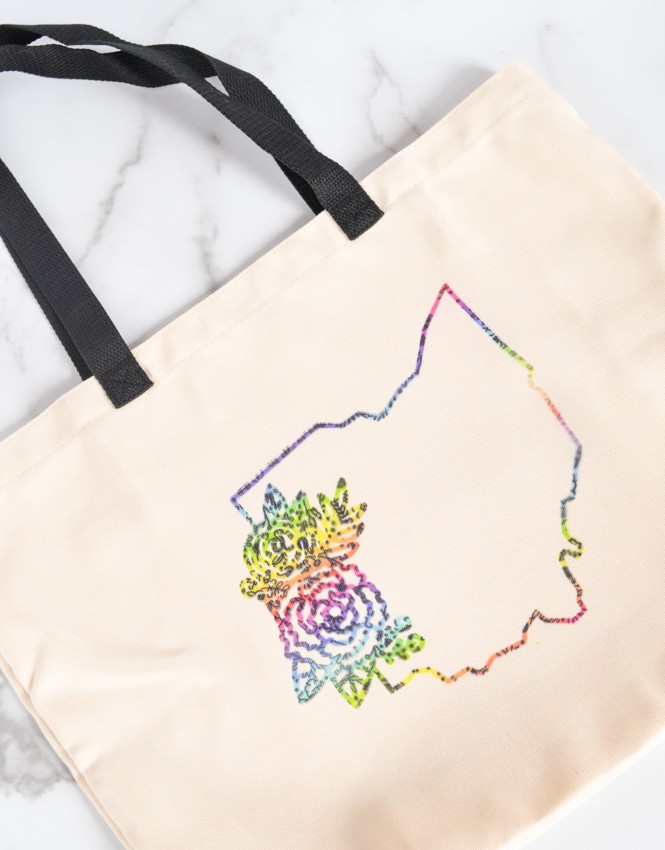
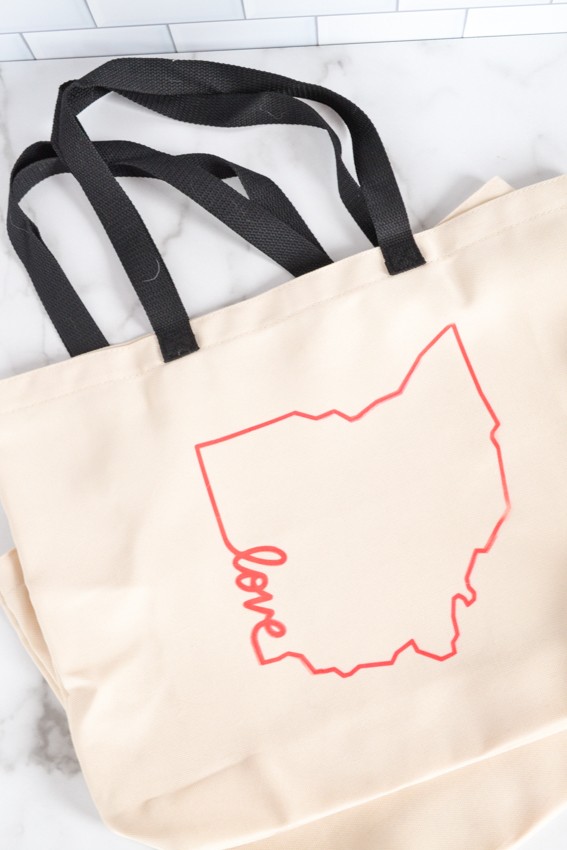
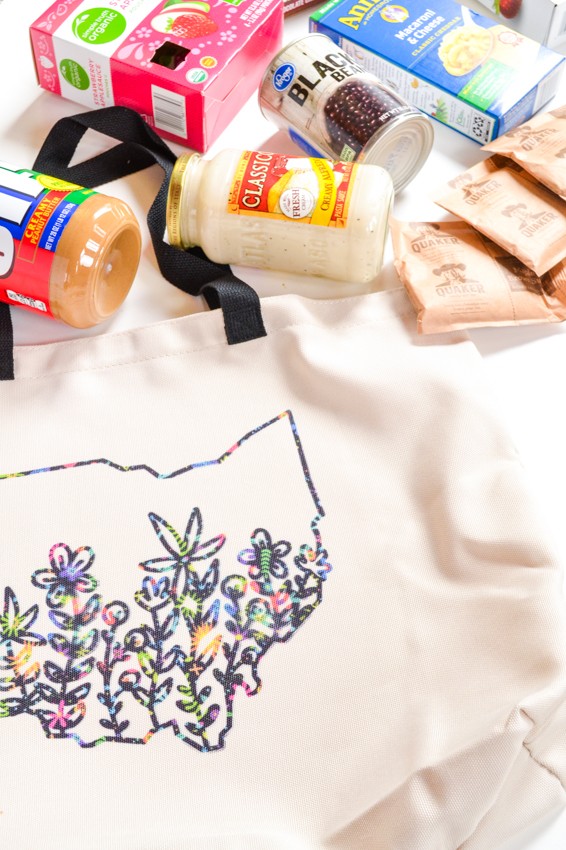
Today I want to walk you through another fun Cricut project idea using Cricut Infusible Ink. I’ve been working with Infusible Ink for months now and it’s one of my favorite ways to use my Cricut because the ink is so easy to use and has so much versatility. For today’s project, I wanted to use Cricut’s Tote Bags and turn them into reusable DIY grocery tote bags for when we head to the grocery store or when you decide to donate goods to your local food bank. Because we live in Ohio, I decided to go with a state of Ohio theme and have some fun with some simple, flirty designs!!
DIY Grocery Tote Bag
What you need for this post:
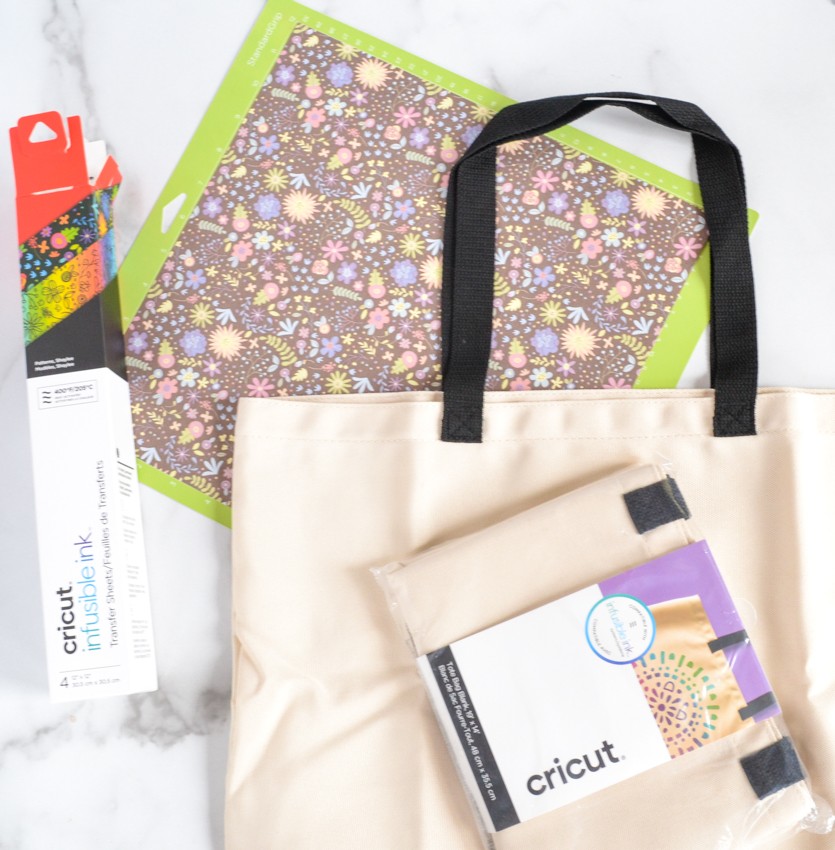
- Large Cricut Tote bag
- Design Space Design
- Infusible Ink
- Cricut Maker or Explore Air
- Cricut Easy Press
- Cricut Mat
How to Use Cricut Infusible Ink
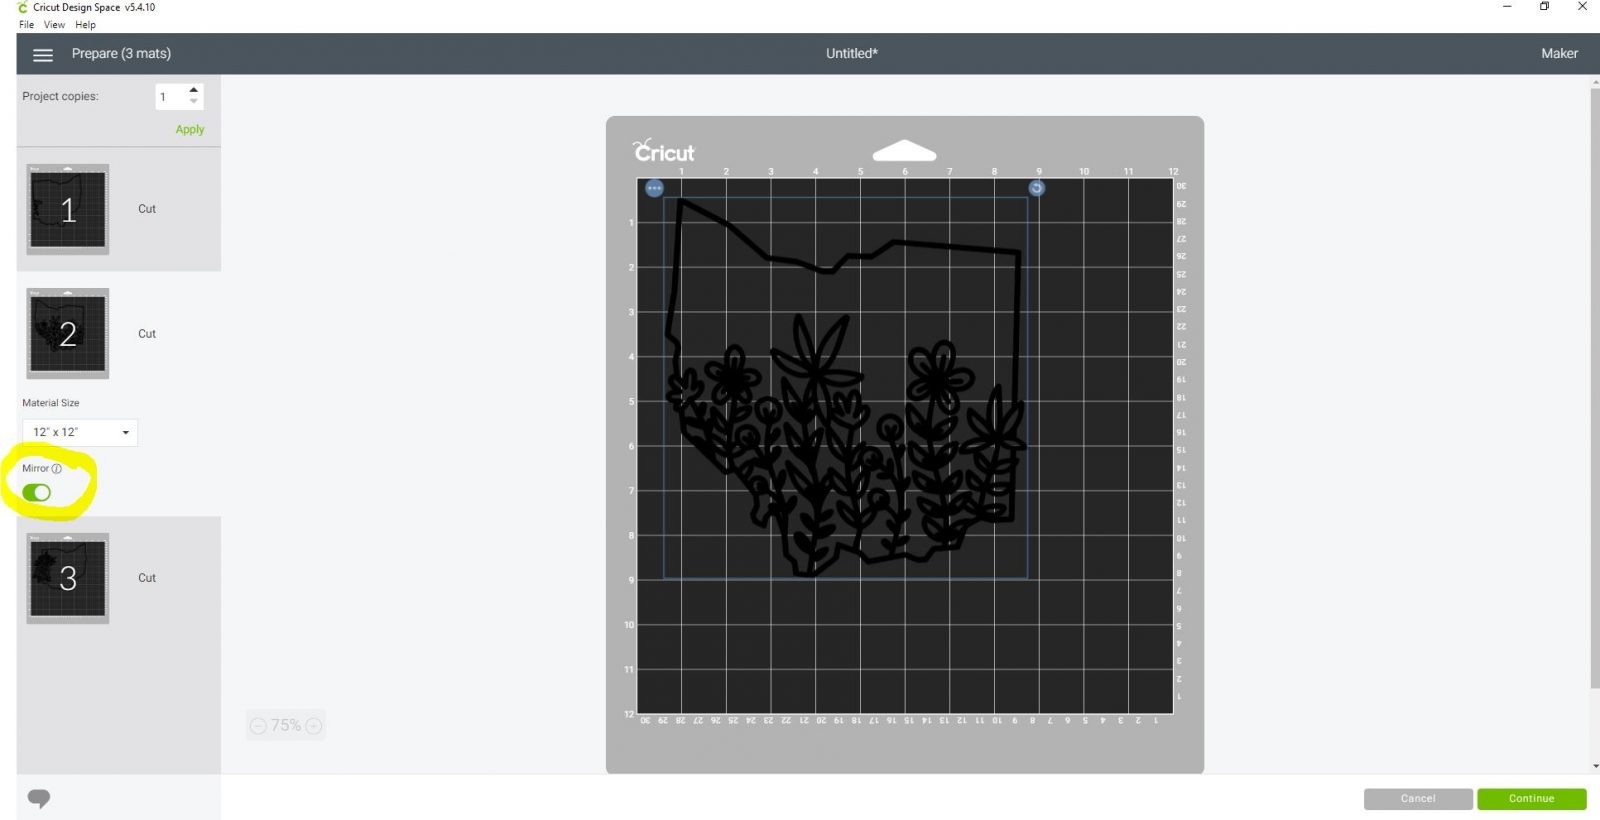
I’ve written up a bunch of Cricut Infusible Ink tutorials before like THIS one, so you may have heard me talk about it in the past. It’s very simple to use by starting in Cricut Design Space to create your project. For this project, you can download the exact files that I used by visiting here. I laid out my designs and sized them appropriately for my large Cricut tote bag, then hit Make It in the upper right corner to get started.
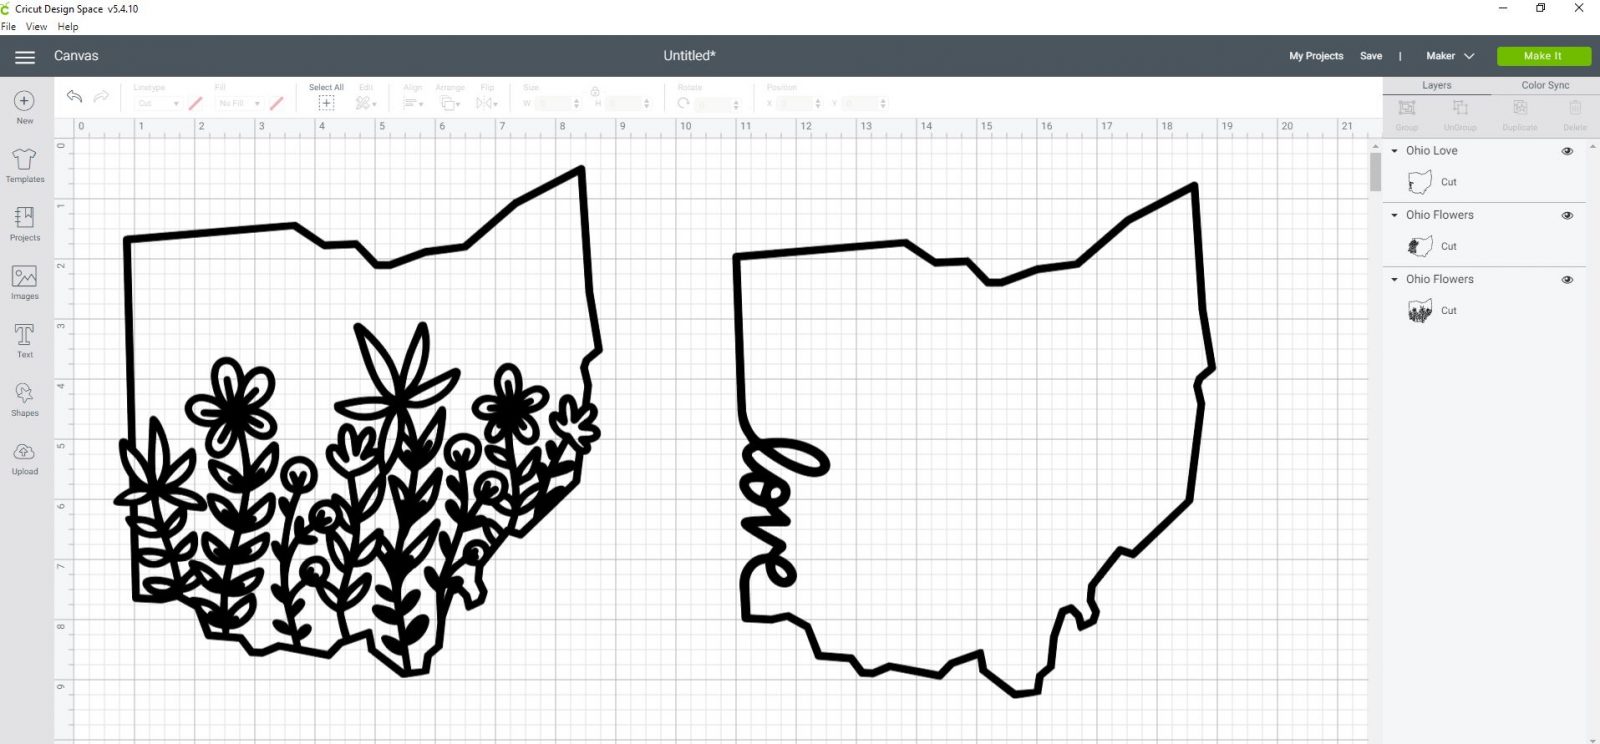
Cricut Design Space separates each design onto it’s own mat where you will have to Mirror the Design to use with Infusible Ink. DO NOT FORGET TO MIRROR YOUR DESIGN OR YOU WILL BE DISAPPOINTED!
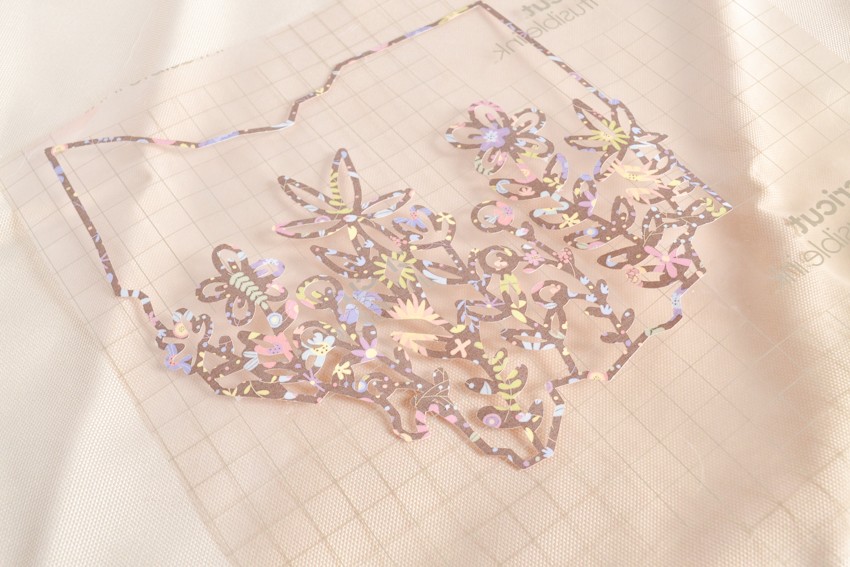
Then you hit continue and follow the instructions to get your design cut out. Once the design is complete, use your weeding tool to pull off the Infusible Ink that is not going directly onto your bag. Depending on how intricate your design, this is probably the part that takes the longest.
You’ll notice that the Infusible Ink sheets appear very light and dull in color, which is normal. Once they go onto the bag or shirt or whatever you’re making, they brighten up and look much more vibrant!
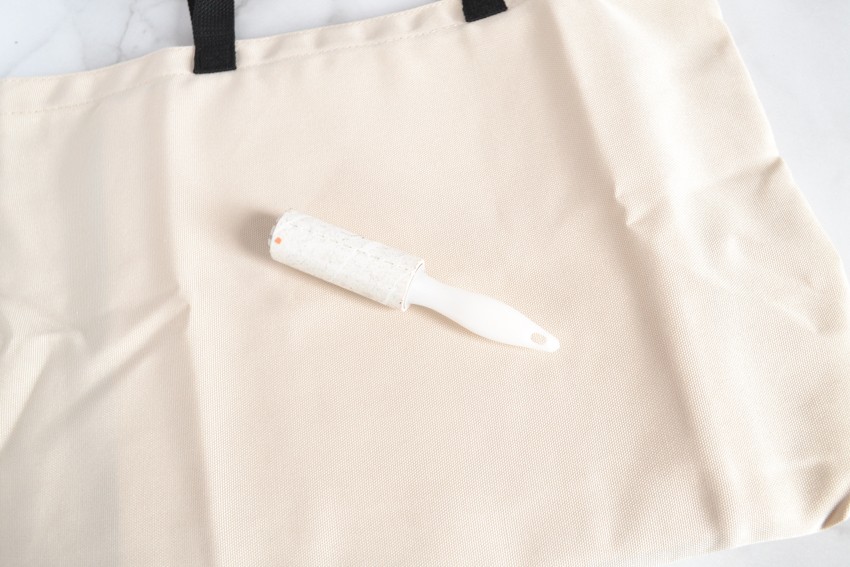
Next up is applying the Cricut Infusible Ink onto the tote bag. First, you will want to use a lint roller to get any hair or debris off the tote so that the ink transfers seamlessly onto the item.
Next up you add a piece of card stock between the layers of the bag to ensure that the ink does not bleed through the bag and onto the other side. Then you apply your design ink side down onto the bag and place a piece of butcher paper (included in the infusible ink package) between the ink and the Cricut Heat Press you’re using. 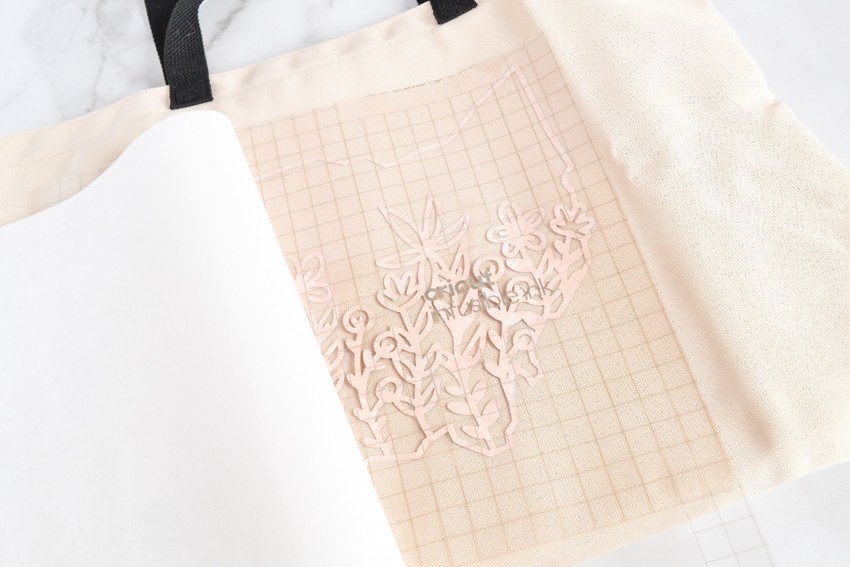

Using the Cricut Heat Guide you will set the heat to 385 degrees for 40 seconds and place firmly on top of your design *don’t push down because it can displace the design or make it blurry*. Once 40 seconds has passed, gently lift the edge and ensure that the ink has transferred.
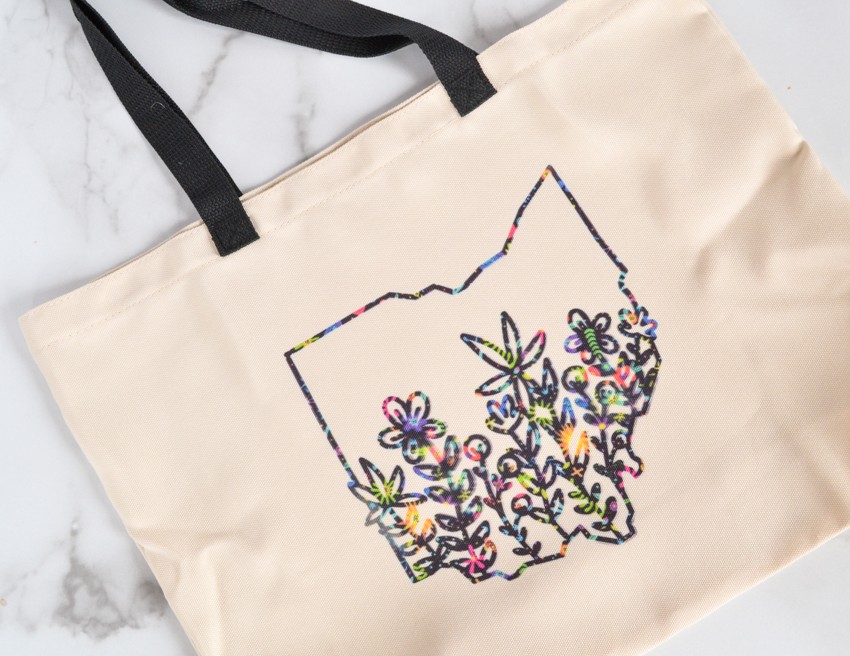
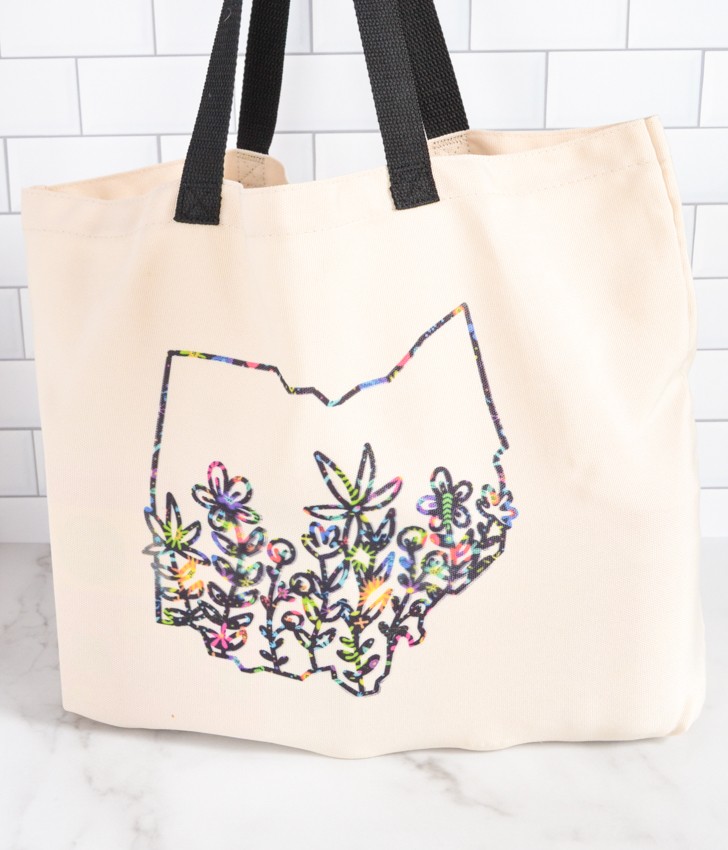
See how much brighter the design turned out in the end?!
I made two more bags using the Ohio logos and the same process….
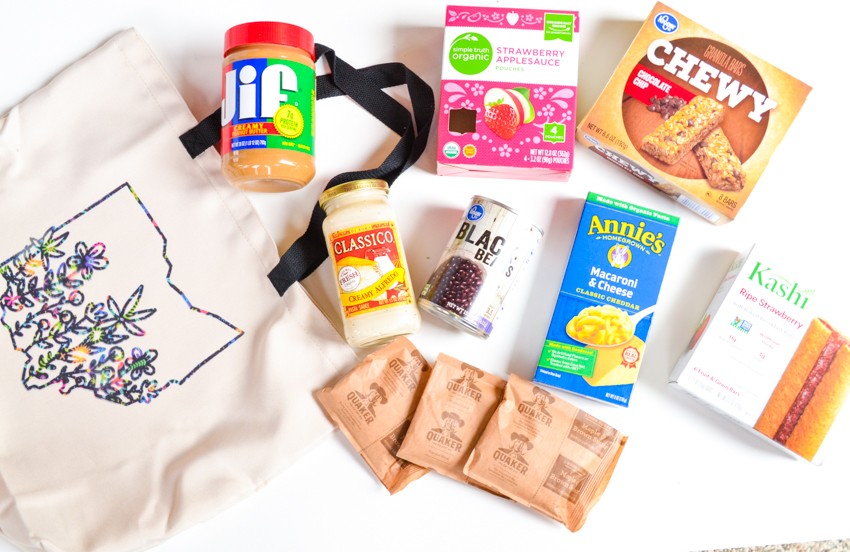
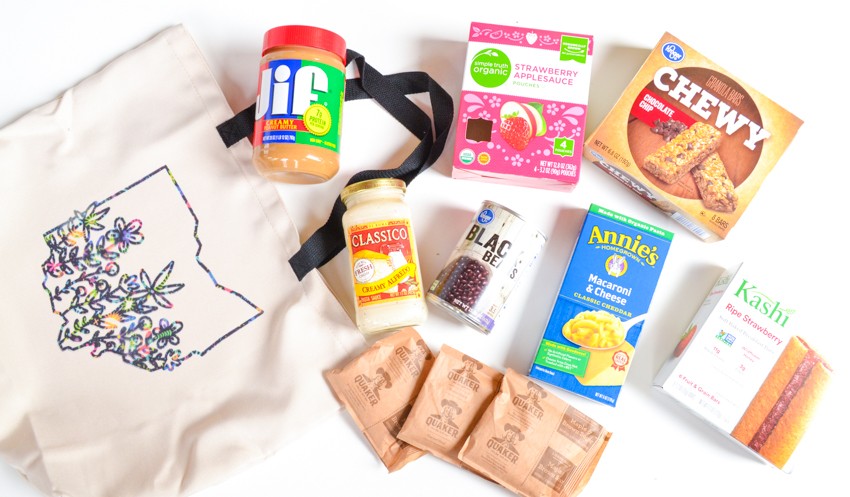
Once my bags were finished, we got to loading them up with goodies to provide to our local food bank. Remember….
“IF YOU CAN’T FEED A HUNDRED PEOPLE, THEN FEED JUST ONE.” – MOTHER TERESA
So take those cute totes and fill them up with the Top 10 Items that Food Banks Need:
- Canned meat & chili
- Canned vegetables
- Canned fruit
- Pasta sauce
- Non-perishable snack items for children (i.e. granola bars, juice boxes, applesauce)
- Macaroni & Cheese
- Low-sugar cereals
- Peanut Butter
- Instant Oatmeal
- Toothbrush & toothpaste
…and head to your local food bank and donate a gift to someone in need and brighten their day with a cute, reuseable tote bag!
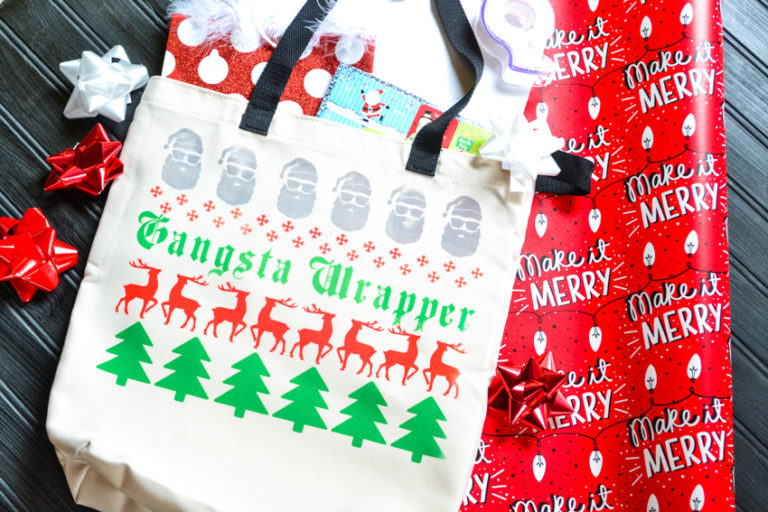
There are tons of other “state” designs that are similar to this if you don’t reside in Ohio. Just search under “images” in Cricut Design Space and type in your home state for a full list of cute designs.
Hope you enjoyed another fun Cricut Infusible Ink tutorial and project!!
Pin it for later…