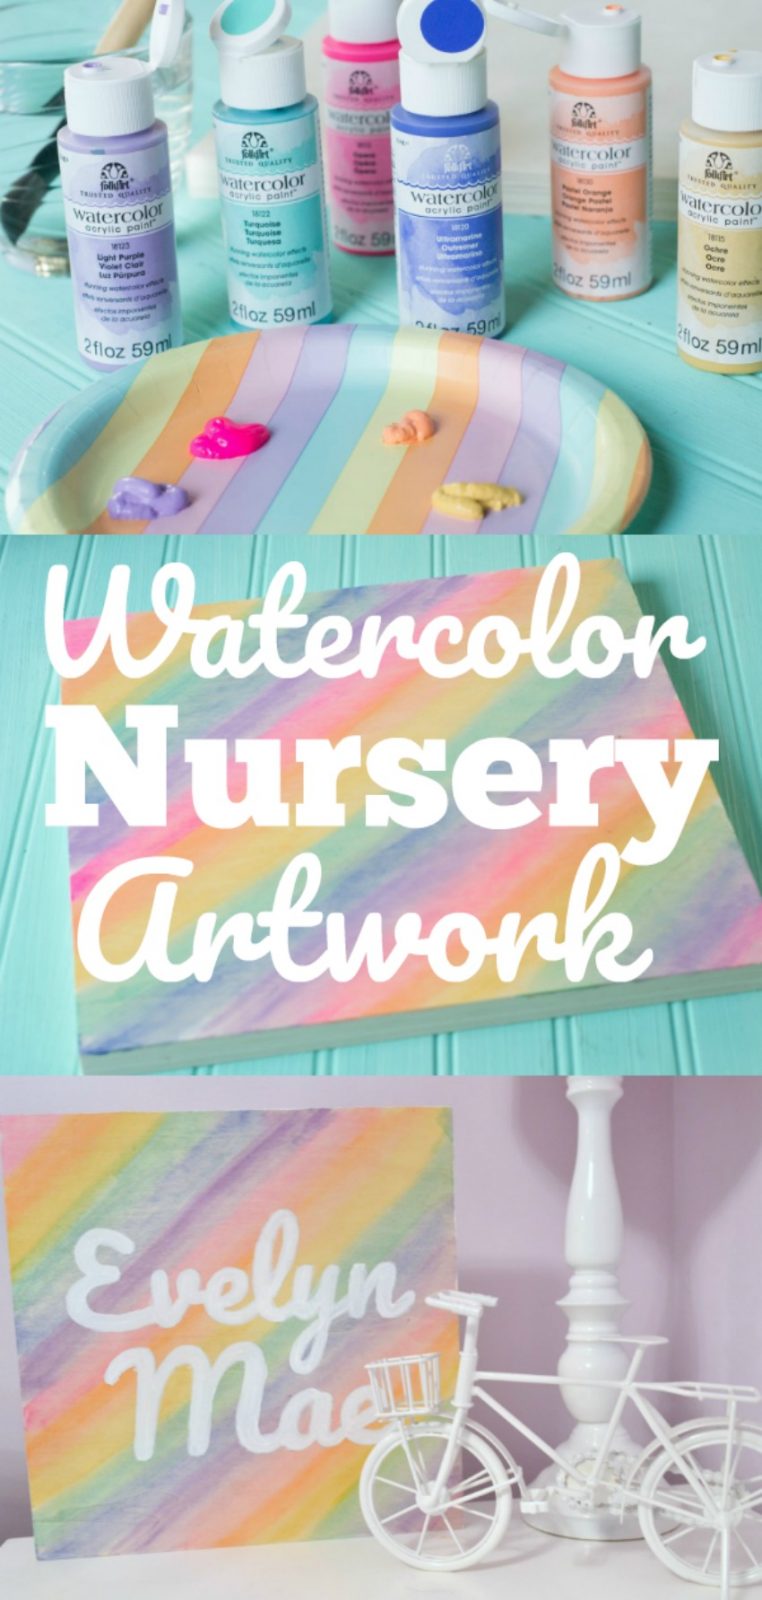
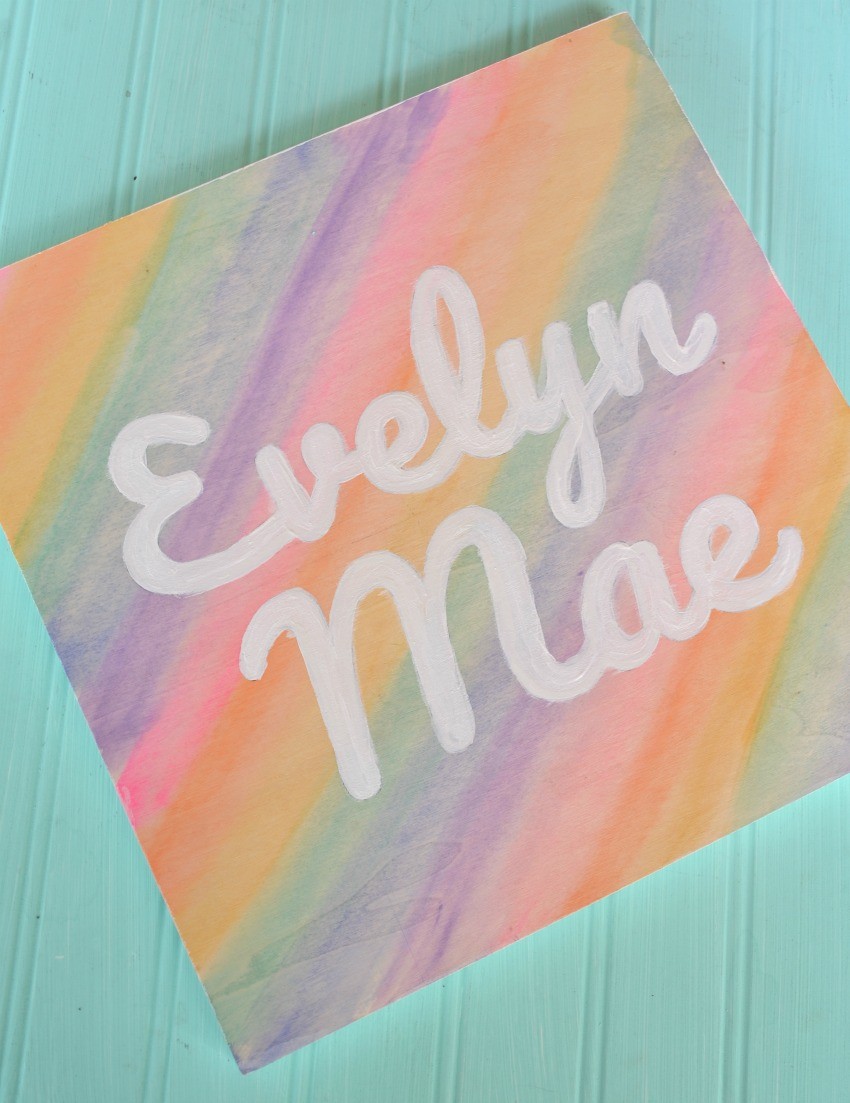
Rainbow Watercolor Nursery Name Sign
I’m SO thrilled to have a new little niece joining my family sometime in late July or early August this year! My brother and his wife are having their first child and my first time being an aunt on my side of the family! I can’t wait to meet her. Because baby crafts are fun to make, I thought I’d show you how to make a super cute and easy Rainbow Watercolor Nursery Name Sign using the new FolkArt ® Watercolor Acrylic Paints™ that are out in stores now! Baby crafts for a mom-to-be are a fun and easy way to personalize something special for the new mom to decorate her nursery with! Let’s see how easy this was to make….
Watercolor Nursery Sign Products Needed:
Watercolor Acrylic Paint™
Watercolor Acrylic Paint™ Watercolor Brush Set
Wooden Board
Printer with Tracing Paper / Stencils / or vinyl cutting machine for name
White Acrylic Craft Paint
How to make this homemade baby gift:
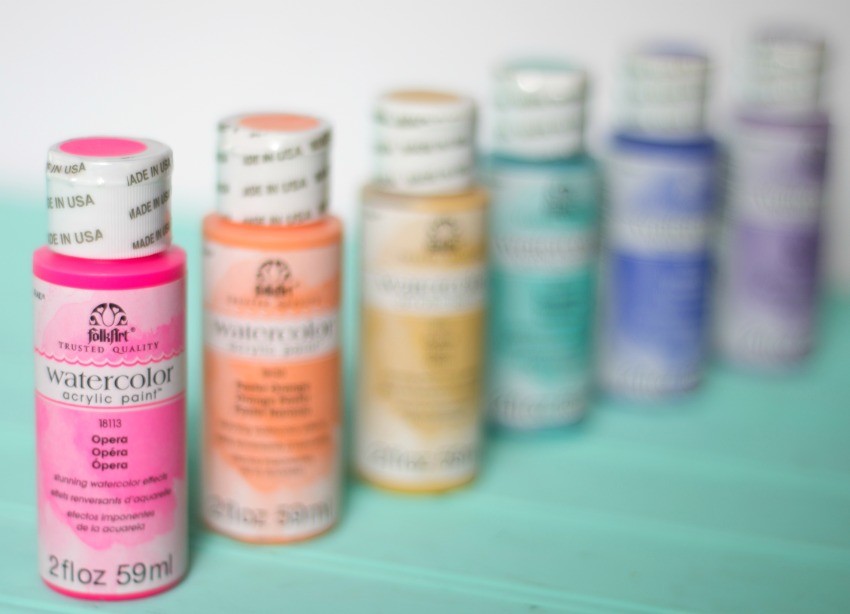
Start by rounding up your Watercolor Paints in the colors you’d like to paint your artwork in. I chose rainbow colors for this project because they’re bright and happy!
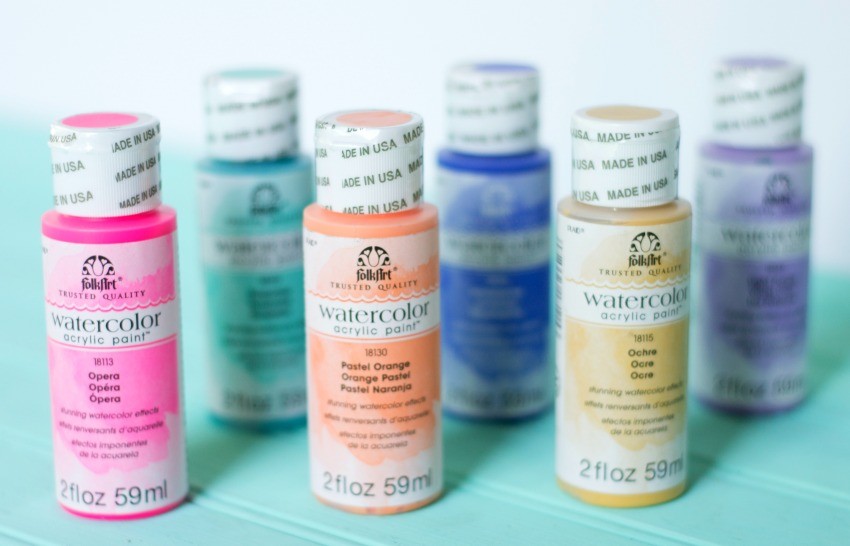
You can create beautiful washes of color with FolkArt watercolor acrylic paint. Thin with water or leave concentrated to achieve various effects. The paint dries permanent – does not re-wet, it is machine washable on fabric and you can use on many different surfaces, like canvas, fabric, wood, paper and even glazed ceramics! This is my new favorite product from Plaid Crafts!
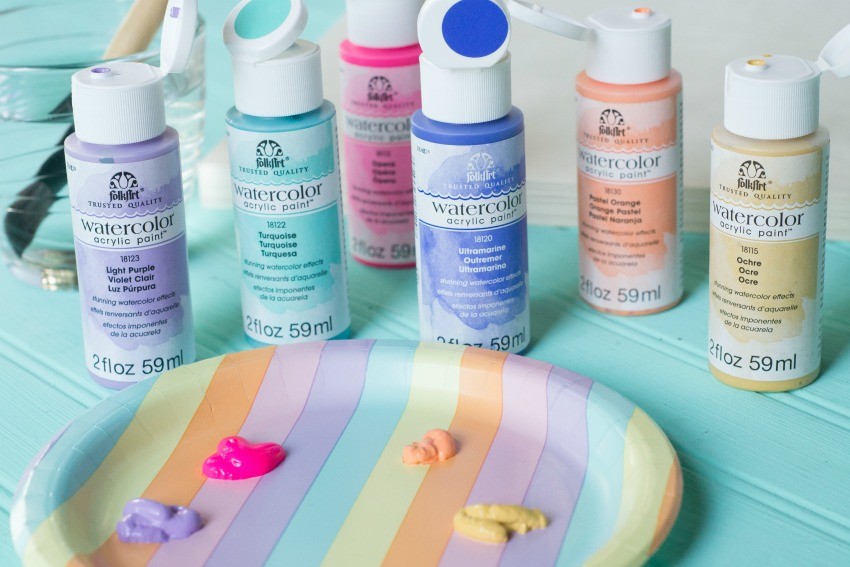
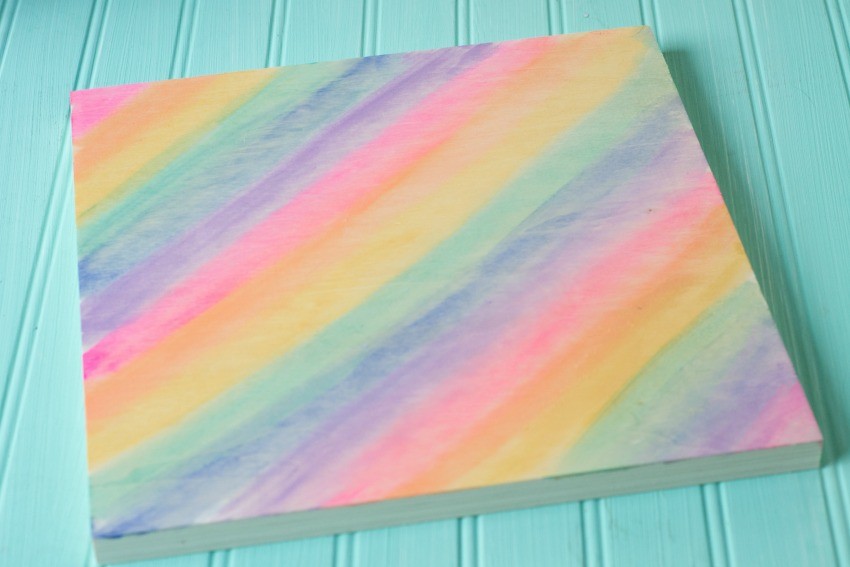
I started by adding six different colors to my paint palette…
Then I started working down my board making long strokes of color to make it look like a rainbow. Use a WET brush to paint with since this is watercolor paint. The more water you add, the more diluted the color. Because the FolkArt Watercolor Acrylic Paint blends so nicely, I blended the colors a little between each color and wasn’t worried about making it look perfect.
I let my paint dry for 24 hours then I came back and got to work on adding the personalization. This is where it can be as easy or as hard as you like. There are a few options:
- Use a cutting machine to cut out the name and use that as a stencil.
- Use actual letter stencils to do the name.
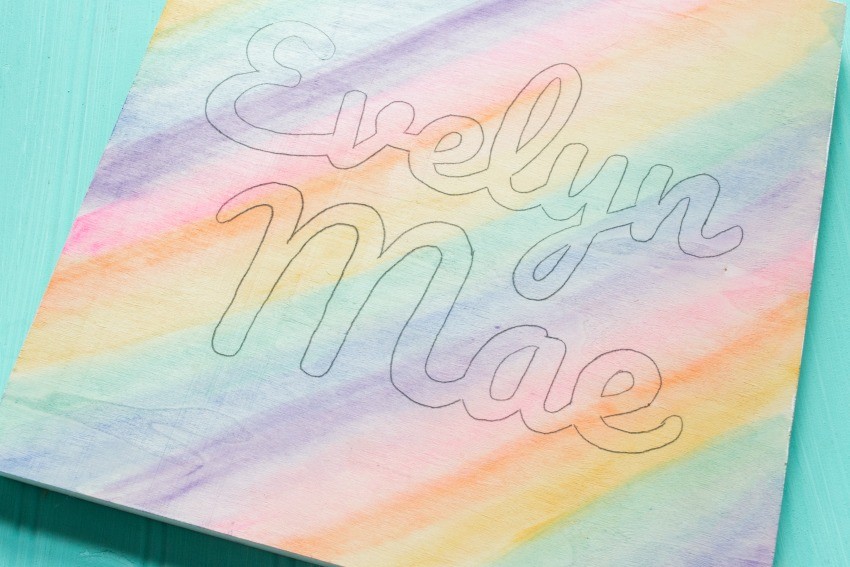
- Choose a font you like and print off the name on the printer, then using tracing paper to trace onto your wood and paint.
Because I realize not everyone has a cutting machine or stencils on hand, I did it the third way. I chose a font I liked, typed up her name, then used tracing paper to trace the name onto my wood board.
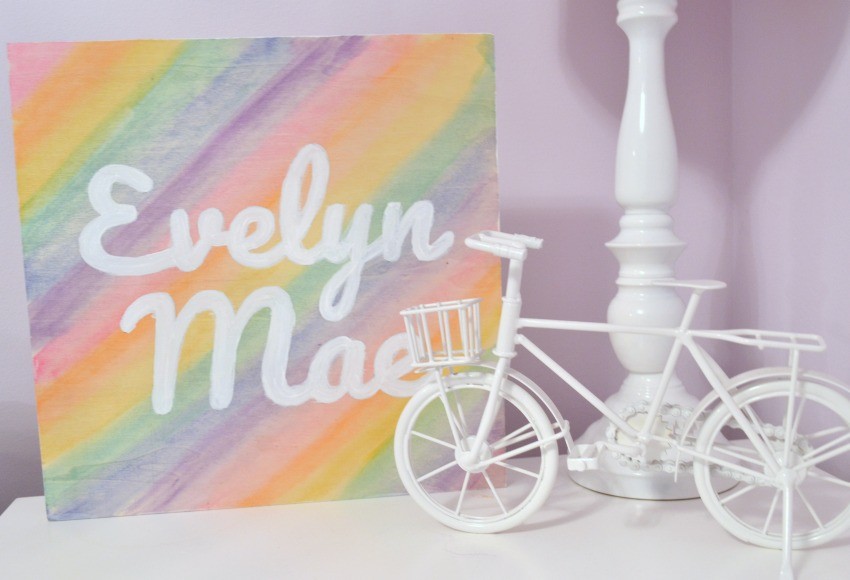
The final step was to take white acrylic paint and fill in the name on the board. I went over it several times using a small paintbrush until I had it just the way I liked.
The whole project is very simple and you could even add flowers or polka dots or other items onto your artwork depending on what you’re going for.
Pin it for later…