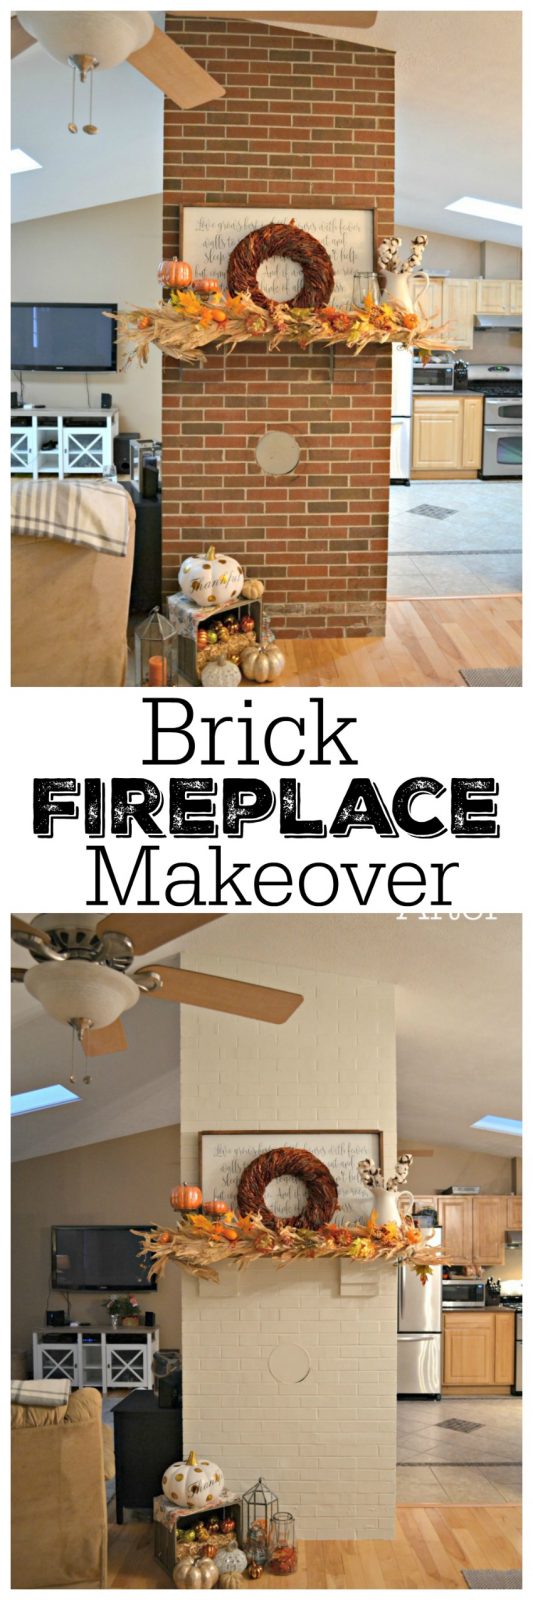
Painted Fireplace Makeover
New Year new…..home improvement projects! We have loads of plans in the works for this year and I cannot wait to share with you our first one. It’s been done since before Christmas, but I’m finally getting around to sharing it with you today! We finally took our old dingy brick “fireplace” in the middle of our living room and repainted it. So here’s the thing, this “fireplace” is unique because 1. it’s not a fireplace and 2. it’s 4 sided. It used to have a wood burning fireplace connected to the front of it but at some point one of the previous owners removed it. It does still have a mantel though. So when we moved in the first thing we did was purchase a pantry and put it on one side of the fireplace in the kitchen. And more recently we painted it white!! Now I can finally share with you my painted fireplace makeover and how we turned our main living space into a much brighter room with this update!!
So we started with this fireplace back in the fall. If you remember, I decorated it in THIS post here.
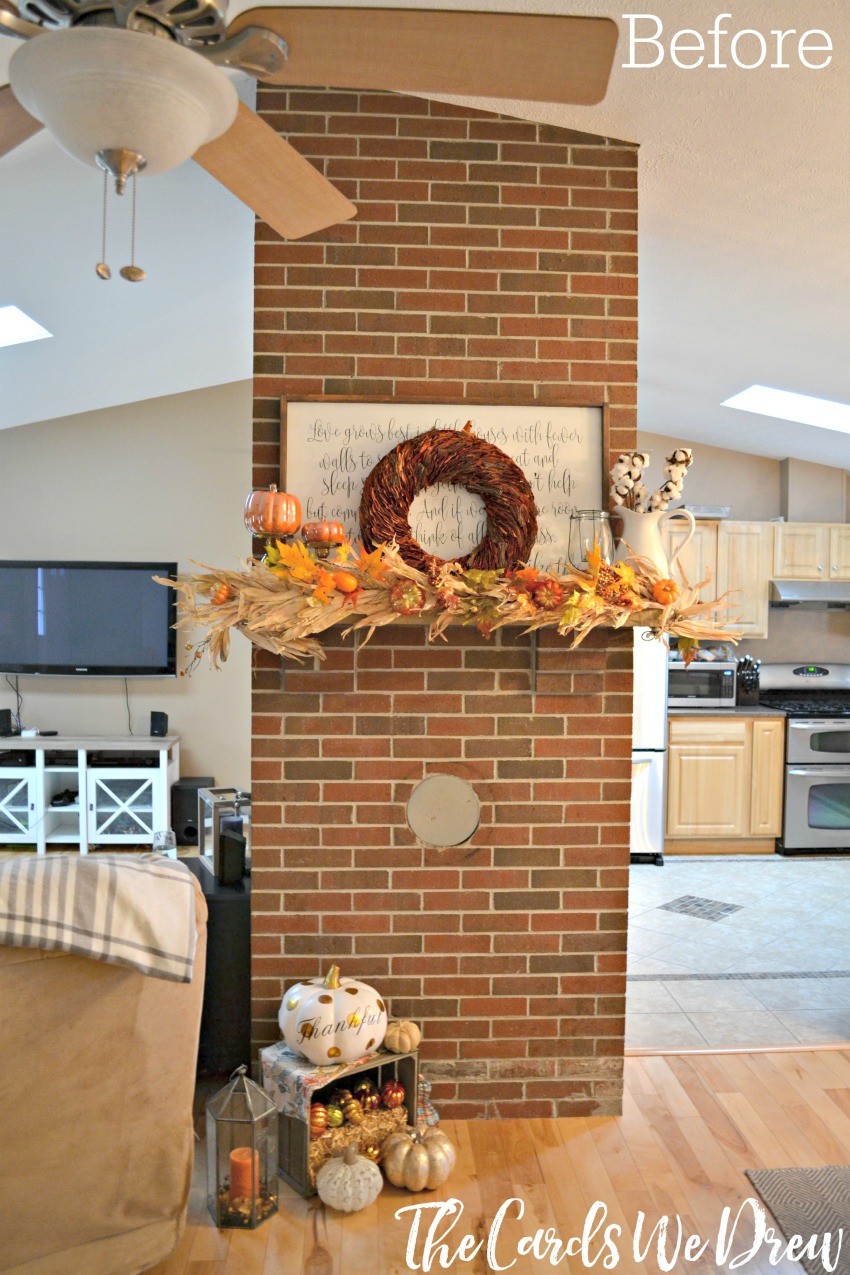
The fireplace sits in the middle of our living room/kitchen/dining room. Our house is a ranch and this is the main area. I initially loved this house because of it’s open layout, as well as the distinct features in this room with the vaulted ceilings, skylights, and the unique brick fireplace in the center.
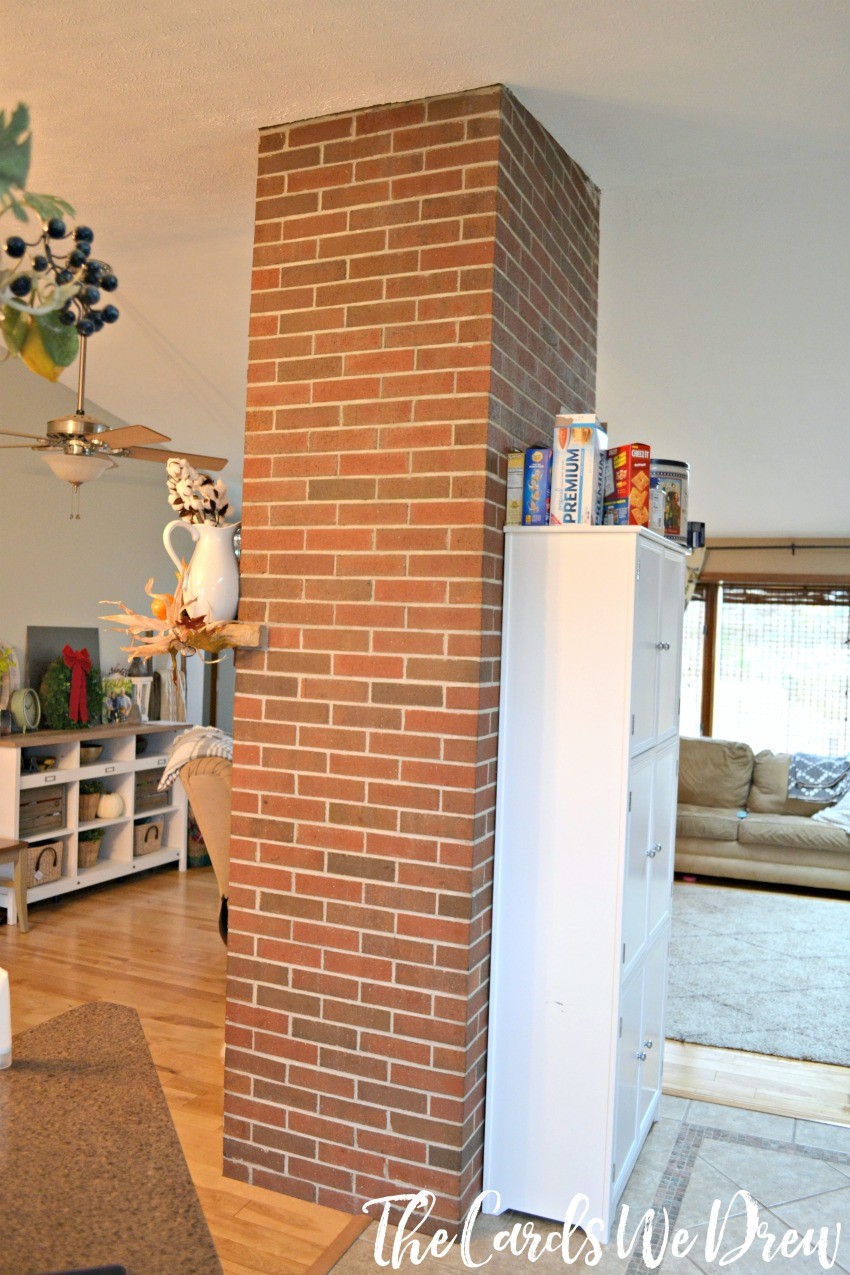
The bottom left corner almost looks like that’s my flooring, but that’s our countertop, to clarify. You can see into our living room and our pantry in this photo.
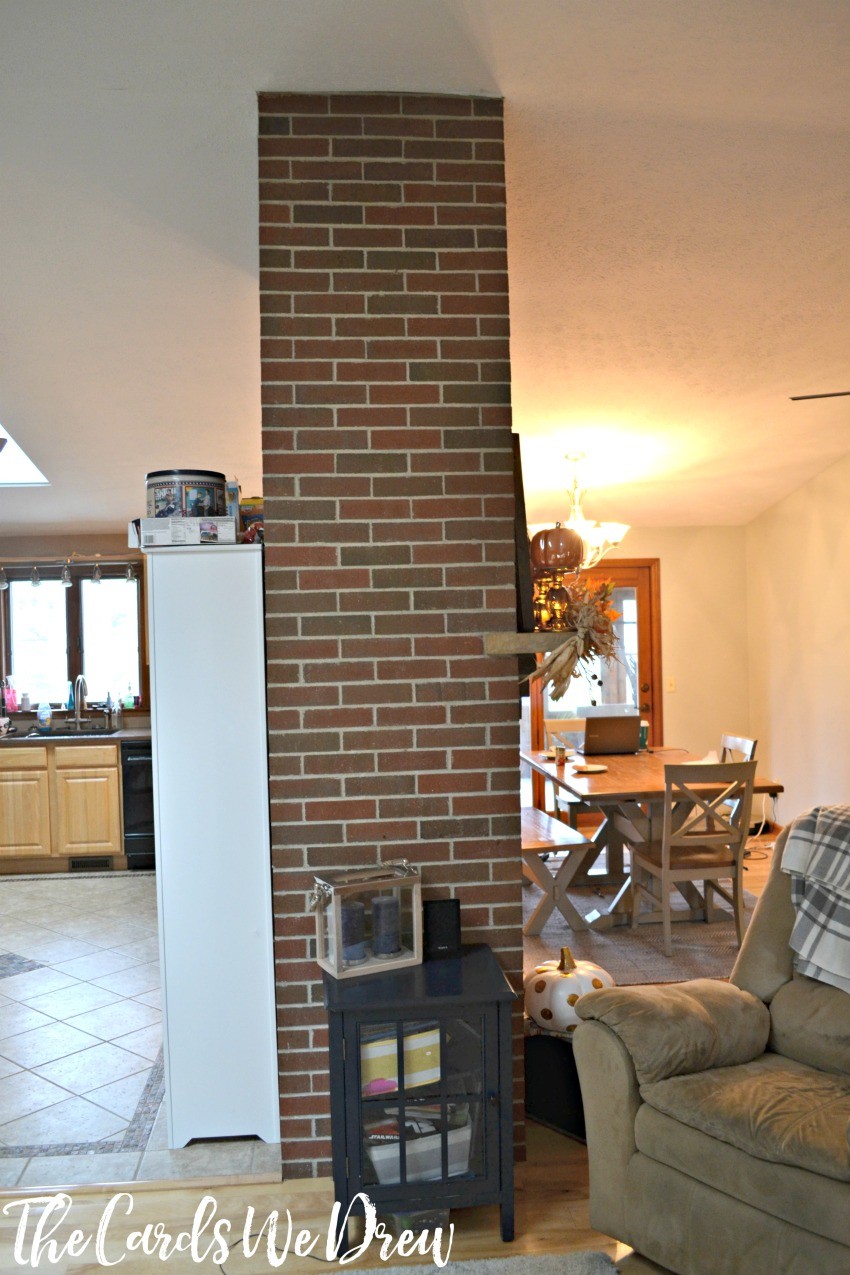
And then in this photo you can see looking into the other side of the room (in all of its glorious imperfections), Sadly friends, you’re not going to see the model home in my photos. I have an every day home just like everyone else.
So first we started by picking out our paint. We used a matte finish paint and we selected Sherwin Williams Alabaster White. It’s the same color we painted the OUTSIDE of our house with, so it only made sense for us. After the paint was selected, my husband started by cutting in at the top of the fireplace near the ceiling. He then taped off around our tile and hardwood floors and cut in around the bottom, as well.
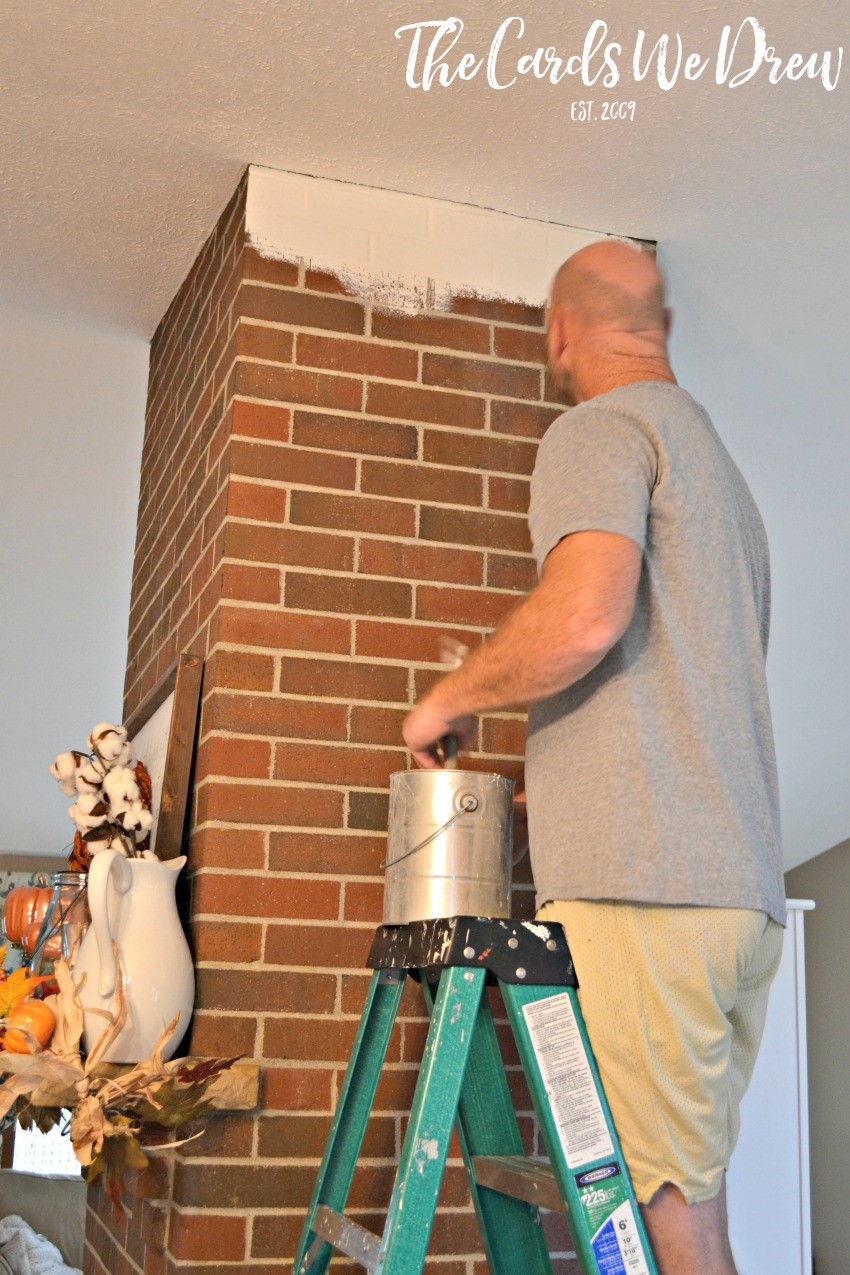
Next up, he started painting the paint brick area. He used a roller for this part and we had to roll each area twice. We ended up using about 1 full can of paint on this project because of how porous the brick is.
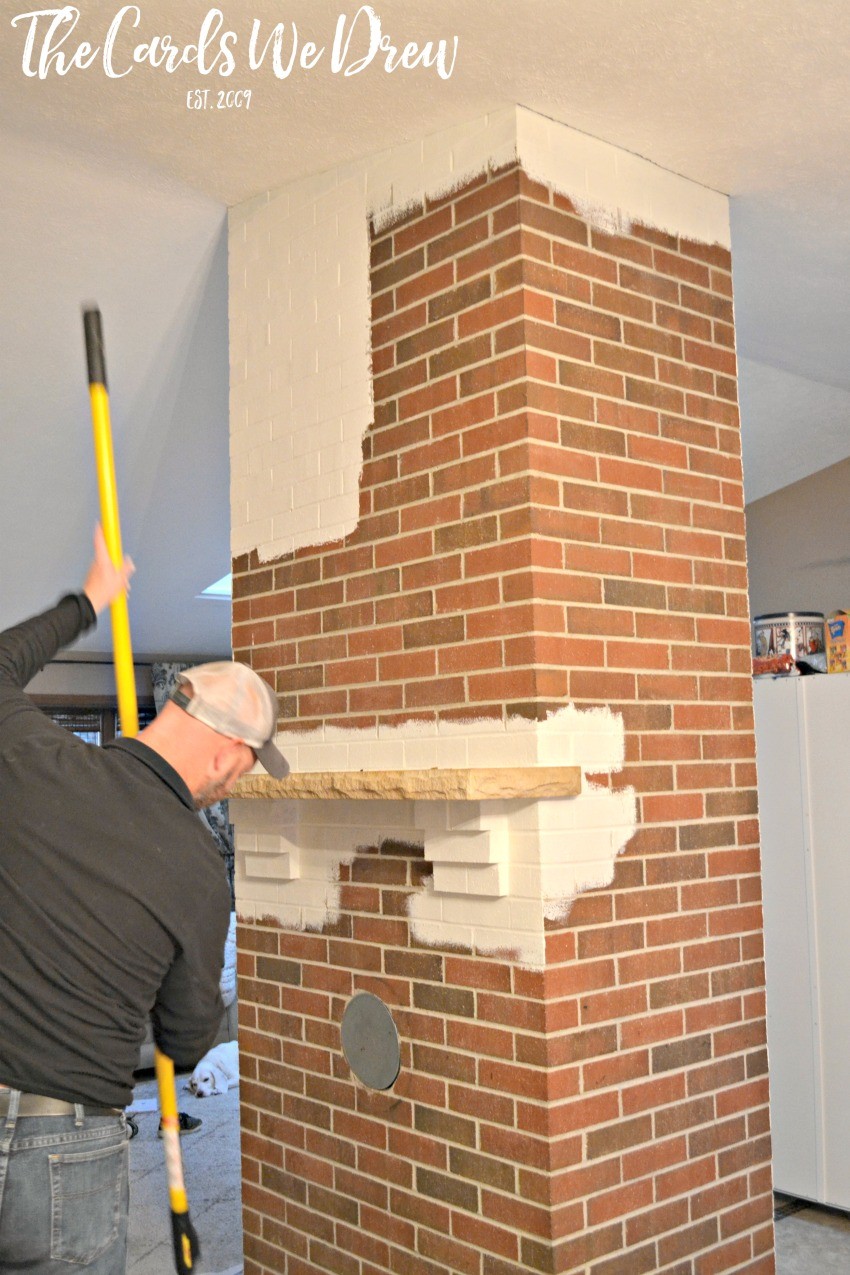
This is a round circle on the front of the fireplace that allows access to the stack that starts in our basement and goes up to the roof. So we painted over it to try to hide it a bit more.

After it was all painted we couldn’t believe how much it brightened up the room! Just IMAGINE how nice it’ll be once we paint our cabinets (more on that later!).
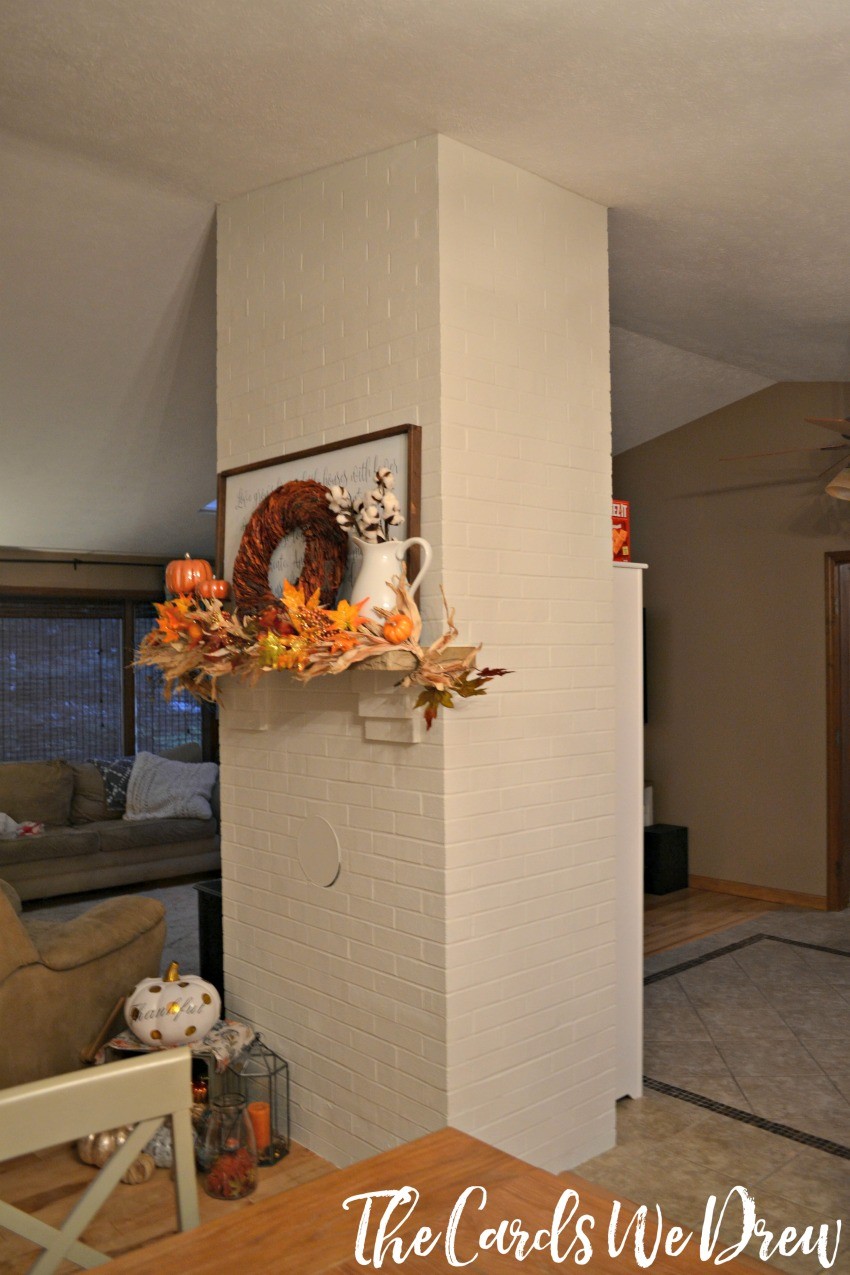
And here’s the after once we got it redecorated!
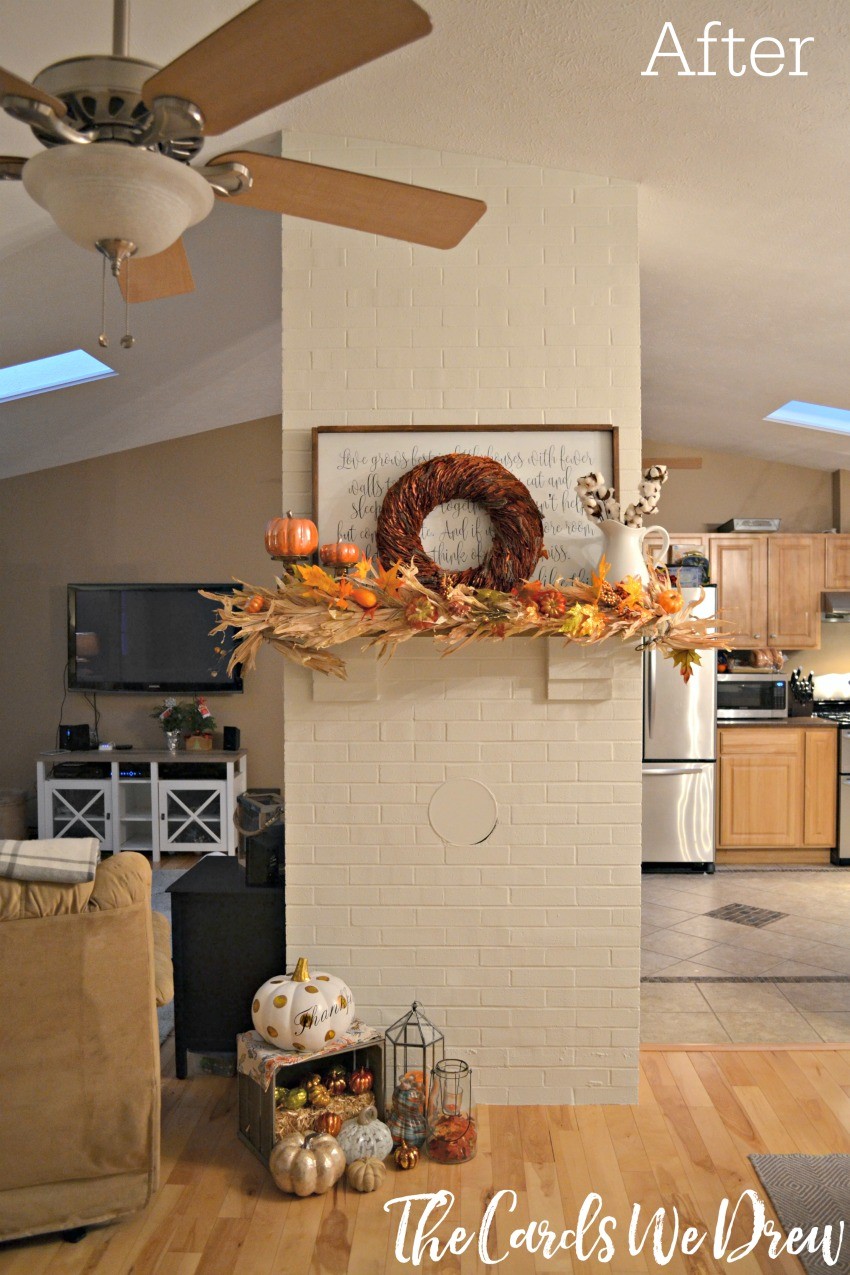
So much brighter and prettier! I just love how much light it brings to the room rather than the dull, boring, red brick!
I am in the middle of fixing this room up complete with new curtains, new rug, and decor–as well as finishing our painting (half the room is gray and the other half is tan!). So once it’s completed, I’ll update you on the progress!!
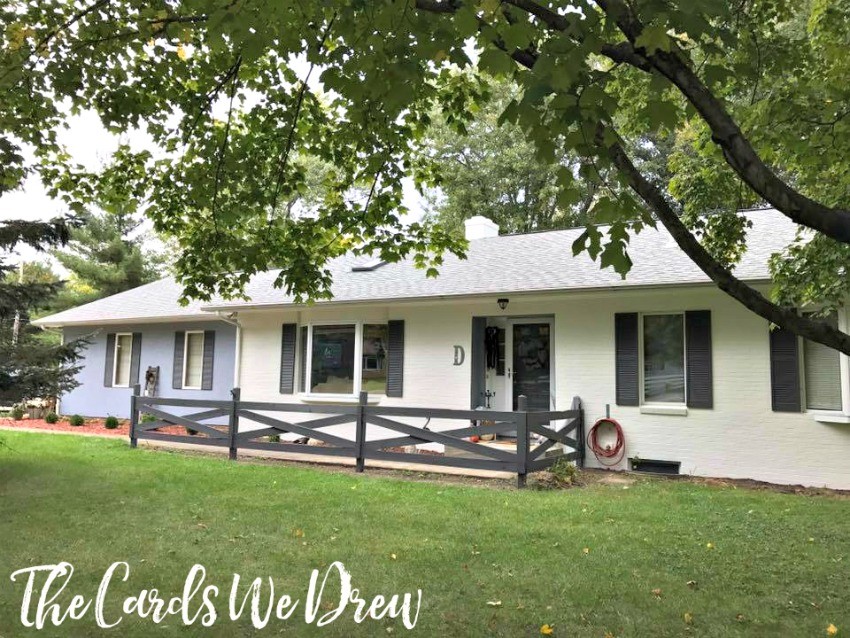
You may also enjoy my Painted Brick House Makeover!