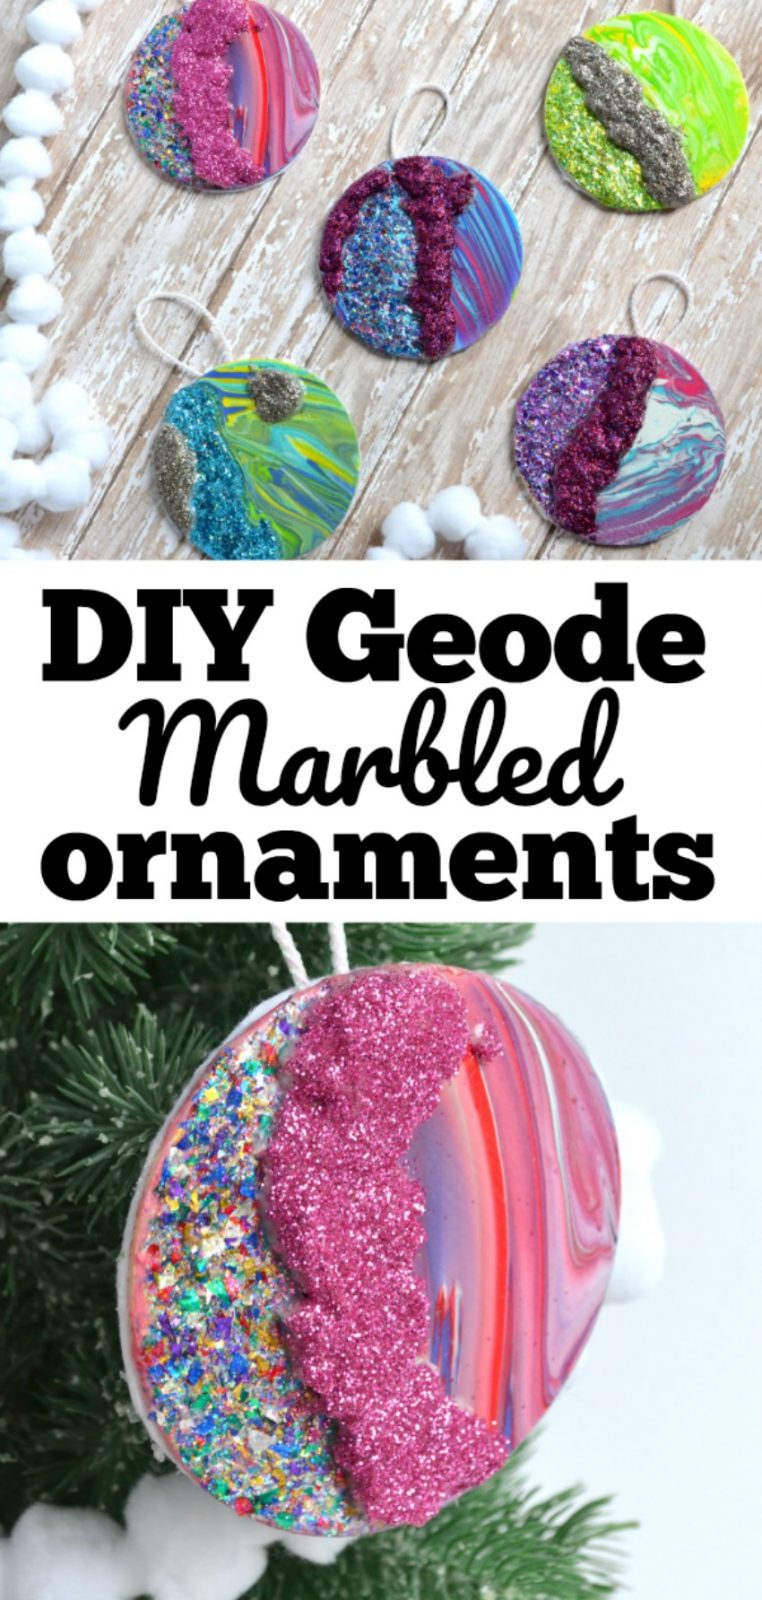
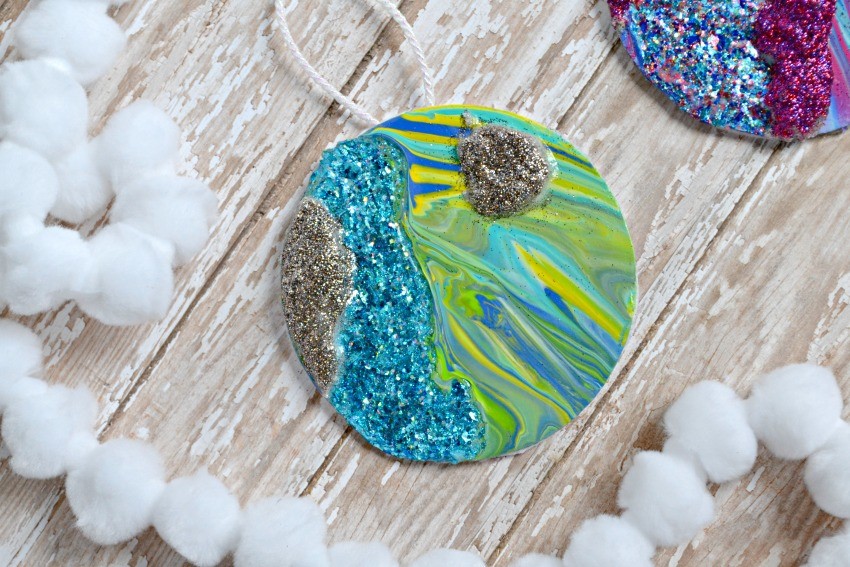
Faux Geode Marbled Christmas Ornaments
It’s the holiday season and today I’m showing you a fun and unique way to get crafty!! When we were in Atlanta last spring at Plaid Crafts headquarters we made these beautiful Faux Geode canvases that I shared a few months ago, I loved that craft so much that I thought it may translate to a really pretty and fun DIY Christmas ornament idea! Today I’ll show you how to make Faux Geode Marbled Christmas ornaments, which would be great gift ideas or a fun way to decorate a colorful and eclectic Christmas tree!

Table of Contents
Geode Marbled Christmas Ornaments
Supplies Needed:
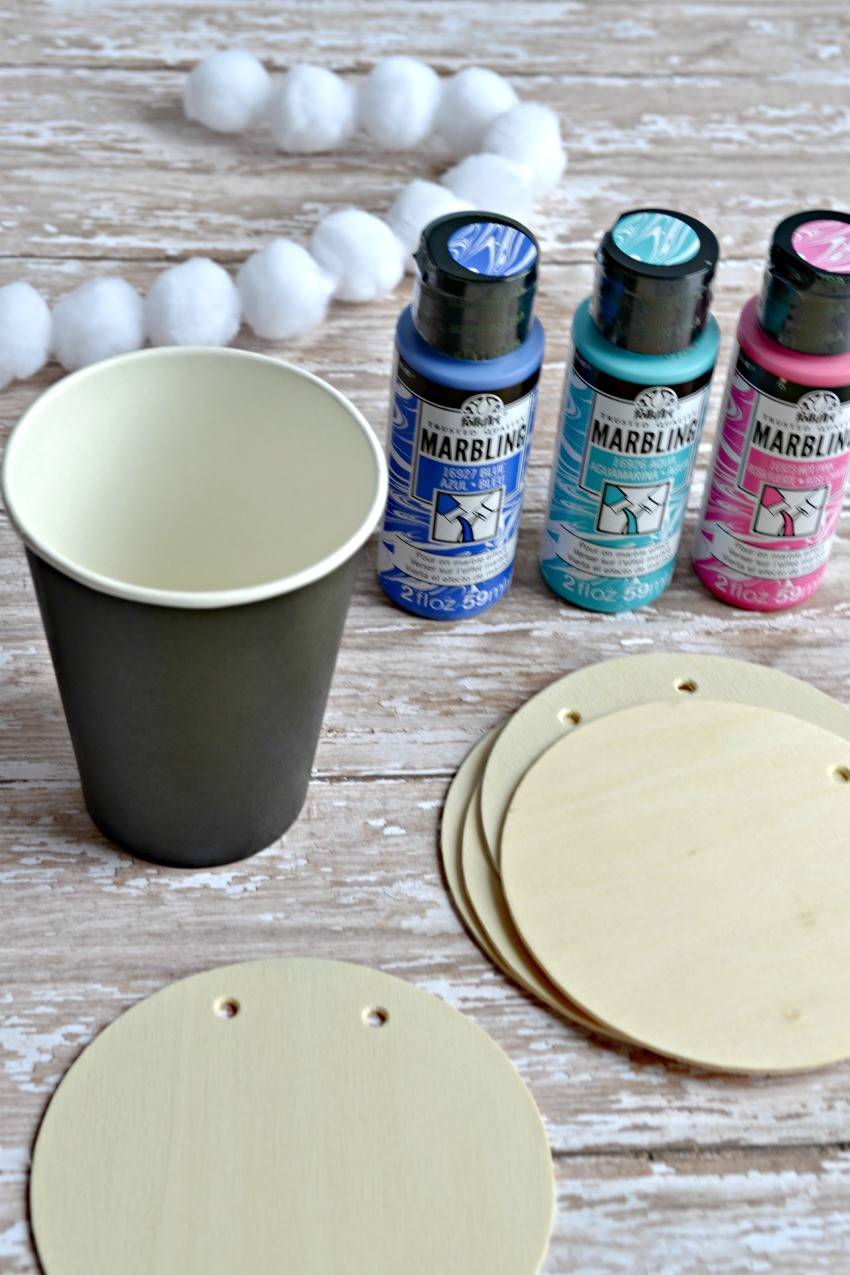
Wood ornaments (can also use small canvases or other options for the ornament)
Felt for back of ornament
Hot glue
Mod Podge
Glitter
Rock Salt
Ribbon to hang
Wax paper and/or foil
Disposable cups
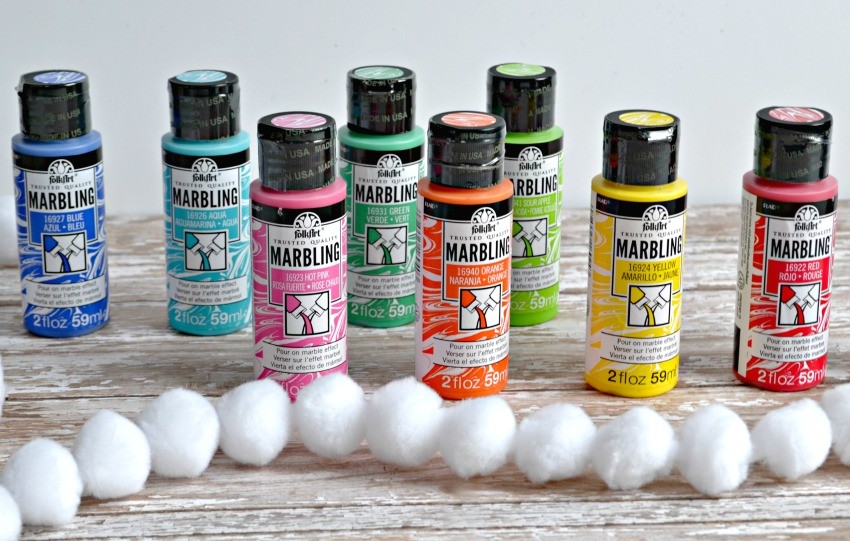
I love this project honestly because I get to use so many of my most favorite Plaid Crafts and FolkArt products. For starters, this FolkArt Marbling Paint is the most fun creations that Plaid Crafts has ever developed. Marbling is SO fun to do because you have the ability to mix colors and come up with really fun and unique marbled pieces of art and this marbling paint literally makes it SO EASY to do.
The other product that I’m using, that I adore, is the FolkArt Glitterific Paint. This is SUCH a cool product and has so many fun uses! It allows you to use the glitter you know and love, but with NO mess! I’ll delve into how we use it for this project in just a bit!

Step One.
To start, I like to prepare a baking dish by wrapping it in foil. I like to have a place to pour the marbling paint so that once I’m done I can just pick up the foil and throw it away. I also like to have a cookie sheet covered in wax paper where I can set my ornaments to let them dry. If you don’t want to get paint on your hands, you may also consider plastic gloves for this step too.
Step Two.
Once you’re set up, pull out some disposable cups and start mixing your marbling paint. You can pour them right on top of one another because they don’t mix colors! That’s the beauty of this product! For this post, I used three colors and squirted them in one on top of the other. I fill up the cup about 1/4 of the way full and you can sometimes get two uses out of that much paint.
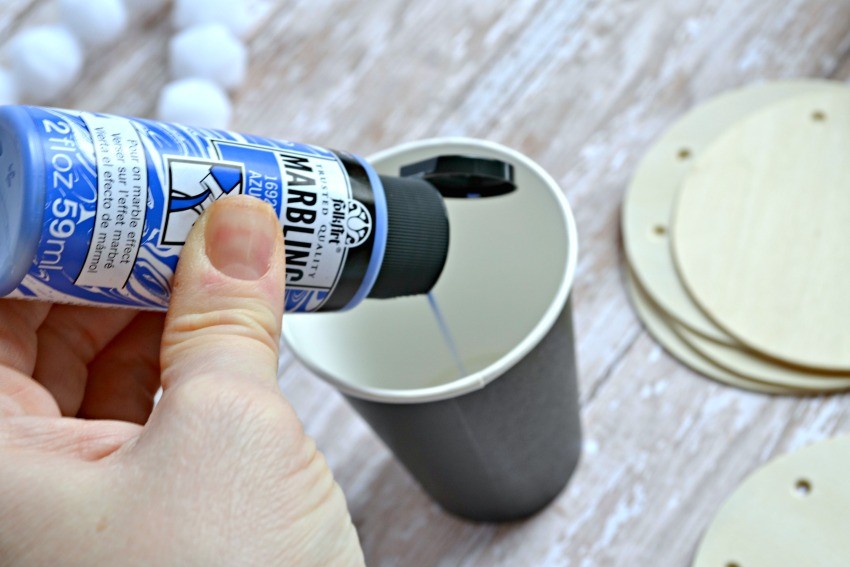

Step Three.
Just pour directly onto your wood ornament, then pick up and move the ornament around to let the marbling spread until you get your desired look. I typically marble about 1/2 or 3/4 of the ornament and then leave the other half black for the Glitterific paint. You could also decide to just marble some ornaments and nothing else, in which case you would marble the whole thing and skip the next step. Let the excess paint drip off into the foil covered pan below.

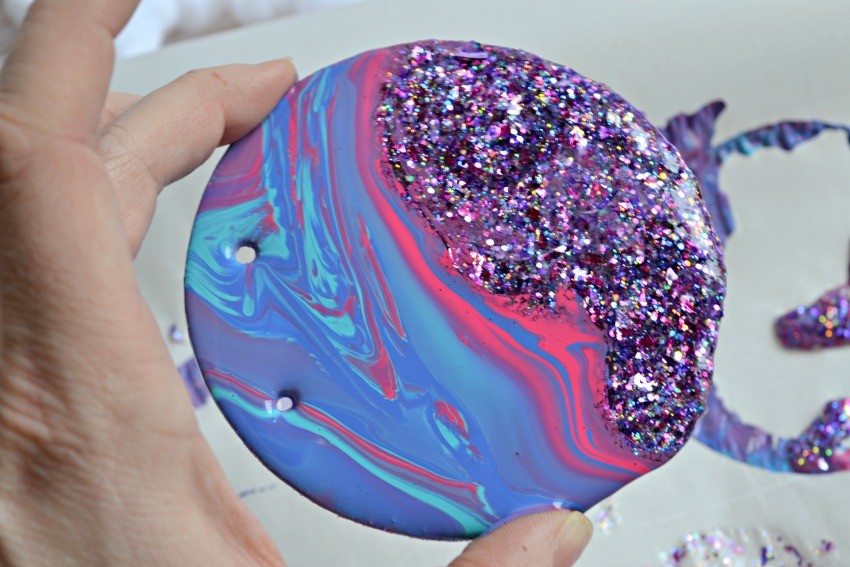
Step Four.
You can do this while the marbling paint is wet or you can wait until it dries, but from there you take your Glitterific Paint in your choice of color and add it onto your ornament. I like to get a large dollop of the Glitterfic onto a plastic spoon or knife and then “glop” it onto the ornament (you’ll see why I say “glop” once you use it). Spread it around so that it covers the remaining part of the ornament that you didn’t marble.
Step Five.
Let your ornament sit overnight to dry. It may even take 2 days to completely dry, so place in front of a fan to speed up the dry time if needed.
Step Six.
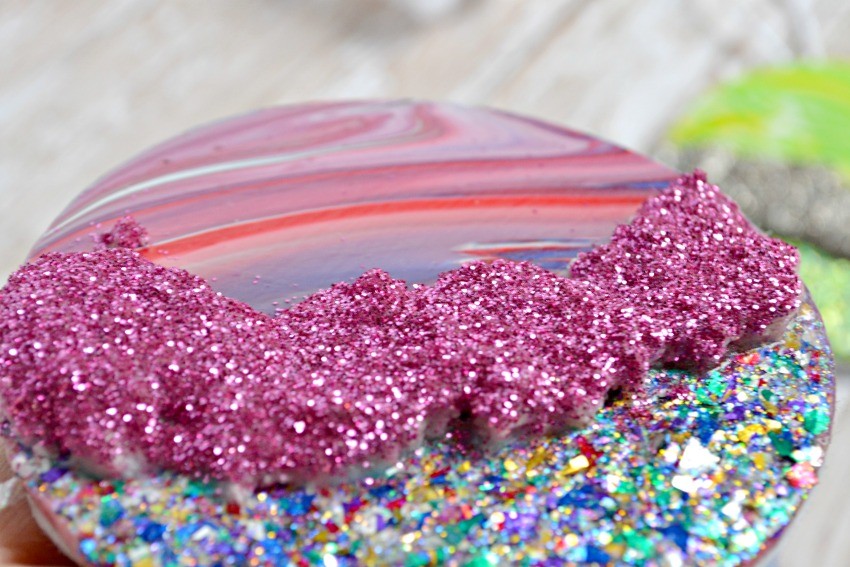
Now you’re onto your rock salt crystals! These blew my mind, they were so easy to make and so pretty!!
In your disposable bowl, mix together equal parts loose glitter and mod podge (think around 4 tablespoons of mod podge and 4 tablespoons glitter). Then add rock salt until well covered. You then take your rock salt mixture and gently pour over the section on your ornament where the marbling and the Glitterific meet. Let dry for 24-48 hours.
Option 2: The other option is to use course salt and mod podge mixed together in a bowl. Then pile up on the ornament where the marbling and glitterific overlap. Let dry for 24 hours and then come back the next day and add another thin coat of mod podge to the top of it and sprinkle with loose glitter.
Step Seven.
Once your ornament is dry, I like to go over it once or twice with a coat of mod podge to seal it. I then cut 4-5 inches of ribbon and create a loop and hot glue it onto the back of the ornament so it can hang. Then finally I cut a piece of white felt the same size of the ornament and use hot glue to glue it on the back of the ornament to give it a finished look (and cover up any excess marbling paint that got on the back).
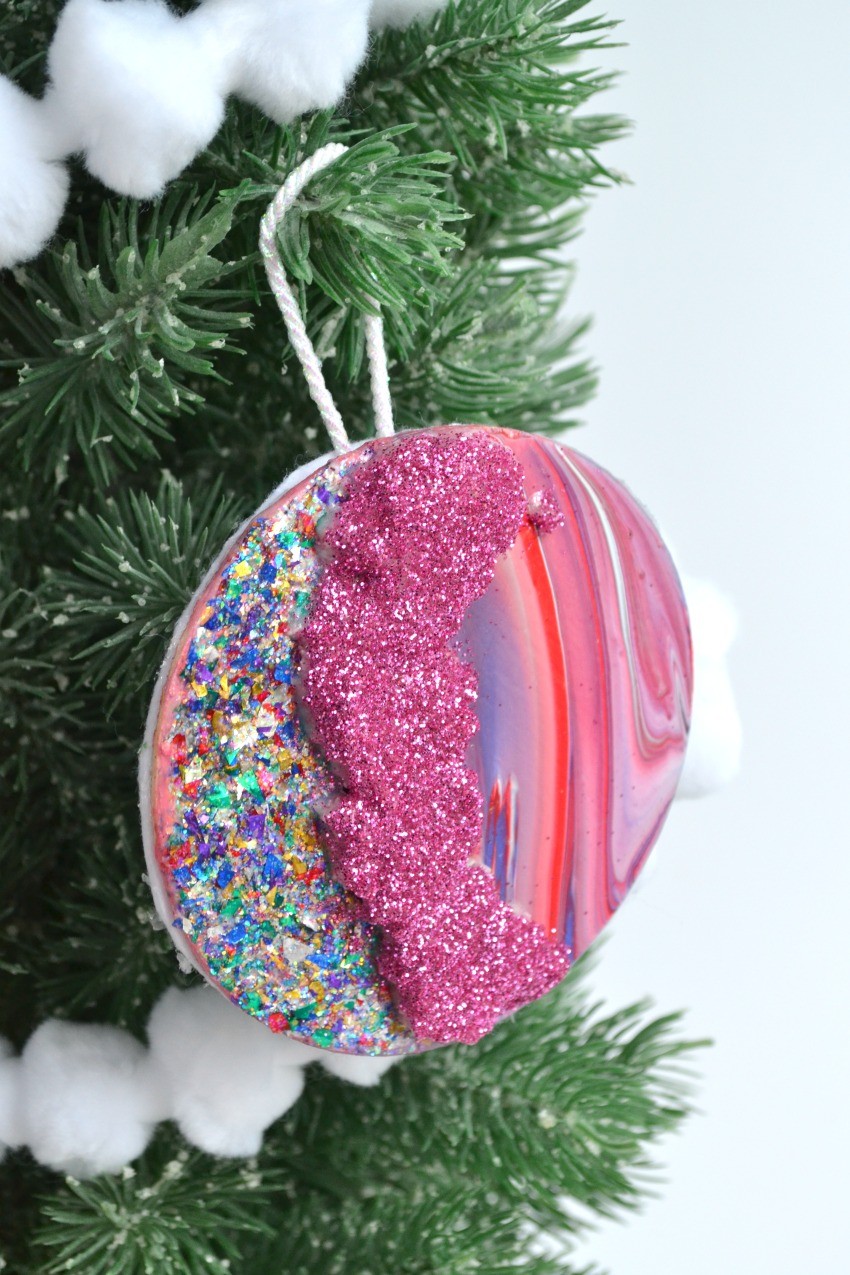

The great part about these ornaments is that you can choose ANY color combination of glitter, marbling, and Glitterfic paint to match your holiday decor! These are SO fun to make and would even make great gift tags!
I hope you enjoy this easy tutorial. Check out more DIY Ornament Ideas from my fellow Plaid Creators below:
Pin it for later…