
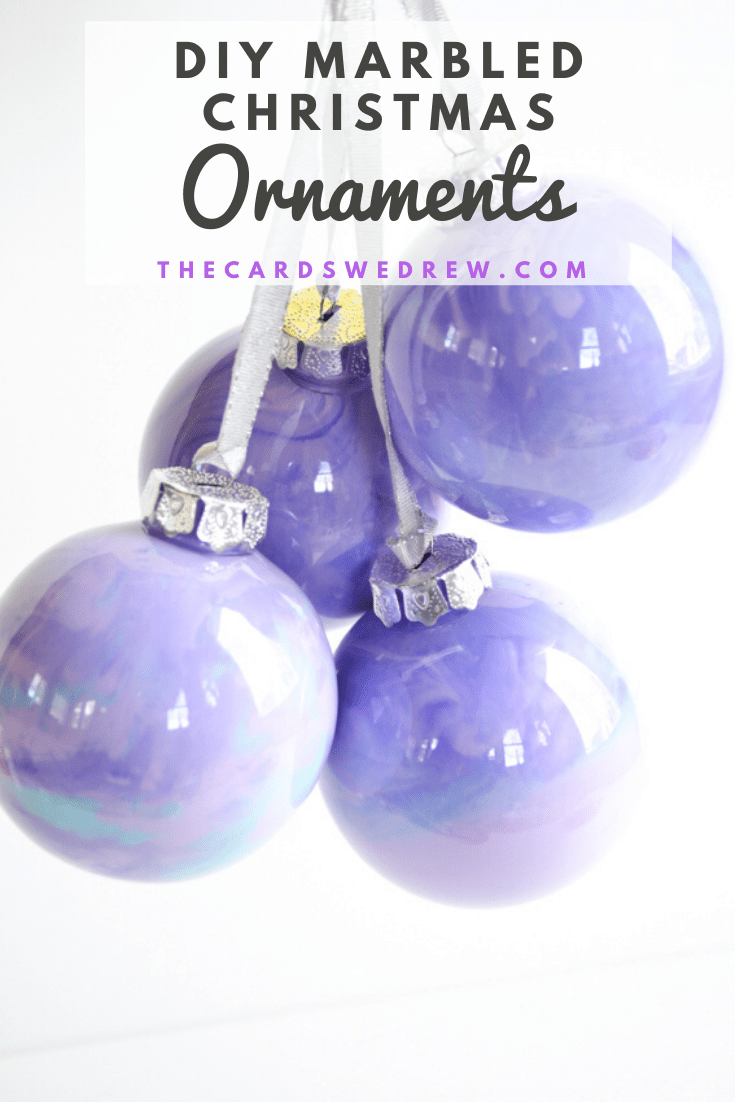
Marbled Christmas Ornaments
This year I’m mixing up my Christmas decor and switching color palettes and whenever we start to do that, it’s painfully obvious how hard it is to find affordable Christmas ornaments in the style that you want…and of course, still afford to buy presents and everything else you need after you decorate your home. Today I wanted to show you how to make these DIY Marbled Christmas Ornaments in case you want an easy way to add some pops of color to your Christmas tree without breaking the bank on expensive ornaments. For this post, I am actually using these ornaments as little gift ideas for my daughter’s friends, but you can make them for your every day decor easy-peasy.
How to Make Marbled Ornaments
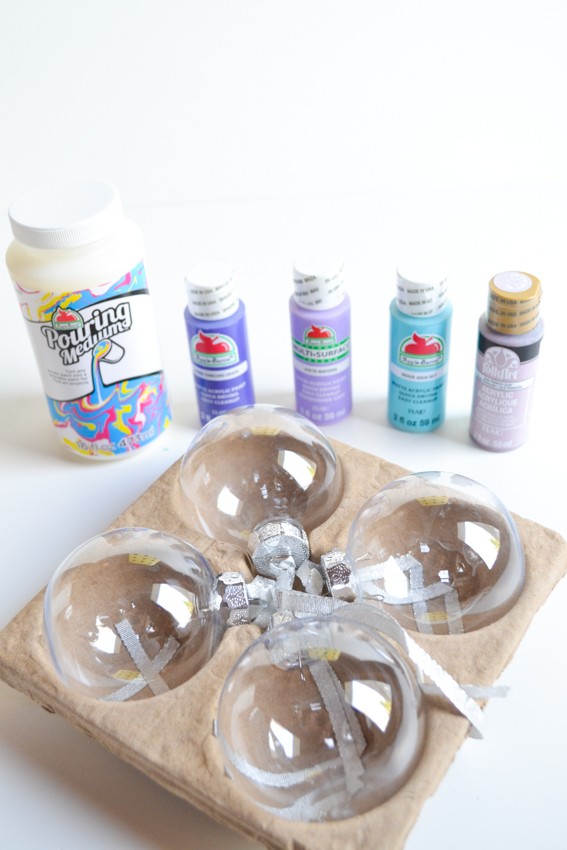
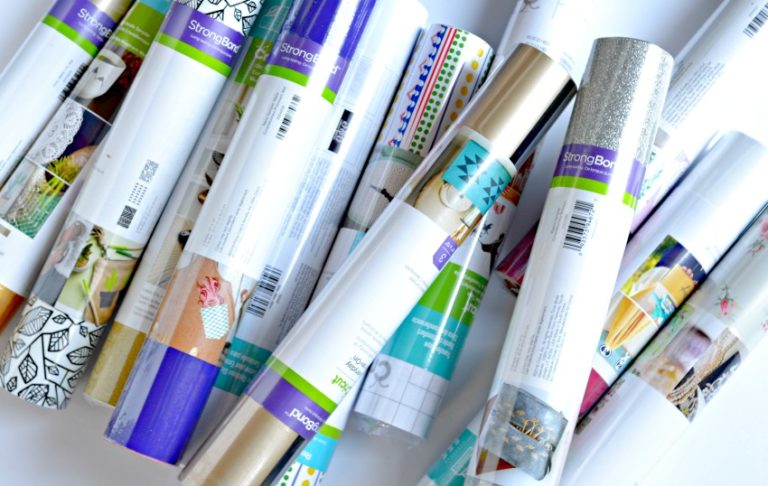
For this post you will need the following items:
Cups to mix paint and marbling medium
Marbled Ornaments Instructions
You still start by using your paper cups to mix together the Marbling Medium and craft paint. I use a squirt of marbling medium and then about 3/4 of a bottle of craft paint. Mix each color separately and follow instructions on your marbling medium bottle for consistency.

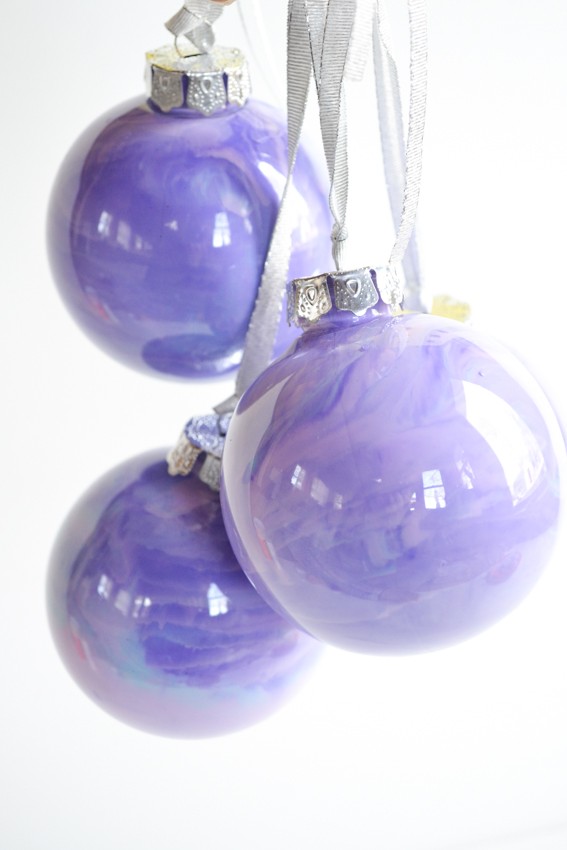
Next, take the lid off your ornament and gently pour a little of each color into your ornament and then start swirling around. Unlike traditional marbled ornaments, using the marbling medium prevents less combining of the colors, so you get a truer marbled ornament. Spread the colors around all sides until the ornament is completely covered.

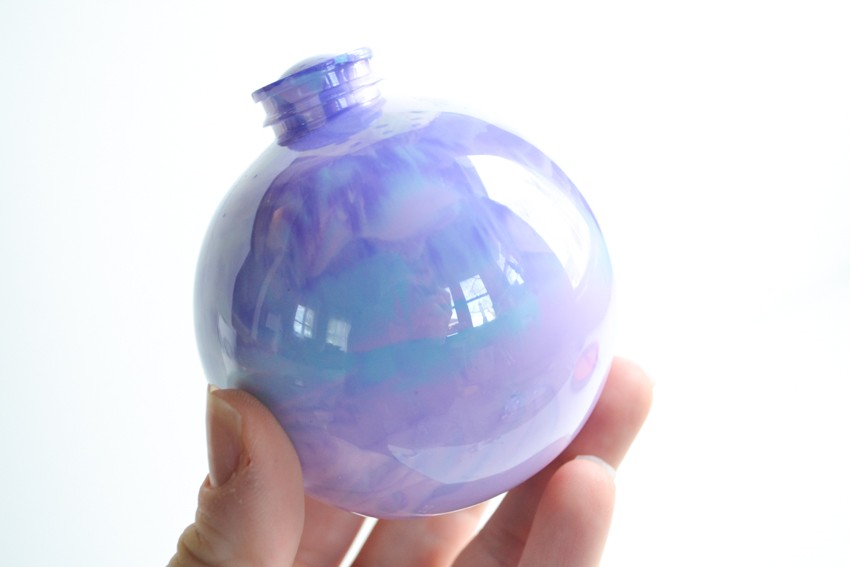
After your ornaments are done, tilt them upside down to let the excess paint run out of them. This can take a day or two to dry completely and get all the excess paint out.
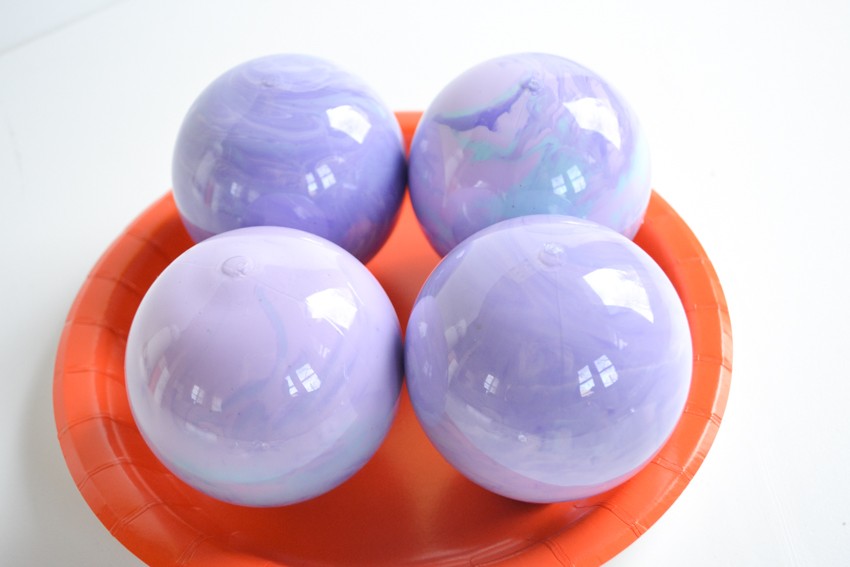
Once dried, place the lid back on top and enjoy your creation!!
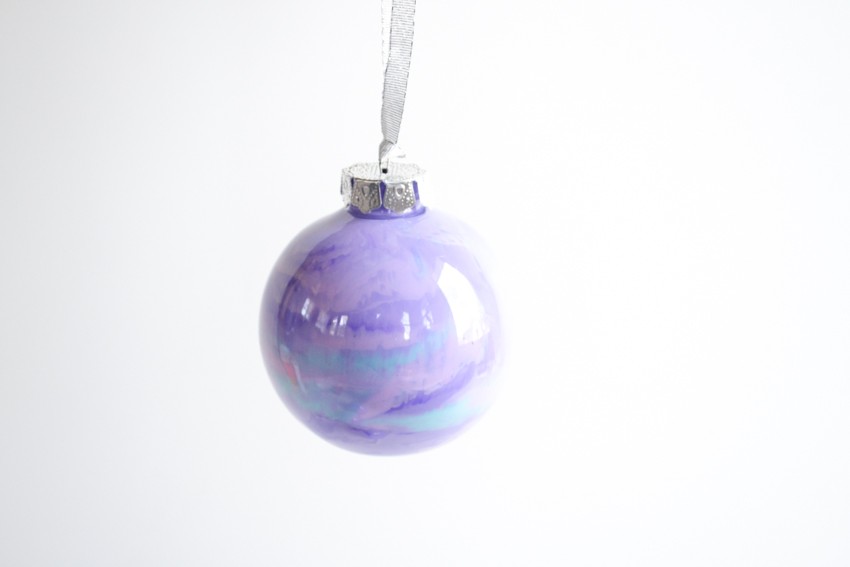

I even went a step further and I used holographic vinyl and my Cricut to put names on each of the ornaments…
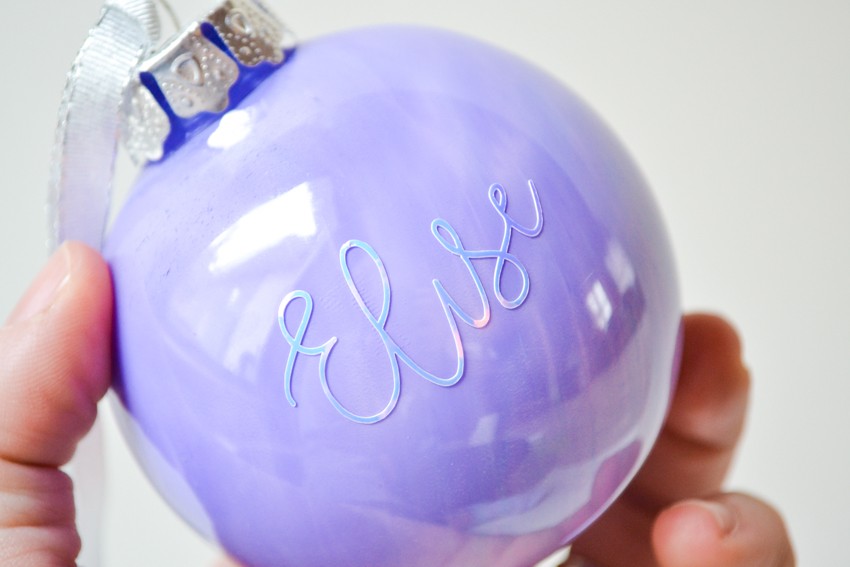

Didn’t they turn out so pretty?! They were super easy to make and you can personalize them in any way with any colors you desire! Enjoy!
Pin it for later…


These are adorable! I love the colours with the holo vinyl <3