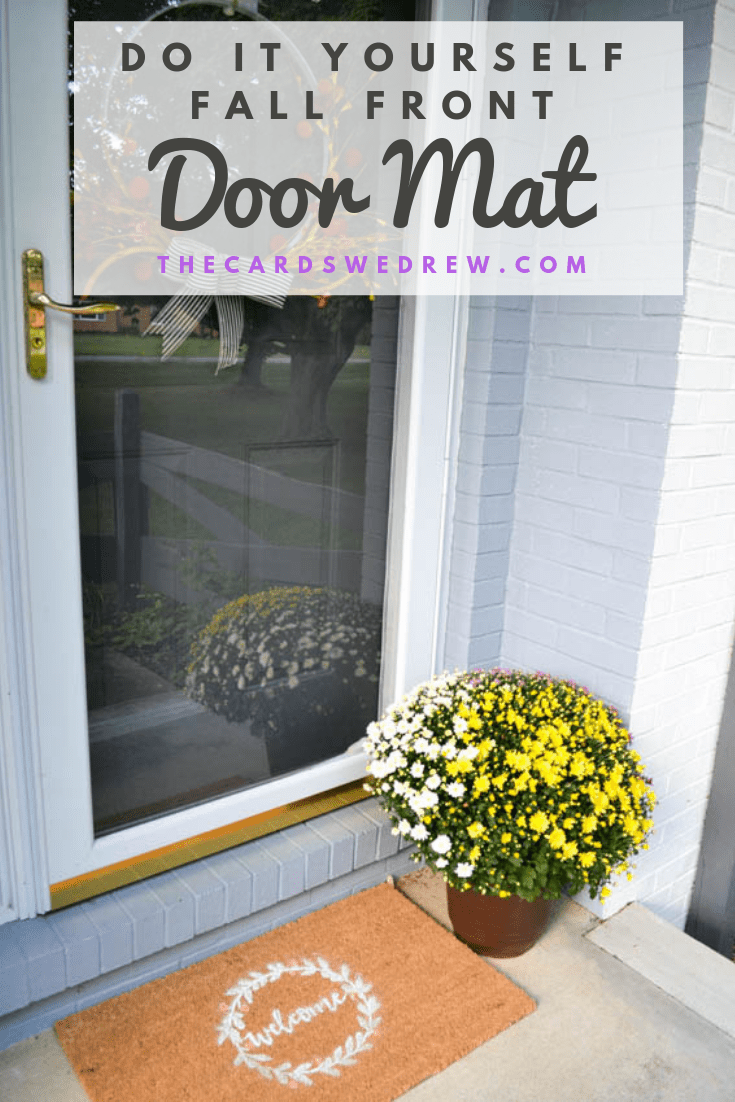
DIY Fall Front Door Mat
This post is sponsored by HomeRight, all opinions are my own.
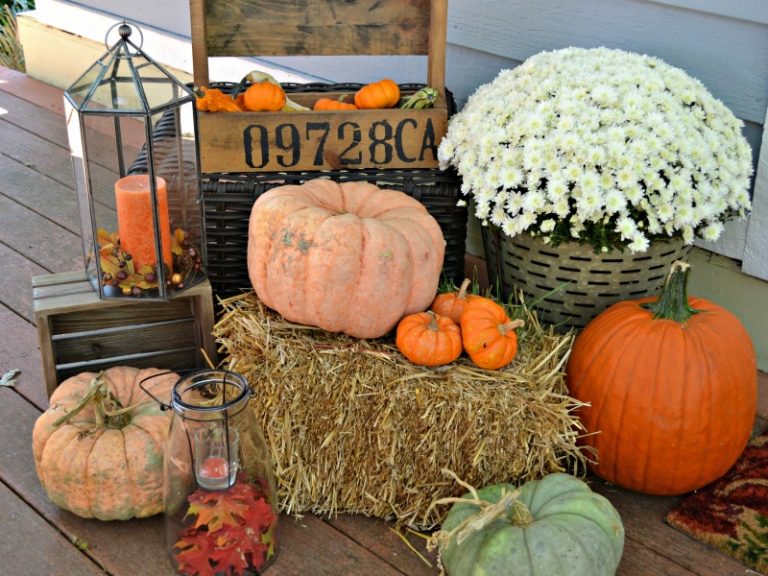
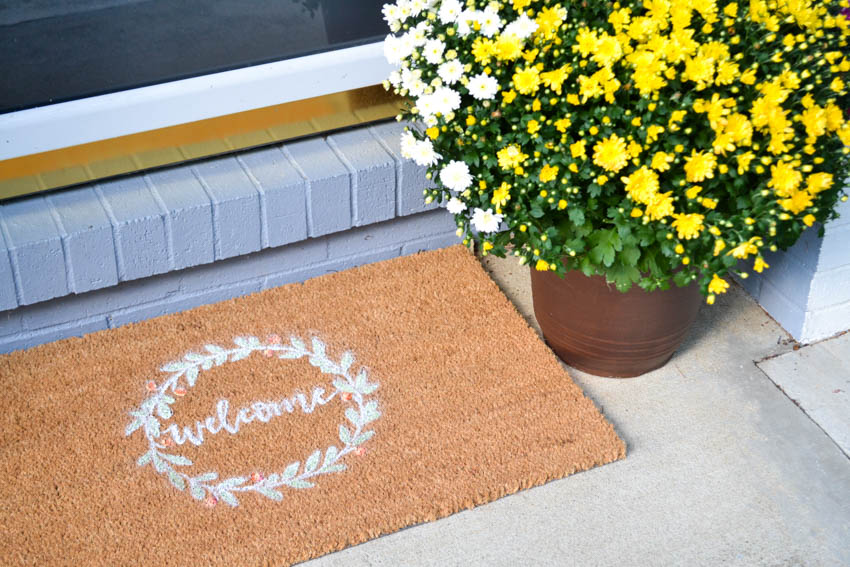
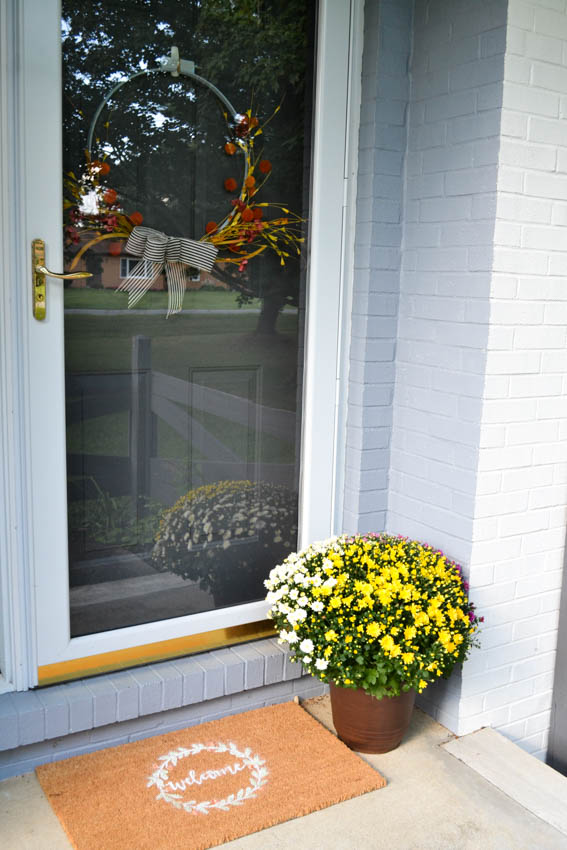
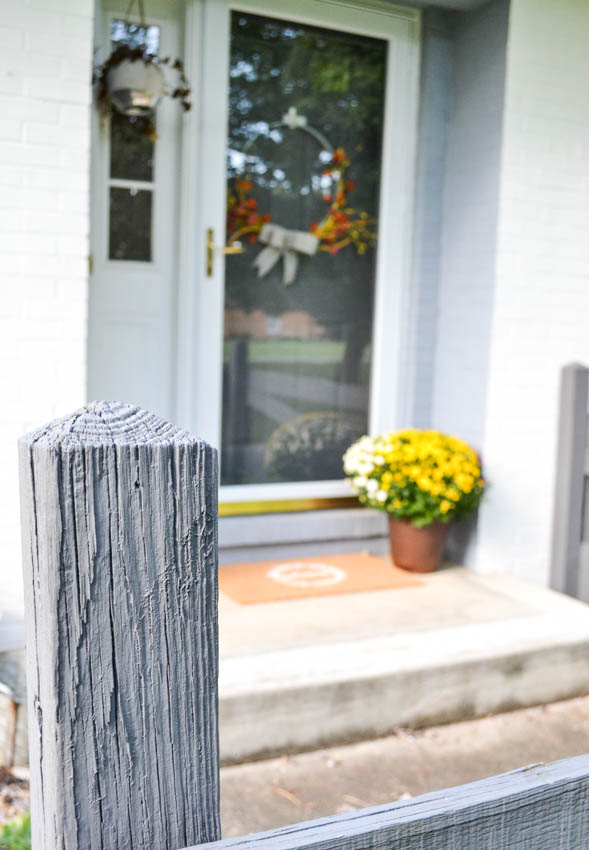
Now that fall is right around the corner, some of us may be decorating our front doors, porches, and decks with beautiful fall mums or other fall decor. As much as I hate to say goodbye to summer, I LOVE the fall decor and the rich colors and different styles that you can use when starting fall decorating. You can stick with traditional fall colors like reds, oranges, and yellows, or you can consider using more trendy fall decor like navy blue, teal, and sunflower yellow. Some people even like black and white for fall mixed with neutrals…the options are endless! Today I want to show how you can customize your front door for fall with this DIY Fall Front Door Mat. I made it to go with my Fall Front Door Wreath (also traditional fall colors) and I love how it all ties in together! I also love how for this project I used my HomeRight Paint Sprayer to take the pain out of traditional stenciling!
How to Make a Stenciled Door Mat
For this project you need:
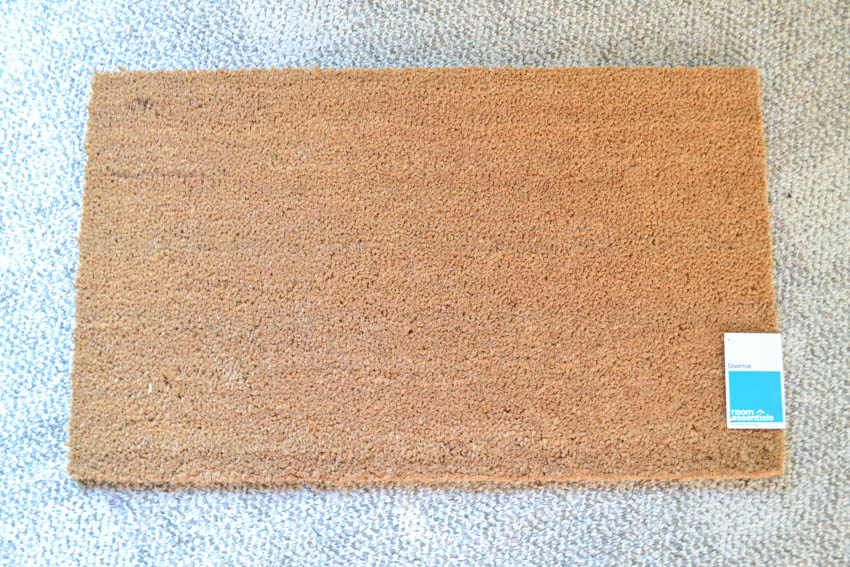
Blank Front Door Mat ($10 at Target)
FolkArt Stencil of your choice
2-3 bottles FolkArt Craft Paint in white
3-4 seasonal colors of your choice
Painter’s Tape
HomeRight Spray Shelter (optional)
How to Make a DIY Front Door Mat
- First, pick up a front door mat from Target. I bought mine for $10 and it is perfect for what you’re using it for (that way if you mess up you’re only out $10 too).
2. Next up, line up your FolkArt stencil on your door mat and use painter’s tape to tape it down and then use tape and cardstock to cover up any open sides of the mat. You want to cover anything that won’t get painted.
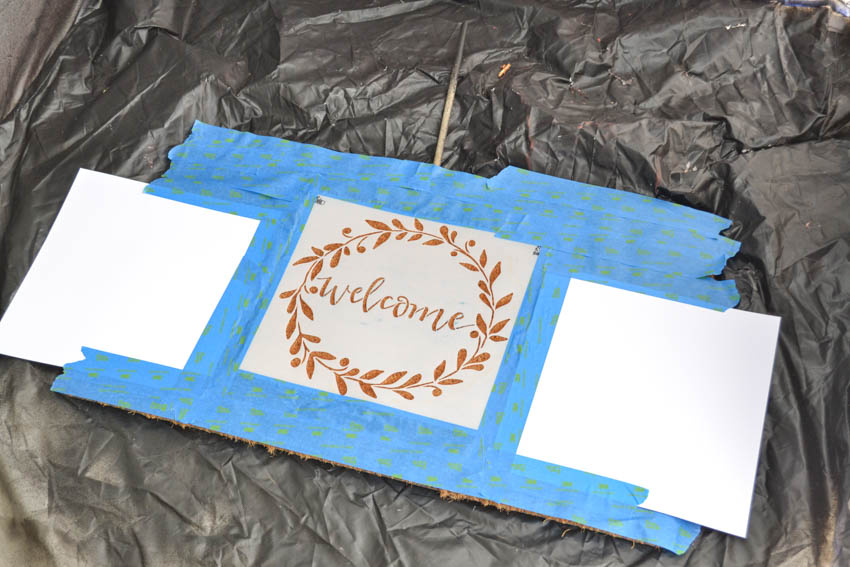
3. I put my mat into my HomeRight Spray Shelter (perfect for spray painting because it keeps the mess to a minimum) and I added my bottles of white craft paint into my Paint Sprayer. I watered down my craft paint with a few tablespoons of craft paint to ensure it made it easily through the paint sprayer. Then I simply used my Paint Sprayer to spray the stencil, careful to angle it downwards vs. at an angle because I don’t want to lift the stencil and get paint where it shouldn’t go.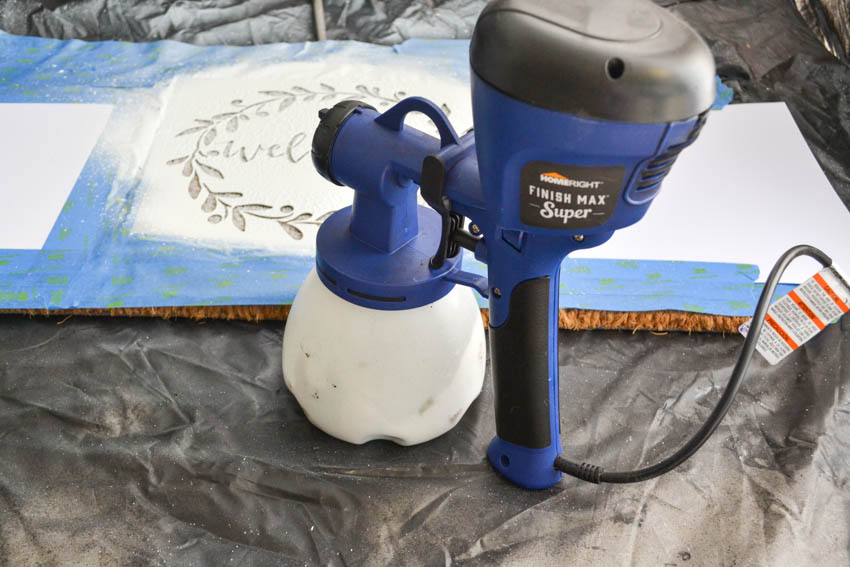

4. Lift up your stencil and check to see that your image transferred fully and then peel off the tape and let dry. Next up, you have the option of using some accent colors to color in the leaves and berries around the welcome on your mat. If you choose to leave it white (or whatever color you chose) that’s fine too! 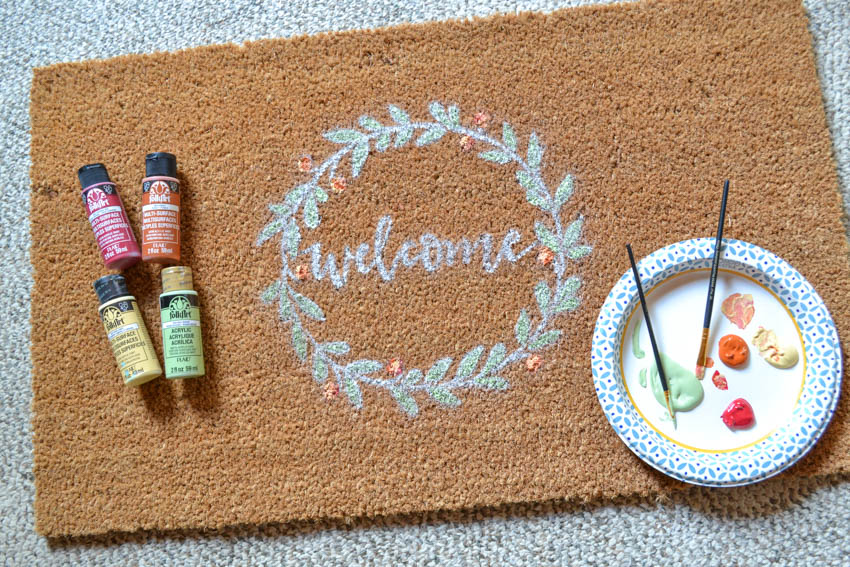
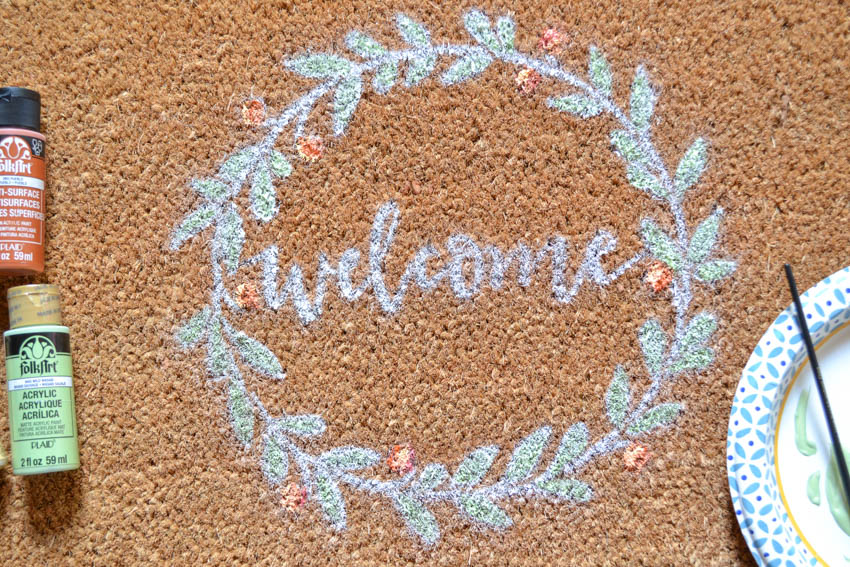
I like that it added a little personality to the mat and coordinates it nicely with my door wreath.
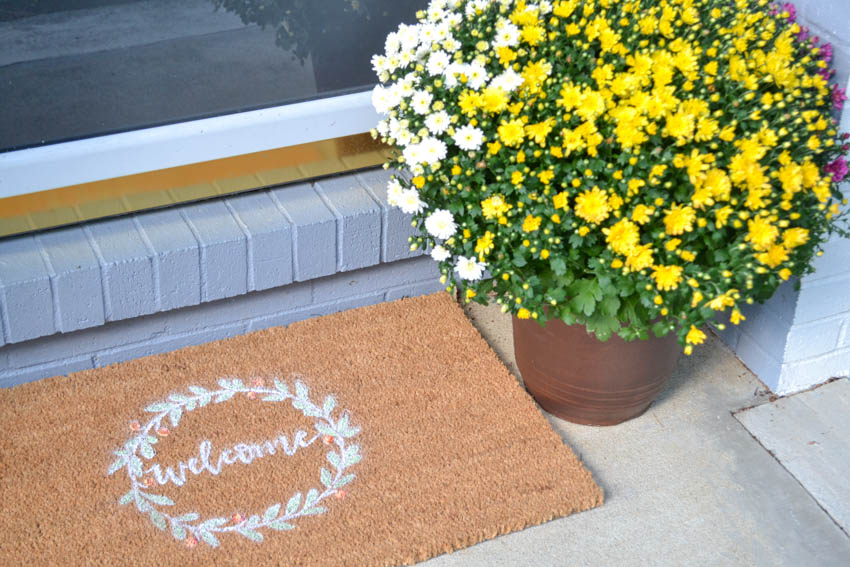
Finally, I added a mum to my front doorstep and enjoyed the fruits of my labor…which was all about 30 minutes total to make!

I hope you enjoyed my easy DIY Door Mat tutorial! Be sure to pin it for later if you want to take a stab at it!
Pin it for later…