How to Smoke a Turkey
This post is sponsored by HomeRight, all thoughts, words, and opinions are my own.
Each year my husband and I get up around 5 a.m. to get our Thanksgiving Day turkey on the smoker. Years ago we bought a smoker and it has been one of our favorite investments so far. Smoking is definitely an art and we’re no pros at it, but one thing we have yet to mess up is the Thanksgiving Turkey. Today I’ll show you how to Smoke a Turkey for Thanksgiving, as well as how to clean your smoker before and after using one tool that I use ALL over my house.

How to Smoke a Turkey
We’ve got our turkey process down around our house and here’s basically how it goes.
We start by buying a turkey from our local butcher shop. A healthy, fresh turkey is a great way to ensure that you have a great smoking experience on Thanksgiving.
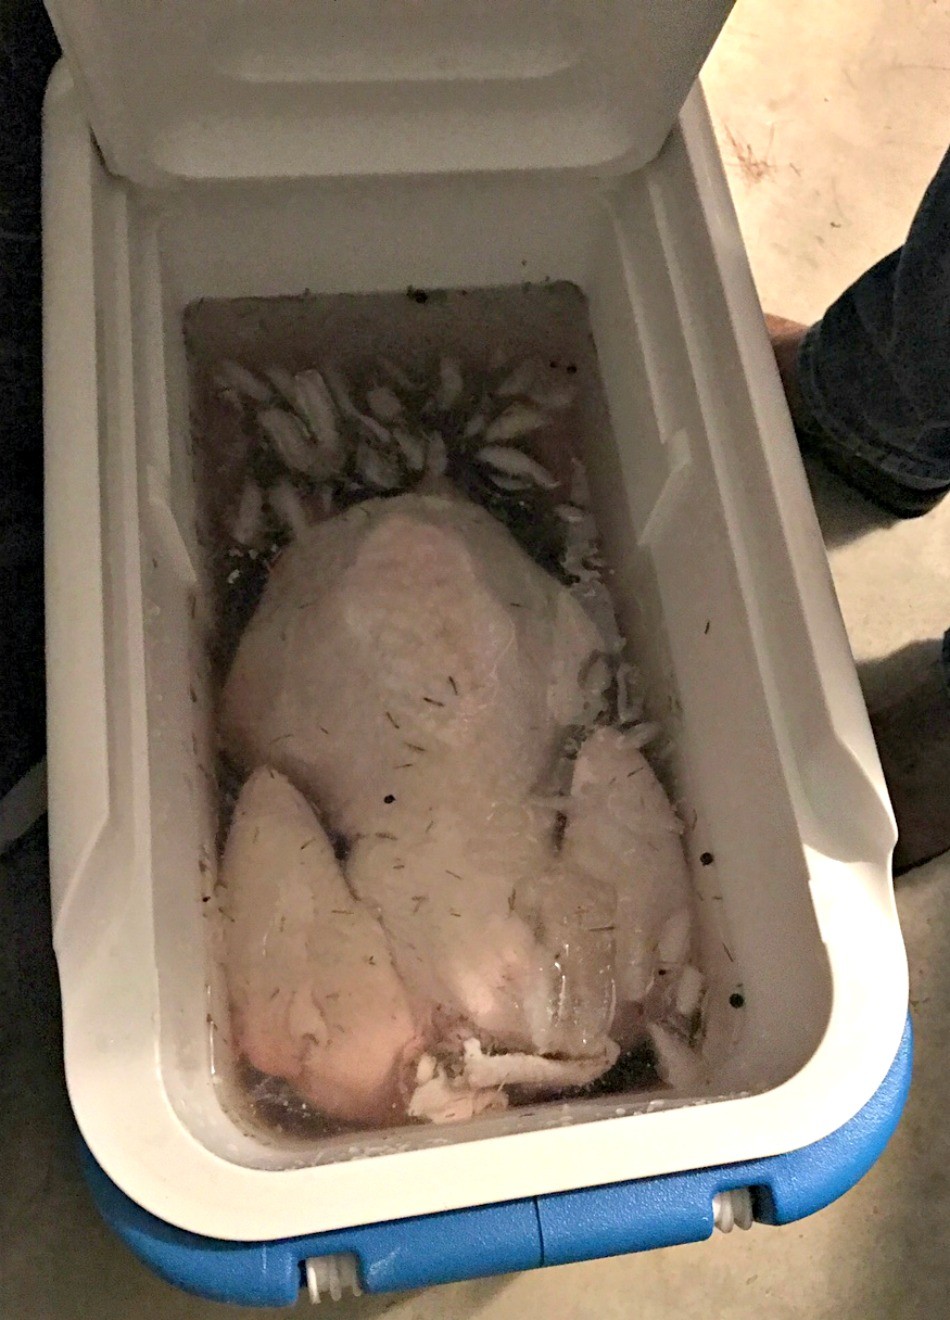
We use World Market’s brine and cook the brine according to package instructions. Then we wash out and fill an old cooler with cold water and brine and let the turkey brine over night before Thanksgiving. We try to get it brining for at least 12 hours or more.
If you don’t already have a smoker, here are a few of my recommendations:
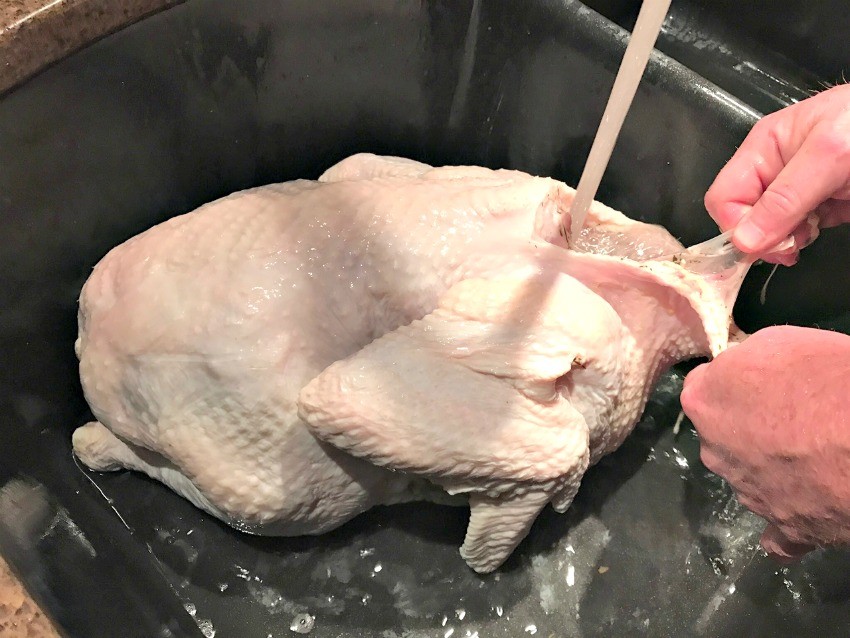
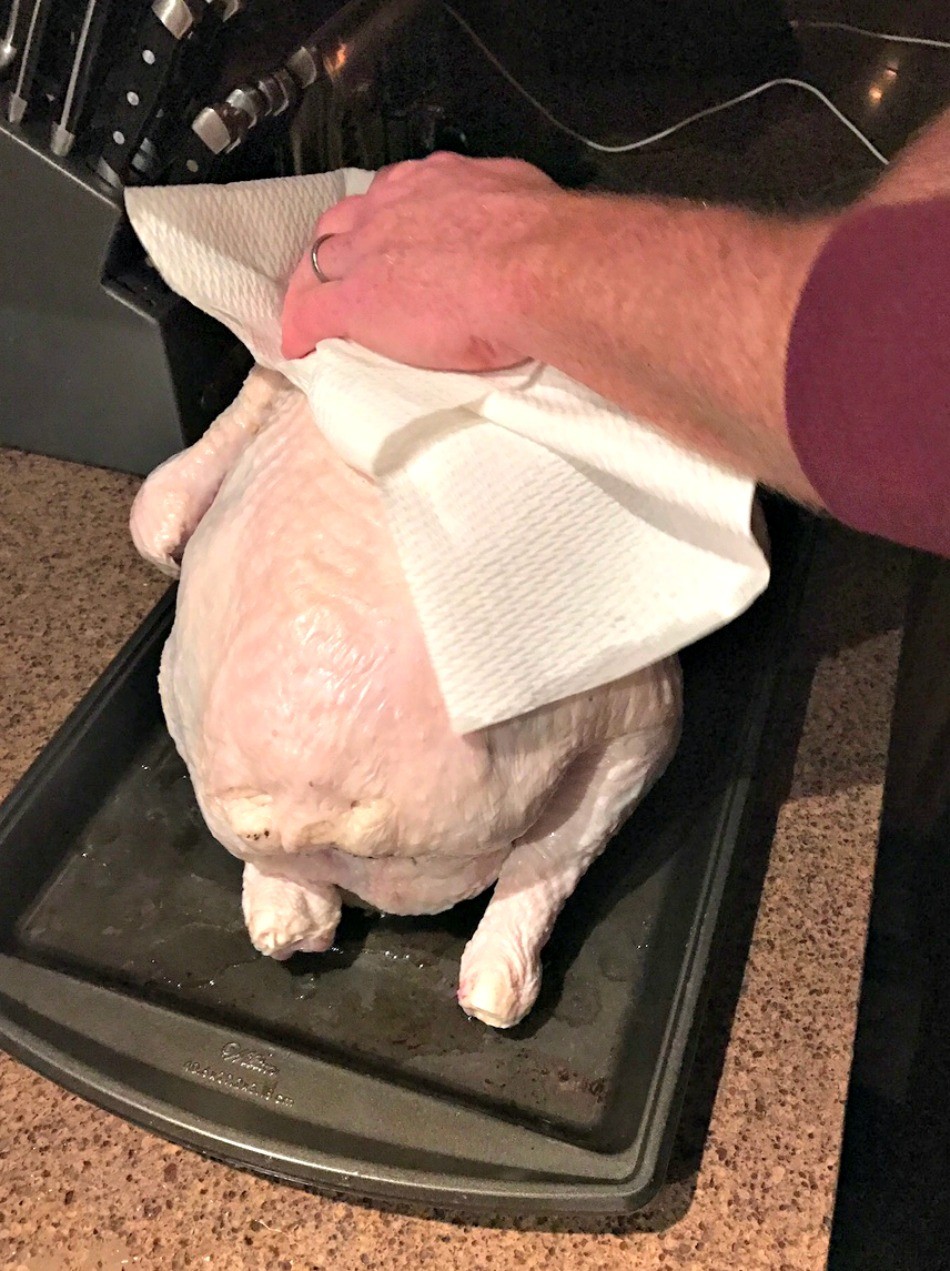
The morning of Thanksgiving, we get up around 5 a.m., remove our turkey from the cooler, and rinse it off well in the sink (we clean the sink well first before and after).
We then take our turkey and place it on a cookie sheet and dry it off thoroughly with a towel or paper towel. Then we get to preparing it for the smoker.
We rub our turkey down with olive oil (some use butter) and we prepare the smoker. We like to use mesquite wood chips, but you can choose any type of wood chip you like and get your smoker all set up (each smoker is different so I won’t be walking you through that step).
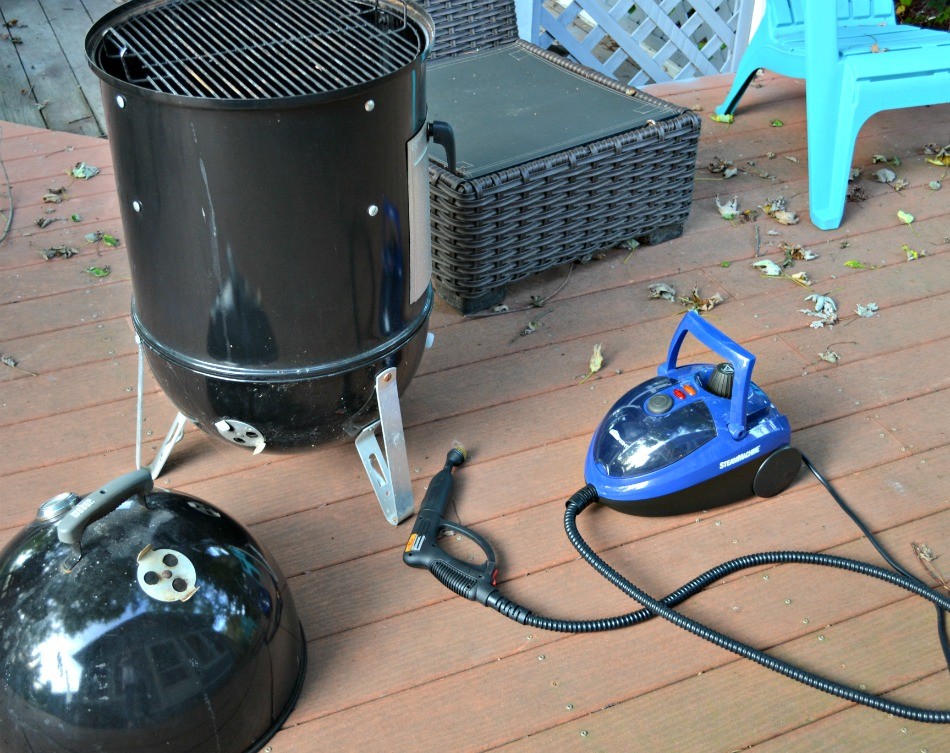
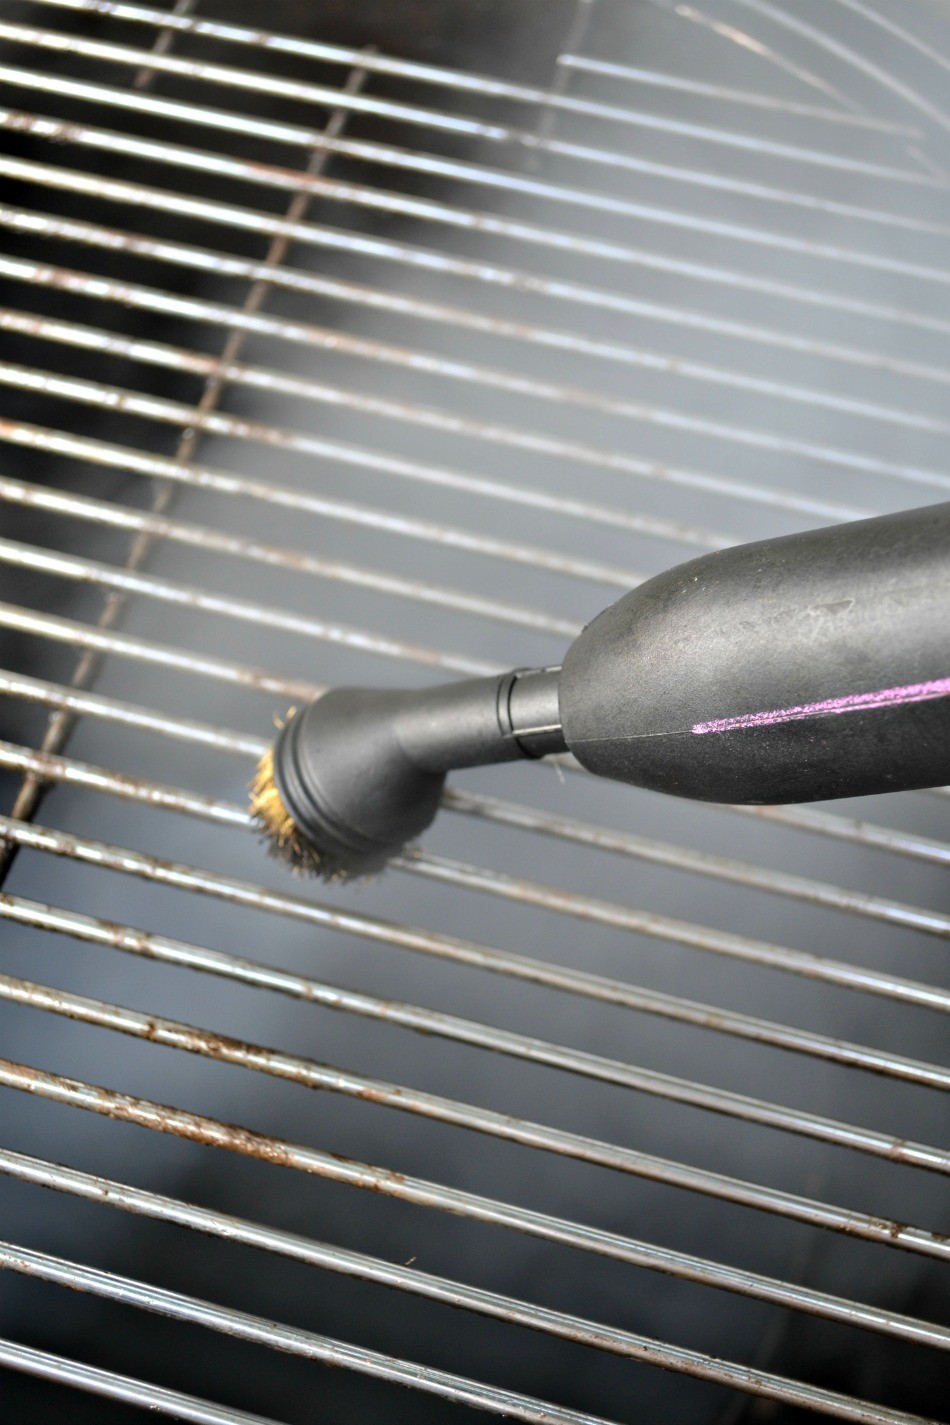
Before we get the smoker going, I use my HomeRight Steam Cleaner to clean it off. They have a steel wire brush that does AMAZING things for the grill prongs.


After the smoker is cleaned off, we let it preheat until it’s within the range of at least 250 degrees. Then we spray the grill down with no stick spray and place the turkey breast side down to smoke. Try to leave the lid on the smoker without lifting it frequently as this slows the smoking process. Let your turkey smoke for 8-10 hours depending on the temperature you’re able to keep the smoker at. You’ll want to ensure that you keep the temperature where it should be the whole time (there’s a thermometer on the outside of the smoker to show you).
Once you think it’s ready or getting close, get your meat thermometer and check the internal temp. Cook the turkey to internal temperatures of 175° F to 180° F in the thigh and 165° F in the breast. Your turkey may take up to 12 hours to cook.

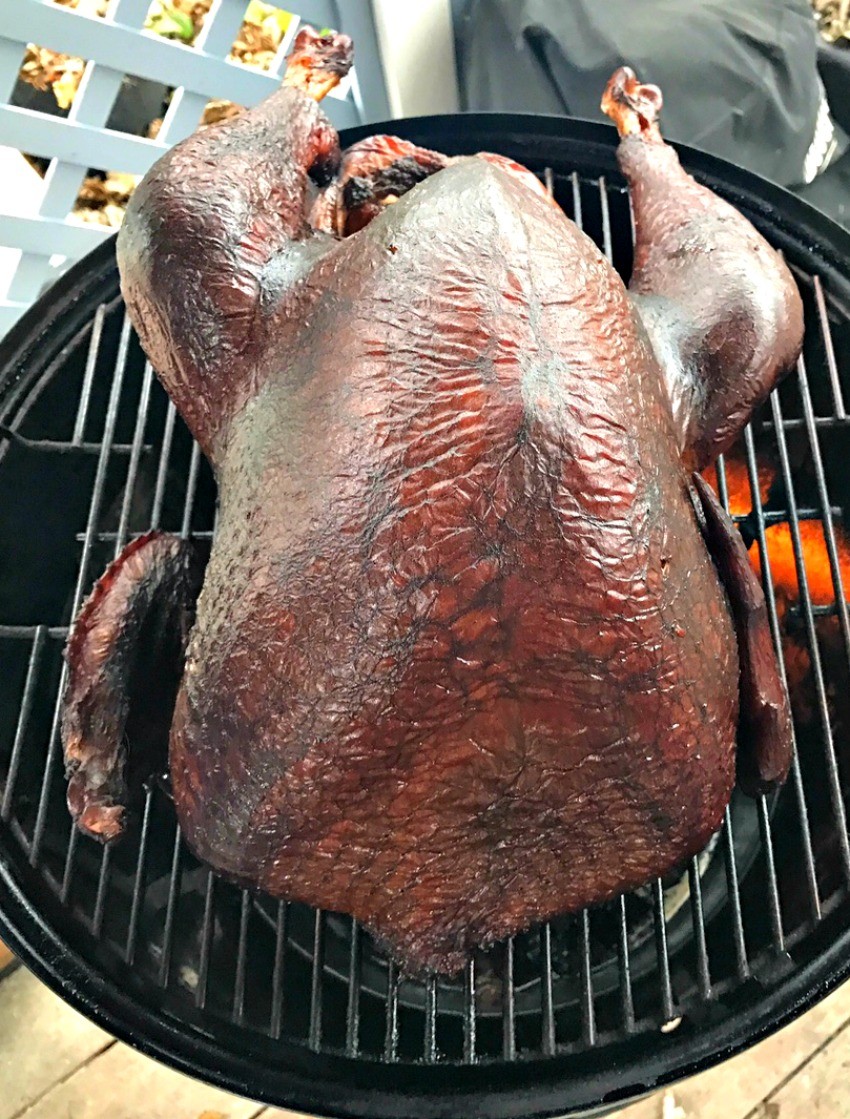
The outside of our turkey always gets darker–not burnt–just darker (so don’t be frightened), but the inside is always perfectly moist, tender, and delicious. And it smells AMAZING. The nice thing about a smoked turkey is that it really has a ton of flavor compared to a standard turkey. Your guests will RAVE.
We let it cool, then slice it up in all of its deliciousness.
After the smoker is cool, we use our HomeRight Steam Cleaner again to clean it off and kill all of the germs. The nice thing about the steam cleaner is that we can scrub it easily and the steam naturally cleans off 99% of the germs left behind. You can see other ways I’ve used my Steam Cleaner HERE, HERE, and HERE in the past.
Give me your best smoking tips in the comments below!