


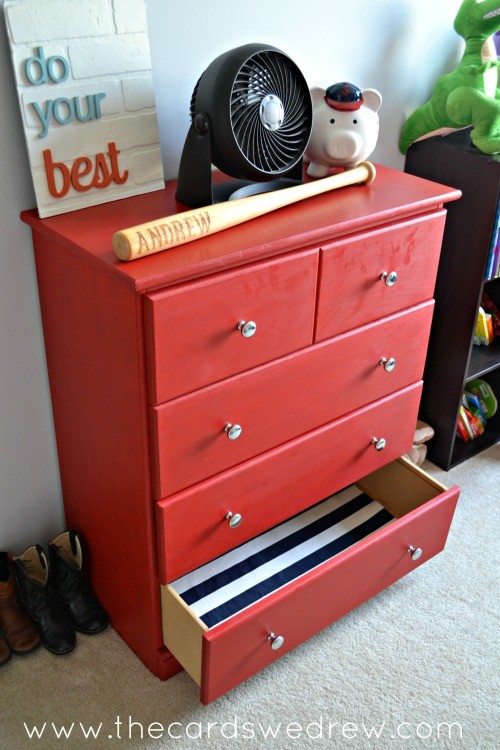
We’ve been working off and on for months now on our son’s “big boy” bedroom. I’m one of those people that can literally take months to get my thoughts together to get a room completed and I do a little at a time, but this room has taken way longer than planned once I started and found out I was pregnant very shortly after. As we’re nearing the end of our transformation, I thought I’d start sharing bits and pieces of his room with you, starting with the dresser and nightstand makeover we did using Annie Sloan chalk paint and then how we used Online Fabric Store fabrics to create DIY Fabric Drawer Liners for an added special touch.
 You may have seen our Annie Sloan makeovers the other day online, but today I’m going to share with you an easy way to line your drawers to match your theme or colors. Sometimes it’s hard to find drawer liners you may really like, so here’s a REALLY easy solution!
WHAT YOU NEED:
Aleene’s Fabric Stiffener
Fabric of your choice (make sure it’s long enough and wide enough)
Pen and tape measure
Scissors
Iron and ironing board
Double sided tape and/or adhesive spray
HOW TO:
Start by mixing fabric stiffener and water into a large bowl. I used about 1/4 stiffener to 3/4 water. You can adjust it if you want it stiffer. This mixture gives the fabric a cardstock feel.
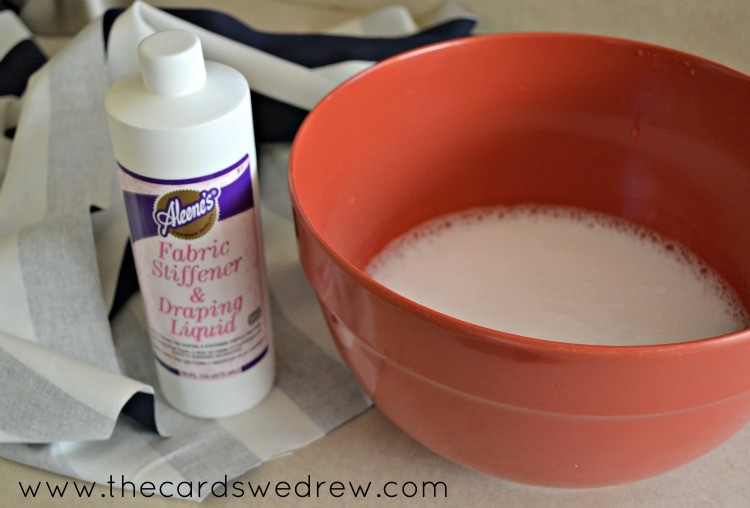
From there, I put my whole piece of fabric into the bowl until it was well soaked and then I gently wrung the fabric out so it was still wet, but not dripping/soaken wet. Don’t over “wring” it out because it will get really wrinkled and dry that way.
Once it was wet, I laid it outside to dry for about an hour. In the sunlight, it dried pretty fast. Once it was dry, I laid the whole thing out and ironed it very carefully to smooth it out. Mine didn’t smooth out as much as I’d like, but it got smooth enough.
**It’s very important that you do NOT cut your fabric until after it’s stiffened. For the dresser I cut my fabric first and then used the stiffener and each side shrunk up a lot. So be sure your cutting is AFTER it’s been stiffened, dried, and ironed for best results.**
After it’s smooth, you’ll want to measure the inside of your drawers and measure/cut your fabric appropriately to fit each drawer. It helped that my fabric was already striped so I was able to cut an even horizontal line without much effort.
After all your liners are stiffened, ironed, and cut then you get to put them in the drawers. I used a combination of adhesive spray and double sided craft tape to hold the liners in place. I prayed the drawers and gently placed the liners in there and smoothed them out.
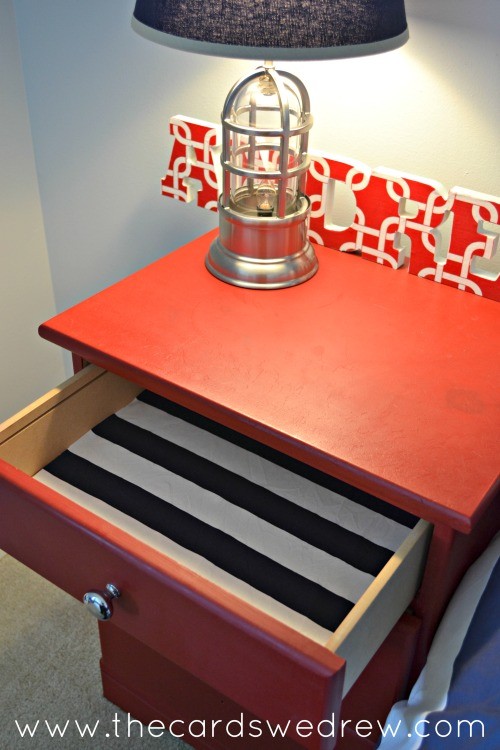
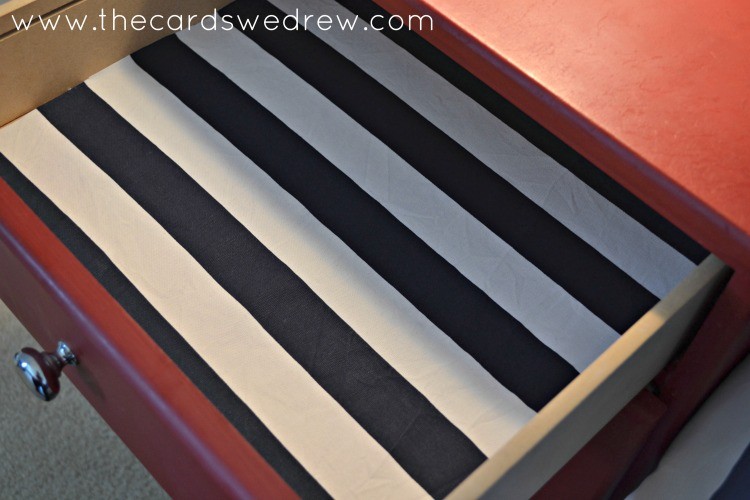 I love how they turned out. It’s pretty fun to open the drawer and see the contrasting white and blue striped fabric liner with the red paint. The bedspread in our son’s room is also blue and white striped, so it ties everything together.
 I’m a big believer in the idea that every little touch and thought counts to make a room special and “WOW” people and I think the time and effort put into making these liners was well worth it!


I love these Abbey – the perfect finishing touch. Pinning to my DIY board!
I LOVE this!! Can you just come and do this for my Andrew’s bedroom!!? It’s perfect for my baseball loving boy. Love the Evie Ivy sign. The dresser turned out perfect!