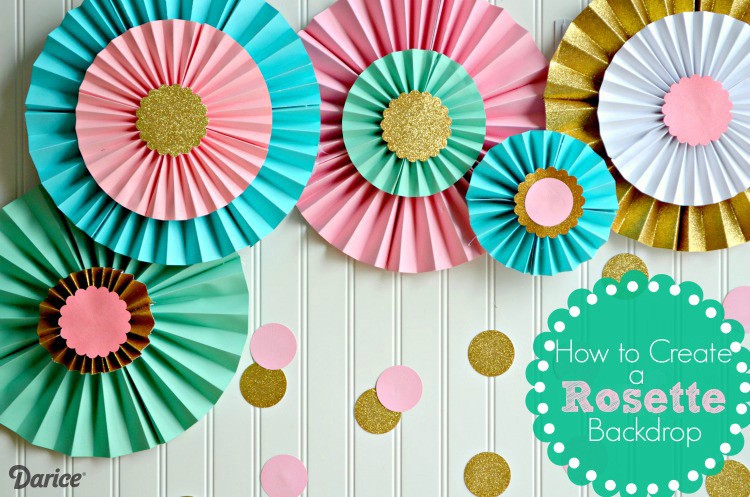
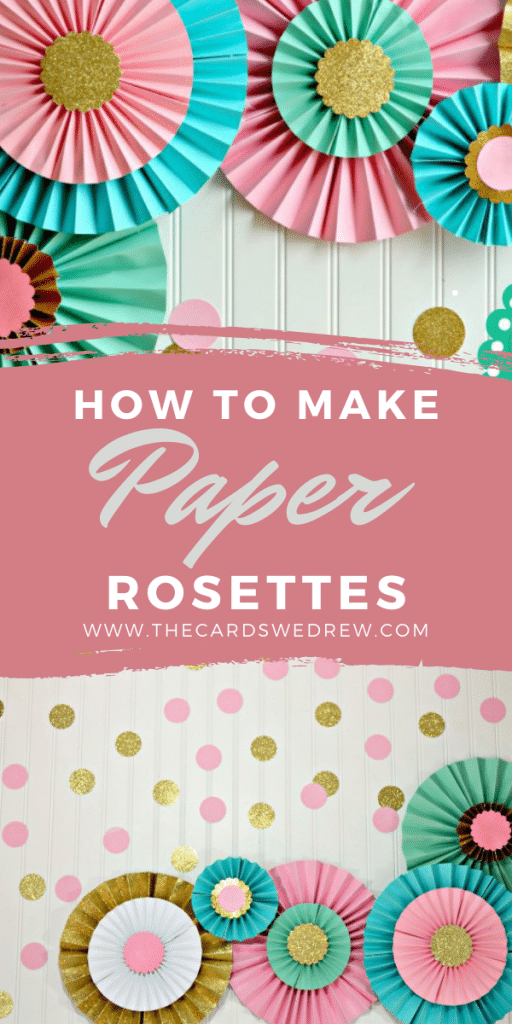
How to Make Paper Rosettes {DIY Party Decorations}
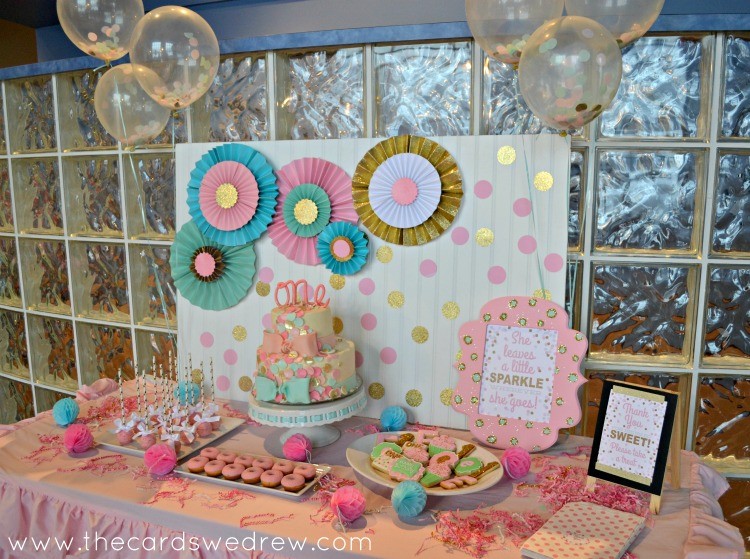
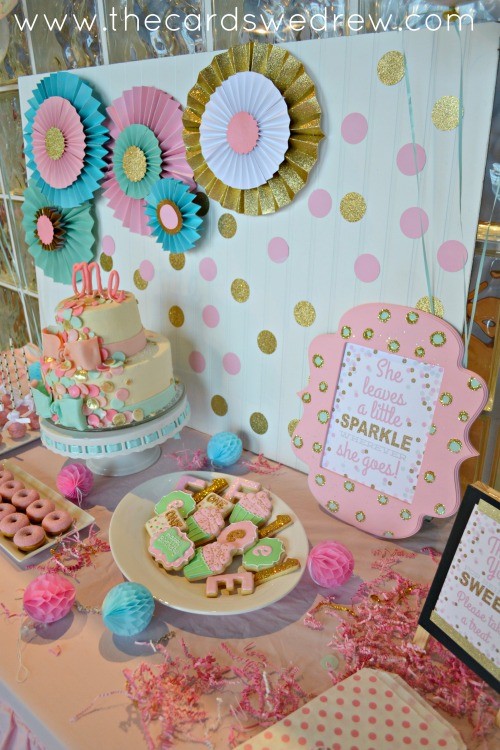
When my daughter turned one, I tried to DIY all the party decorations for my little girl’s first birthday party. The theme was confetti and the colors were pink, mint, teal, and gold…so I decided to make a paper rosette birthday backdrop for the dessert table. Since we are having the party at another location, I wanted the backdrop to be something we could move easily, so when we got there it’s all ready to set up. I started by making all these fun large, medium, and small paper rosettes and then adding a variety of confetti cutouts to the board to really make it fun and festive. I thought I’d walk you through how to make paper rosettes for a birthday party in any color or style to match your decor!! It’s a super inexpensive way to decorate for a party, graduation, or even just to decorate a bedroom and make it pretty and festive! Let’s hop in…

Table of Contents
Supplies:
- Martha Stewart Scoring Board (optional–but much easier with it)
- 12 x 12 Scrapbook Paper (or smaller depending on the size of medallions you’d like)
- Hot Glue
- Stapler
- 3″ Scalloped Punch
In the example below, I used one sheet of 12×12 paper to make a small paper fan rosette. To make a large rosette, you’ll need three sheets of 12×12 used the same way and coupled together to create the fan. To make a medium rosette you’ll need two sheets of 12×12 paper.
For a Large Paper Rosette: 3 sheets of 12×12 scrapbook paper
For a Medium Paper Rosette: 2 sheets of 12×12 scrapbook paper
For a Small Paper Rosette: 1 sheet of 12×12 scrapbook paper
How to Make Paper Rosettes:
Step one. For small rosettes, start by cutting your paper in half at the 6″ mark using your scoring board. This step is ONLY needed for small rosettes, if making medium or large rosettes don’t do this step.

Step two. Take your strip of paper and score it on the board every inch as marked on the board. The goal is to just “score” the lines in so that you have easy and even lines to fold.
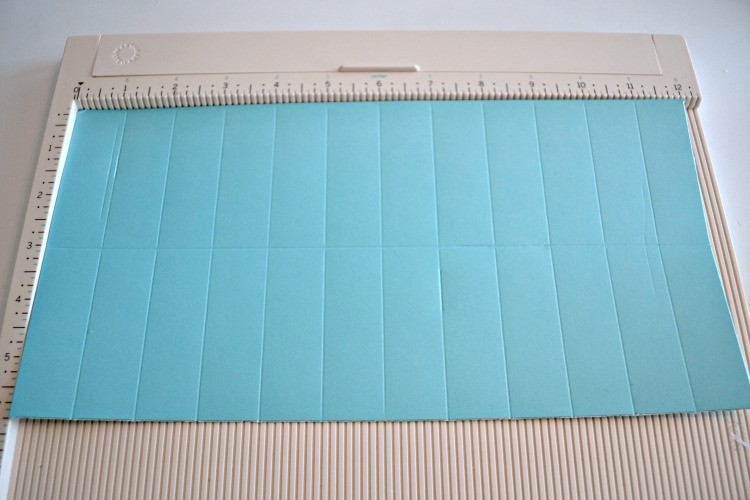
Step three. After you’ve scored it every inch length wise, you’ll score it down the center the other way so you have a way to fold the whole thing in half.

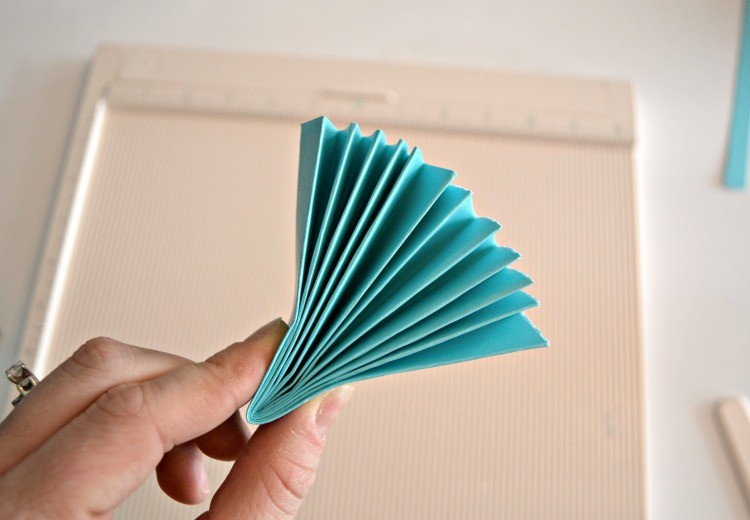
Step four. After that you’ll fold it accordion style back and forth on the scored lines.

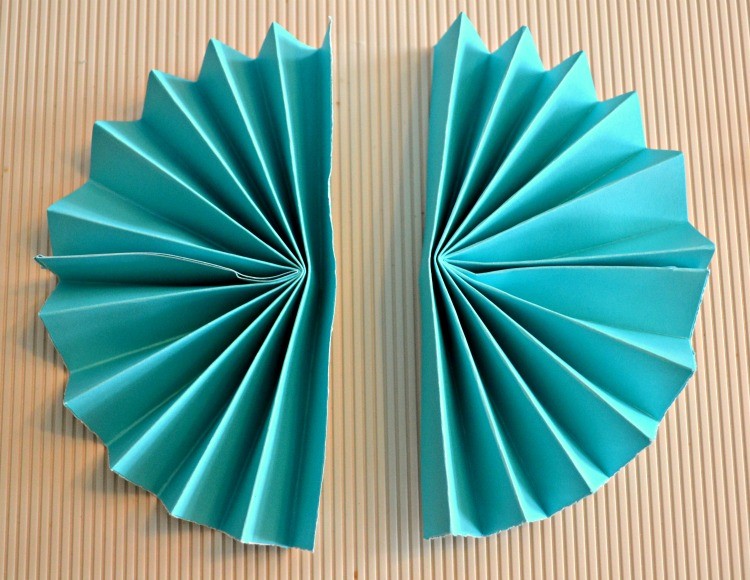
Step five. Next you’ll fold your “accordion” in half and glue the ends in the middle together to create one half of your fan.

Step six. Repeat the same thing on the other half of your paper to create two halves of your rosette.
Step seven. Hot glue both halves together to create one small rosette. This step will differ for a large rosette because you’ll be gluing three “thirds” together to create a large rosette.

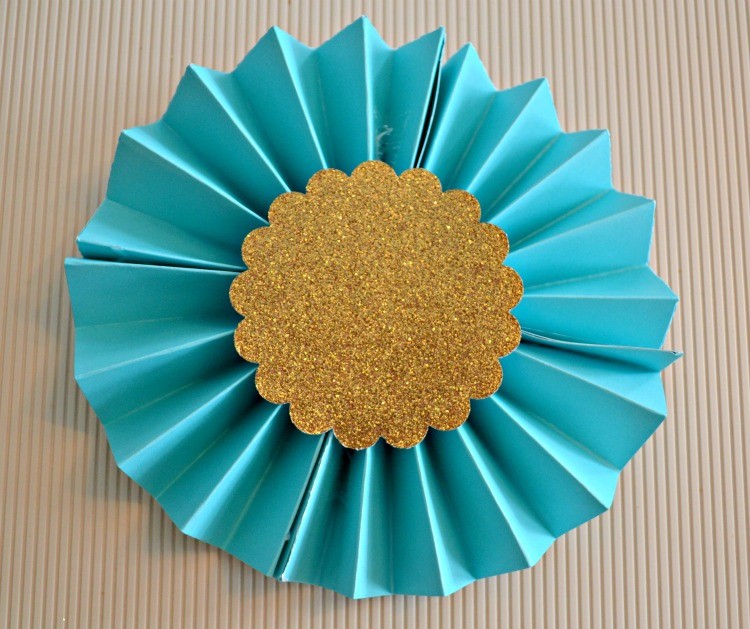
Step eight. To help hold it together, punch out a scalloped “topper” for your rosette to add some more flare/color and hold the whole thing together.
Step nine. You can even create smaller rosettes and layer them on top of each other to create a triple layered rosette. The more paper fan rosettes you make the better it looks!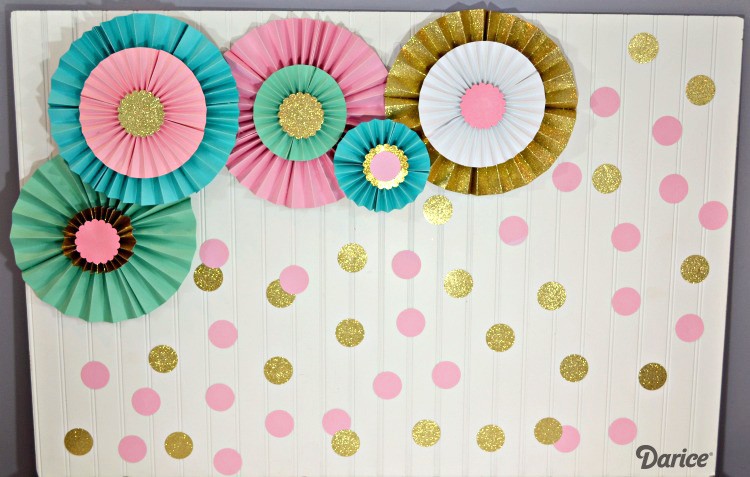
I plan on hanging balloons in the area in the middle that say “ELISE IS ONE” to add a special message to the backdrop. I used another 2″ round punch to punch out more of the scrapbook paper and create a confetti backdrop to go with my party theme. I thought this would even make a create photo backdrop too for when she eats her smash cake!I mounted my rosettes to a piece of board from Lowe’s (they sell them already cut this size for around $10) using hot glue. It makes the whole thing very mobile and easy to clean up after later!
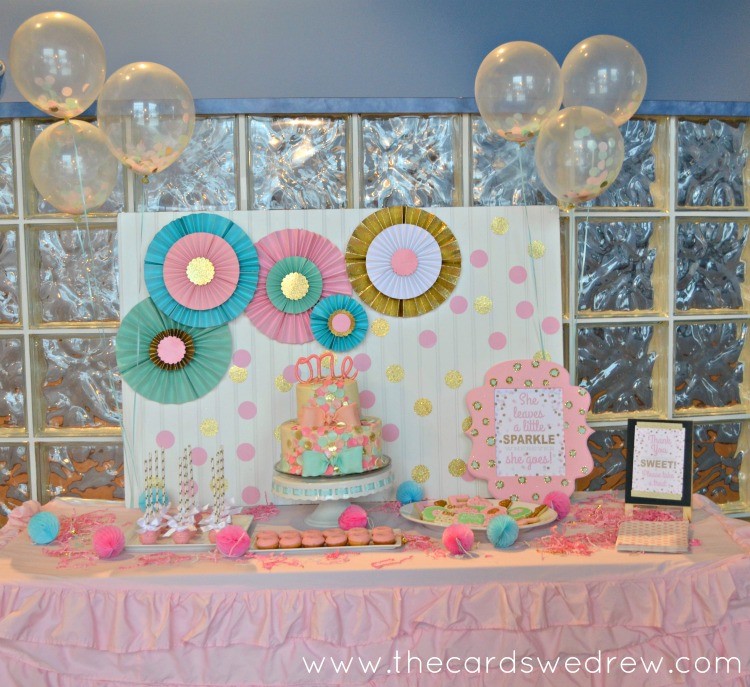
There you have it, a super easy paper rosette birthday backdrop! I hope you enjoyed this how to make paper rosettes tutorial.
Check out the whole first birthday party….
Pin it for later…


I love these on their own, but paired with your other party decorations they POP! I’ll definitely have to try making these for my niece’s birthday party, they look so easy!
What kind of board is that? Also you mentioned they come precut that size, what is the size of that board? Just curious. I’m looking into doing something similar for a baby shower.
Hi Hannah–it’s called beadboard. They sell them in precut sheets at Home Depot and Lowe’s 🙂