How to Dye a Planter
This post is sponsored by HomeRight, all thoughts and opinions are my own.
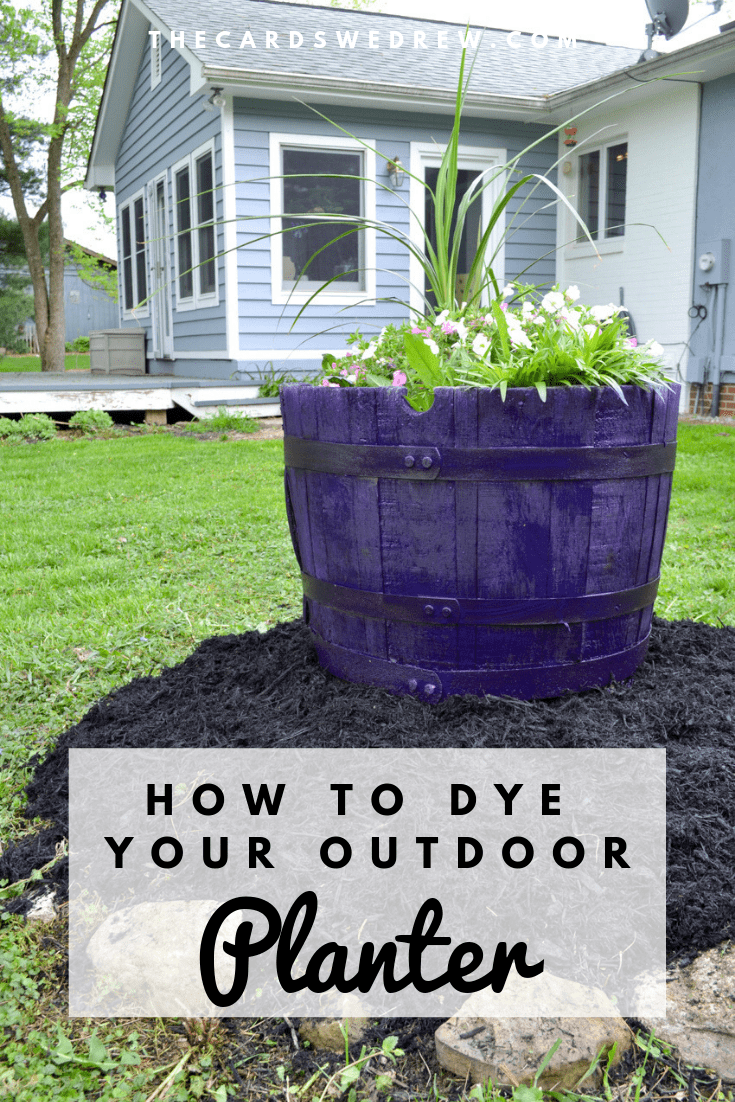
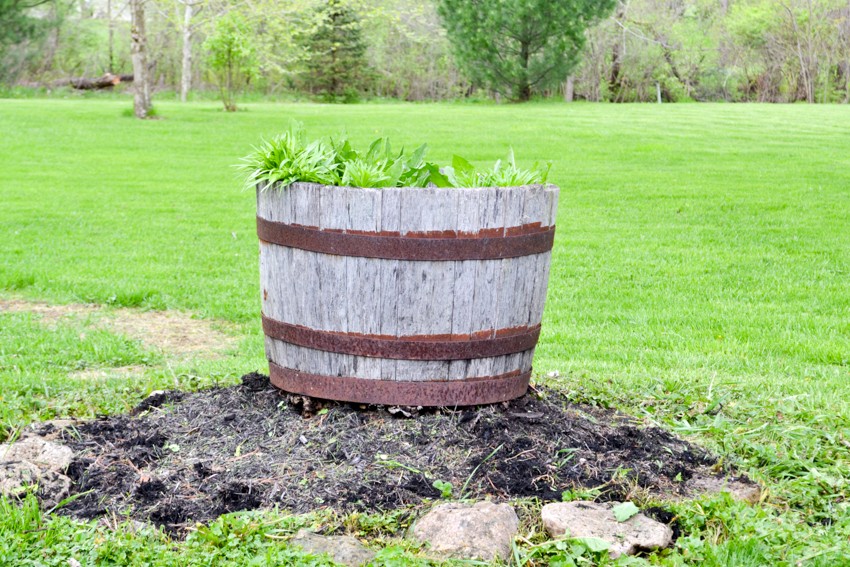
I don’t know about you guys, but each year I usually have that one item in or around my home that I know I need to tend to, but never find time to take care of! That item for us was an old wood planter that has sat in the middle of the backyard since we moved in. We haven’t done much with it and just the other day I decided it was time to take action. I didn’t want to go through the hassle of hand painting it, so I whipped out my trusty HomeRight Super Finish Max Paint Sprayer and got to work! In 10 minutes I had a bright, beautifully stained planter, perfect for spring!
Table of Contents
BEFORE
How to Dye a Planter
What you need for this project:
HomeRight Super Finish Max Paint Sprayer
FolkArt Varnish
Flowers
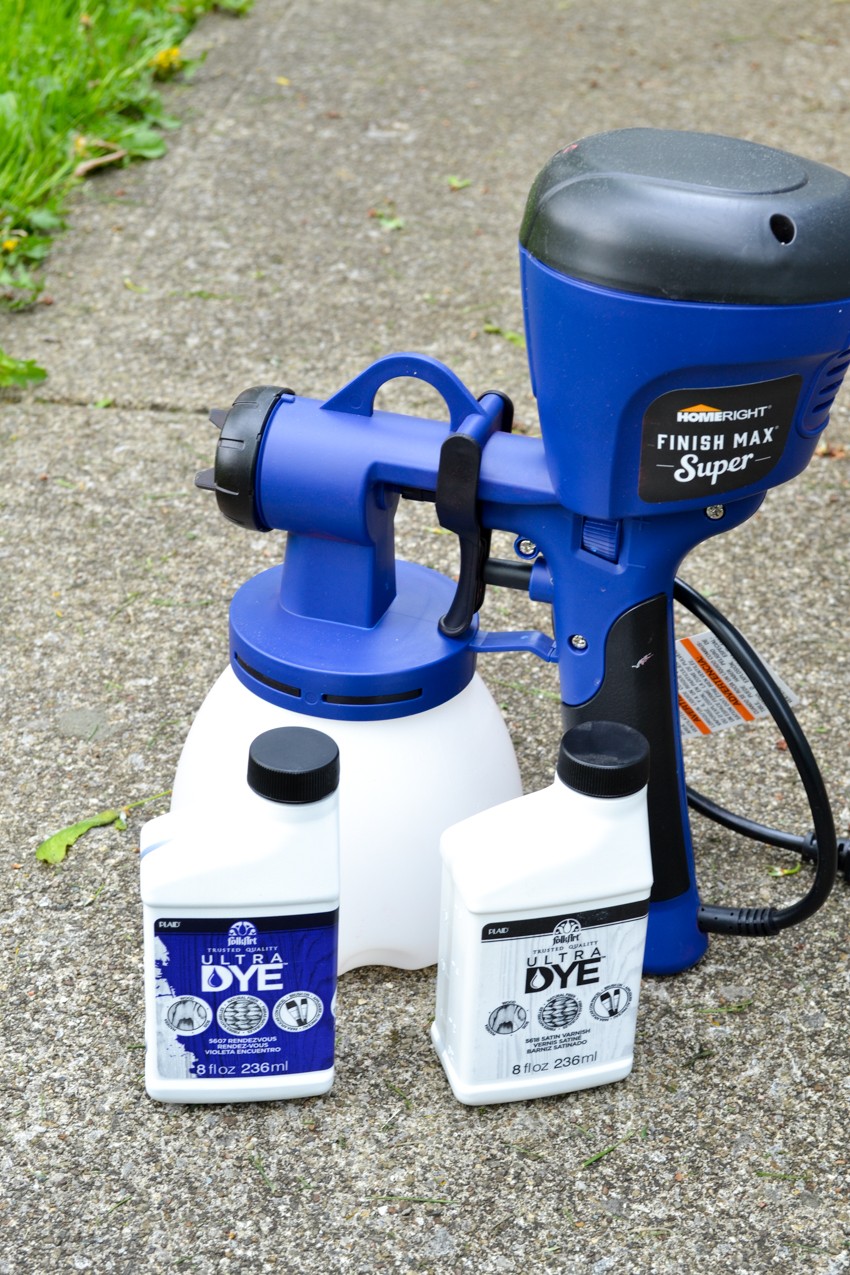
To start, you want to clear away the debris from around the pot and get it prepped for painting. I love FolkArt Ultra Dye for this because it acts like a stain, but with gorgeous bright, happy colors! And because it’s outside and I didn’t want to lose the woodgrain, this is the perfect thing to use it on!

I poured one bottle of Ultra Dye directly into the Max Sprayer and then worked on spraying the pot with one coat of ultra dye–which took less than 5 minutes.

I went back over the planter with a paper towel and wiped off the excess dye from around the pot so that it wouldn’t drip or run. Then I let it dry overnight.
Next you can add a coat or two of varnish if you wish or you can leave it as is. Because this was such a BOLD color, I opted to skip the varnish so that it will weather a bit and lighten the color eventually. But it’s up to the look you want and how protected you want it to be.

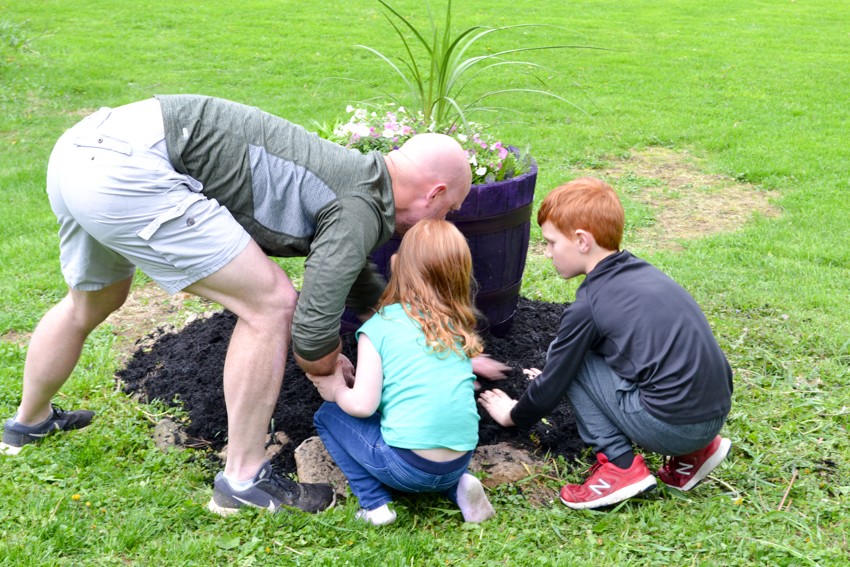
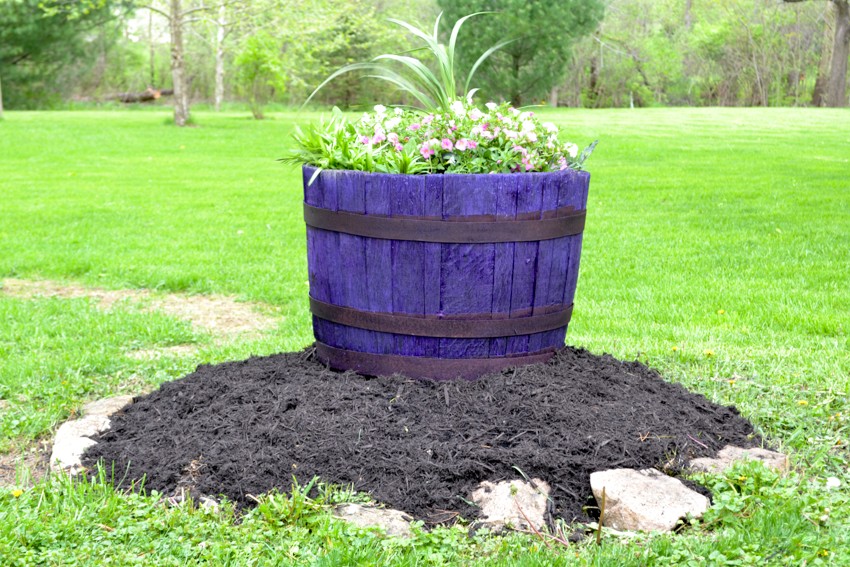
Once it’s dried, we added a pretty planter to the inside and mulched around it…easy peasy!!
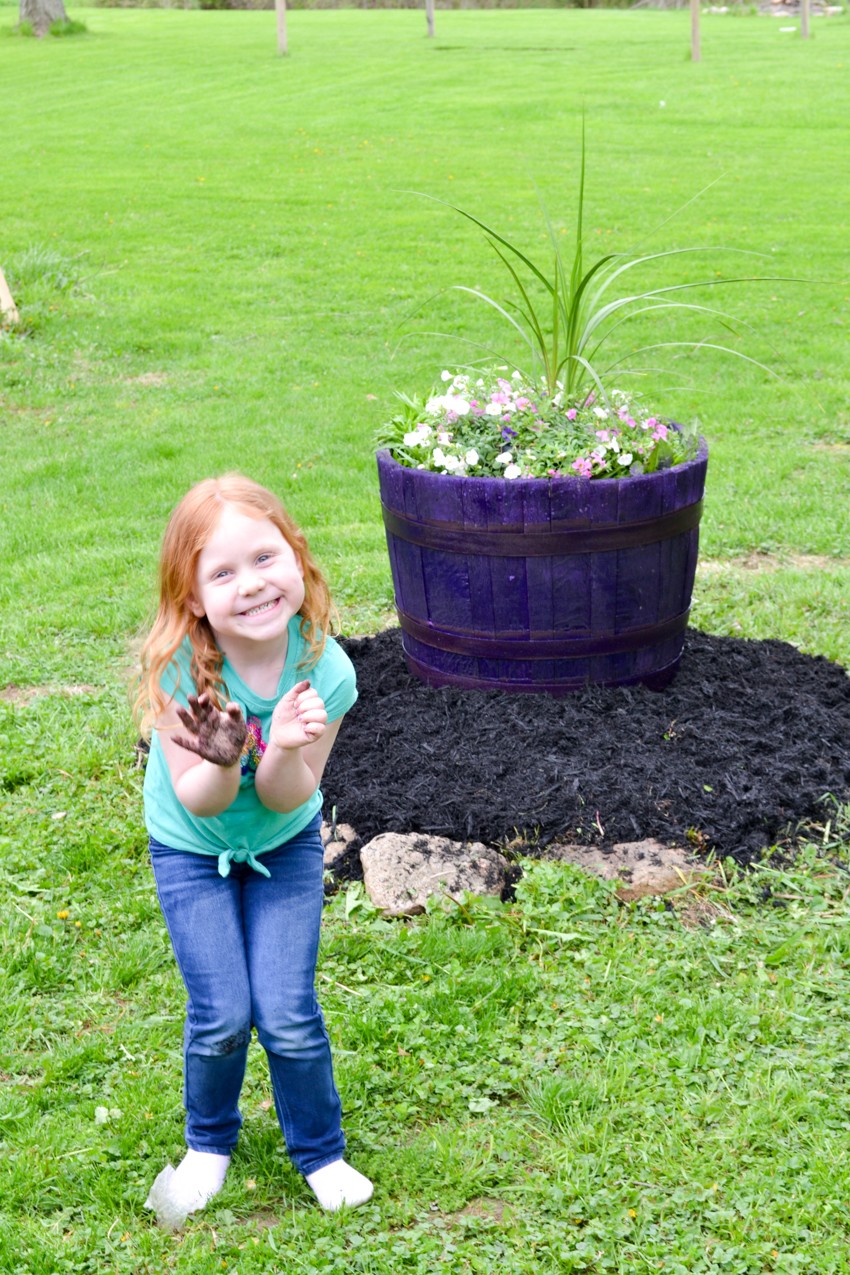
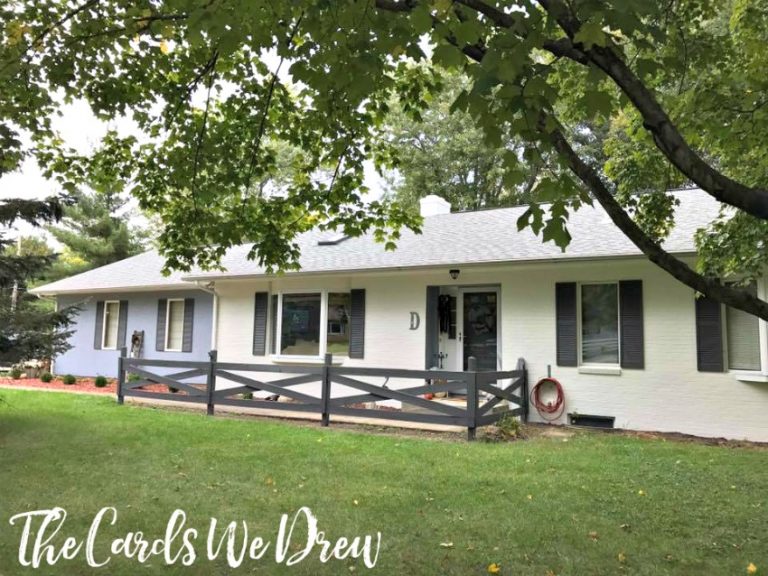
I just love how it turned out and it coordinates well with the grays, whites, and charcoal that the outside of the house is painted!
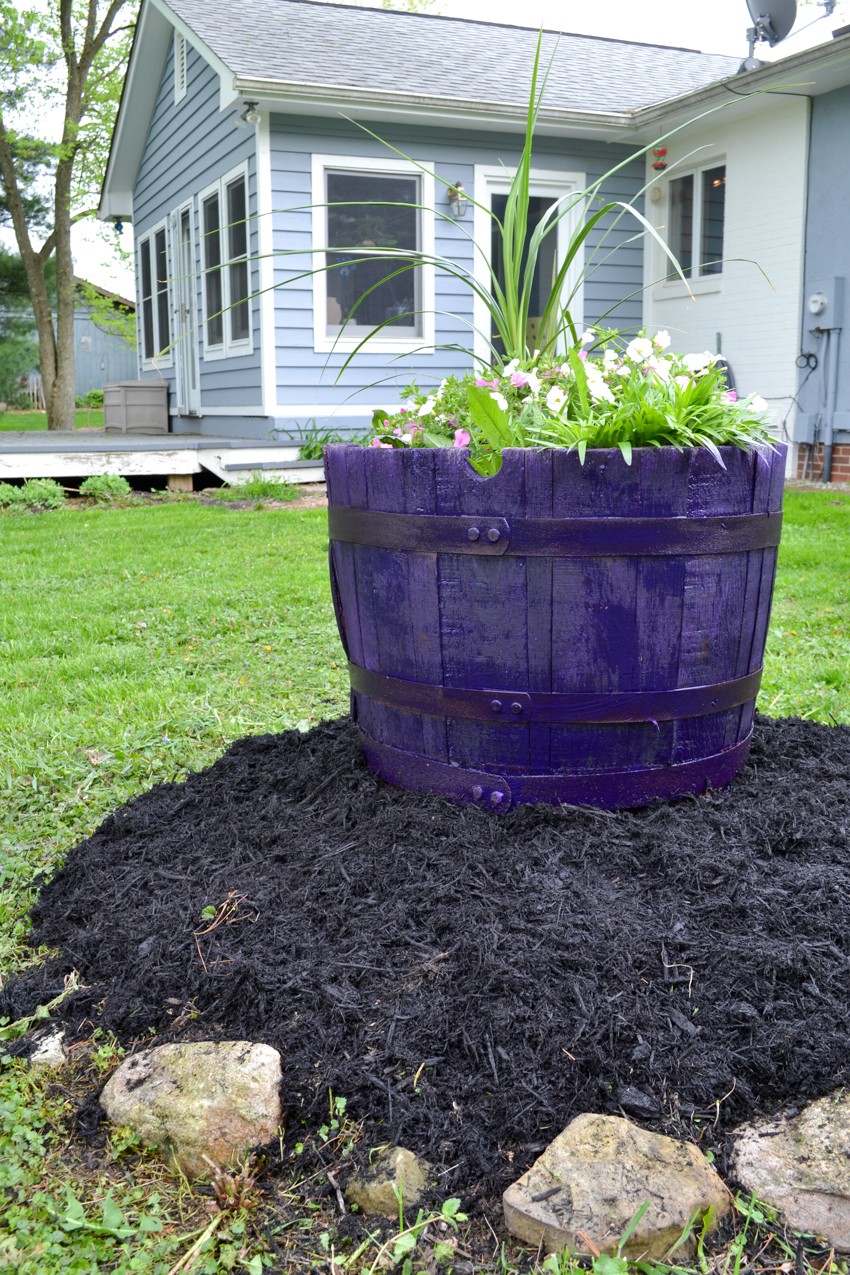
And of course, I carried the purple theme into the flowers with some beautiful pink and purple baskets.

Such a huge difference, am I right?!
AFTER…
Head over to HomeRight to get all the details on the products I used in this post!
Pin it for later…