


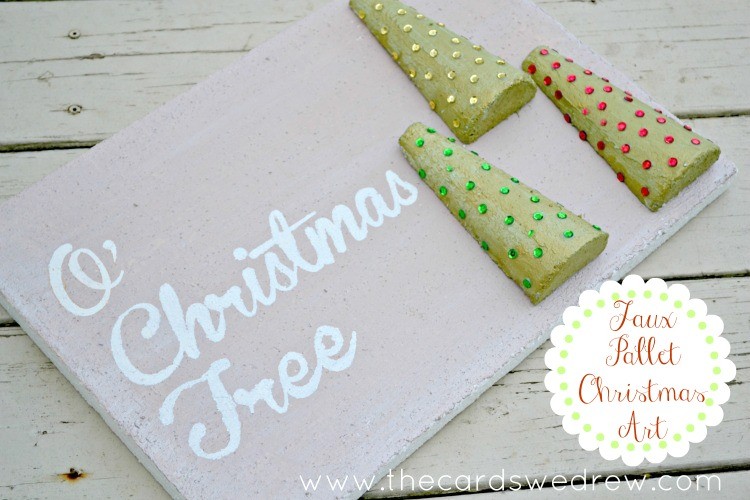
In case you missed it on Design Dazzle a few weeks ago, I shared a fun and easy Christmas project early so that you have plenty of time to try it out yourself before the holiday! The colors in this are actually a lot brighter than my camera would allow me to show you, but that’s what you get when you try to take photos as the sun is setting!
Pallet signs are so in right now, but not everyone is up for cutting wood and the assembly that goes into the actual sign. When I went to the SNAP Conference last year, I found this great product at the FloraCrafts booth that allowed you to use StyroFoam to create your craft and make it LOOK like wood or whatever other medium/hard surface you’d like. And today I’m finally getting around to using it for this project.
Here’s What You Need:
StyroFoam Board
Spatula to apply foam
Small Foam cones
Knife or foam cutter to cut the foam cones
Paint in your choice of colors
Paint brush(s)
Sequins for trees
Glue
Vinyl/Stenciling for letters
How to:
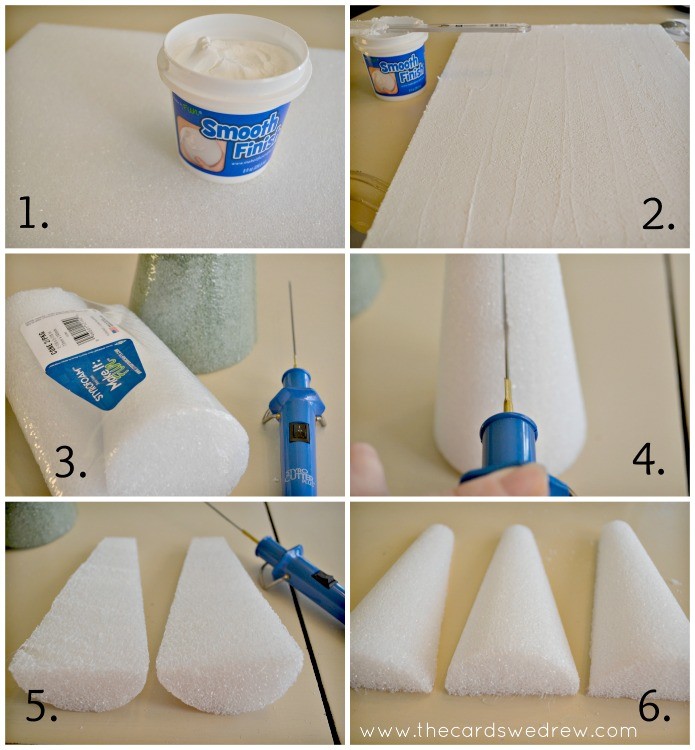
Start by applying Smooth Finish to your foam board evenly using a spatula. It’s a bit like icing a cake, you can give it as much or as little texture as you prefer. You want to apply it going both directions on the foam so it gets in all the nooks and crannies and fills the foam board in completely. The Smooth Finish is what will transform your foam into your solid finished looking board.
While your foam board is drying, start cutting your small foam cones in half either using a foam cutter (a tool) or a sharp knife (be careful!). Cut each of your cones in half, I used three cones, but you can use more if you prefer.
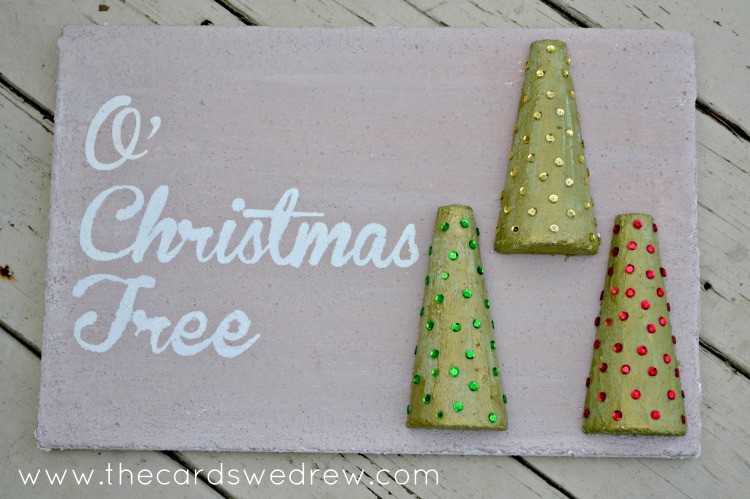
 After my cones are cut, I also applied Smooth Finish foam to them to get a nice even, textured finish to my soon to be Christmas trees. I let them all dry and then applied paint to the whole board, in Martha Stewart “Champagne” color, and painted my Christmas trees with Martha Stewart’s “Citrine Gold” Metallic Paint. I let the foam board and paint dry overnight.
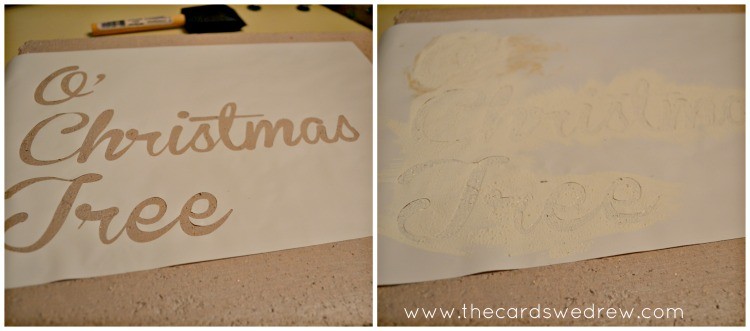
The next day I used my Silhouette machine to cut out “O’ Christmas Tree” in cursive font. I applied it to my board and gently applied paint to stencil the letters onto the board.
 Once that was done, I applied sequins with glue all over my Christmas trees and then glued the trees onto the board.
A fun activity would be to allow your children to decorate their own foam tree and then apply to your board! You can use a variety of fun craft supplies to decorate with including bells, puff paint, ribbon, twine, pearls, beads, and more! Once you’re done decorating, you can show off your creation!
I like to keep my decor simple, so my trees are simple and classic…
The best thing is that your board may LOOK like it’s supposed to be heavy, but it’s light as a feather, so it’s safe around small children and you don’t have to worry about hanging up something heavy on your walls.
I hope this gives you some inspiration and ideas for Christmas decor, if you don’t like my colors, change them up and decorate the trees and pallet to match your seasonal decor! The possibilities are endless! If you’re looking for more Christmas ideas, here’s some I’ve done that are great Christmas crafts!


