
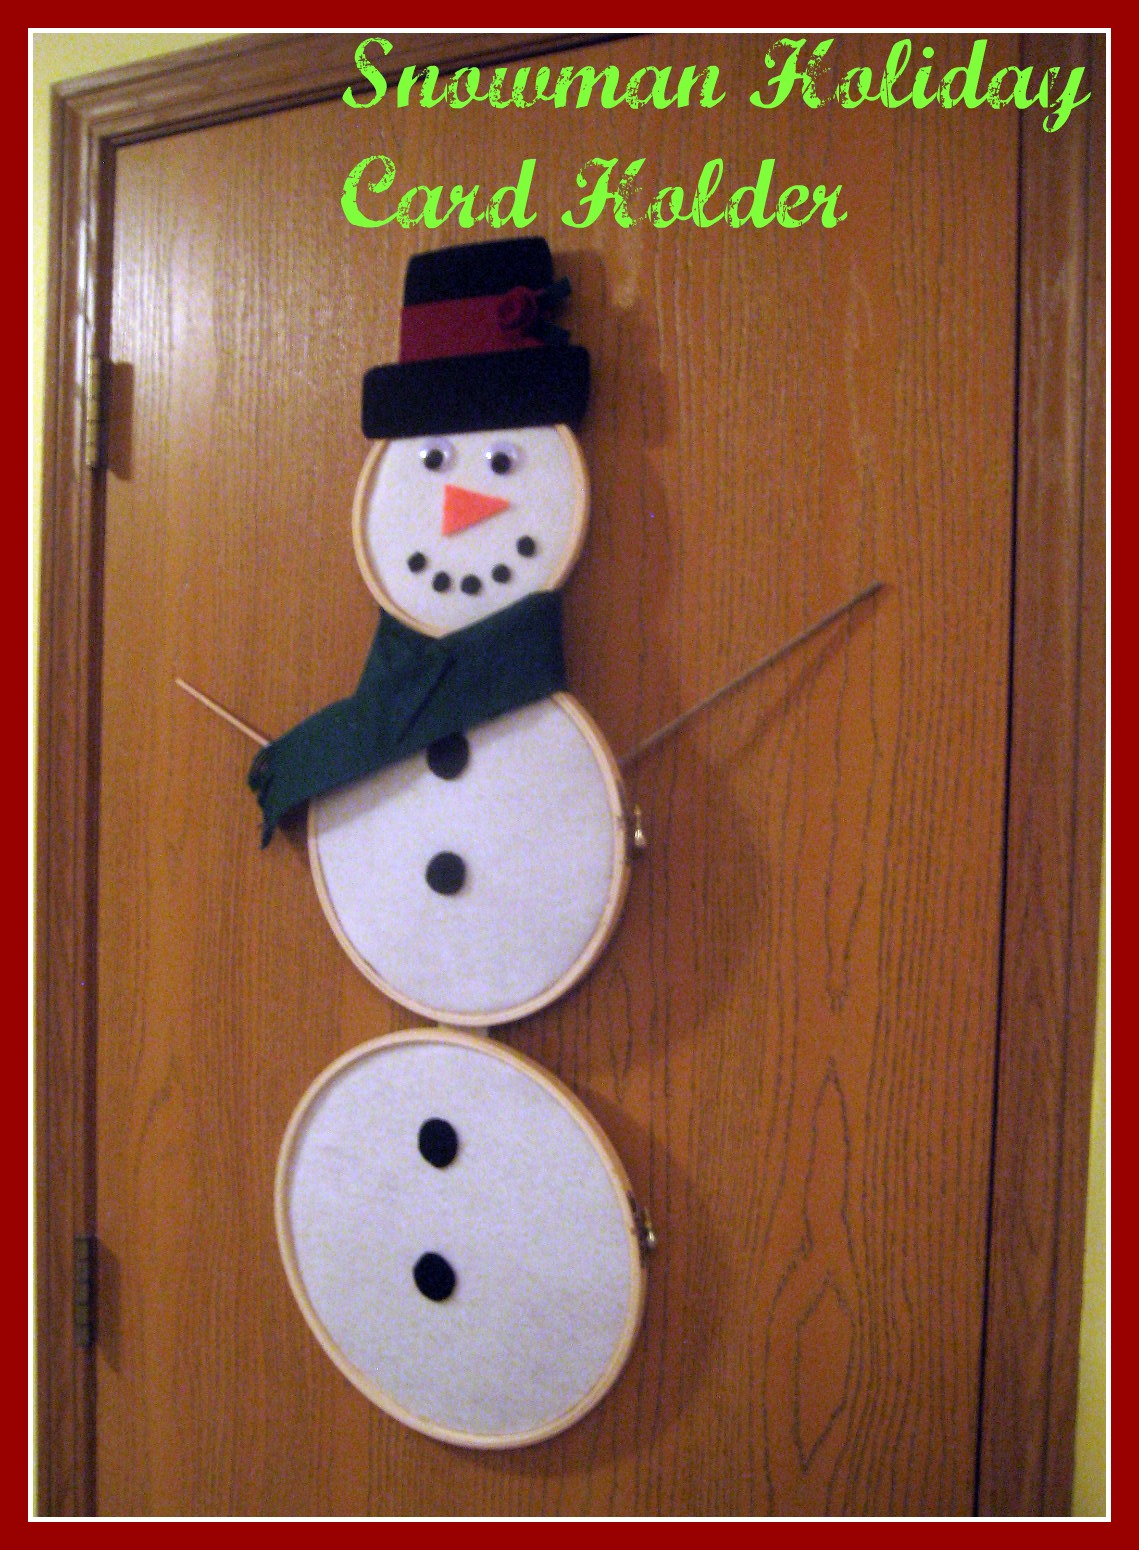
Snowman Holiday Card Holder
For years I have struggled with what to do with my holiday cards. Typically they just get taped up to the side of my refrigerator until after NYE and then I take them down and toss them put them in a memory box to cherish for a lifetime ;). I always felt like I should get something to display them on or to hold them, but I’ve never really seen anything that I liked all that much. Then a few weeks ago I was inspired by a embroidery hoop snowman, but the one I wanted to make would involve cork boards and cards and thus the Snowman Holiday Card Holder was born.

I will use this fella to display my holiday cards this year. He wasn’t terribly hard to make and I know that I can use him for a long time from here on out.
Here’s what you need to make him:
3 embroidery hoops (large, medium, small)
3 cork tiles (sold in packs of 4 at the craft store)
white felt (I bought 1/2 yard of it and had tons left over)
black felt, orange felt, and red/green felt in sheets
2 medium sized googly eyes
2 sticks (I bought the stocks at Joann’s)
Hot Glue
Scissors
Box Knife
Cutting Board
Pen
Steps:
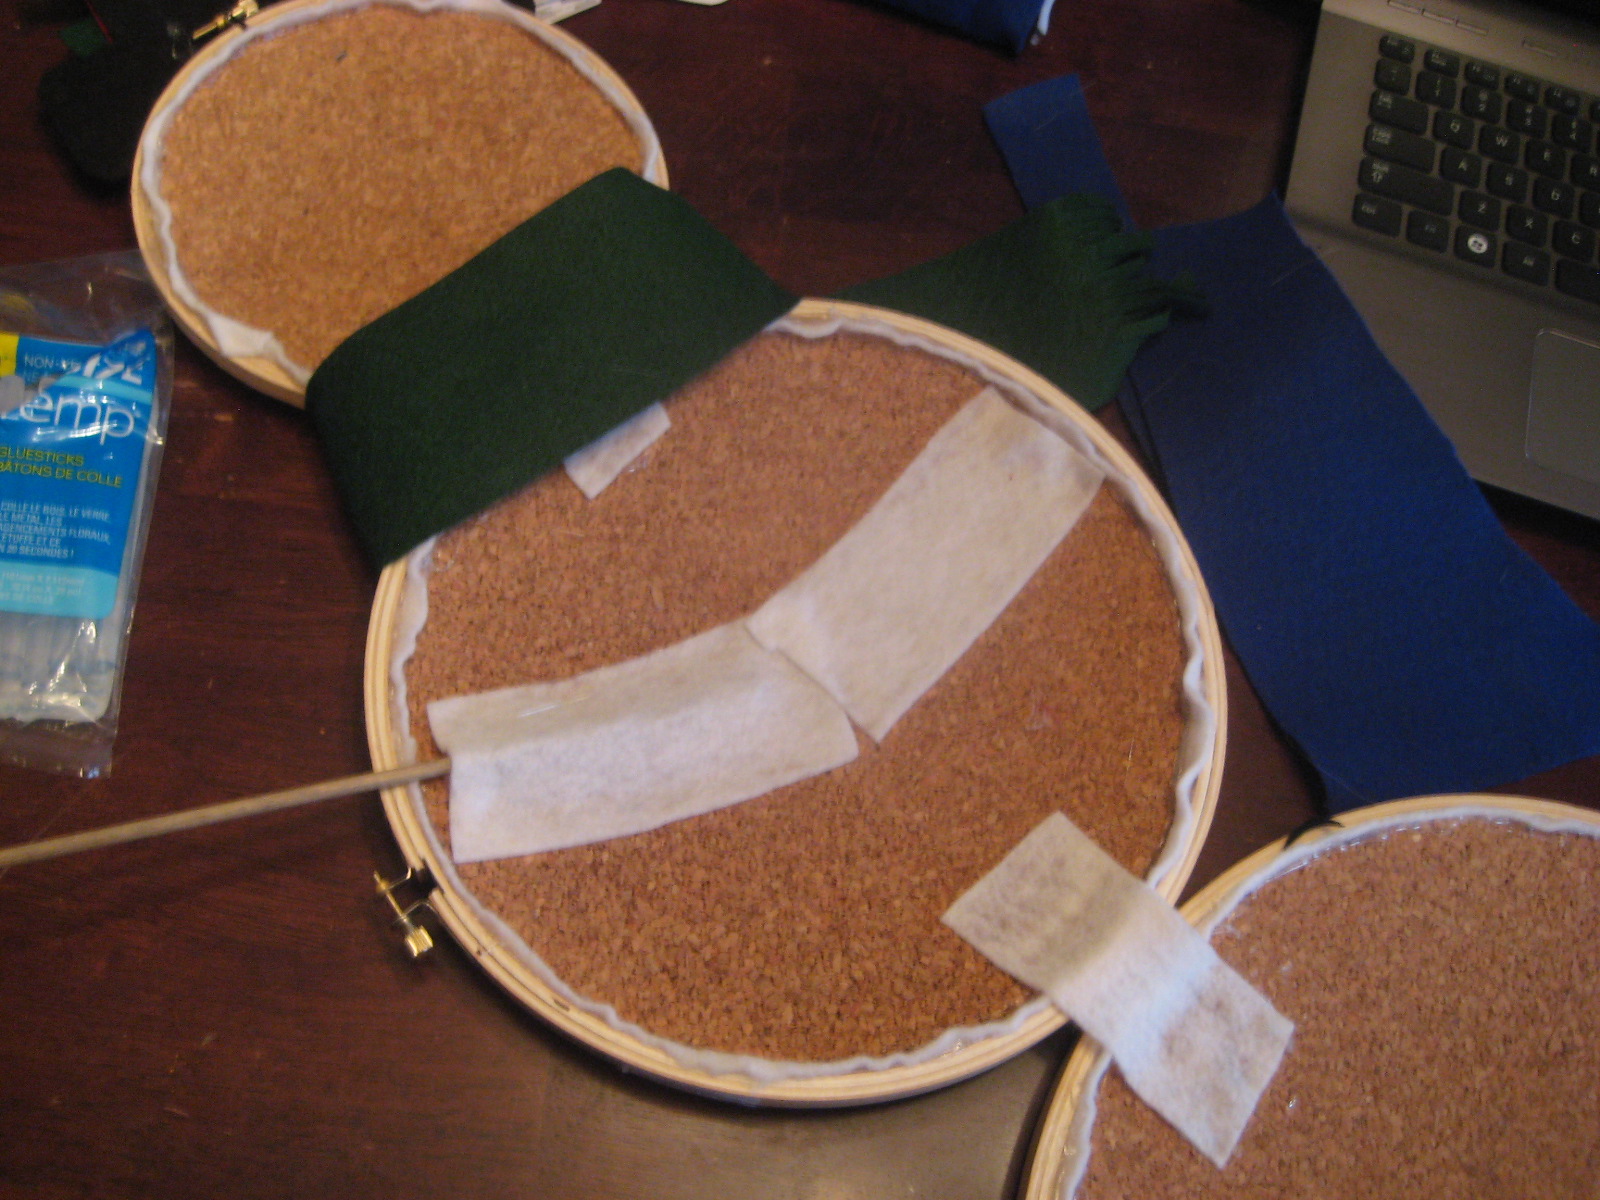
1. Trace your embroidery hoops onto the cork tiles with a pen.
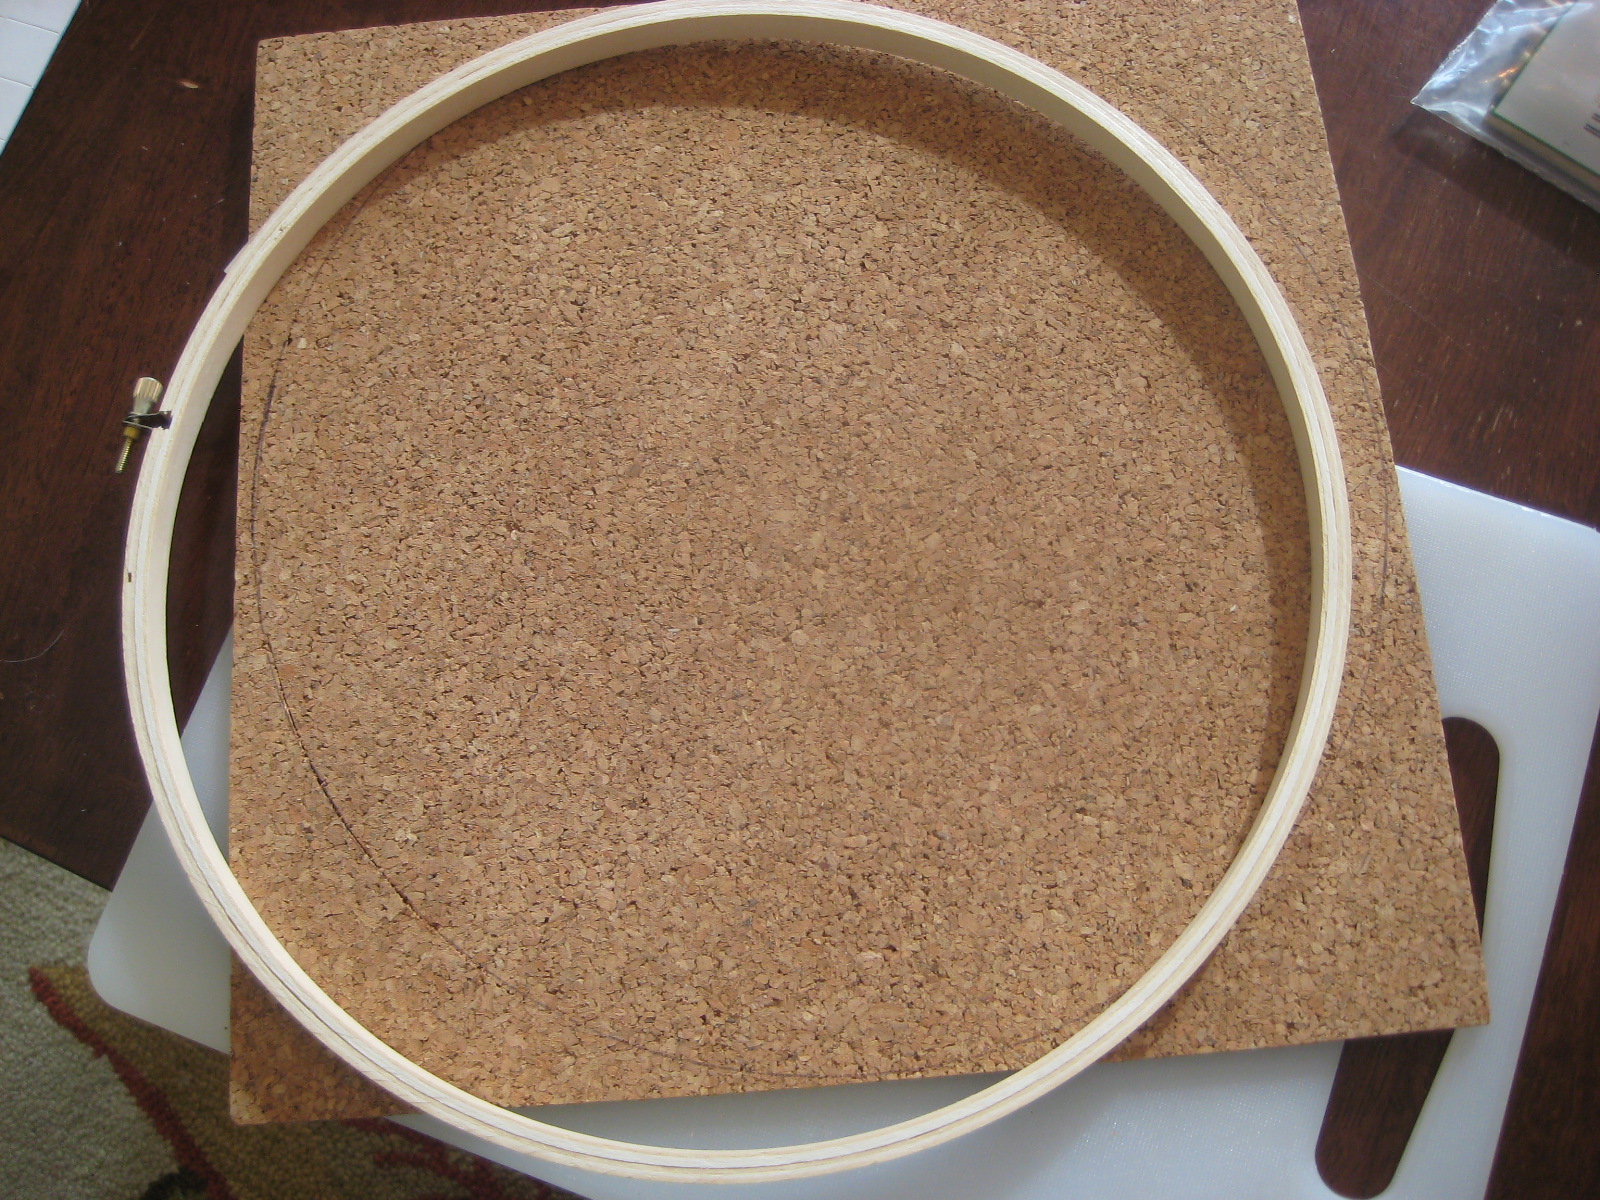
2. Use a box knife and cutting board to cut your cork tiles into the circle shapes. **Don’t be worried about this, isn’t not hard**

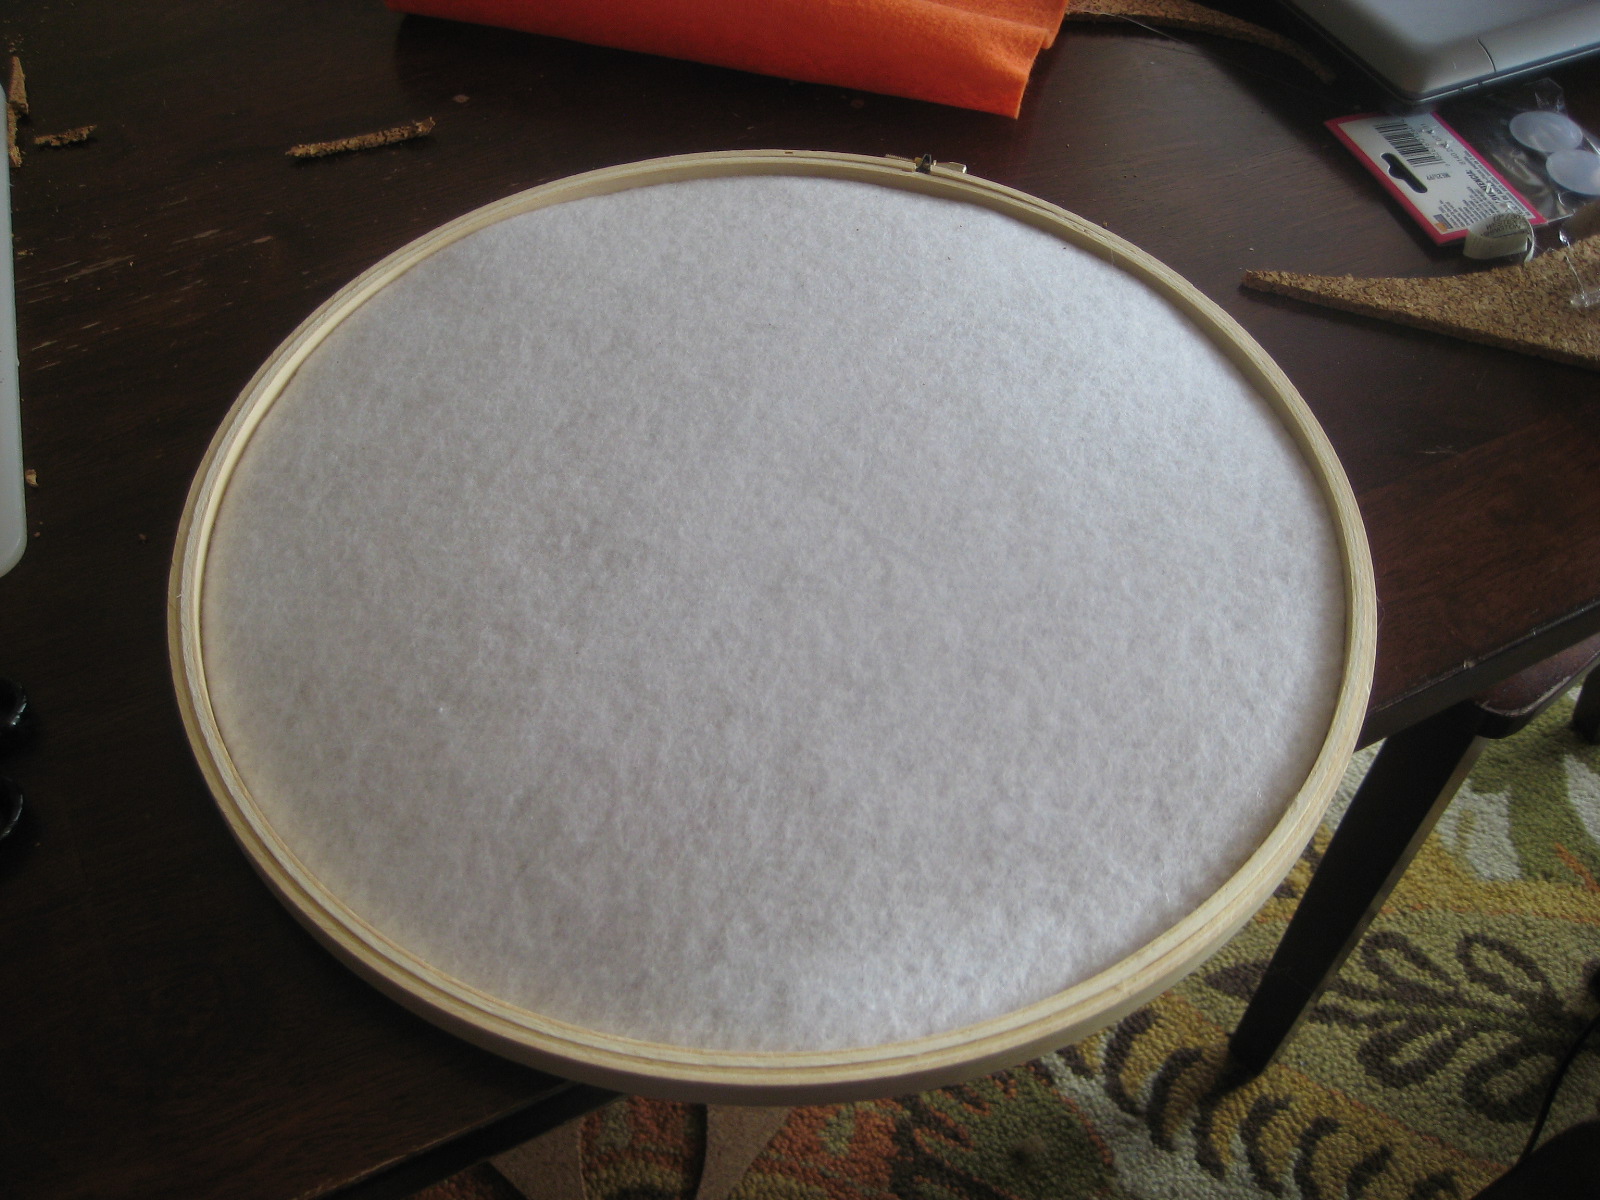
3. Once all your tiles are cut out, cut off 3 pieces of white felt that are squares a little bigger than your cork circle.
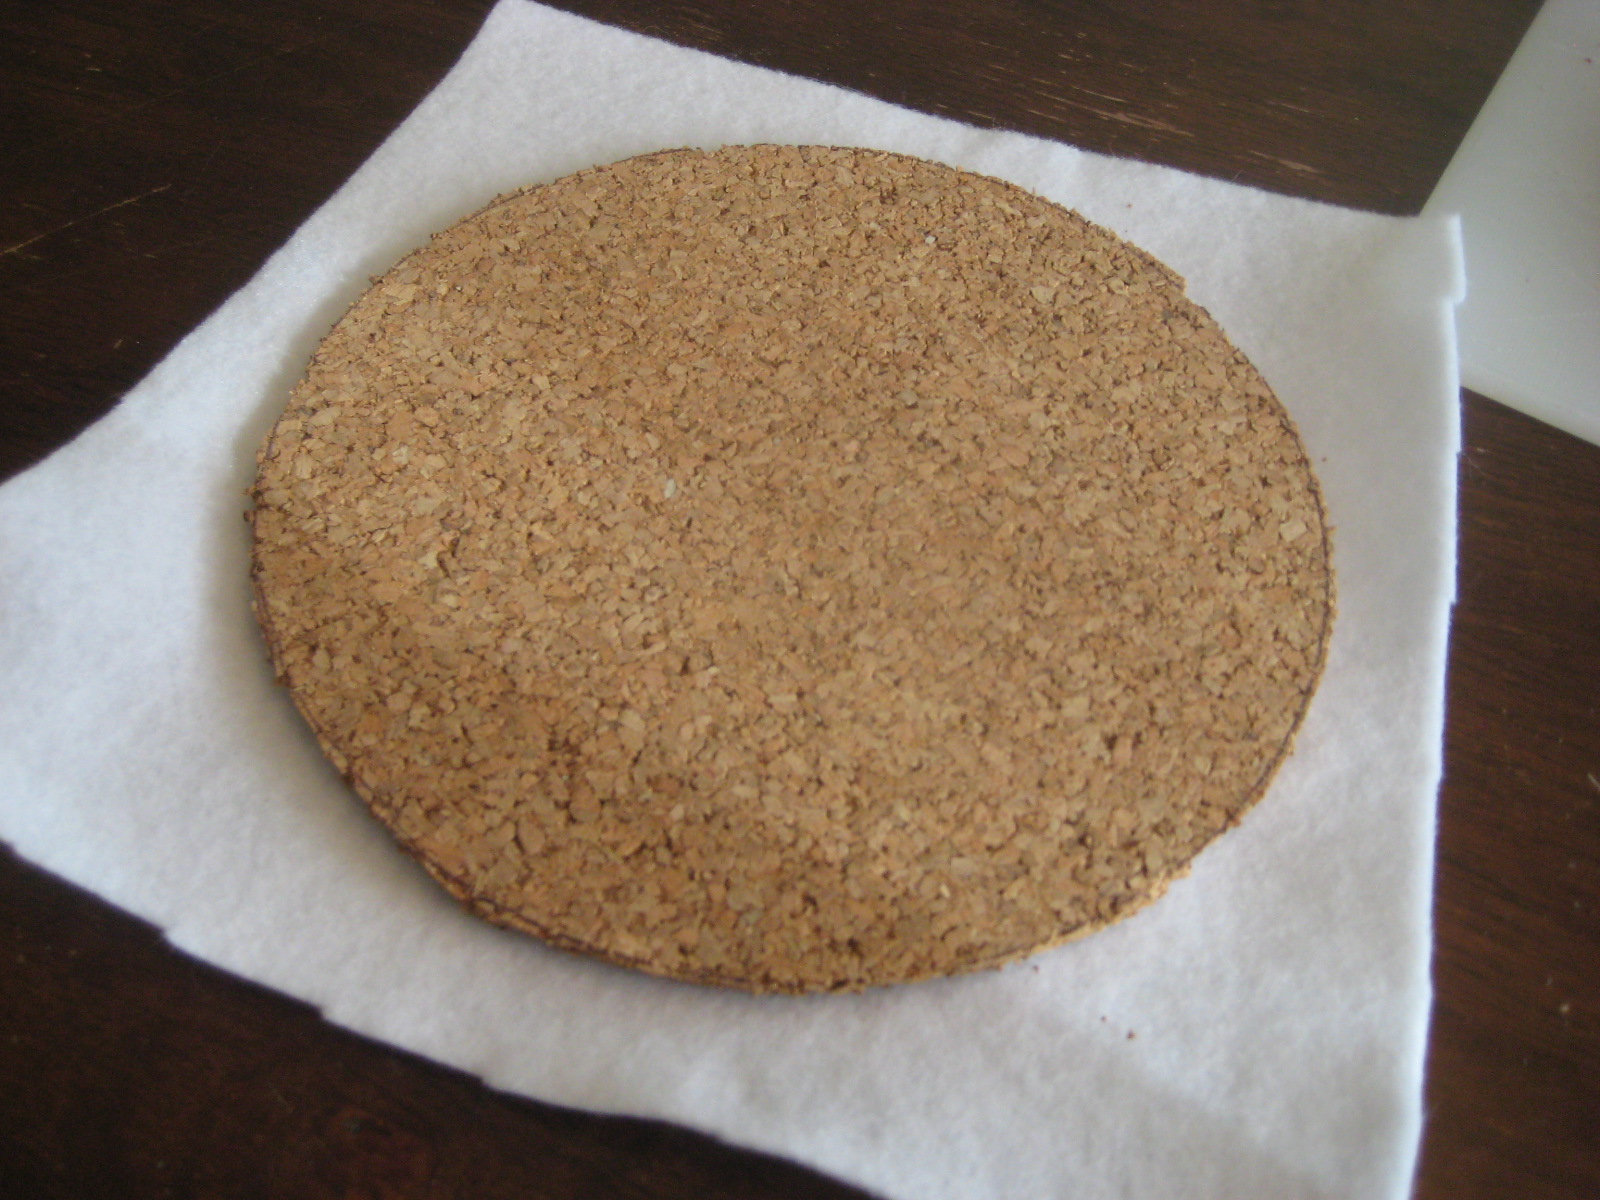
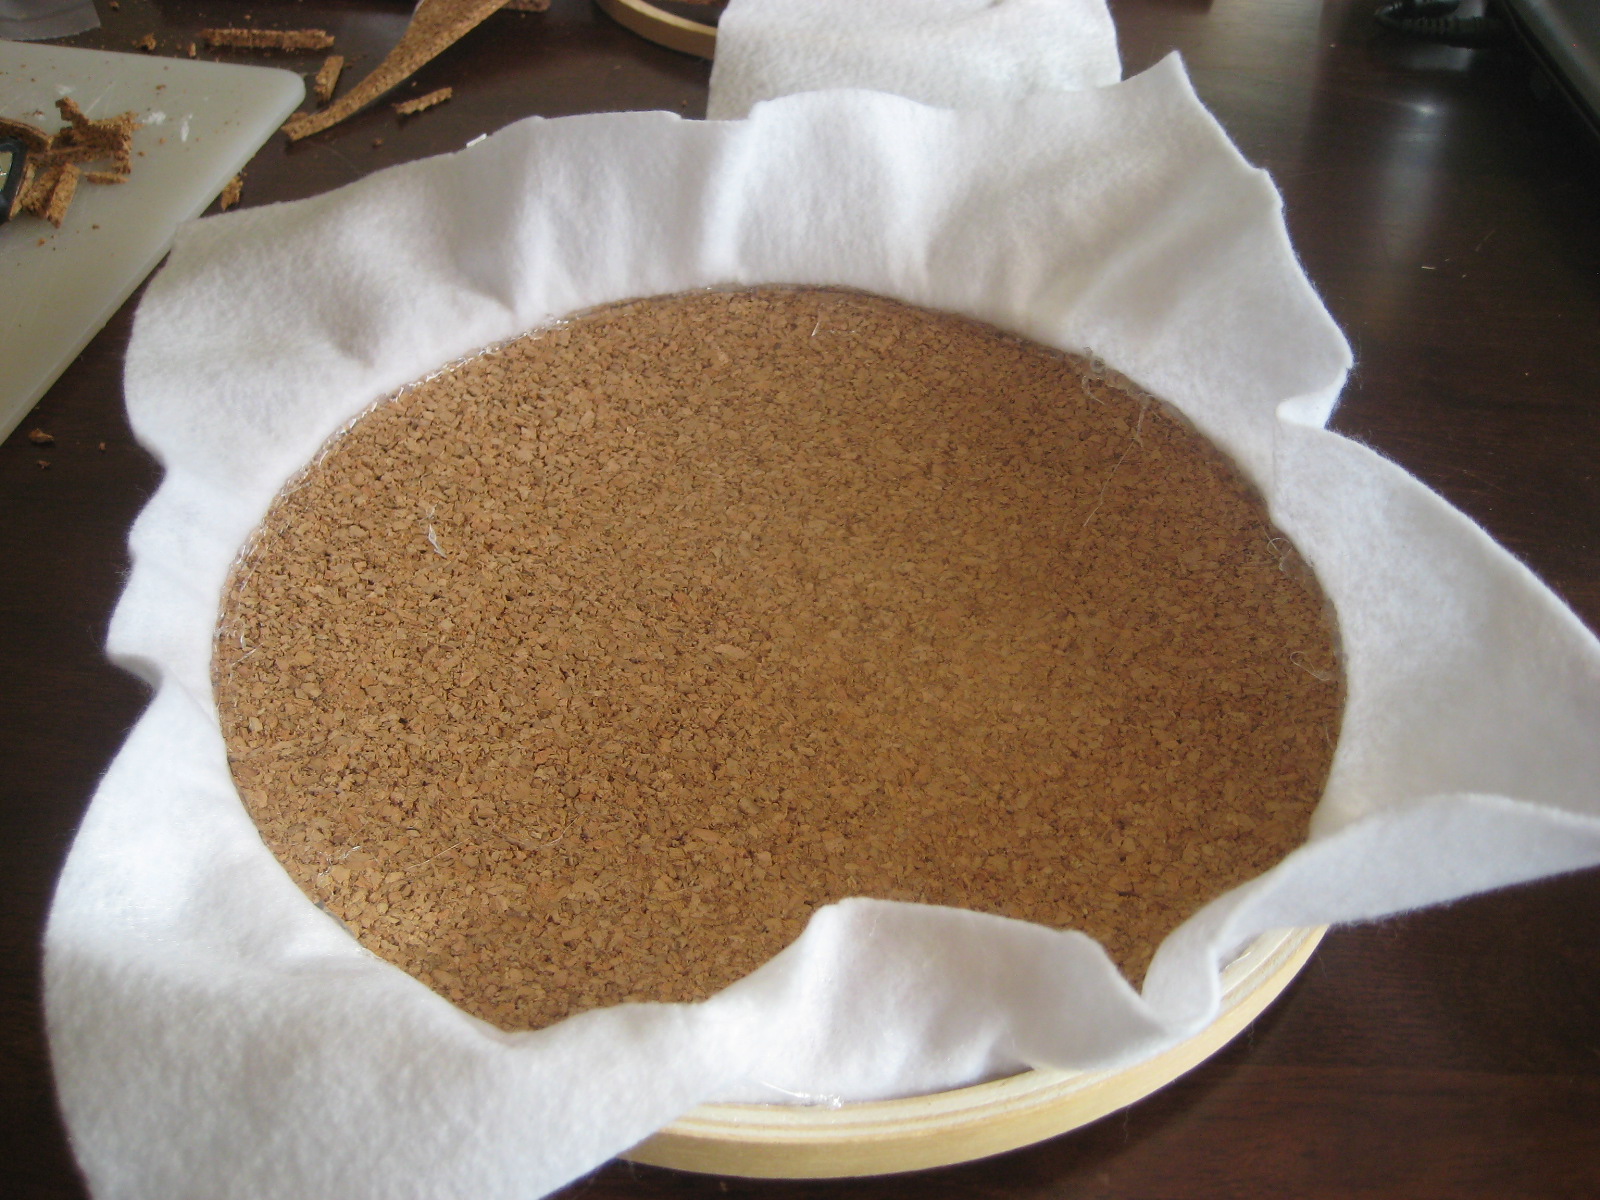
4. Then take your cork tile and felt and insert it into the embroidery hoop making sure it’s pushed in there tightly and fits well (it may take some adjusting).

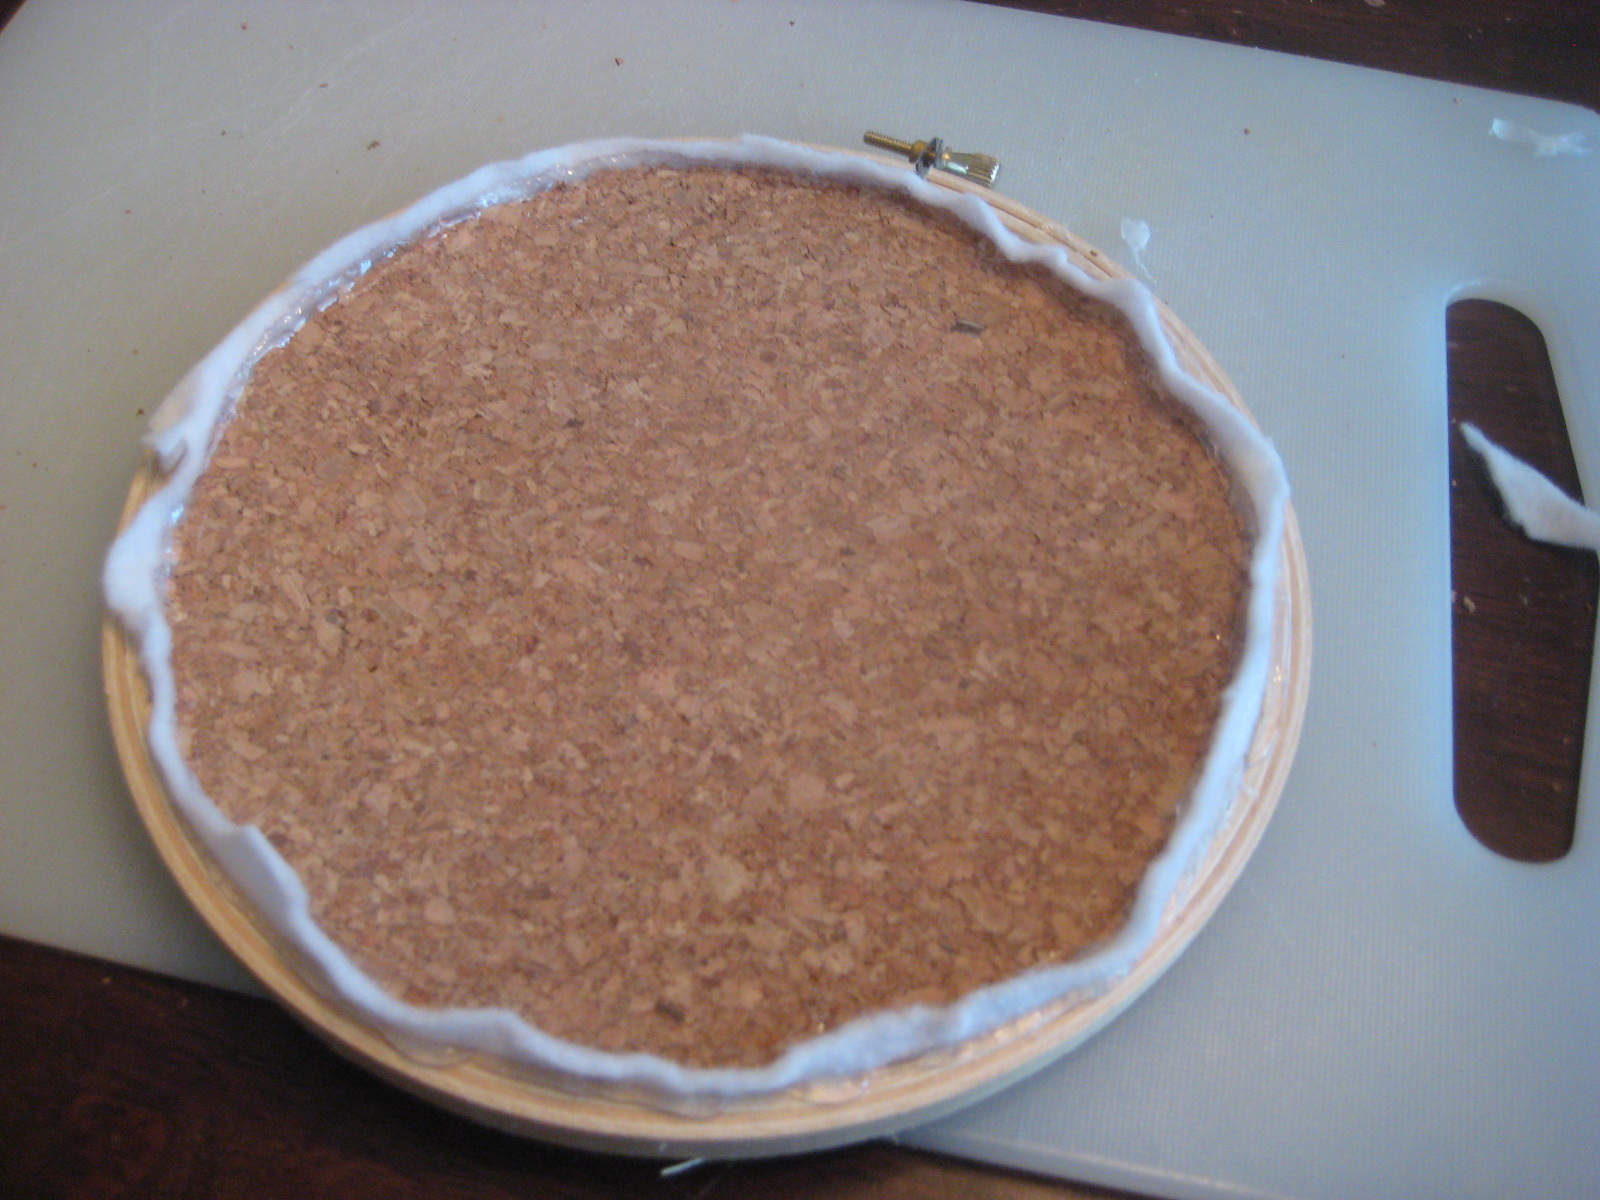
5. I then took hot glue and glued the felt side of the cork tile to the inside of the embroidery hoop. I did a couple layers of glue to make sure it was nicely secured. I then followed up with another layer of hot glue on the layer between the cork and the felt so that the cork wouldn’t fall out of the felted layer either. So two layers of glue, one outside the felt and one inside the felt line.
6. After the glue dries, cut the excess felt off the circle and repeat with the other two embroidery hoops.
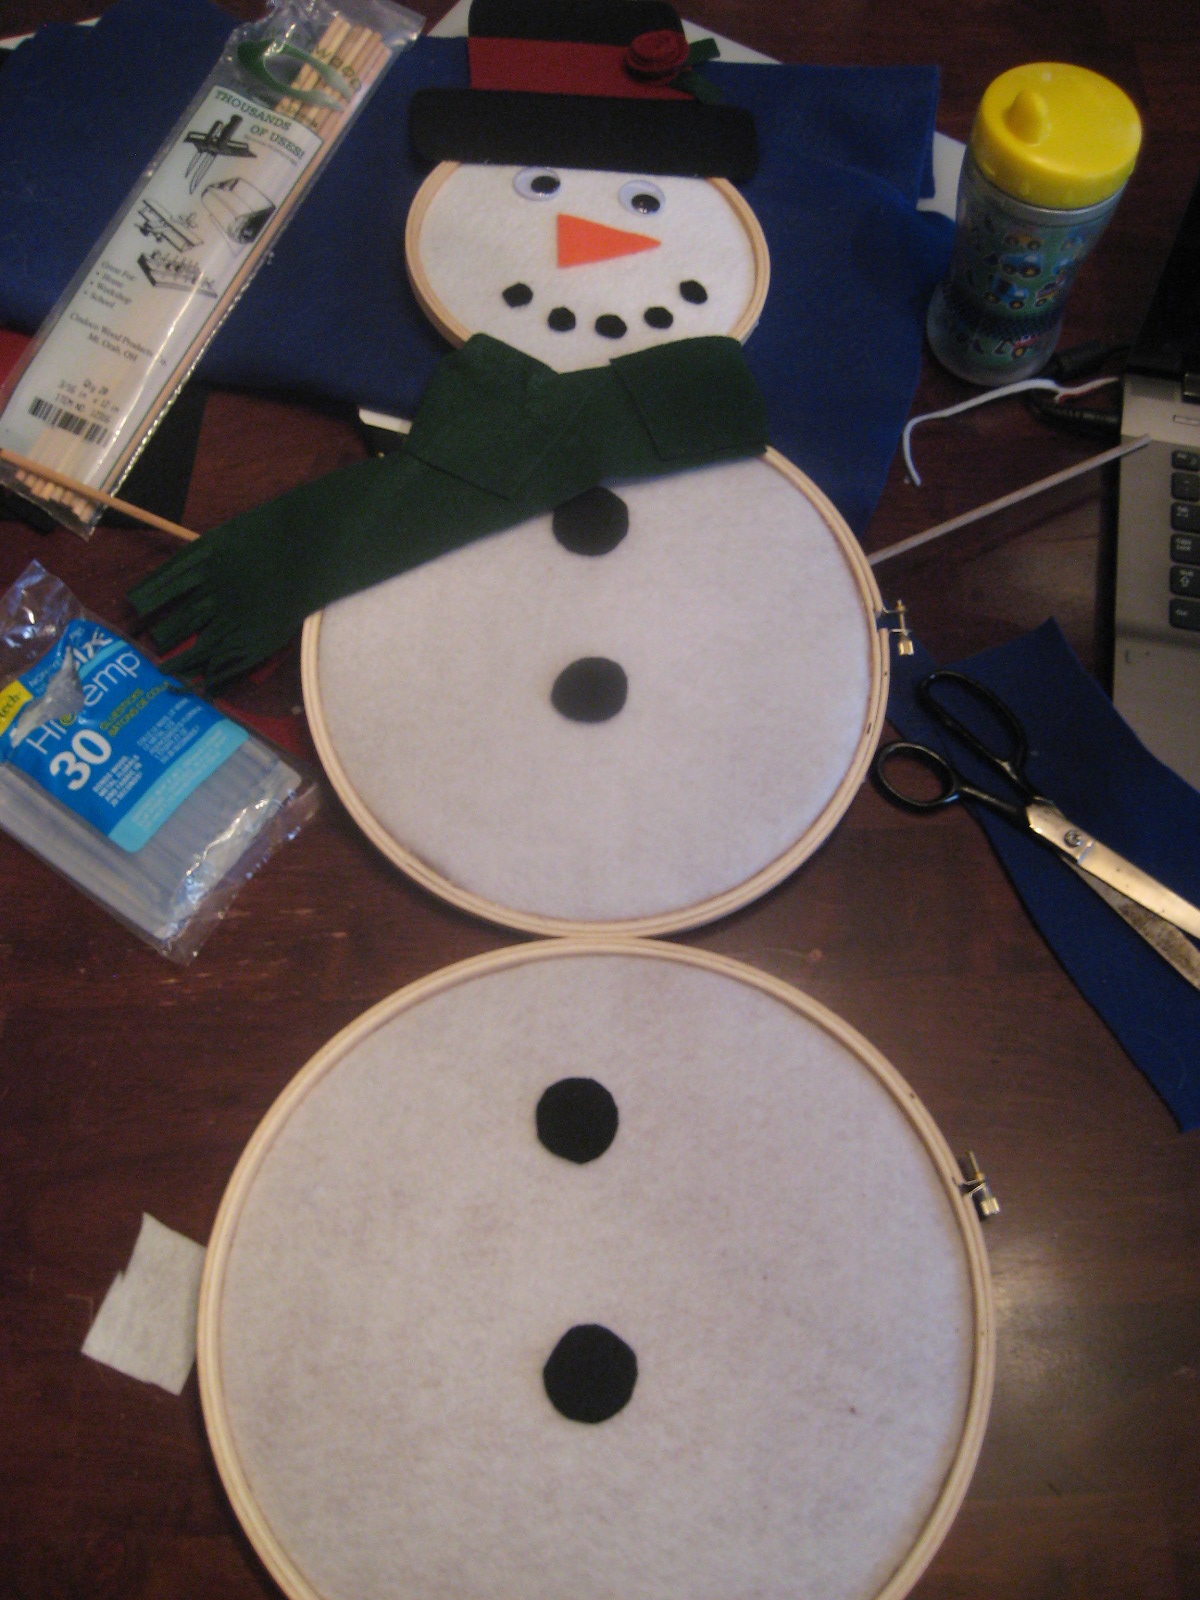
7. From there, you need to start working on decorating the front of your snowman. I started by connecting all the 3 pieces together, something I WOULD NOT recommend because it makes decorating it all the harder. I would recommend waiting until the end to connect your 3 hoops. I connected them by taking rectangles of felt and gluing them to the back of each hoop, so I connected the large and medium together with one felt rectangle with tons of hot glue and then I connected the medium and small hoop together with another rectangle of felt and tons of hot glue.
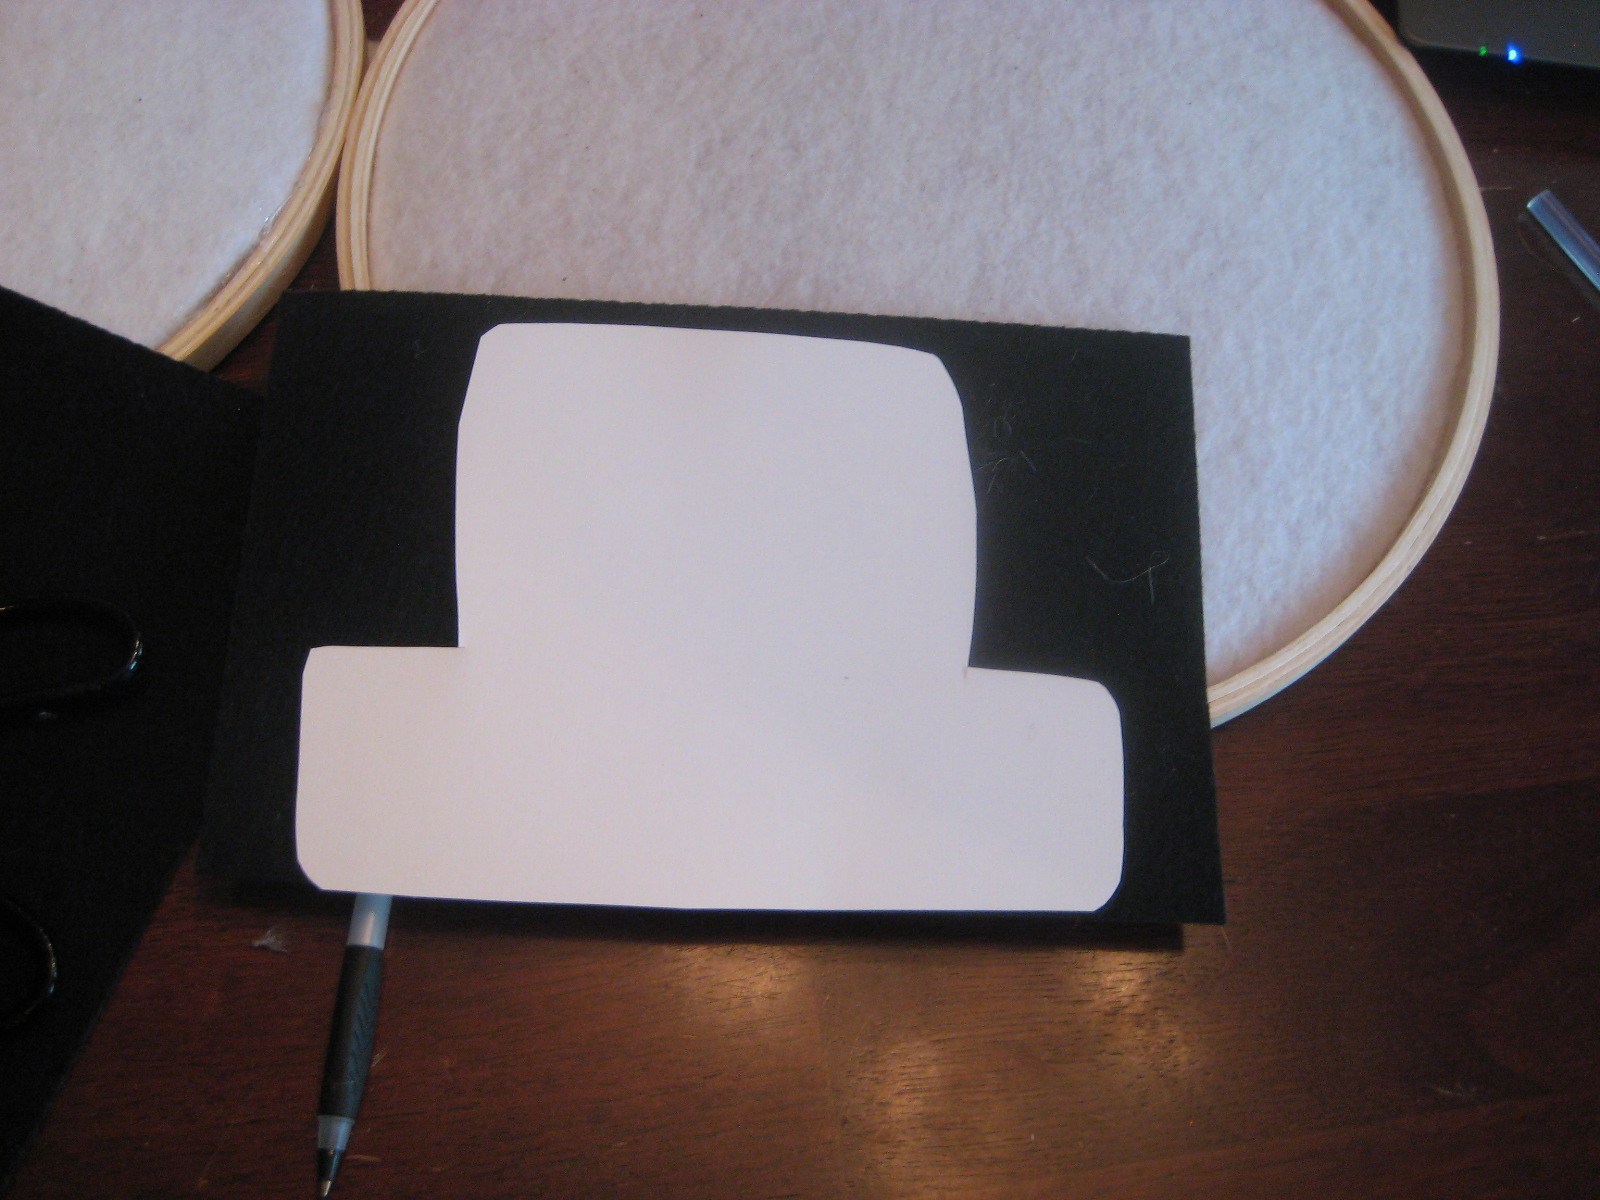
8. After that I flipped it over and added 4 black felt buttons going up the front (2 on the middle hoop and 2 on the bottom hoop). I made 5 small black felt “buttons” and added them to make the mouth. I made a triangle out of orange felt for the nose and I added 2 googly eyes. I also cut out a hat from the black felt and added a red strip of fabric with a red felt rosette and little green leaves. I glued the hat to the top of the small hoop. Lastly I took a piece of green felt, divided it into 3rd’s long ways and cut it. Then I glued 2 pieces together and wrapped it around the snowman’s neck like a scarf. I cut little slits into the bottom piece to make it more scarf like, as well.


wow!!! so creative!! love snowmen 🙂
This is so cute. I have mild (ok, major) snowman obsession so I am definitely adding this to my to do list. So creative!
Very cute and creative….I’d love to see what it looks like with your Christmas cards on it. Would you please share this with my readers for Fun Stuff Fridays linky party? https://www.toysinthedryer.com/2011/12/fun-stuff-fridays-3.html
so cute!
would love it if you could share this on my link party Serenity Saturday at http://www.serenityyou.blogspot.com
Natasha xx
ok did i miss something here .. how do u connect the xmas cards to the snowman? pins? i will reread now to see if i see what i May have missed ? lol i do that too sometimes.. but did love the idea …. i will be trying to make just one for myself.. and if it goes well..ill make several others for nursing homes.. as well as my grand children for their bedroom doors…ty for sharing… great idea ^5
ok i dont see yet how u connect the xmas cards to the snow man.. im assuming pins..or hot glue to ?but if one used hot glue to do that .. then one couldnt use same snowman for following years to come.. ill stick them with the pins i guess.. again ty for sharing the snowman idea.. appreciate it .. would of never thought of it on my own lol… cheers !