
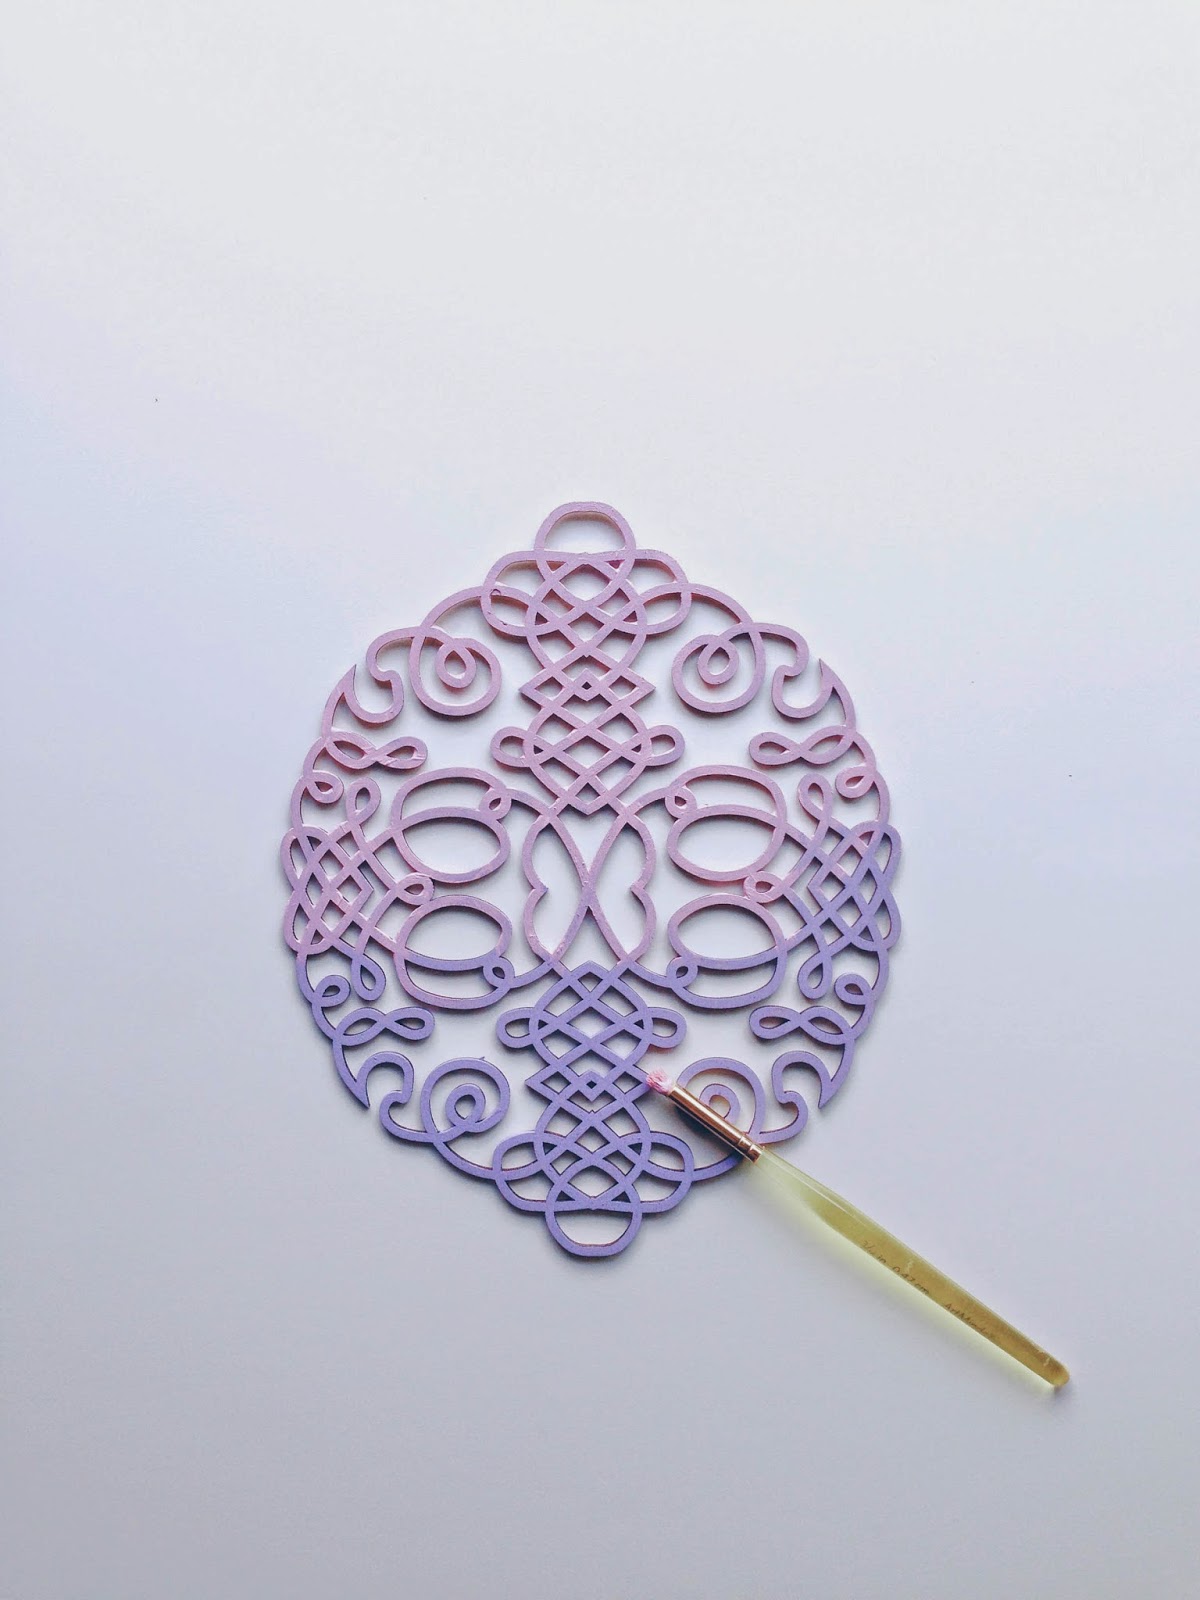
Wood Plaque Decor from Splendid Design
Hello, My name is Megan from Splendid Design. Thank you Abbey for having me guest post today while you are enjoying your last two weeks of maternity leave snuggling with your adorable baby girl and playing with your boy. Today I will share with you an easy tutorial including the awesome laser cut wood plaques from Michaels.
I have been working on re-doing my daughters’ bedroom walls and thought that this would be the perfect little personal touch to a room they share. The best part it’s less than an hour project. Perfect for this mom of two.
.jpg) |

.jpg)
|
Once again thank you Abbey for having me over at your blog today!
Thanks so much for rounding out my guest posts during maternity leave, Megan! Be sure to visit Megan over at Splendid Design or via Facebook or Pinterest!


Once again thank you for having me Abbey!