How to Update Interior Doors
This post is sponsored by HomeRight, all thoughts, words, and opinions are my own.
When we moved into our house I knew that without a doubt we had our work cut out for us. We had a whole house (inside and out) to paint, trim that we knew we’d want want, bathrooms we’d need to bring into this century, and more. We’ve been working REALLY hard at tackling some of the projects (like THIS shed makeover, THIS bathroom makeover, and THIS exterior paint job). But we still have so much left to do. Today I want to show you one of the EASIEST and most overlooked ways to brighten up and modernize your home! Let’s see how to update interior doors in your home to make everything look and feel more bright and open.
First, we have to see the before…unedited, straight off the camera, in all its glory….
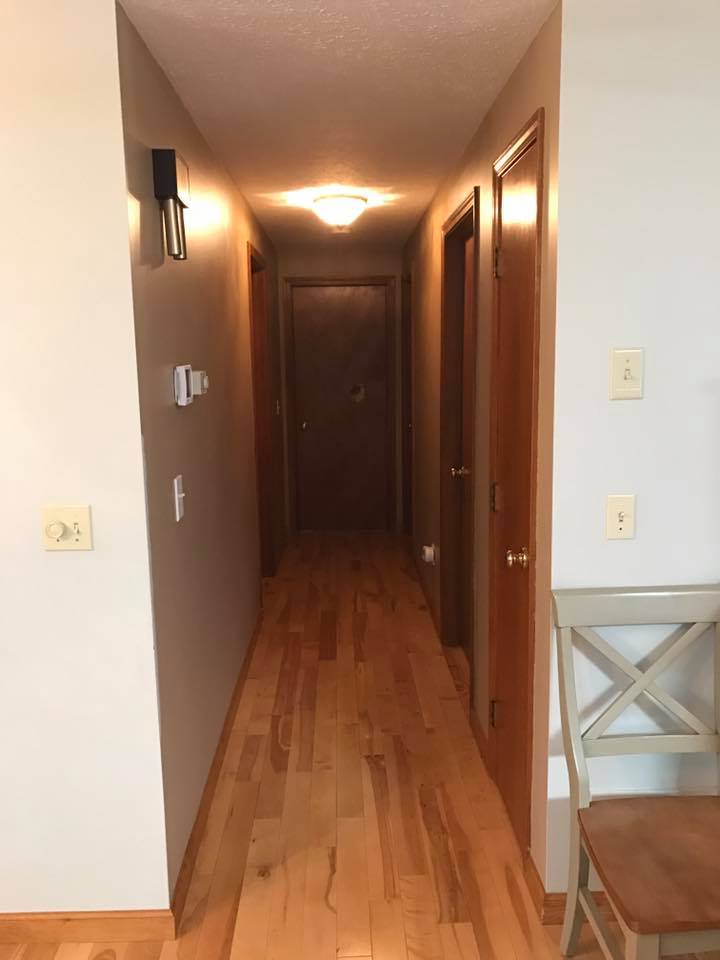
That’s as real as real gets, my friends. We have honey oak trim, honey oak doors, honey oak floors, tan walls, brass knobs and a super old light fixture. I’ll share the FULL hallway reveal later this week, but in the meantime, let’s look at the details on how to update the interior doors.
Table of Contents
Step One
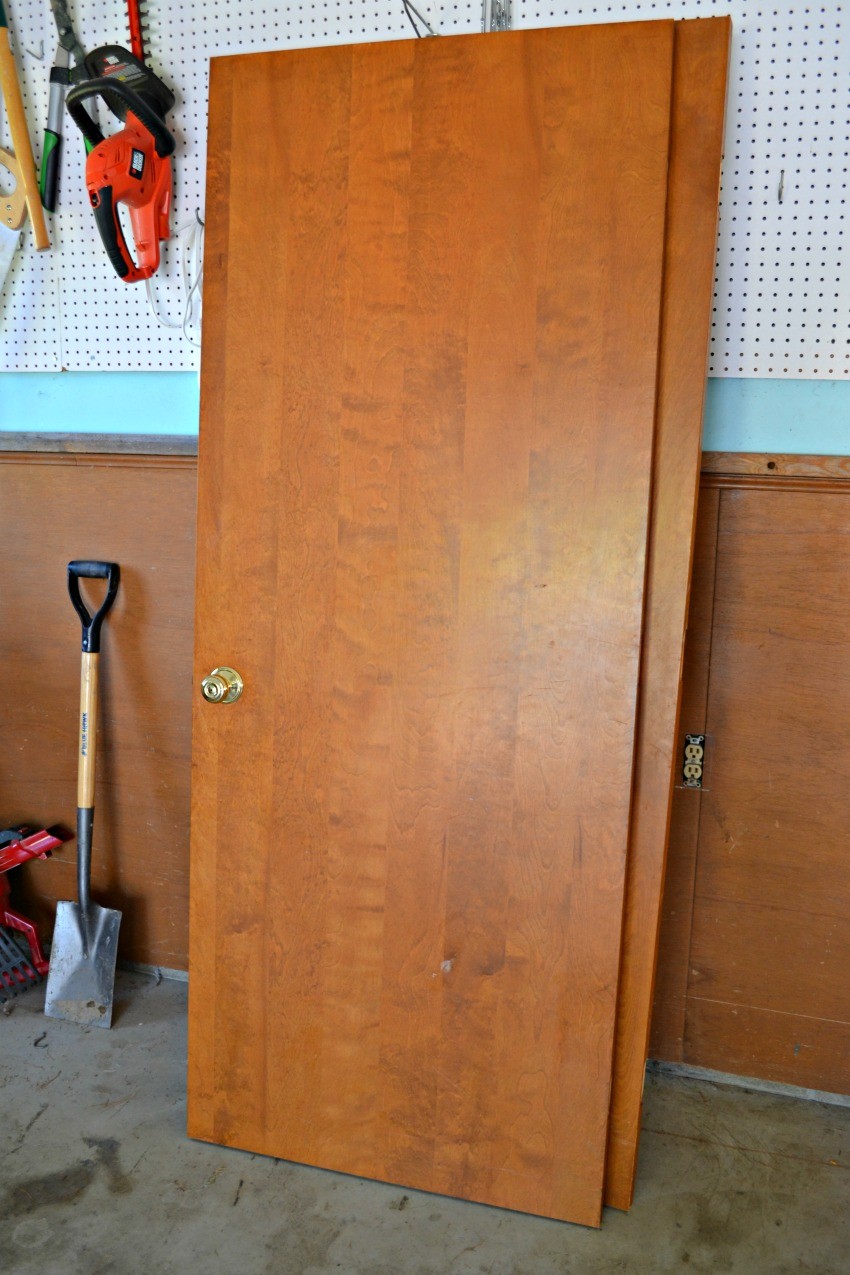
Remove the doors and all of the hardware from the doors.
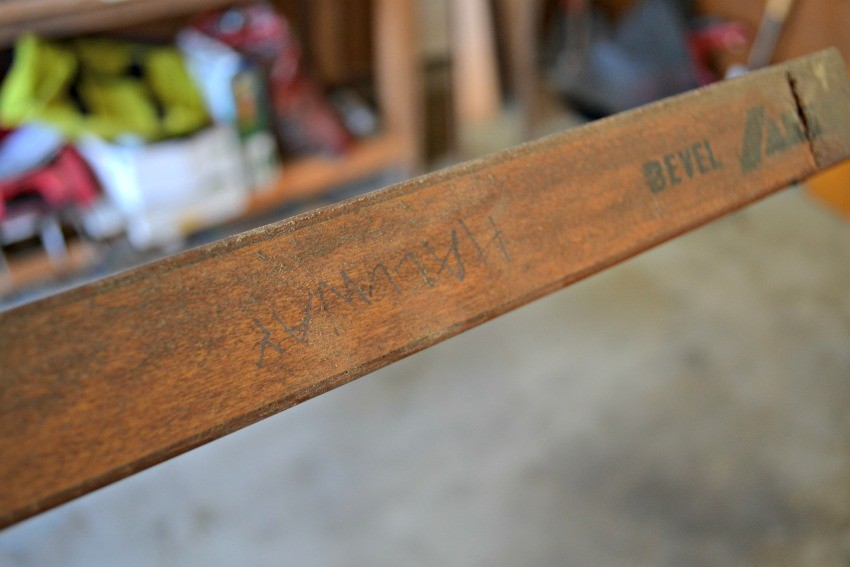
Label the top or bottom of the doors with the room that they belong to (don’t forget this step!).
If you’re reusing the hardware, be sure to label which pieces go with which doors to make it easier. For us, we pitched all the old grimy brass hardware and got fresh, updated new hardware from D Lawless Hardware who helped us match everything perfectly to our doors.
Be sure to fill in any notches or holes during this step that could leave your doors looking uneven.
Step Two
Give your doors a good sanding down with 220 sandpaper. Once sanded, wipe off the dust with a cloth and get your paint prepped.
Step Three
I used a HomeRight Finish Max Paint Sprayer and Spray Shelter to make this job exceptionally easier. The shelter goes up quickly and keeps the paint contained to one space. The Paint Sprayer helps me paint easily without brush strokes, so I HIGHLY recommend this if you’re planning to paint your interior doors (or any furniture type projects really).


I used Benjamin Moore’s Satin Impervo for this project. Because the doors were stained, I needed to use an oil based paint in order for the paint to adhere well. My dad is a contractor and for years has sworn by this paint, so that’s what we use, but beware that it’s very pricey.
In order to make the paint thin enough (because it’s oil based paint), I mixed a little thinner into each canister in the Finish Max Paint Sprayer so that it came out evenly. I also used thinner to clean up the machine once I was finished.
Step Four
I set up my doors on a drop cloth and leaned them up against a patio chair covered well by a drop cloth, then I sprayed each side evenly. I let each side dry between coats and each door got two coats on each side (four total coats).

Step Five
In between coats I’d have issues sometimes with bugs landing in the wet paint. My dad’s pro tip is to use a little paint thinner on a rag and gently wipe the big bits off. It worked well for me for the most part.
Step Six
After your doors have two coats on all sides and have dried, then you get the fun part of rehanging them. Be careful of how you install your hinges, it took us a few times to get them on there correctly, but once we did it took about 20-30 minutes per door to reinstall and add all the hardware to).

Once all the hardware is on, you’ll forget about how much you hated every minute of painting you did and just admire how much better your interior can look with a little paint and a little effort!
Stop by my blog later this week to see the FULL hallway reveal and update!
…..
….
…
..
.
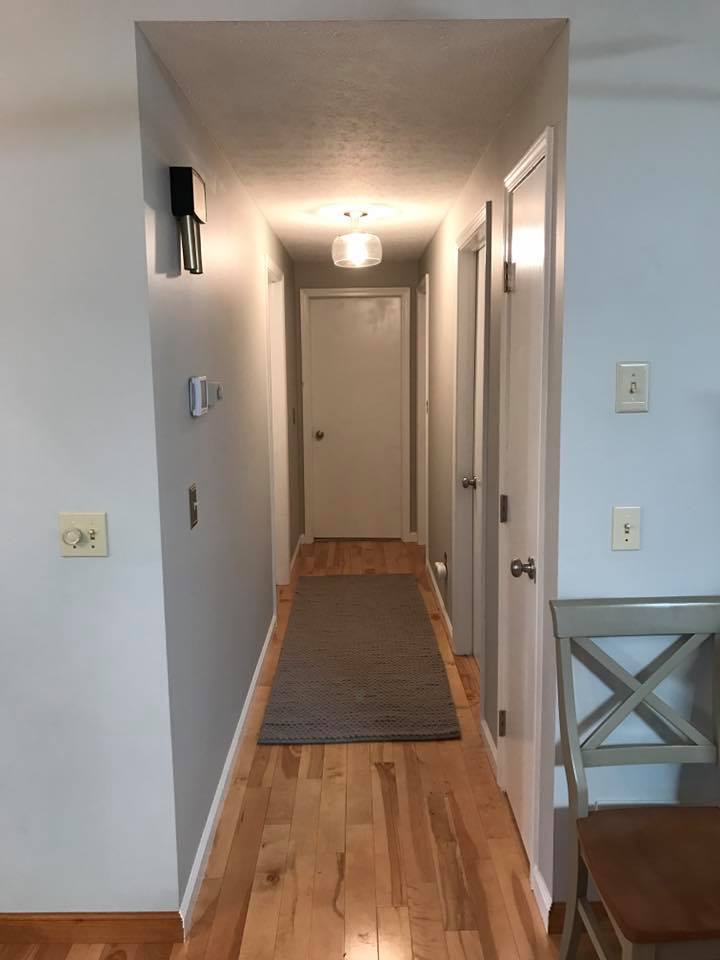
{Ok…ok, I know you’re dying inside to see the reveal…so here’s a little unstyled sneak peek LOL}
Pin it for later…