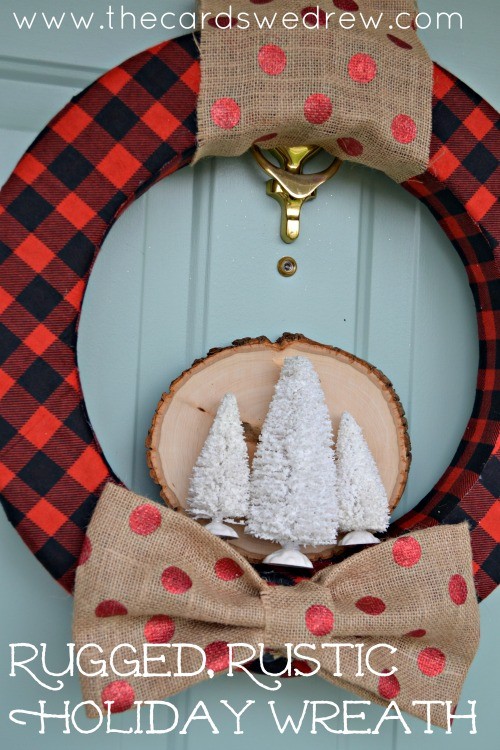
Rugged, Rustic Holiday Wreath
I’m really into the rustic look and haven’t used plaid at all yet for the holidays, so I took a red plaid fabric combined with a shiny red polka dot burlap and created a fun wreath with it!! Let me walk you through how I created this easy Rugged, Rustic Holiday Wreath!
Materials Needed:
FloraCraft Foam Wreath
Red Plaid Fabric (1/2 will do)
Polka Dot Burlap for bow–or other ribbon
3 White Bottle Brush Trees
Wood Slice
Hot Glue
Scissors
How to:
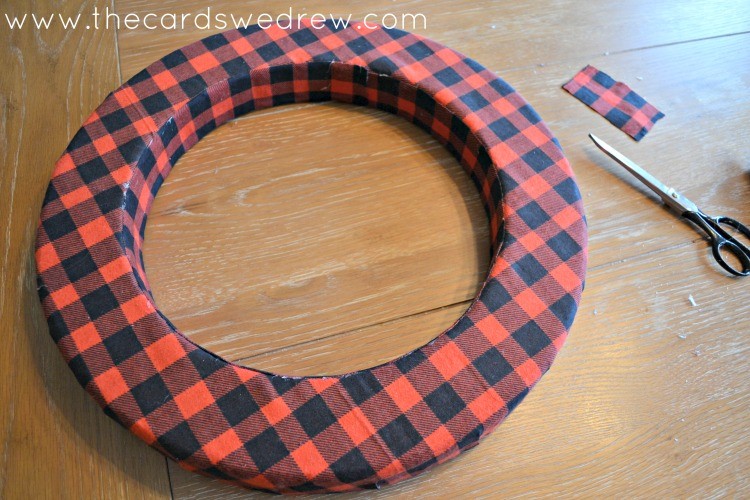
1. Start by covering your wreath with fabric. This is the hardest part. Here’s the step by step….

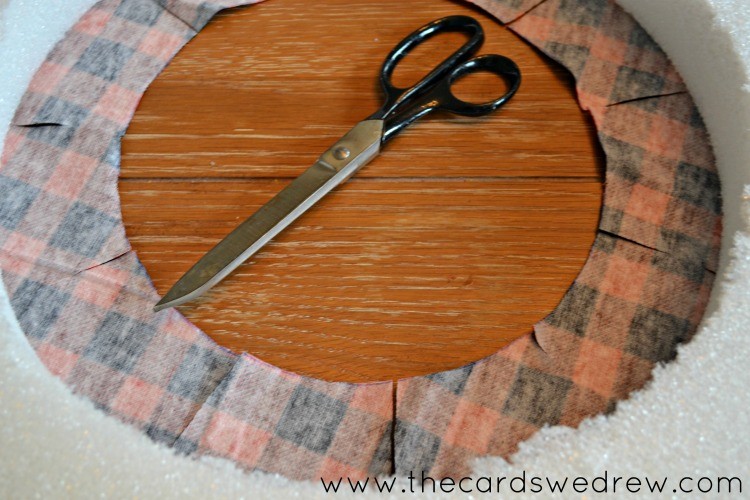
Cut a large square of fabric from around your wreath.
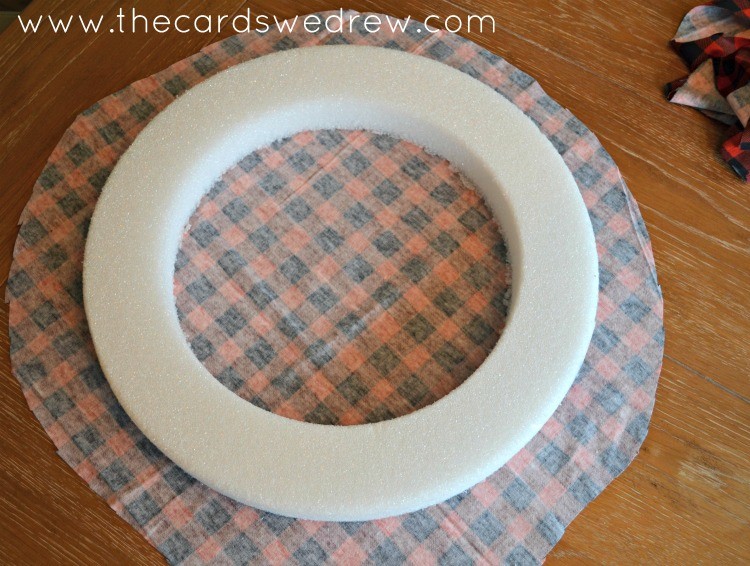
Place the fabric face down and the front side of your wreath face down and cut a circle around the wreath. The edges of the circle don’t have to be perfectly even (as you can tell mine aren’t), but they have to be long enough to cover the sides and be able to be glued down on the back.
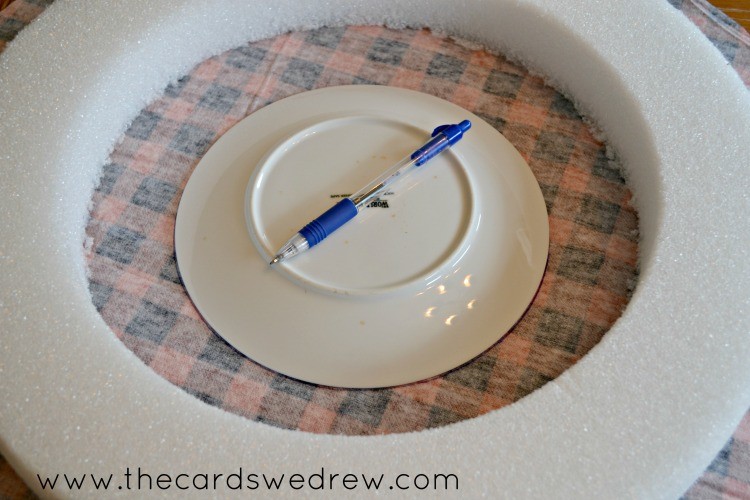
After your outer circle is cut, use a template to help you cut your inner circle. Again, it has to be wide enough to cover the edges of the inside of the wreath.
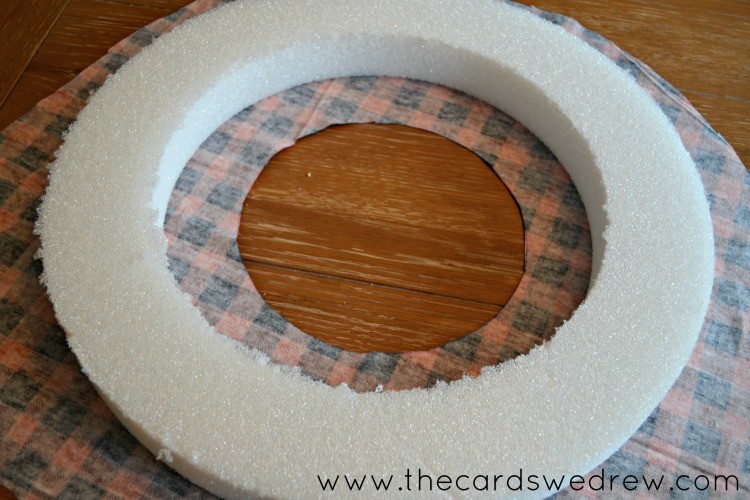
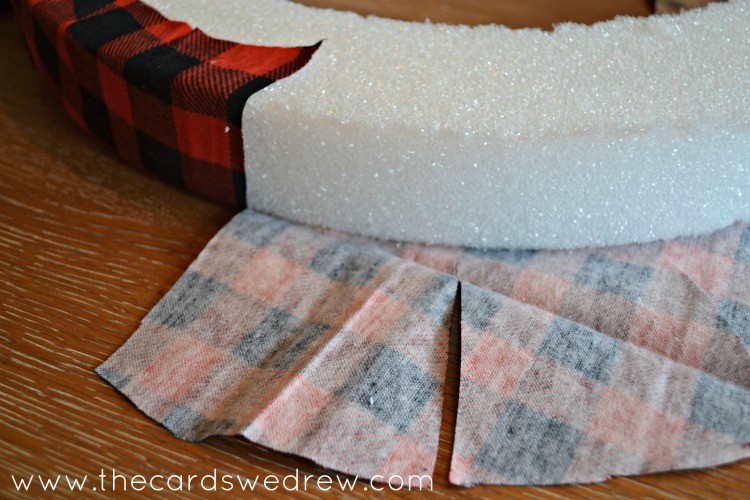
Once all sides are cut, then you get started cutting 2″ wide slits in the fabric so that when you glue it down it lies flat rather than being gathered on the surface.
Cut slits to the edge of the wreath every 2″ using scissors. Do this for the inside and the outside of the wreath fabric.
Starting on the outside, hot glue the slits down on the sides and pulling taut onto the back of the wreath. They don’t need to be perfect, but pulling tightly is a must.
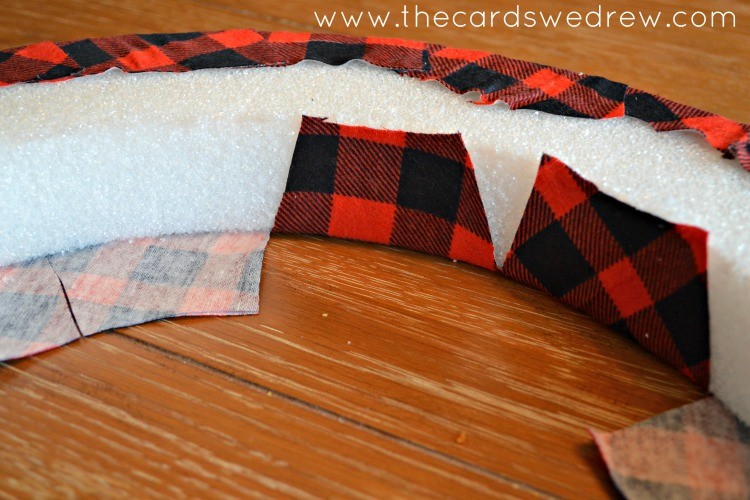
Do the same for the inner part of the wreath, but you’ll notice that it doesn’t cover all the open space, that’s fine. You’ll be cutting a strip about 2 1/2″ wide next to cover the inside of the wreath.
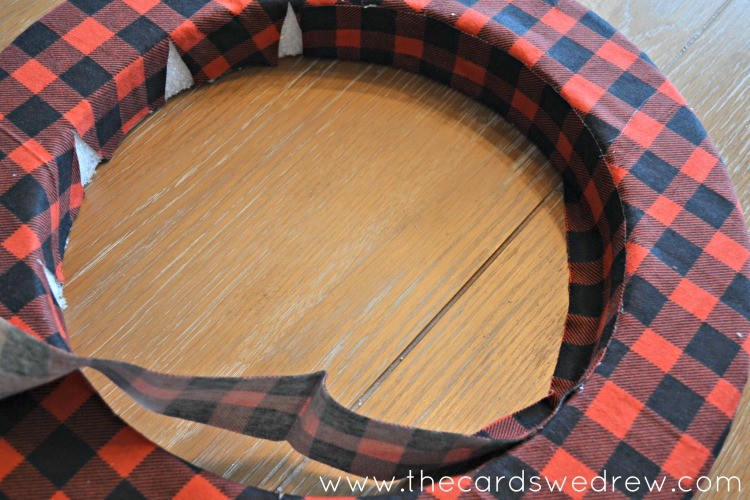
Cut the inside strip of fabric and place it on the edges and glue down…this is a bit cumbersome, so take your time and use your glue carefully. Cover the entire inside of your circle with fabric and use glue to hold it down.
Once done the entire front, sides and inside of your wreath should be covered with nice, taut fabric. This method makes it so that the pattern is nice and even. If you prefer less work, you can just cut a 2-3″ strip of fabric and wrap it around the wreath instead and glue in place. It won’t have the seamless look this does, but it will be a bit faster.
2. Now that your fabric is down you simply add a bow with the burlap and hot glue it onto the front. Then I took three bottle brush trees (found at JoAnn’s in white and green) and I hot glued them to a wood slice (also from JoAnn’s). Then I carefully glued one edge of the wood slice onto the center of the wreath. This is a very delicate glue and you may have to fix it later if the wreath gets banged around too much.
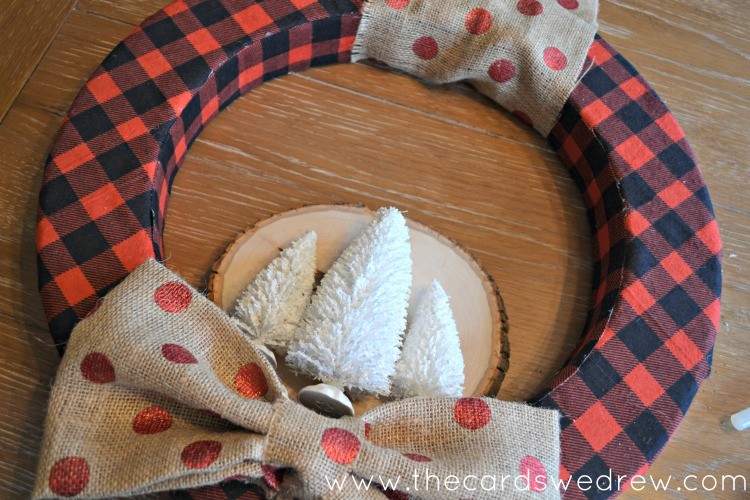
3. I added another piece of burlap to the top to hang my wreath with and VOILA! It’s done!


It’s so simple and easy to make…I just love how it turned out. It reminds me a little of the Christmas Vacation movie with the plaid and the trees.


I hope you enjoyed my simple tutorial. Happy holidays!


Love the plaid and burlap polka dot bow. Pinned 🙂