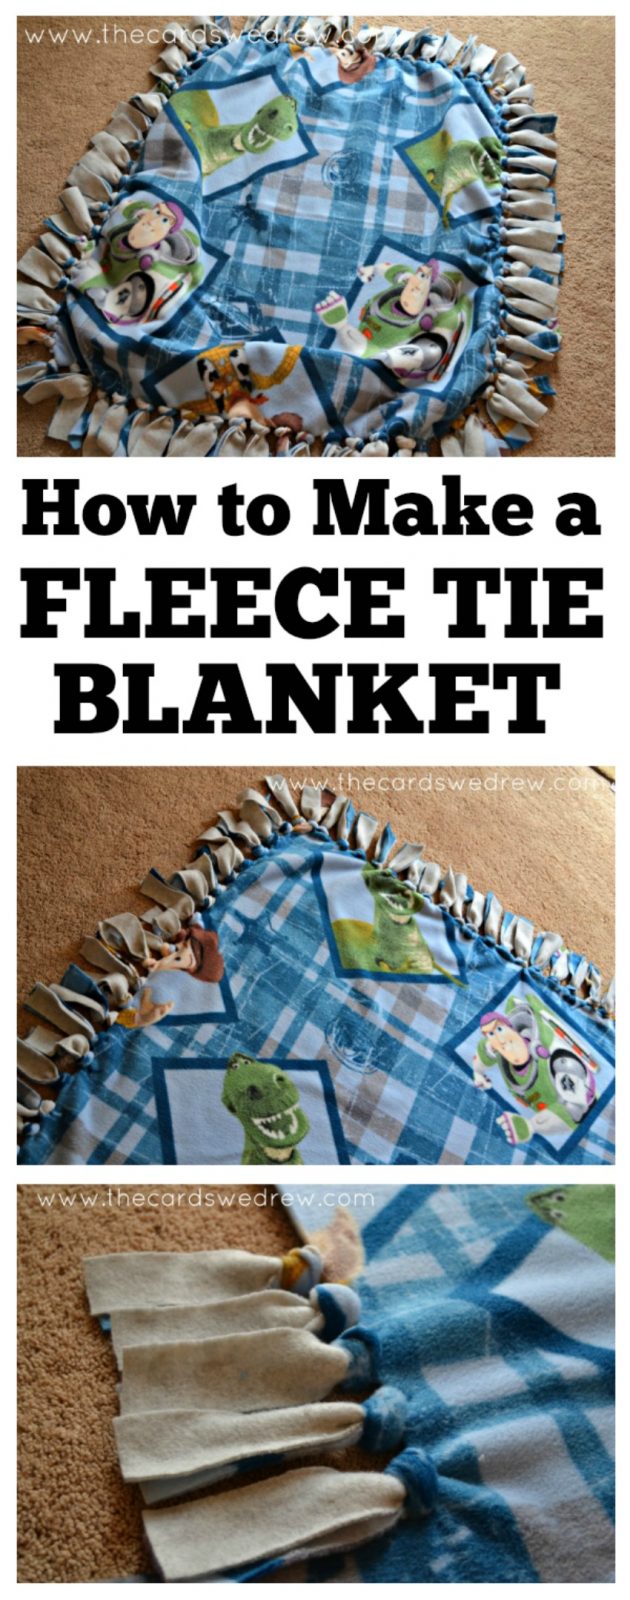
How to Make a Fleece Tie Blanket
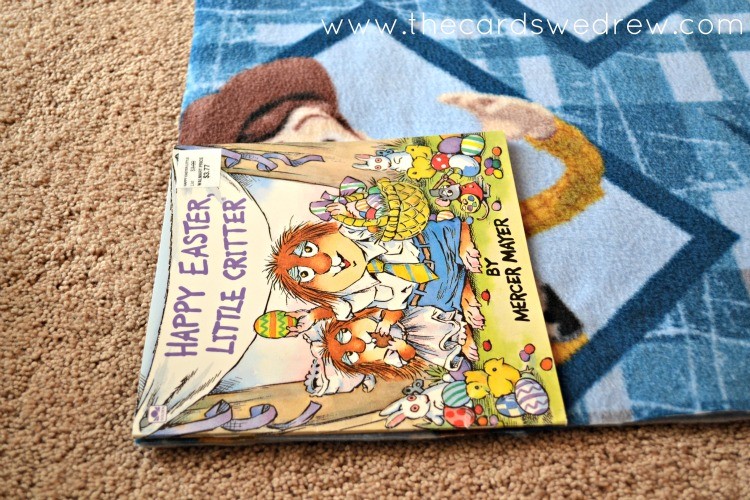
Back in the day, my son was a SUPER Toy Story fan, so when I saw this cute Toy Story fleece fabric at JoAnn’s, I thought what better than to make him a warm, soft, cozy Toy Story blankie. I thought I’d share how to make a fleece tie blanket for your kids using their favorite patterns. This tie blanket takes about an hour to make and is really affordable–and your kids can have fun getting involved and making their own cozy blankets. This would even be a great handmade birthday present idea for kids!
Here’s what you need (so simple):
Two different layers of fleece–I did 1 1/2 yards of each
Scissors
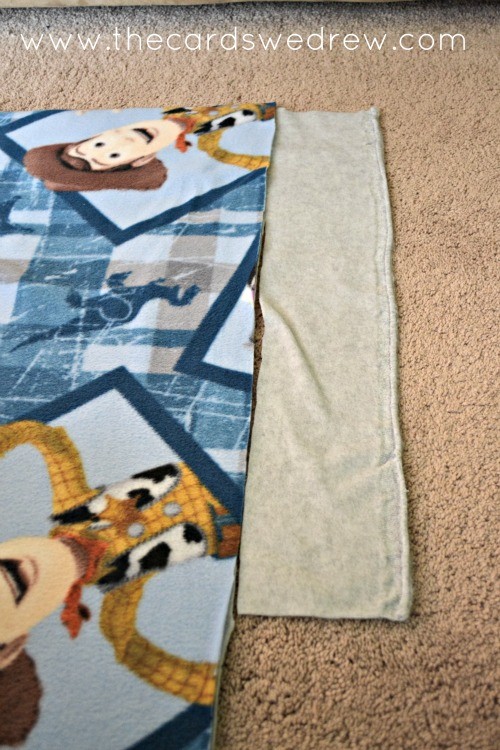
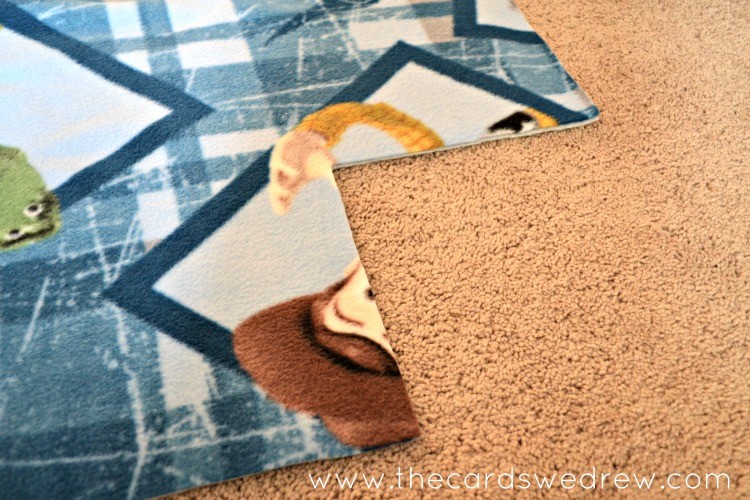
This blanket is so easy to make…first steps are to get your fleece edges cut the same lengths and cut off any “extra” or un-usable fabric on the edges. The Toy Story Fabric had Disney logos on the edge, so I trimmed that off. This will be the hardest part of the whole process.

Lay your fabric out in a big open space. I set it up in my living room, vacuuming the carpet first.
Lay the fabric evenly on top of each other, flatten out any wrinkles. Then work to trim your fabric edges…poor Woody got the ax pretty much everywhere on the blanket because of where he was positioned.
I used a higher quality fleece that doesn’t pill up as much for this project…the light gray had little “edges” on it too that I trimmed off.
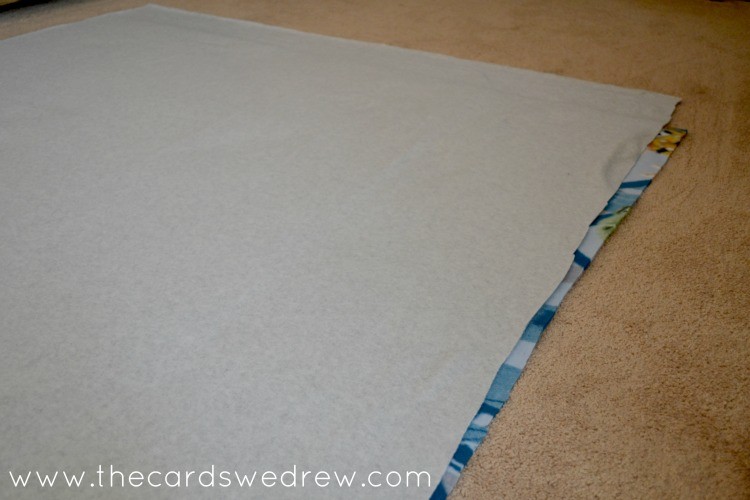
Keep trimming til all your edges on the fabric are even.

Once fabric is even make sure all the fabric is lying flat and start working on your corners. I used a square book of my son’s to create/cut the corners into squares. You have to do this so you have nice even edges of the blanket.
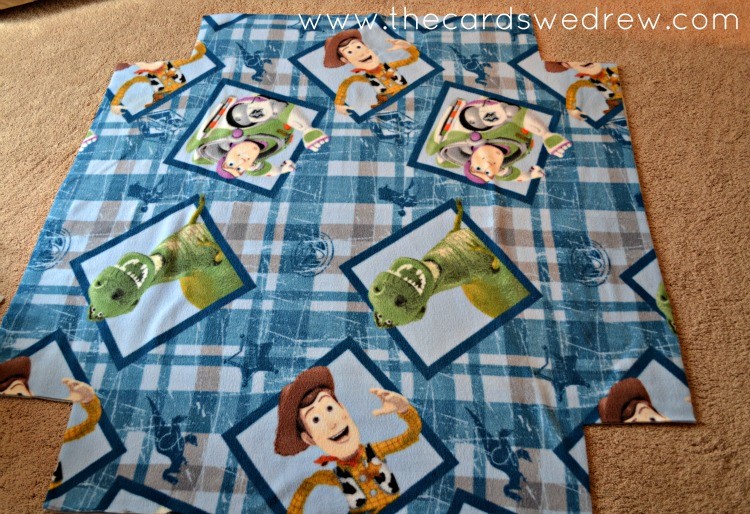
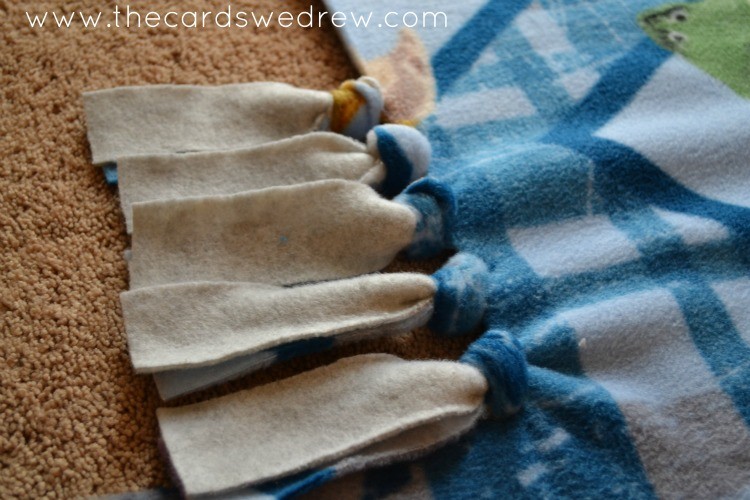
Once all your corners are cut you can start cutting the ties….
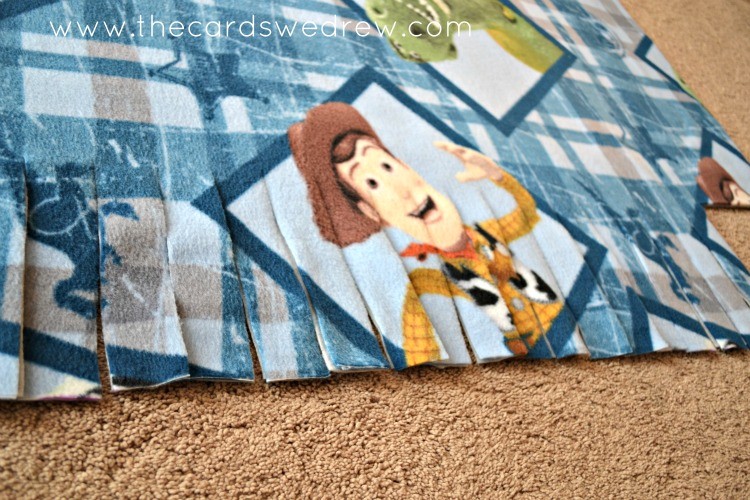
The fleeces are always on top of each other during this process, so all the cuts are made through two layers of fleece. I cut one side at a time, tied it, then did my next side. It just broke up the monotony a bit. Once your side is cut, you can start tying.
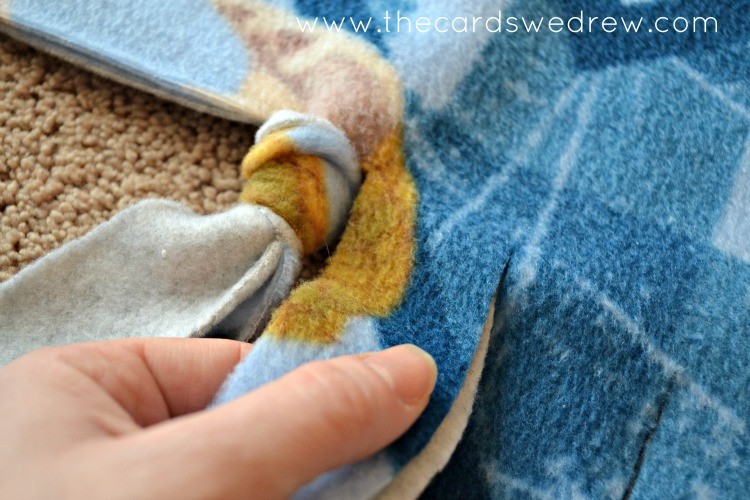


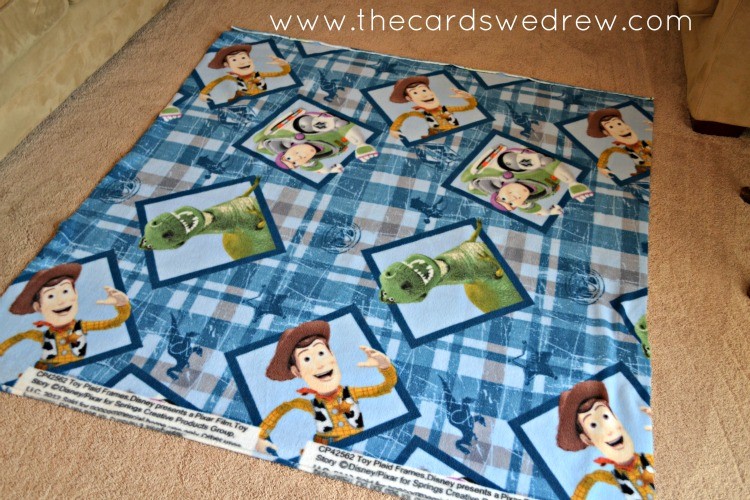
A quick and easy tie and you work your way down the edges of the blanket. Some people get out the ruler and make sure every cut is the exact same, but I just kind of winged it.
Repeat this process down all four sides of the blanket and…tada! You’re done! So easy!
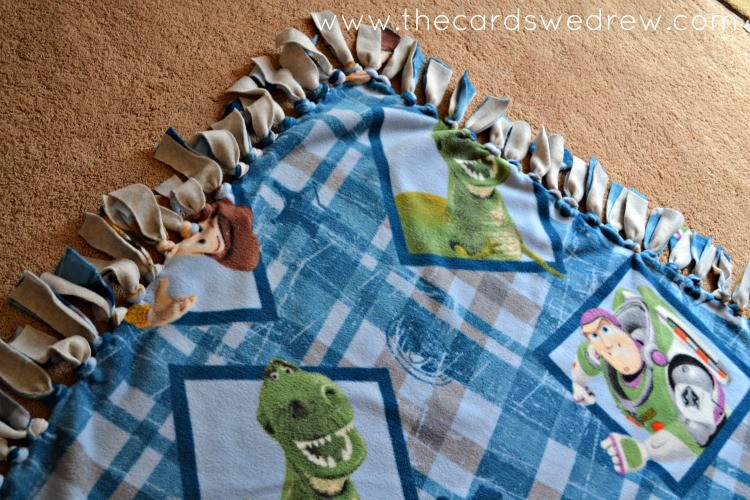
Poor Woody didn’t make the proverbial cut, but, we had a lot of Rex and Buzz. This blanket is SO warm you guys! SO warm.
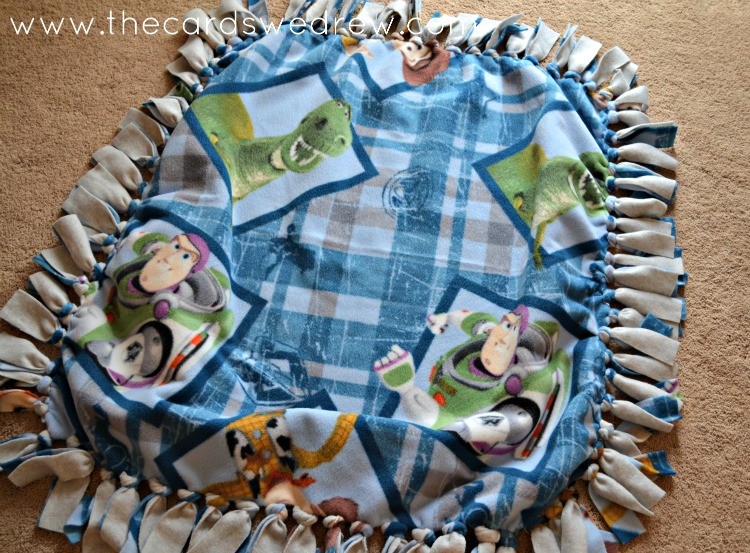
Something to make note of…the ties make this blanket shrink quickly. If I could do this over again, I’d probably get more like 2-2 1/2 yards of fabric and make a twin sized blanket. This is pretty small in comparison to what we started with.
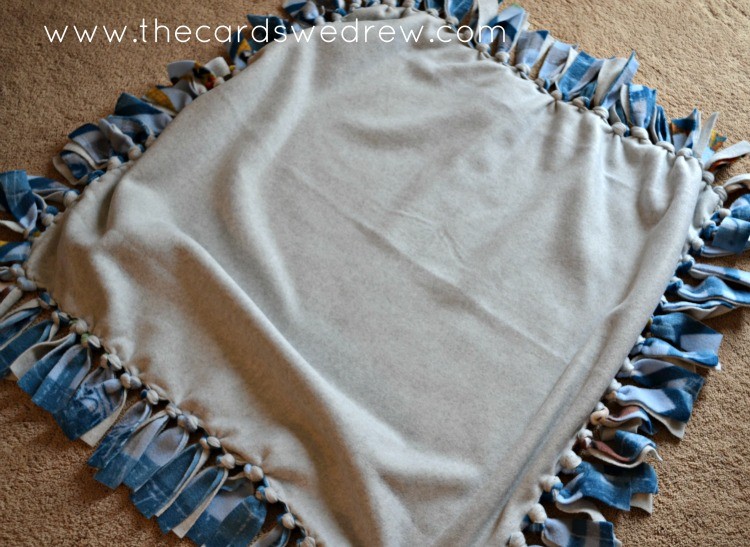
Here’s the grey side of the blanket…

And HERE is one pleased little boy…that smile makes it ALL worth while. 🙂
So if you’re looking for an easy DIY blanket idea, this one is it! I think the fleece cost me about $15 total (I got it on sale) and I spent about an hour making the blanket. I can’t wait to make another because this one is SO warm and cozy!
Enjoy!


Cute blanket…he sure is one lucky boy!
Awww. He looks to be as happy as can be! Yay for a fun win-win project 🙂
I love these blankets. We used to make them with my grandma growing up. We also made scarves with the knotted ends. It makes me want to make one!
Cute … and the perfect summer craft to do with kids!
Hi! Love this – where did you find the toy story fabric, I cant find it anywhere!
I bought it at Joann’s last summer 🙂
Why do you cut out the corners?
Hi Deborah, the corners are cut so that when you tie it you get nice even corners that match up.