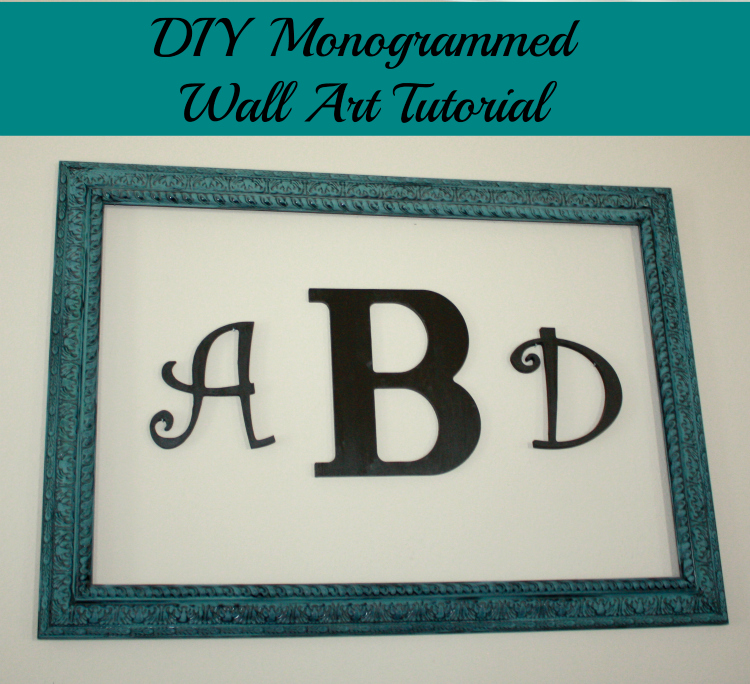
DIY Monogramed Wall Art from Denise Designed
A big hello to all of you here at The Cards We Drew! I am honored to be here sharing with you while Abbey is on maternity leave!
Be sure to congratulate Abbey on her new birth in the comments below!!!
CONGRATULATIONS!
How very exciting!!! A new baby!! Oh how I remember those days!!! But we aren’t here to reminisce my life! In fact, as mentioned above, I am here to help out, share my fun monogramed wall art tutorial and hopefully inspire you! So let’s get on with it!!!
This is Denise from Denise Designed.

I started blogging almost a year ago with a focus on Designing…Home, Career and You! My posts include anything from DIY Projects, Crafts, Fashion, Blog Tips and more!
Today I will be sharing a DIY Monogrammed Wall Art Tutorial.
The supplies you will need are:
- Frame – a size that fits in your open wall space
- Letters – any style and size, but sized to fit within the frame
- Paint
- Brushes

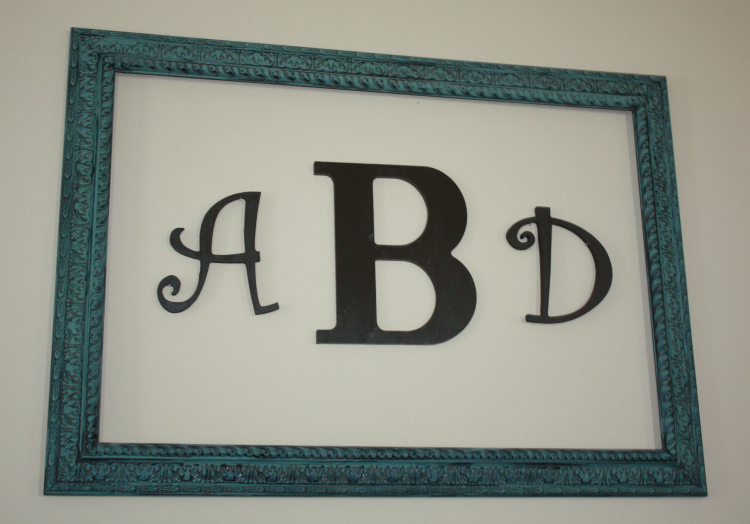
As with any monogram, you will want the middle letter to be larger.
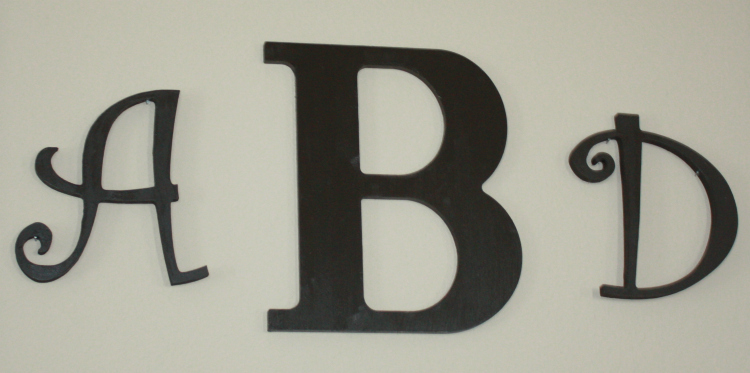
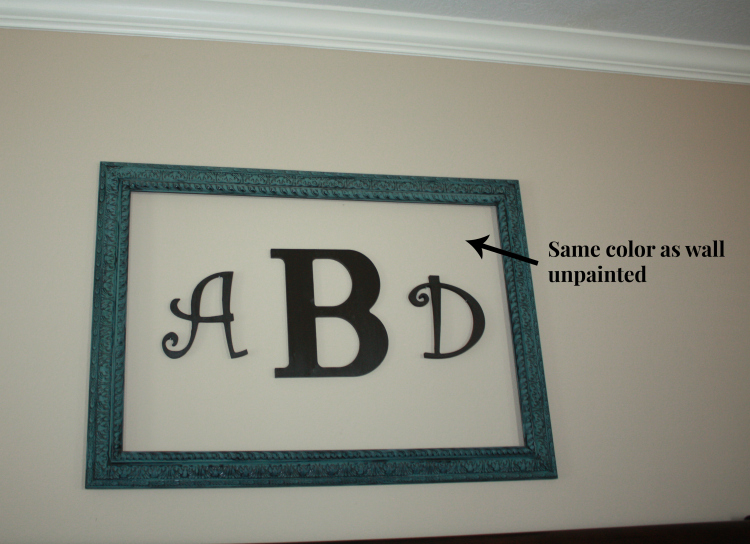
You’ll notice that I am featuring the finished letters as they are such a contrast to the background in my photos than are the non-painted wood ones.
To paint the letters, I chose an espresso color.
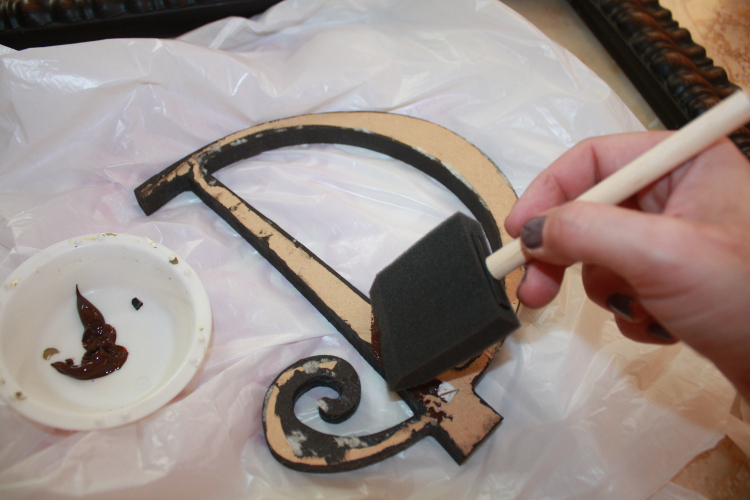
Once all letters were painted, I moved on to painting the frame.
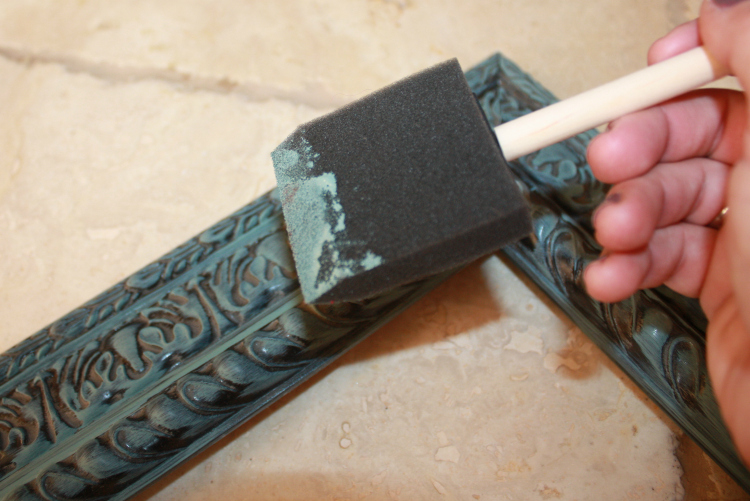
Notice that I didn’t paint every nook and cranny. I wanted this particular look. You may choose to leave the frame in its original color or paint it a complete (meaning in all the nooks and crannies) solid color. It’s up to you!
After both the frame and the letters are dry…it’s time to hang! As you can tell…I left the wall inside the frame unpainted.
However, there are so many options for your design. You could paint it a different solid color, cover the inside wall in wallpaper or paint a pattern. It depends on your style and the room design.
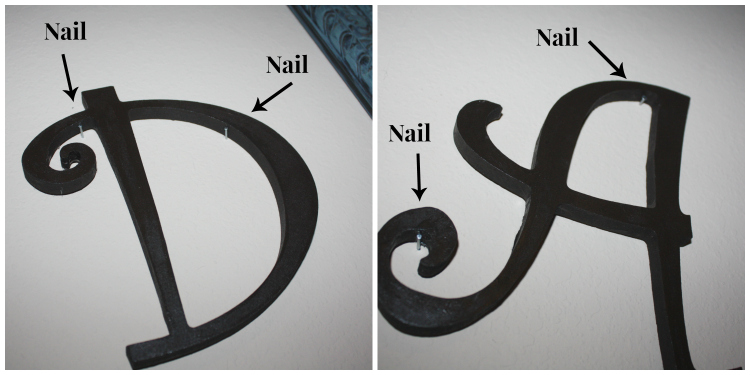
Obviously you will want to hang the frame and when you do the same with the letters, center them. Notice that you may need to get creative with the letters such as I did below.
And there you have it…the finished product!!
 I hope that I inspired you to create your own. Good luck! Share your feedback and pictures by contacting me directly or leaving comments below.
But before you go, be sure to stop by my Blog for my most recent posts along with these specific ones:
- {Blog Tips} The Real Cost to Blog
- Redhead Can Decorate Home Tour on Home Tour Tuesdays
- 5 Weekend DIY Projects
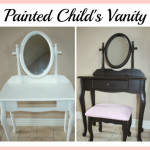
- Painted Childs Vanity Table
You can also link up at Share it Sunday until Tuesday evening at Midnight!!!
And!!! Enter for your chance to win $1200 in the Crazy Cash Giveaway that ends on February 28th.
A big thank you to Abbey! Thank you to you, Abbey’s friends, for welcoming me as well! Have a fabulous week! And I look forward to seeing over at Denise Designed sometime soon!

![]()

![]()