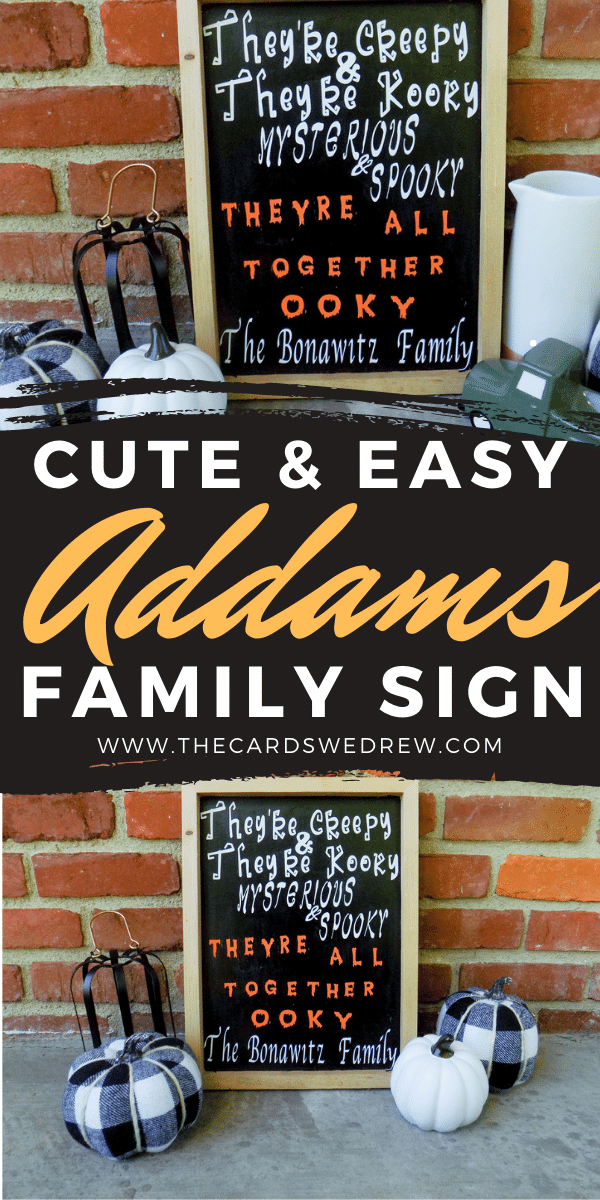
DIY Addams Family Sign for Halloween
If you’re looking for a cute Halloween sign for the front of your house, look no further. Let me start this post by prefacing that my sister in law, Aly, made this super cute DIY Addams Family Sign for Halloween decorations for her front porch. Aly is a Cricut lover, like me, and was kind enough to take some simple step by step photos of how to make this easy Halloween project so as to inspire you too in your own homes! Let’s jump right into this DIY Addams Family Sign.
How to Make a Halloween Sign
Materials Needed:
- Craft Paint
- Outdoor Vinyl
- Wooden Plaque or Board
- Cricut or Silhouette cutting machine OR stencils of your choice
How to make this Addams Family Sign
Start by choosing your fonts on your Cricut machine. This is where investing in a machine is nice because you can do whatever styles you like without being constrained to the basic designs that a stencil provides.
Fonts used:
Apple Chauncery and Creepy Graves
Once you decide on your fonts, load your material into your machine and select the settings for the type of vinyl you’re using. If you’re using outside, outdoor vinyl is your best bet, but regular vinyl would work too if you sealed it with a coat of sealant like mod podge.
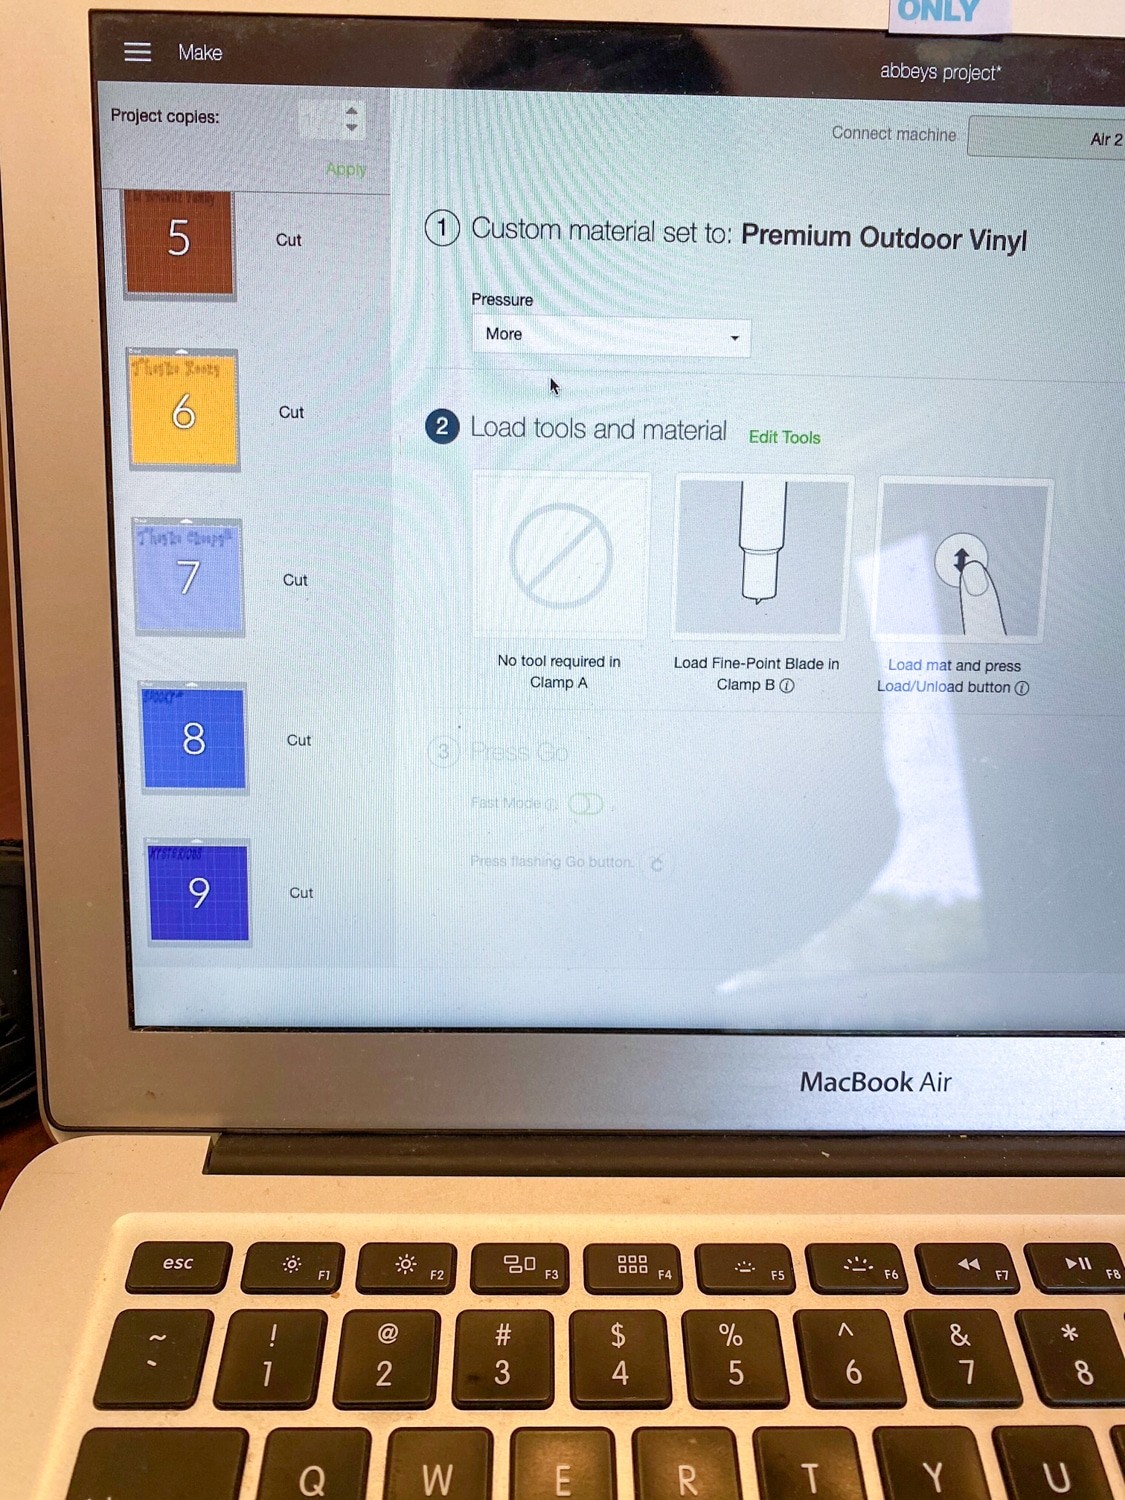
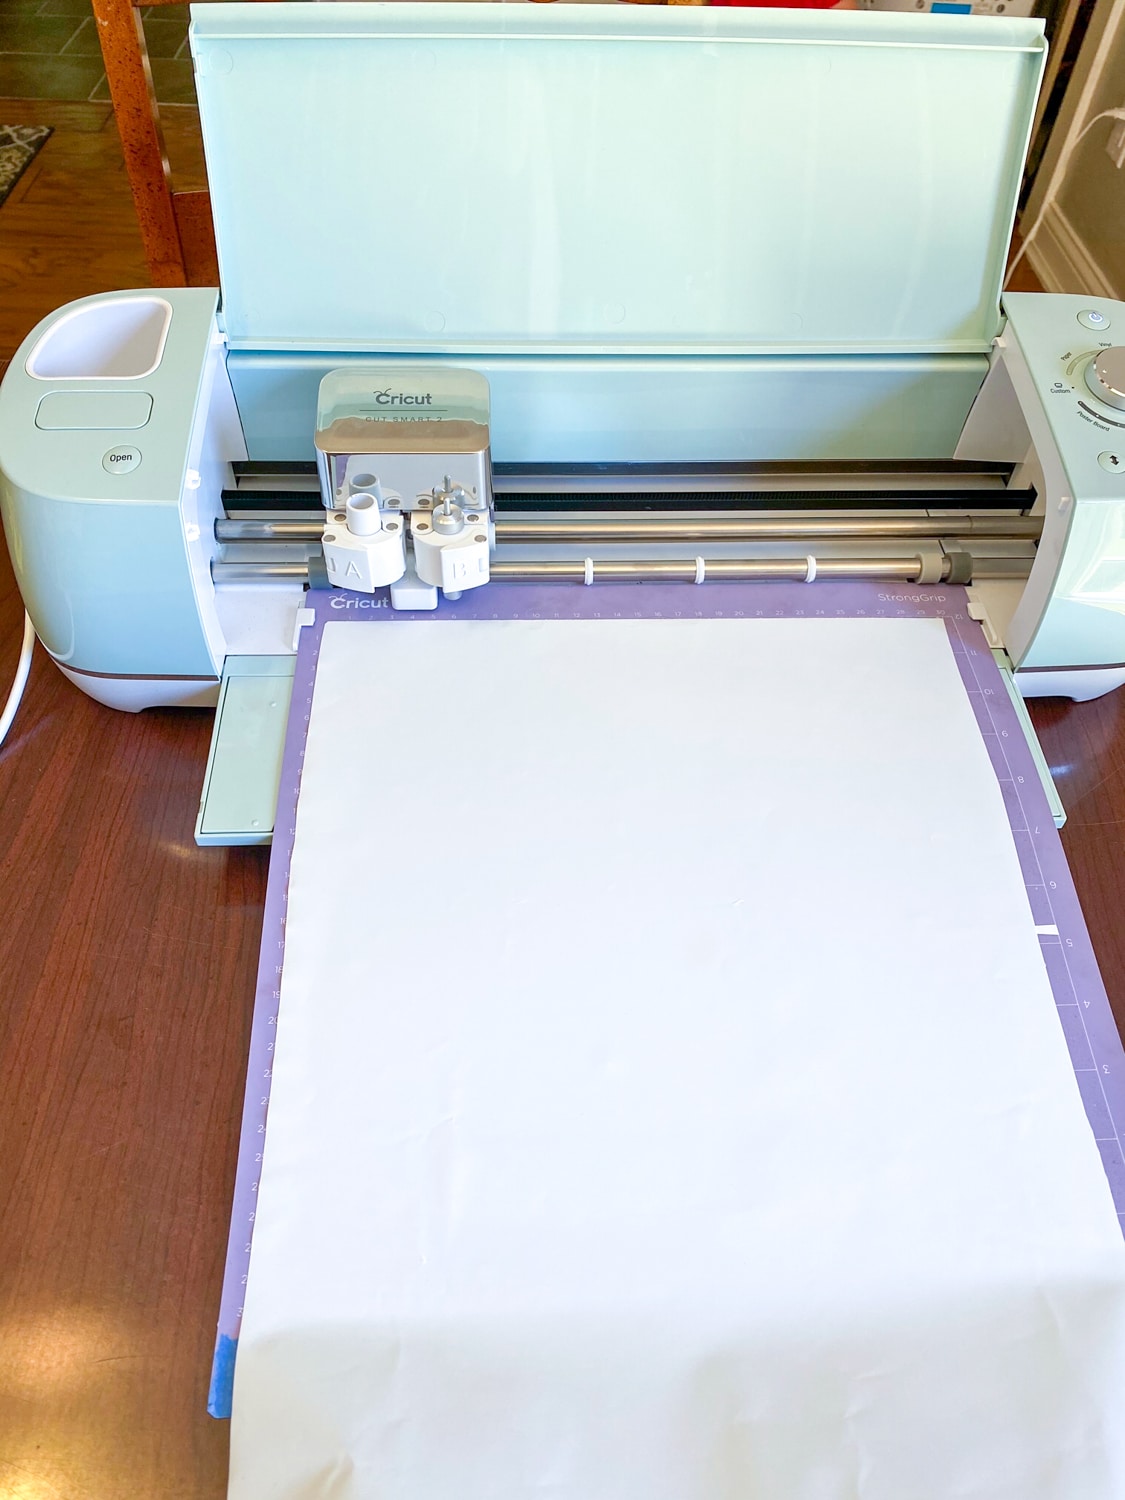
Once your design is cut out, you work to weed the design and then apply to your sign.


You can see that Aly first used the vinyl to apply the letters directly onto the sign and then for another font she used craft paint and painted the design on instead. This is one way to not have to purchase multiple colors of vinyl. You can buy black or white vinyl and then paint the letters onto the surface, using the vinyl like a stencil, rather than using the letters themselves. It’s your option!
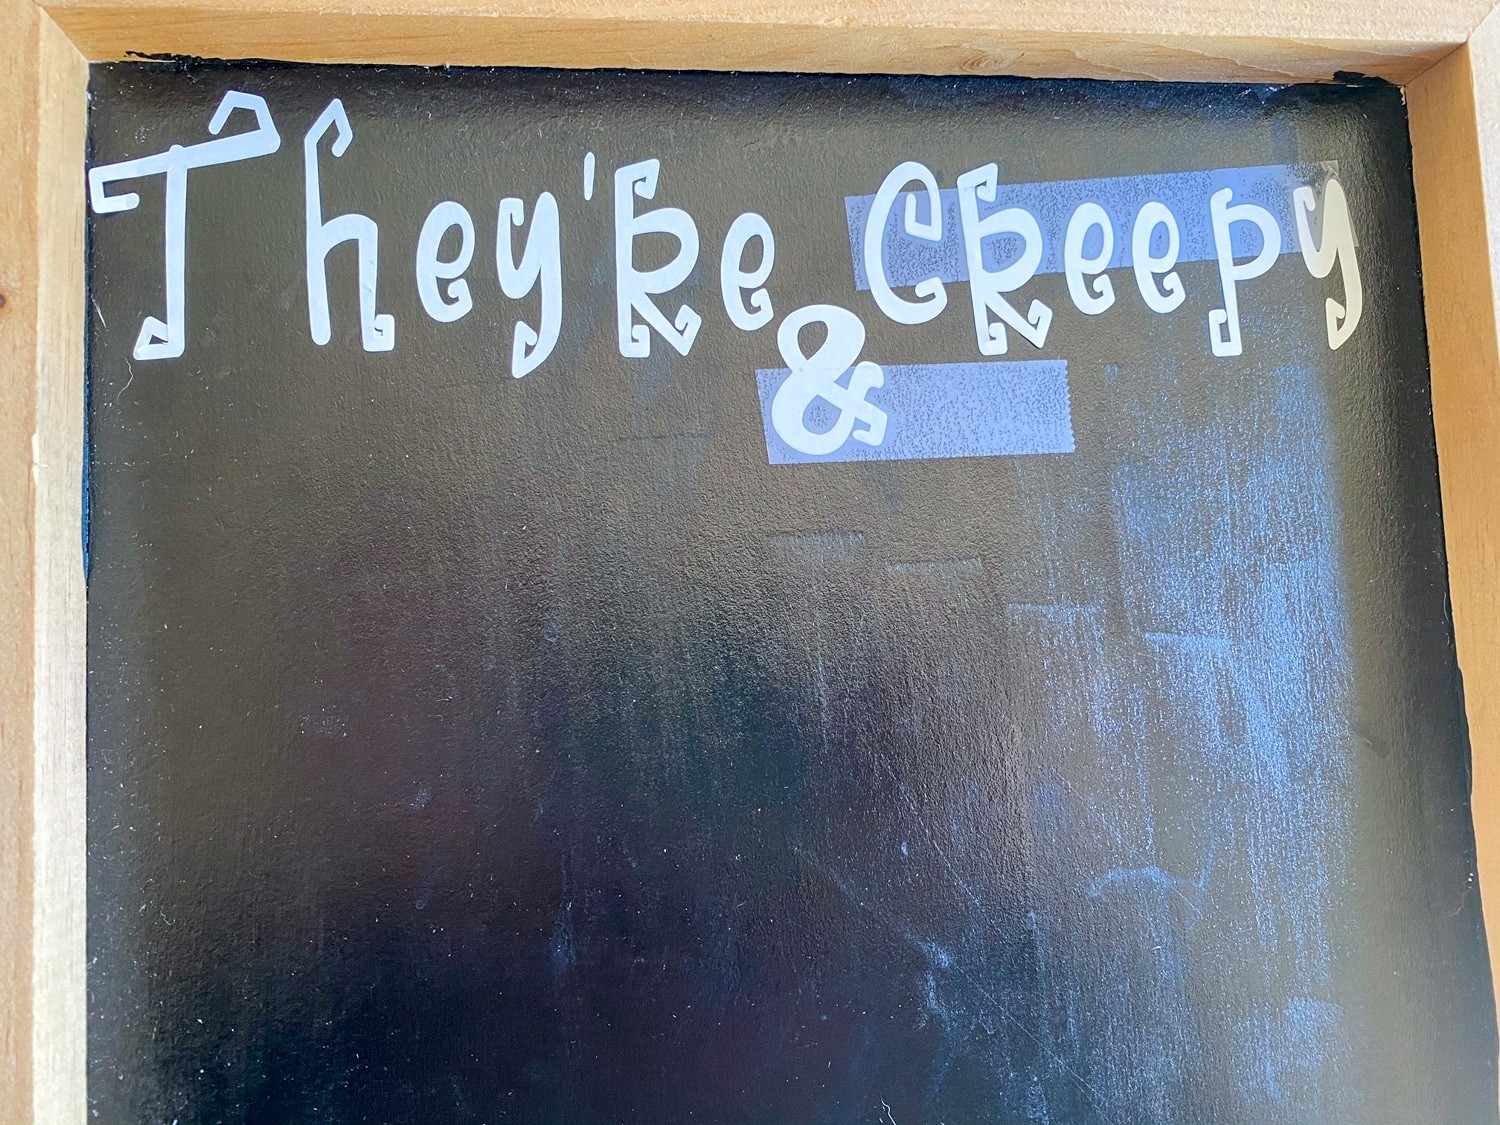
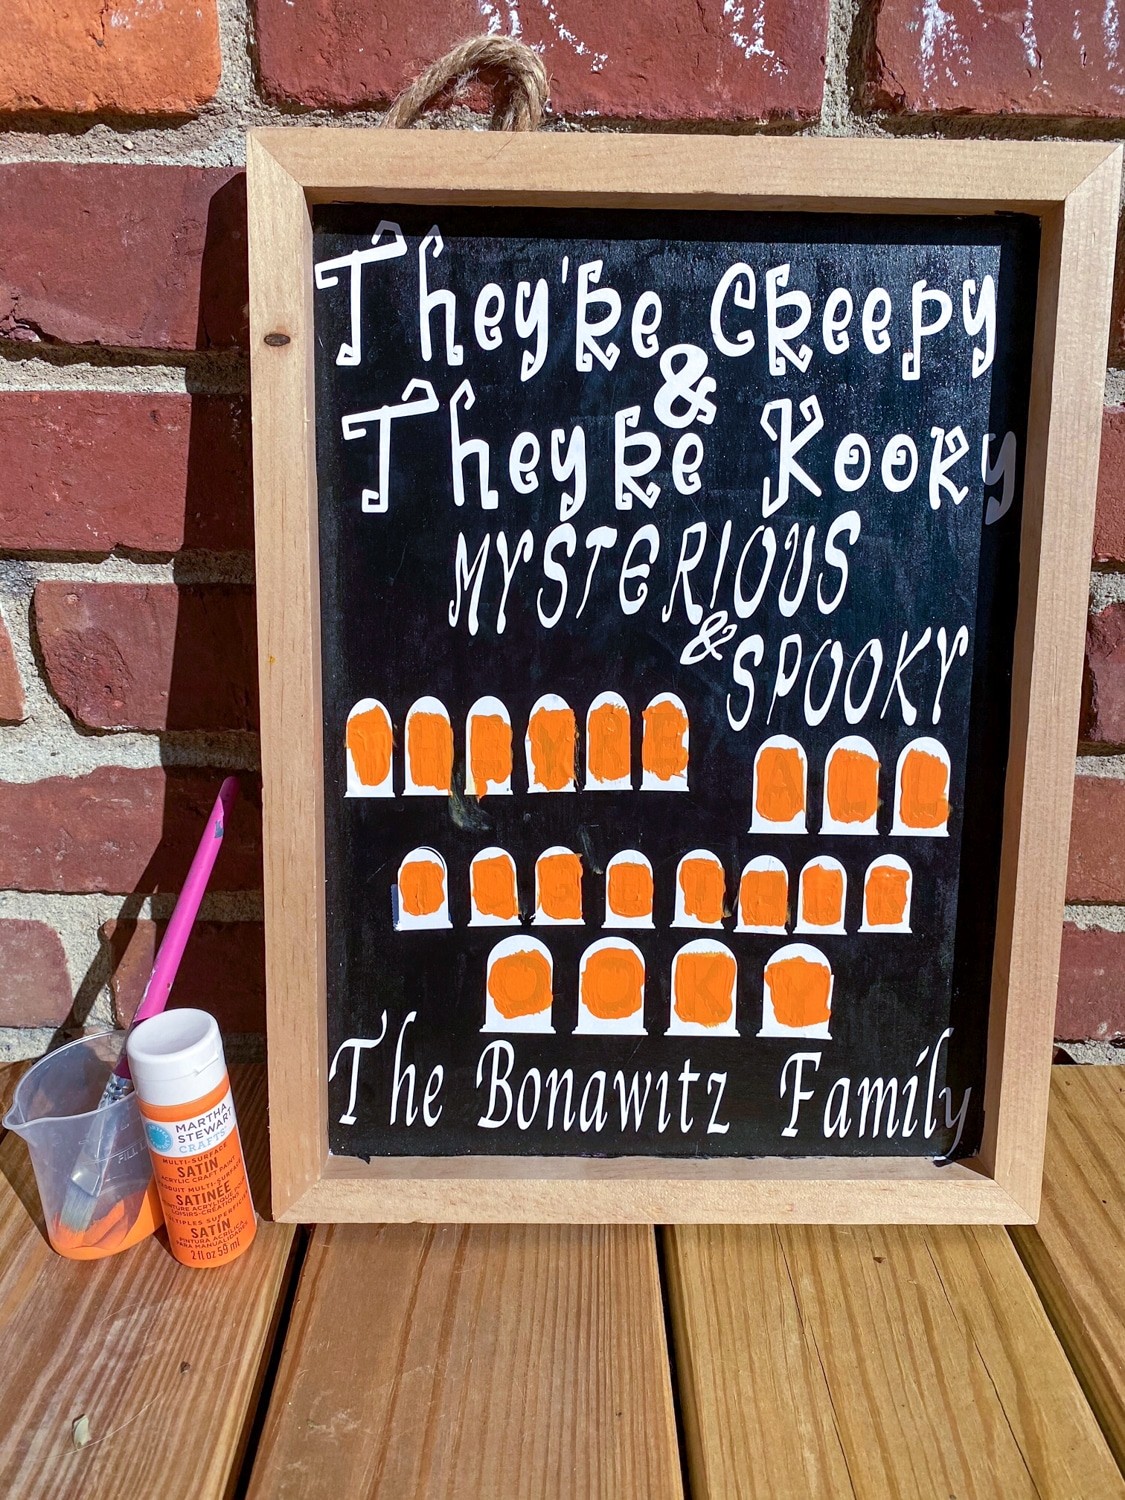
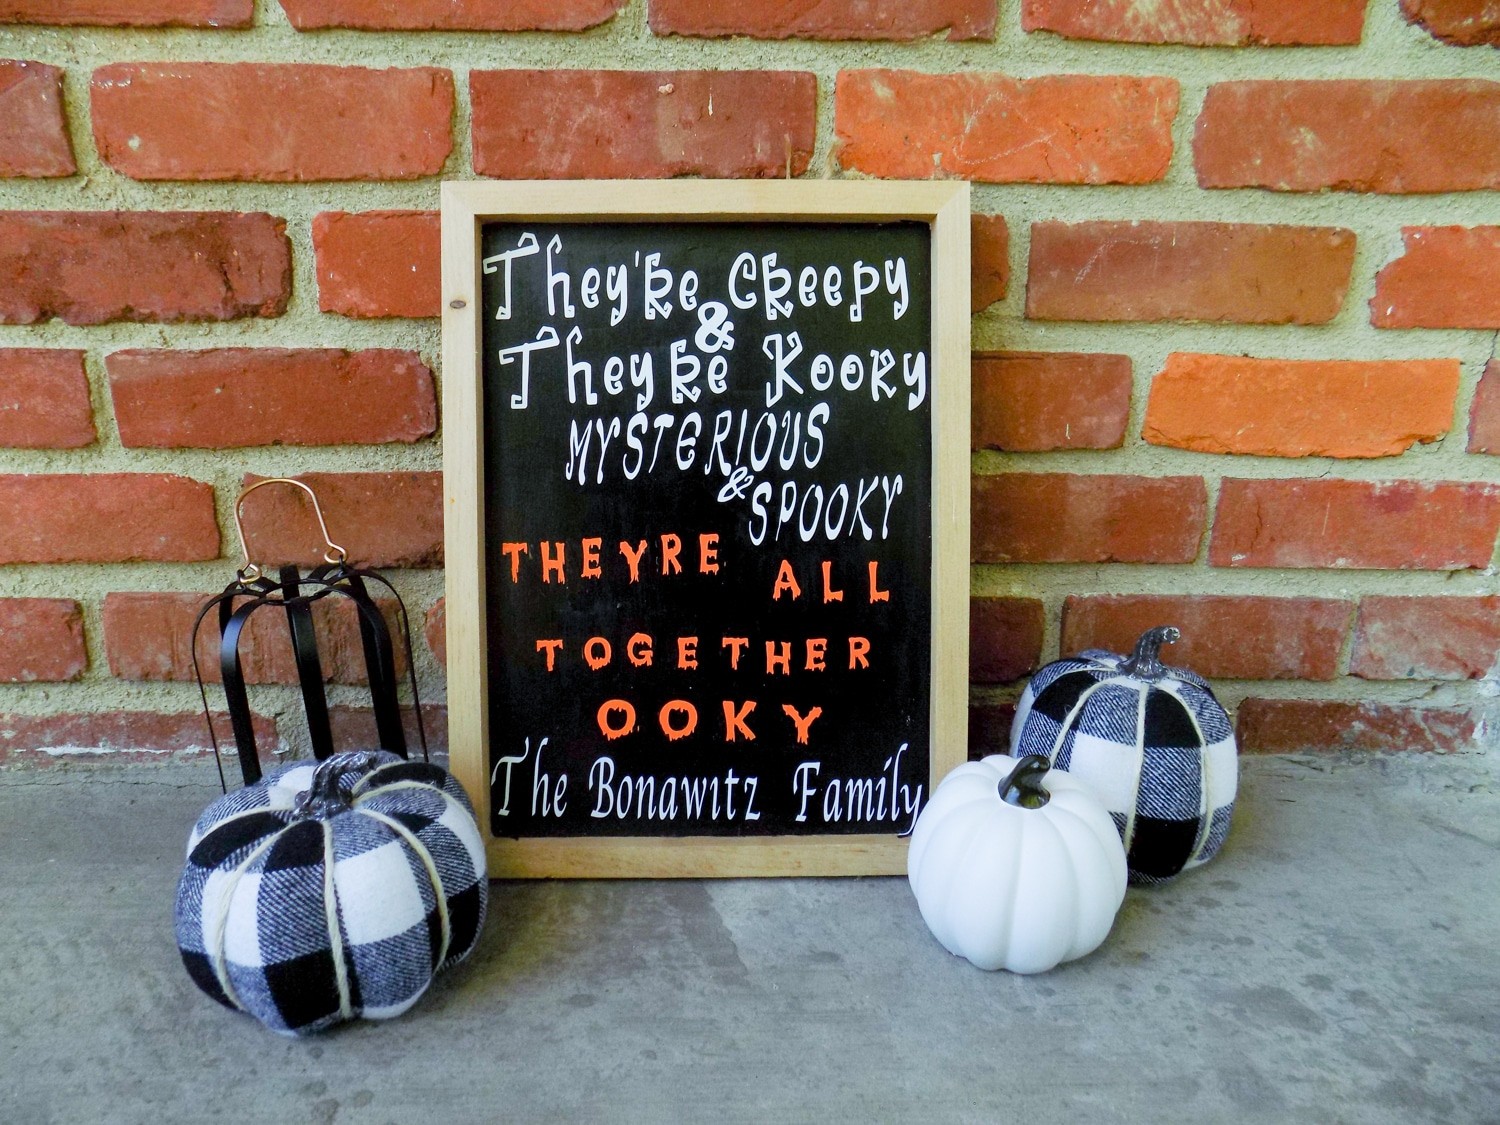
Let your letters dry, peel off the remaining vinyl, and then decorate with some cute outdoor decorations and you have this fun, homemade Addams family sign customized just to your own kooky family!

Thanks Aly for sharing this project with us! It turned out so cute!
Drop any questions you have for Aly below!
Pin it for later…