
Guest Post with Krista from The Happy Housie: Stenciled Sign Tutorial
 Hello readers of “The Cards We Drew”! My name is Krista and I blog over at The Happy Housie, a blog dedicated to my passion for all things housie. Decorating, crafting, DIY projects, upcycling old thrifted pieces… these are some of my favourite things to do and I love having the chance to share this with other people! I am so thrilled to be here today guest posting and want to thank Abbey very much for providing me with this wonderful opportunity! I am super excited to share this super simple stenciled sign tutorial with you today. I made this sign to liven up my boring linen closet walls, but you could make a sign like this for anywhere in your home and customize it with any phrase that means something to you. The closet is definitely not the limit!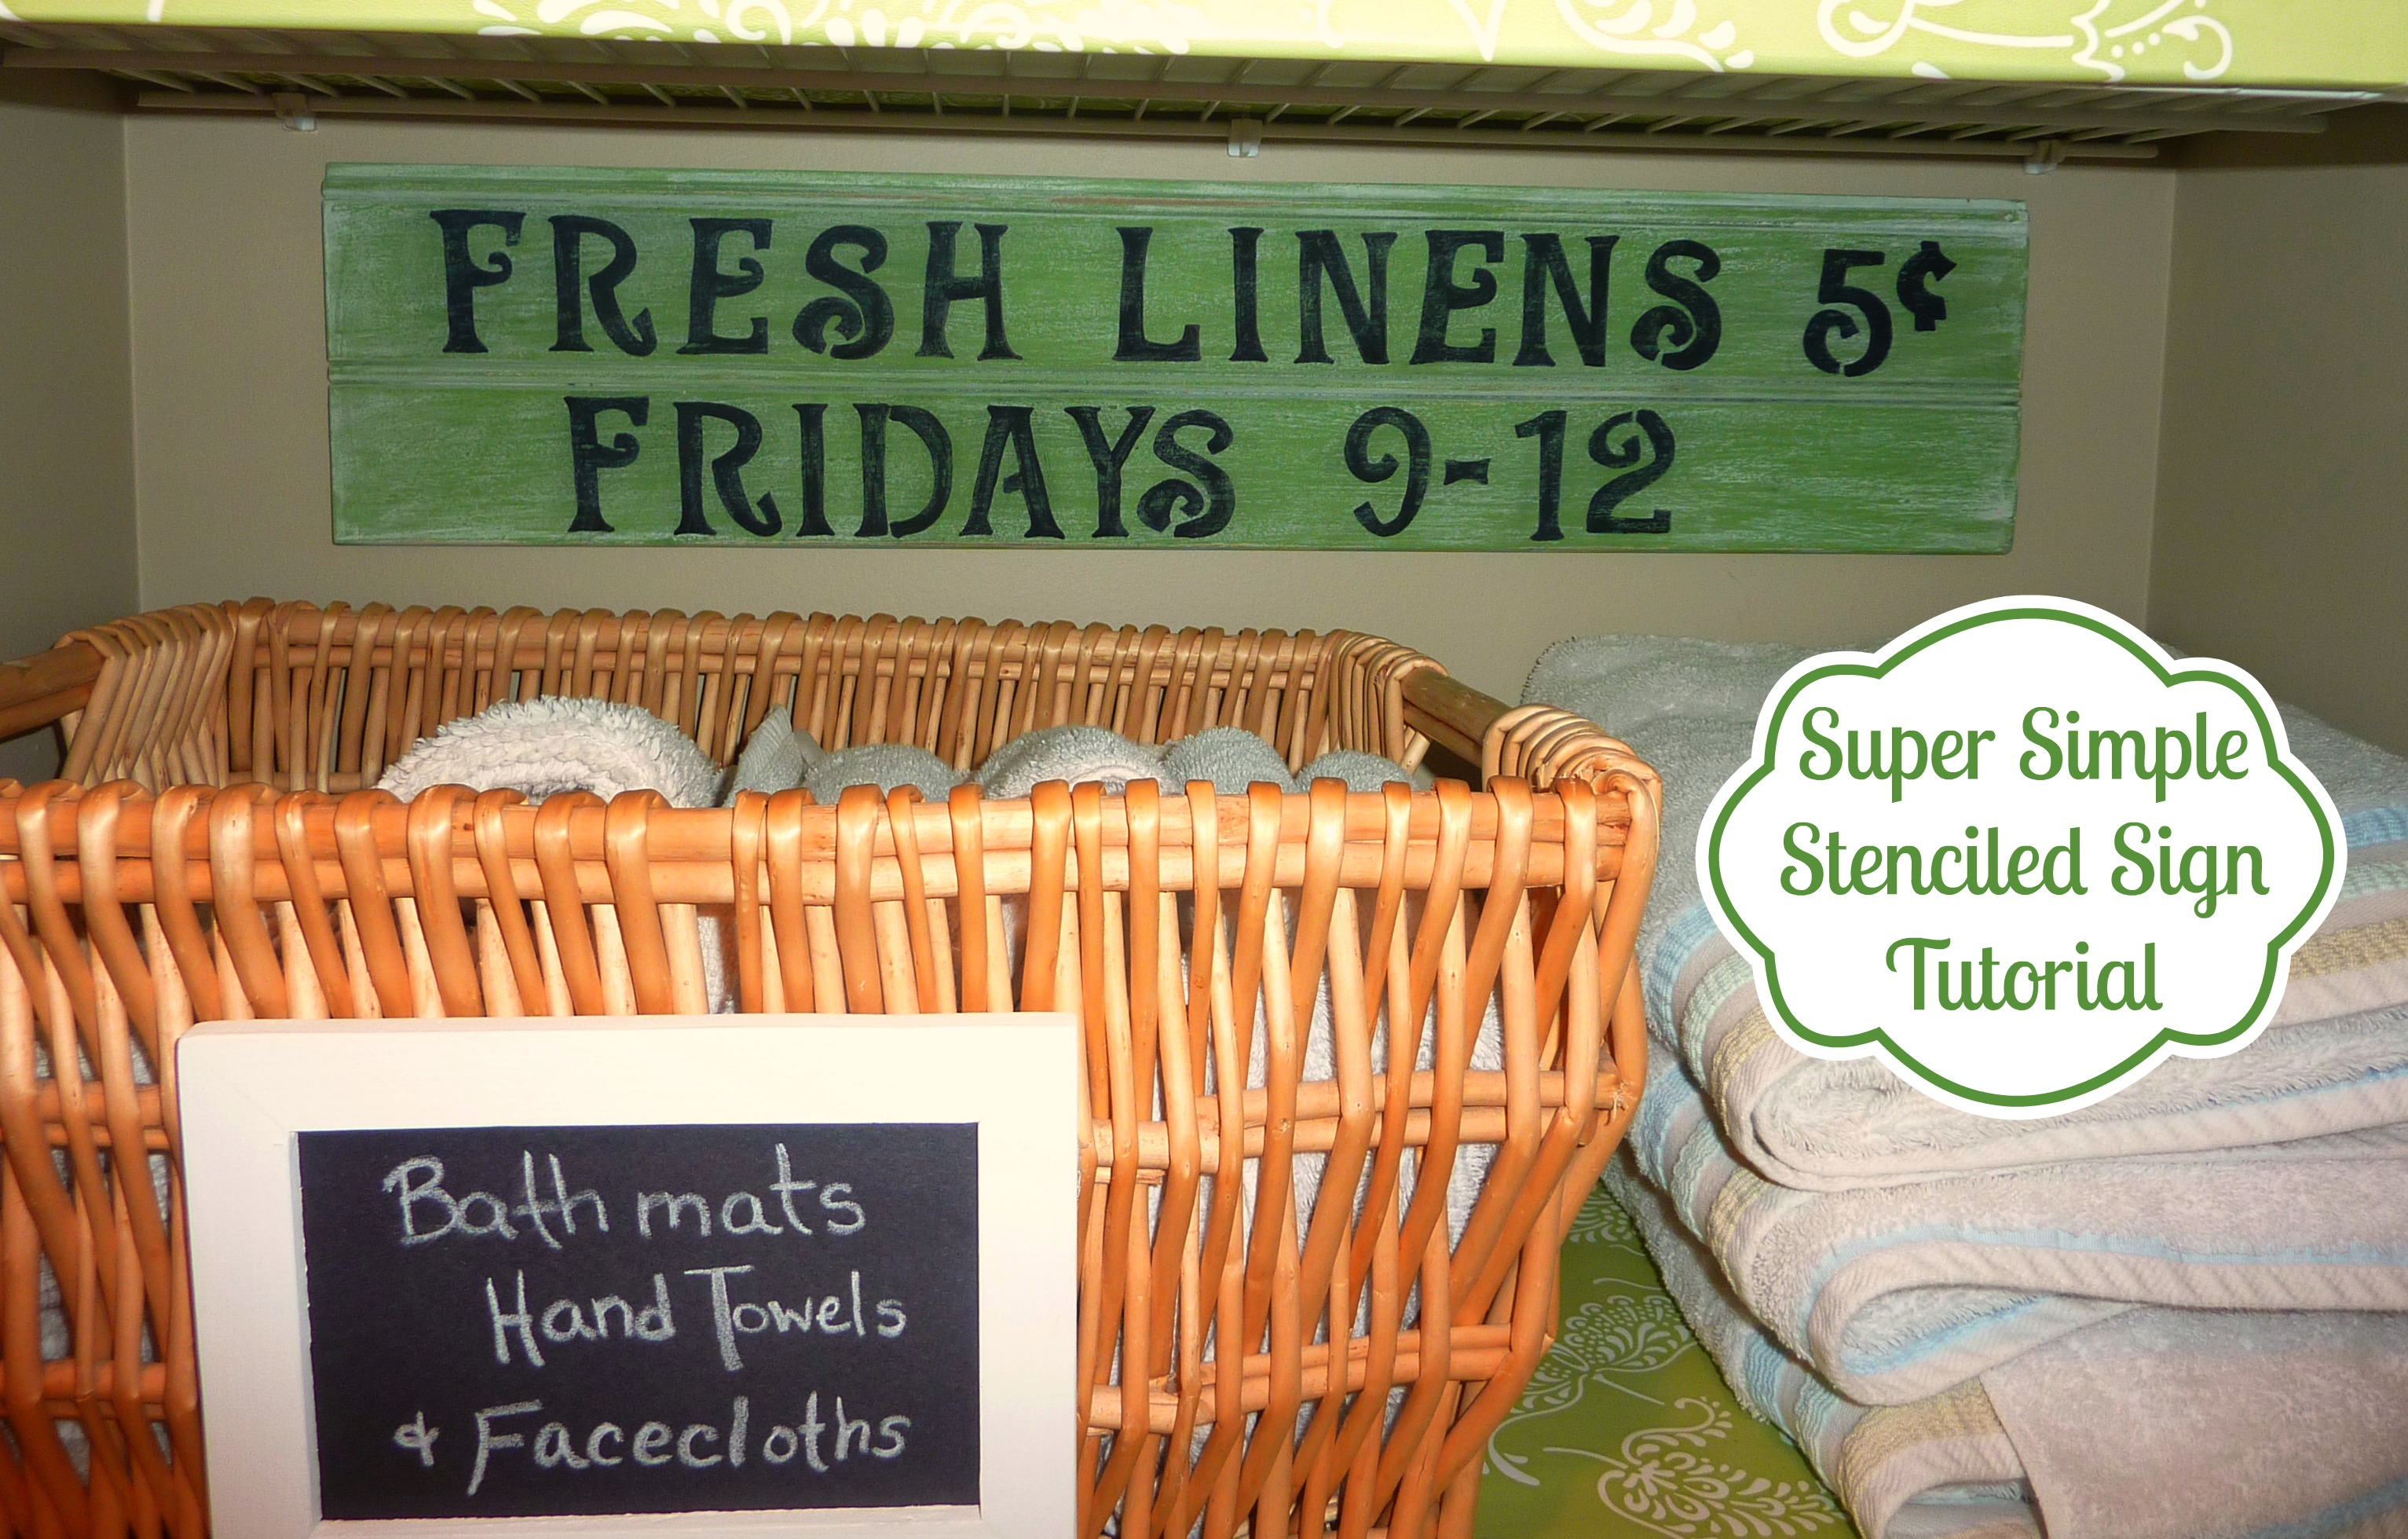
For this quick project you only need a few simple materials, many of which you likely have on hand:
– a piece of wood or MDF in the size you want your sign to be
– craft paint in colors of your choice (I used green, white, and black) and craft paint brush
– a sharpie pen (optional)
– fine grit sand paper
– Command Adhesive Strips for hanging the sign (optional)
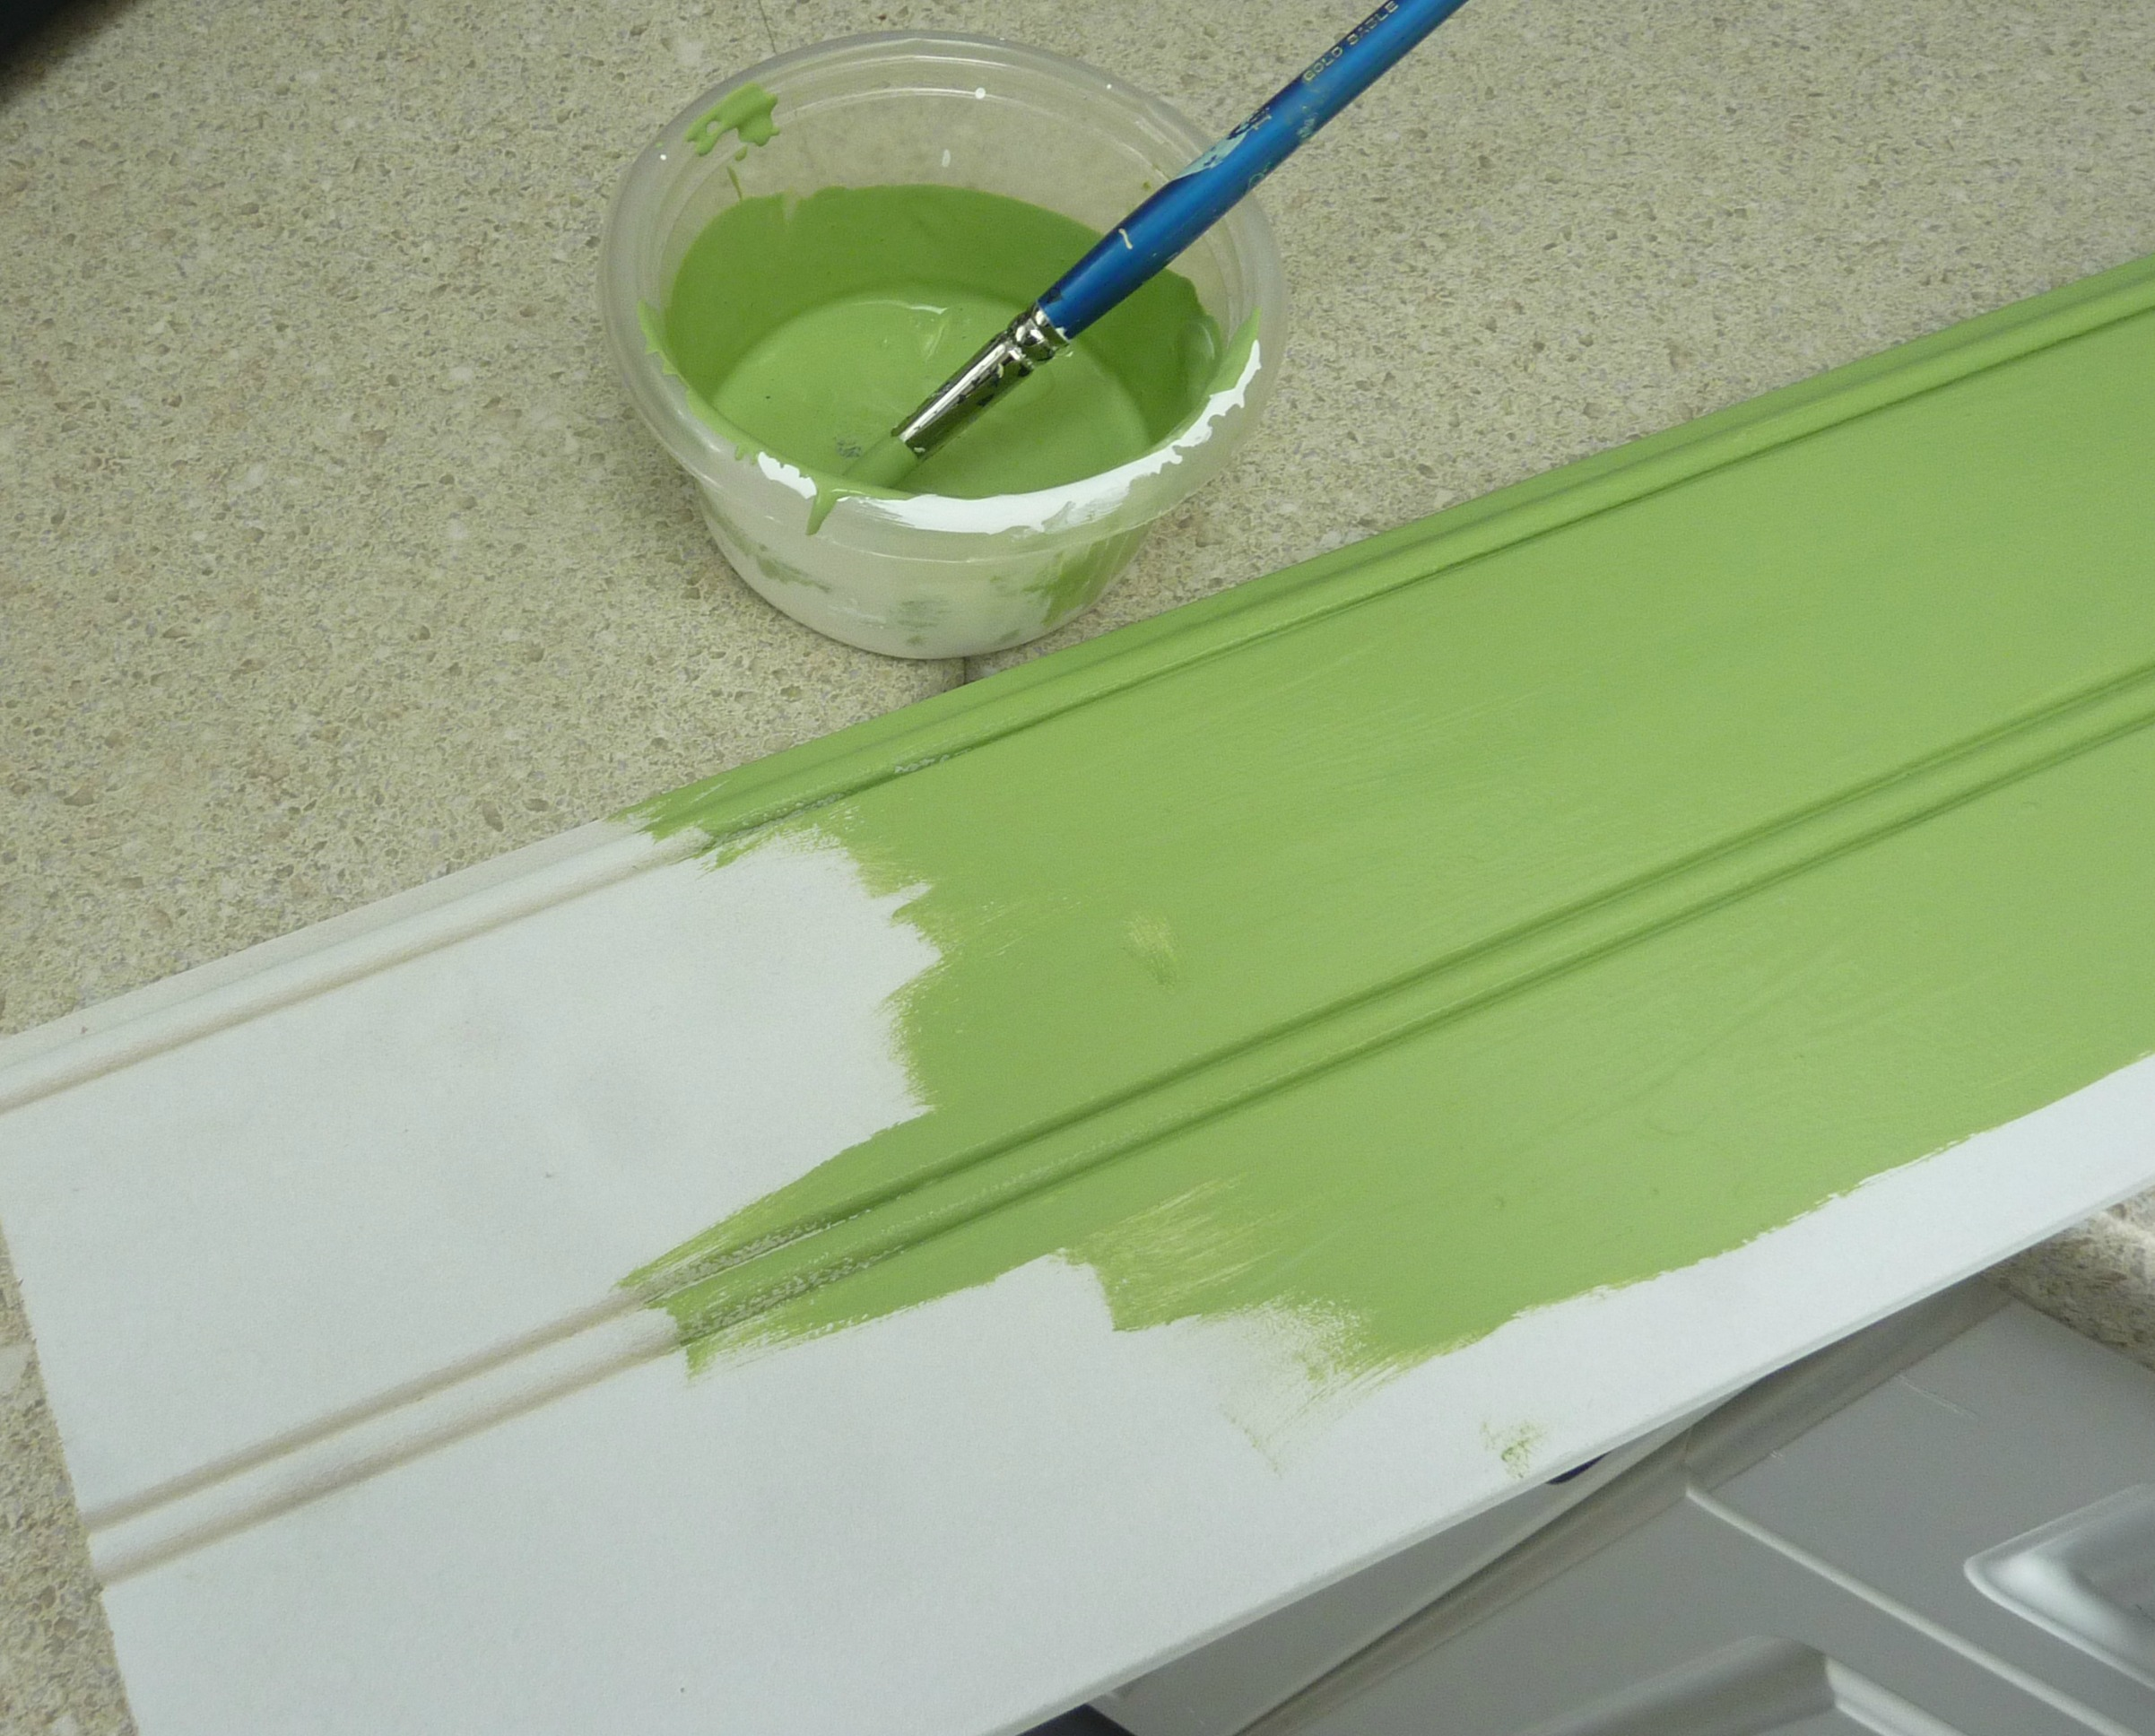
To begin I used an old piece of beadboard that we had leftover from revamping our main bathroom.

I gave it two coats of a fresh green craft paint that coordinated with the contact paper I had used on the shelves in the linen closet.
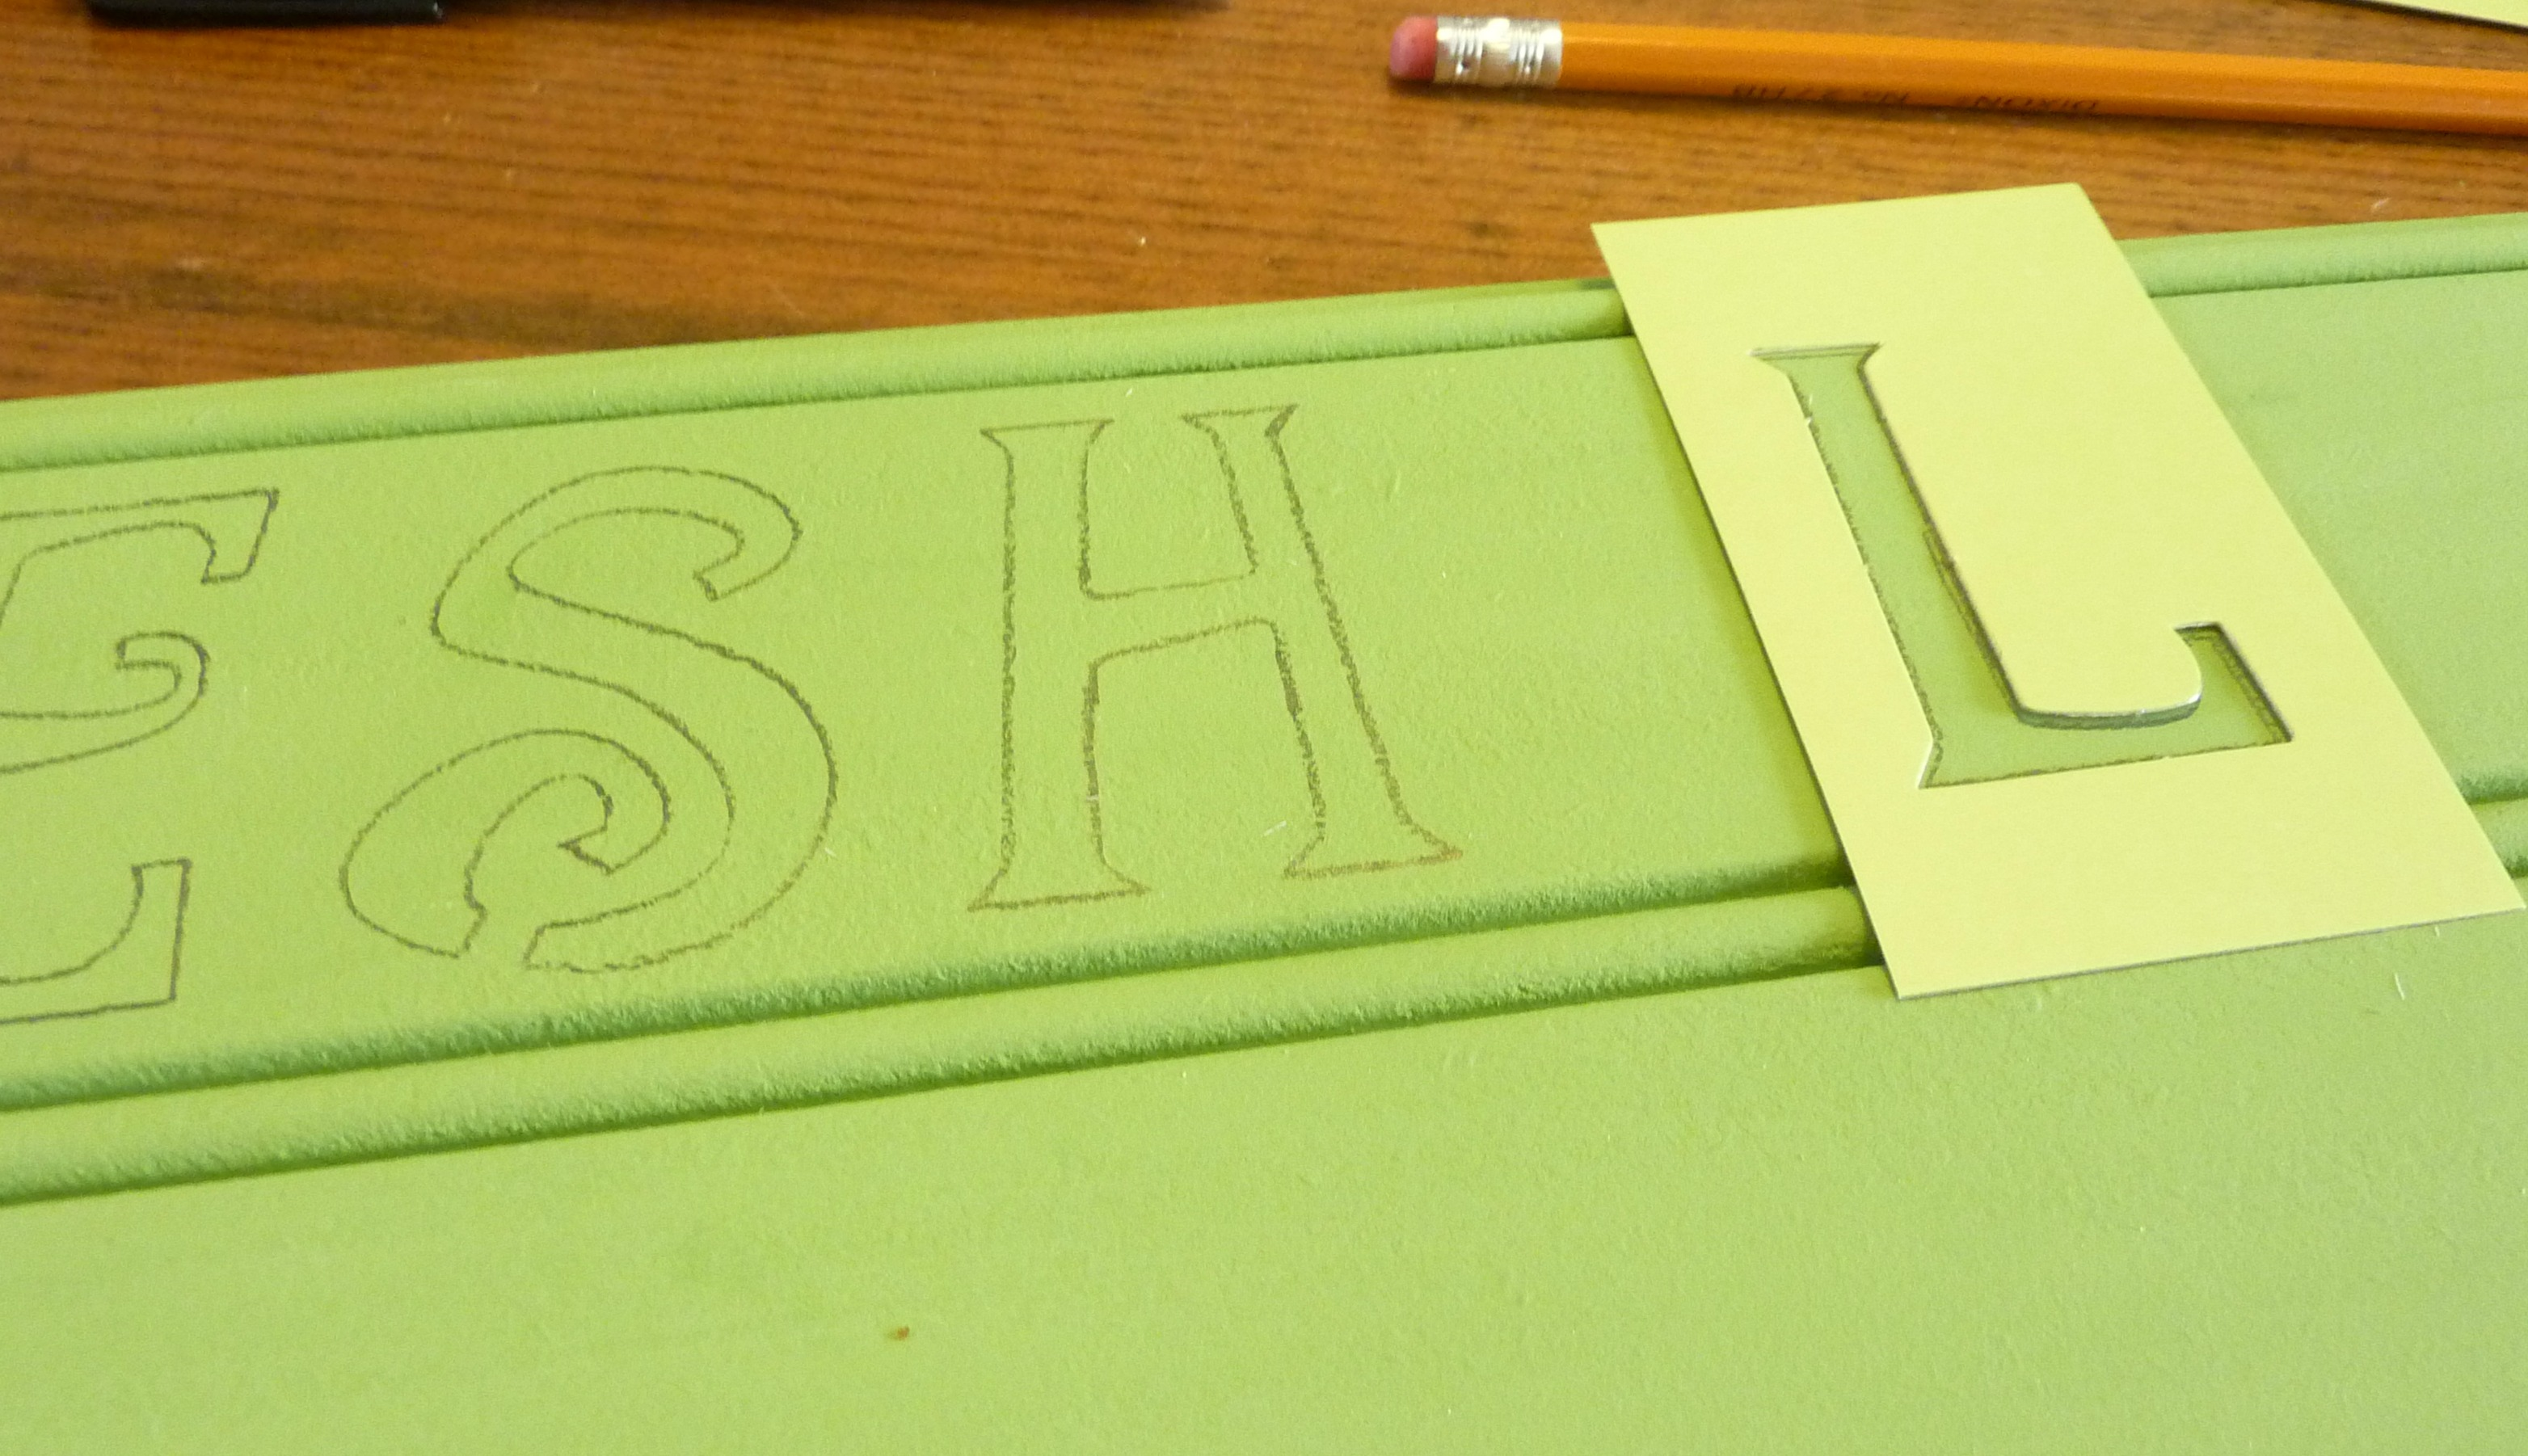
After the base coat was dry I used some premade stencils purchased from Walmart. I decided on the saying that I wanted on my sign, laid out the stencils to perfect the spacing, and then traced the letters onto the board with a pencil. (Choosing the saying was by far the hardest part!)
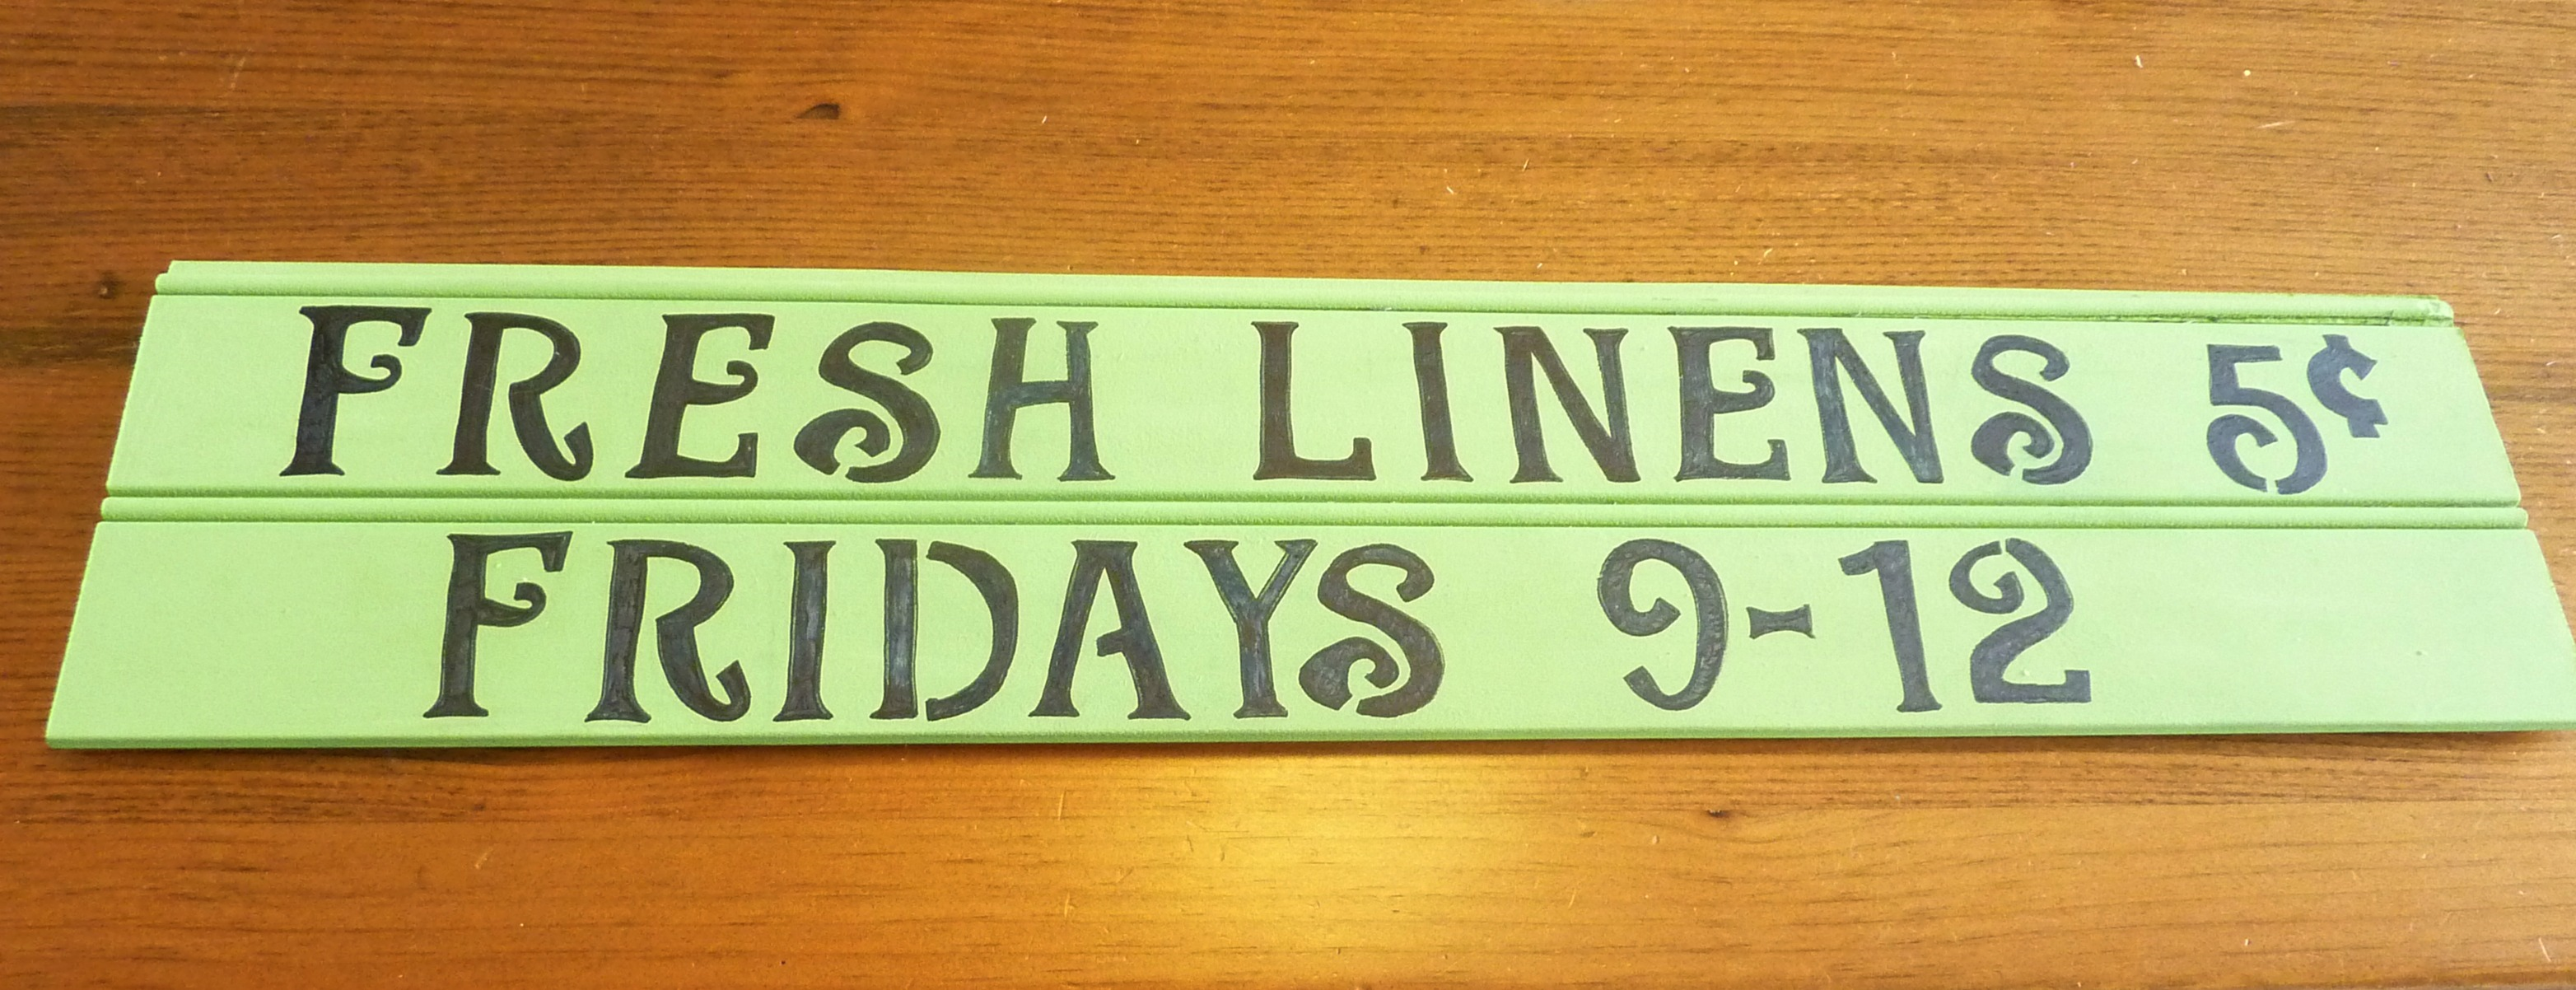
I then filled in the letters using black paint. I used a sharpie to outline the edges to keep the lines nice and straight.
Once finished I decided that I wanted a slightly more aged and weathered look so I used a dry brush technique to add white paint overtop of the whole board (letters included). To “dry brush” I simply wiped most of the paint off my brush onto a rag before applying the white paint (essentially using a very ‘dry’ brush).
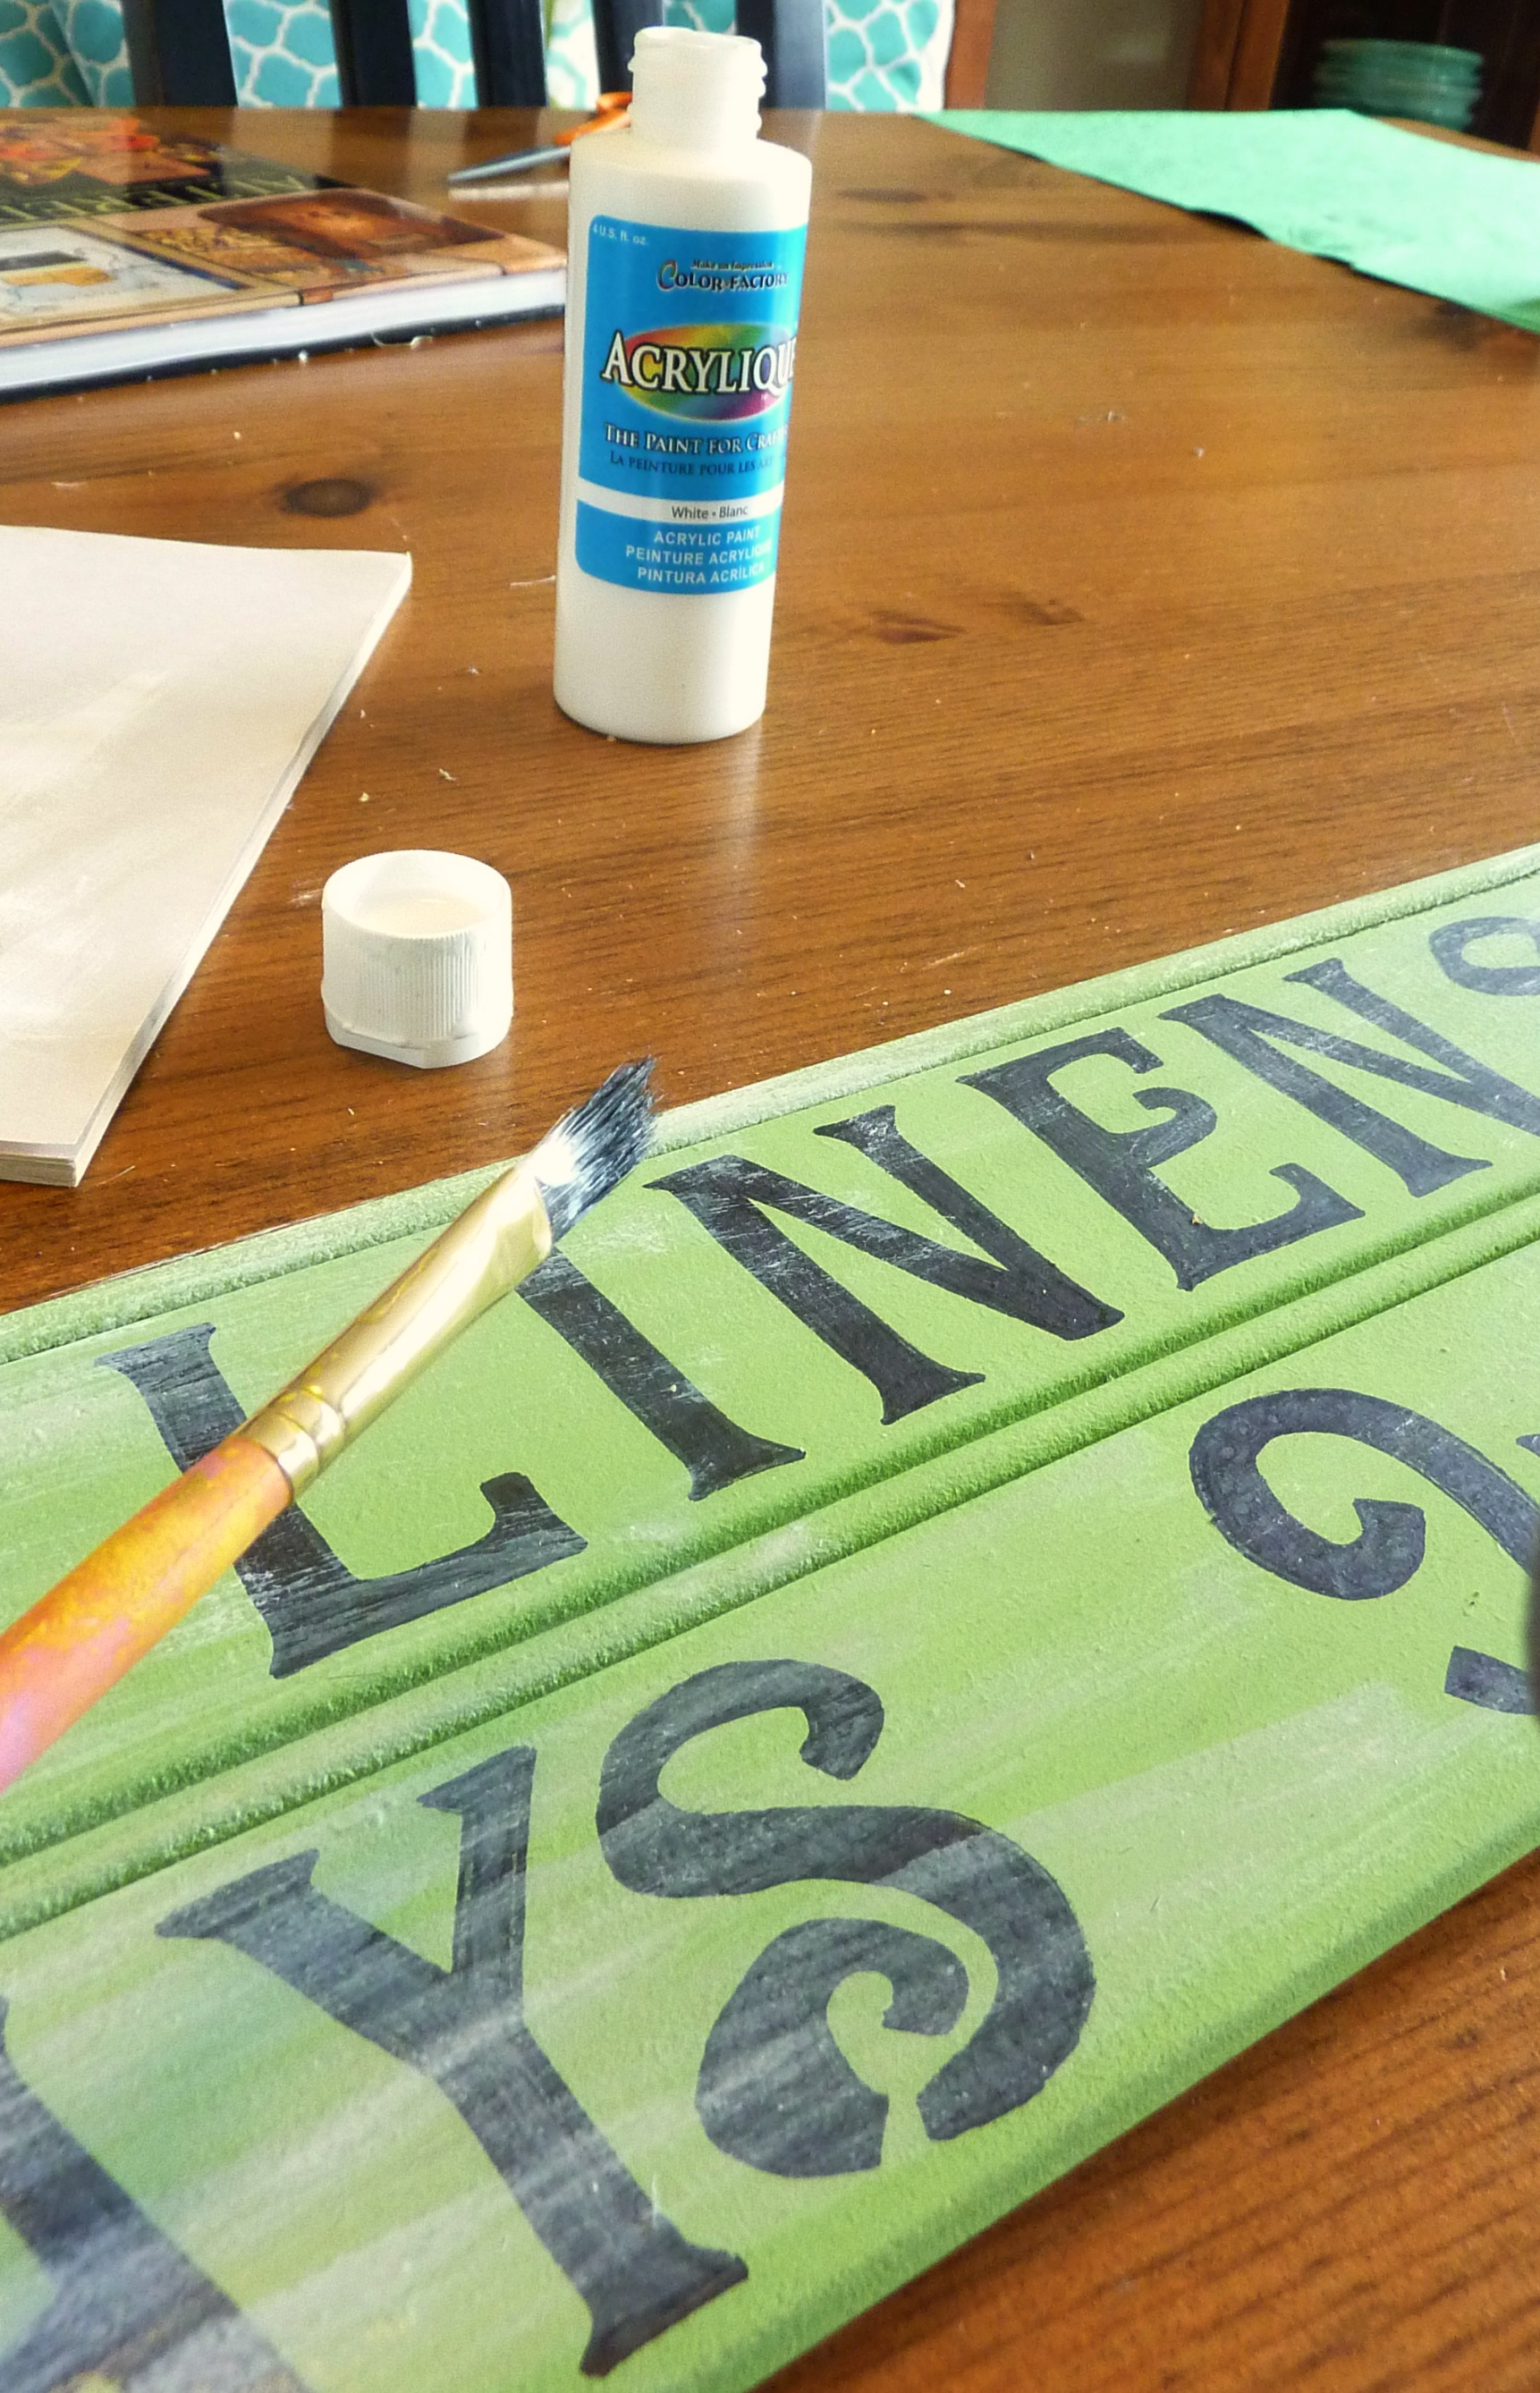
Once it was completely dry, I lightly sanded the whole thing using fine grit sandpaper.

Looking at my sign at this point, it didn’t feel right. I realized that I should have done the white ‘weathering’ BEFORE I did my stenciling! Oops! Live and learn, or in this case learn from my mistake…

To remedy this I outlined the letters with my sharpie again and then added one more quick coat of black paint over top of the stenciled letters.

Once the letters were dry I gave the whole thing one more quick sand with my fine grit sand paper before attaching some Command Strips to the back and hanging it in the closet!
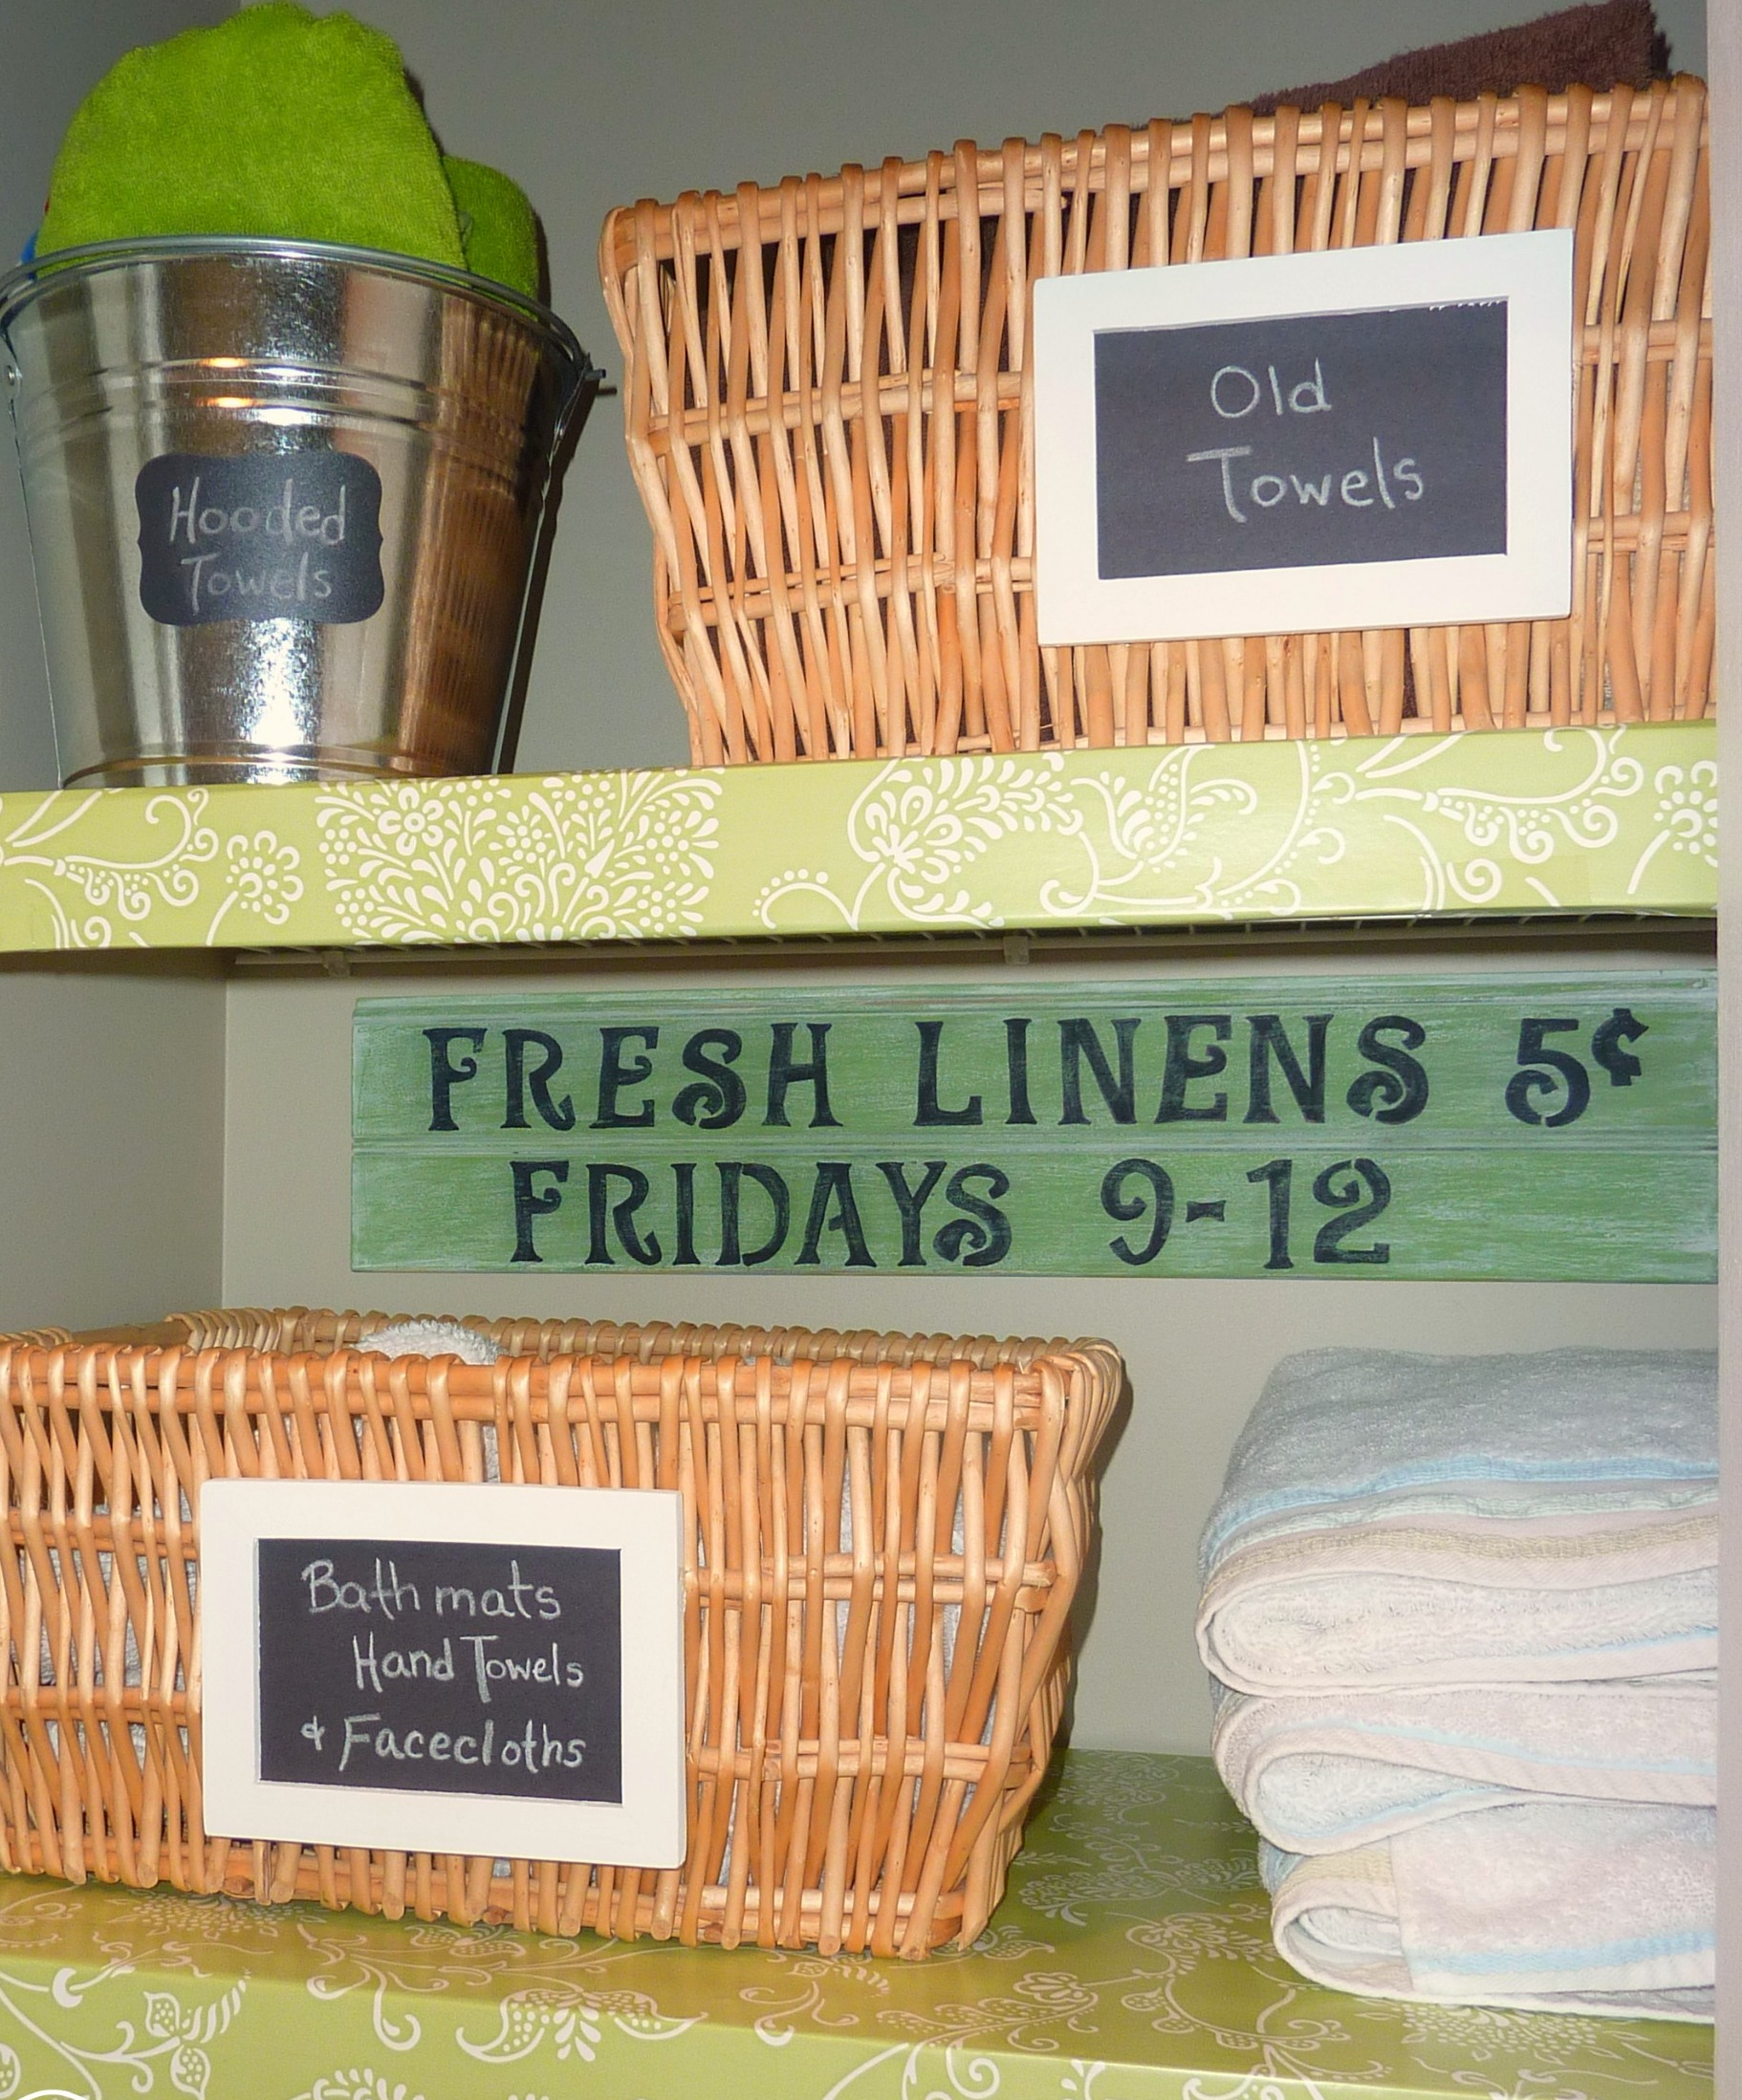
I am pretty thrilled with the result and love how the little sign finishes off the linen closet. I hung it directly at eye level so that whenever I open the closet it is the first thing I see. Much more fun than looking at a boring ol’ beige wall!
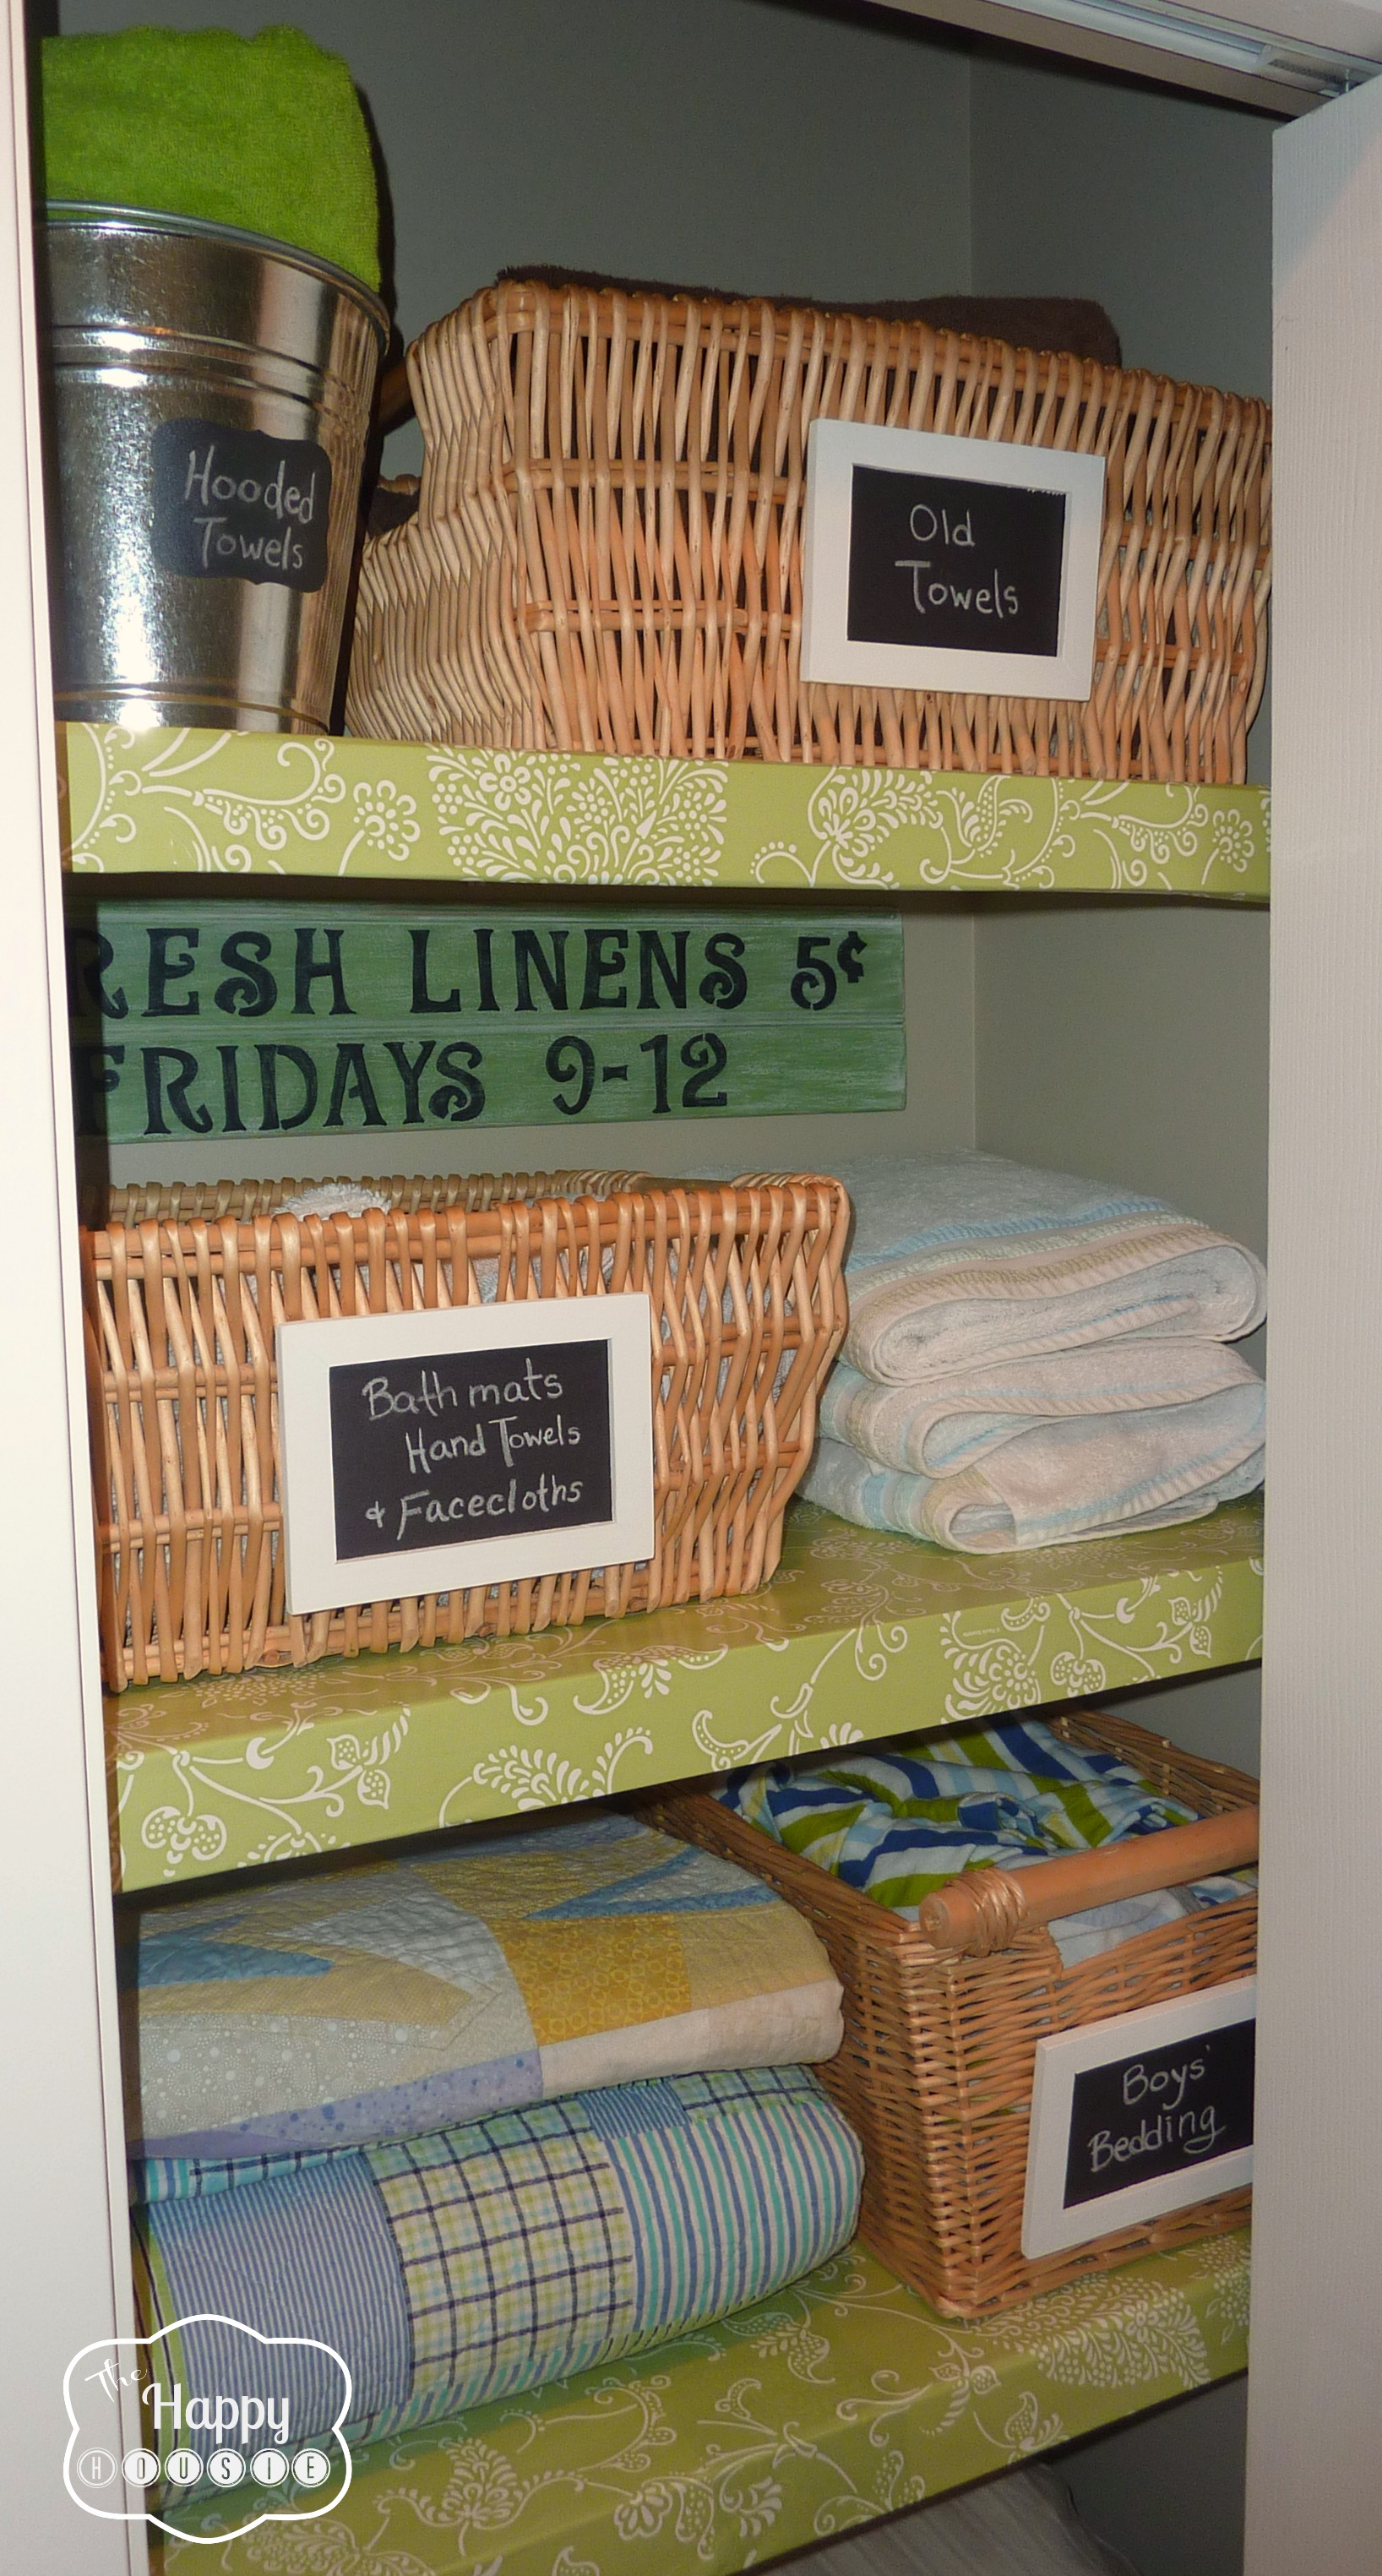
In this project: Linen Closet Rescue Mission I also used foam board and covered it with contact paper to disguise my boring builder-basic wire closet shelves. The basket labels were made using thrift store frames and black foam board (it works like a little faux chalkboard!!). For more details hop over to The Happy Housie Linen Closet Rescue Mission and check it out:)
Here are a few more little DIY Projects, Tutorials, and Crafts that you may be interested in as well…


Thanks again, Abbey, for having me over today to share with all your amazing readers! I am so glad to meet you all! I always love to finish off by saying “Thanks for reading! And remember, my housie friends, HOME isn’t built in a day. Enjoy the journey!”




Hi Abbey, popping over from Happy Housie to see Miss Krista’s tutorial. I think her sign was the perfect finishing touch for her Linen Closet. And I love the Live & Learn moment…I think that extra step really added another helping of cuteness.
Nice to visit and I’ll see you again soon. Enjoy your weekend!