


8/9/11 UPDATE: Check out the FINISHED Smile Canvas artwork HERE at the bottom. Also…some new progress on the craft room/mom cave.
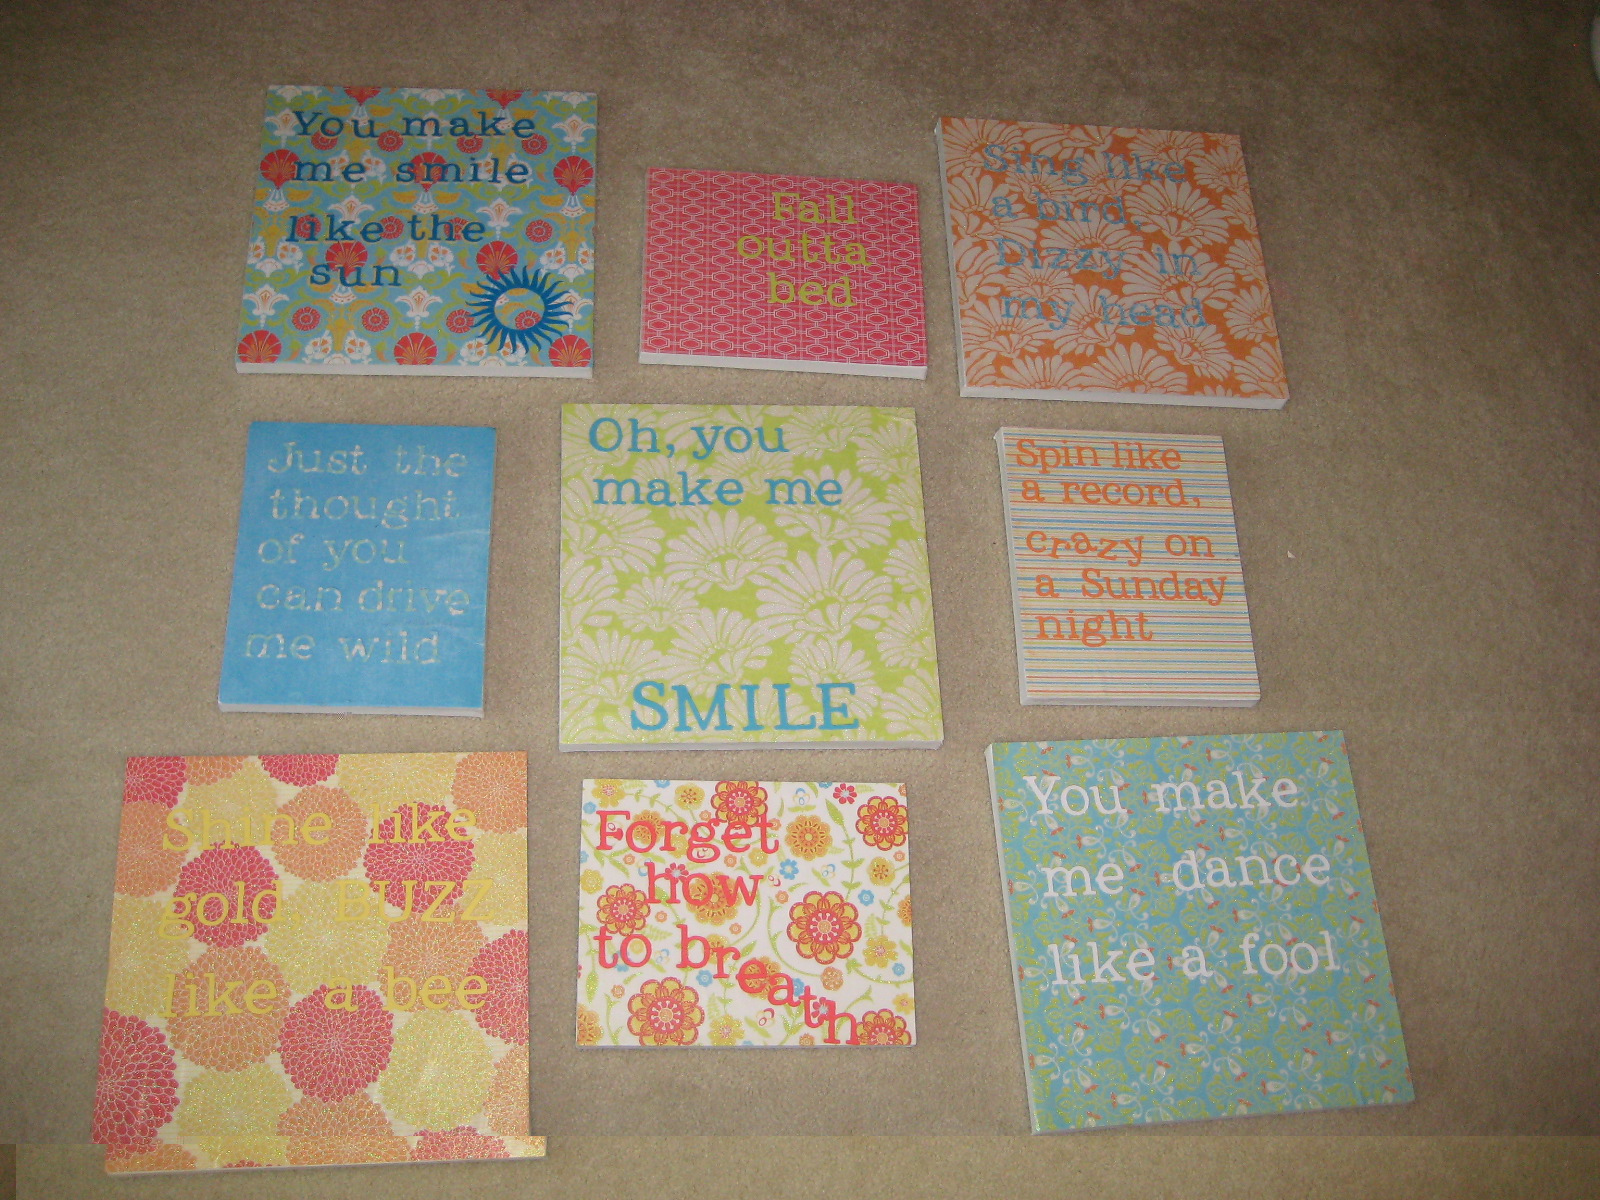
When my son was born, Uncle Kracker’s, “Smile”, had just come out and I loved the lyrics to it. The song really summed up how my little boy made me feel and to this day I get a little teary eyed when I hear the song. So the other day, when I was brainstorming ideas and color combinations for my craft room (see below for what I’m starting out with), I thought up a really fun way to make the room unique. Here’s the first three: CLICK ON THE PICTURES TO SEE THEM BETTER…EASIER TO READ THAT WAY
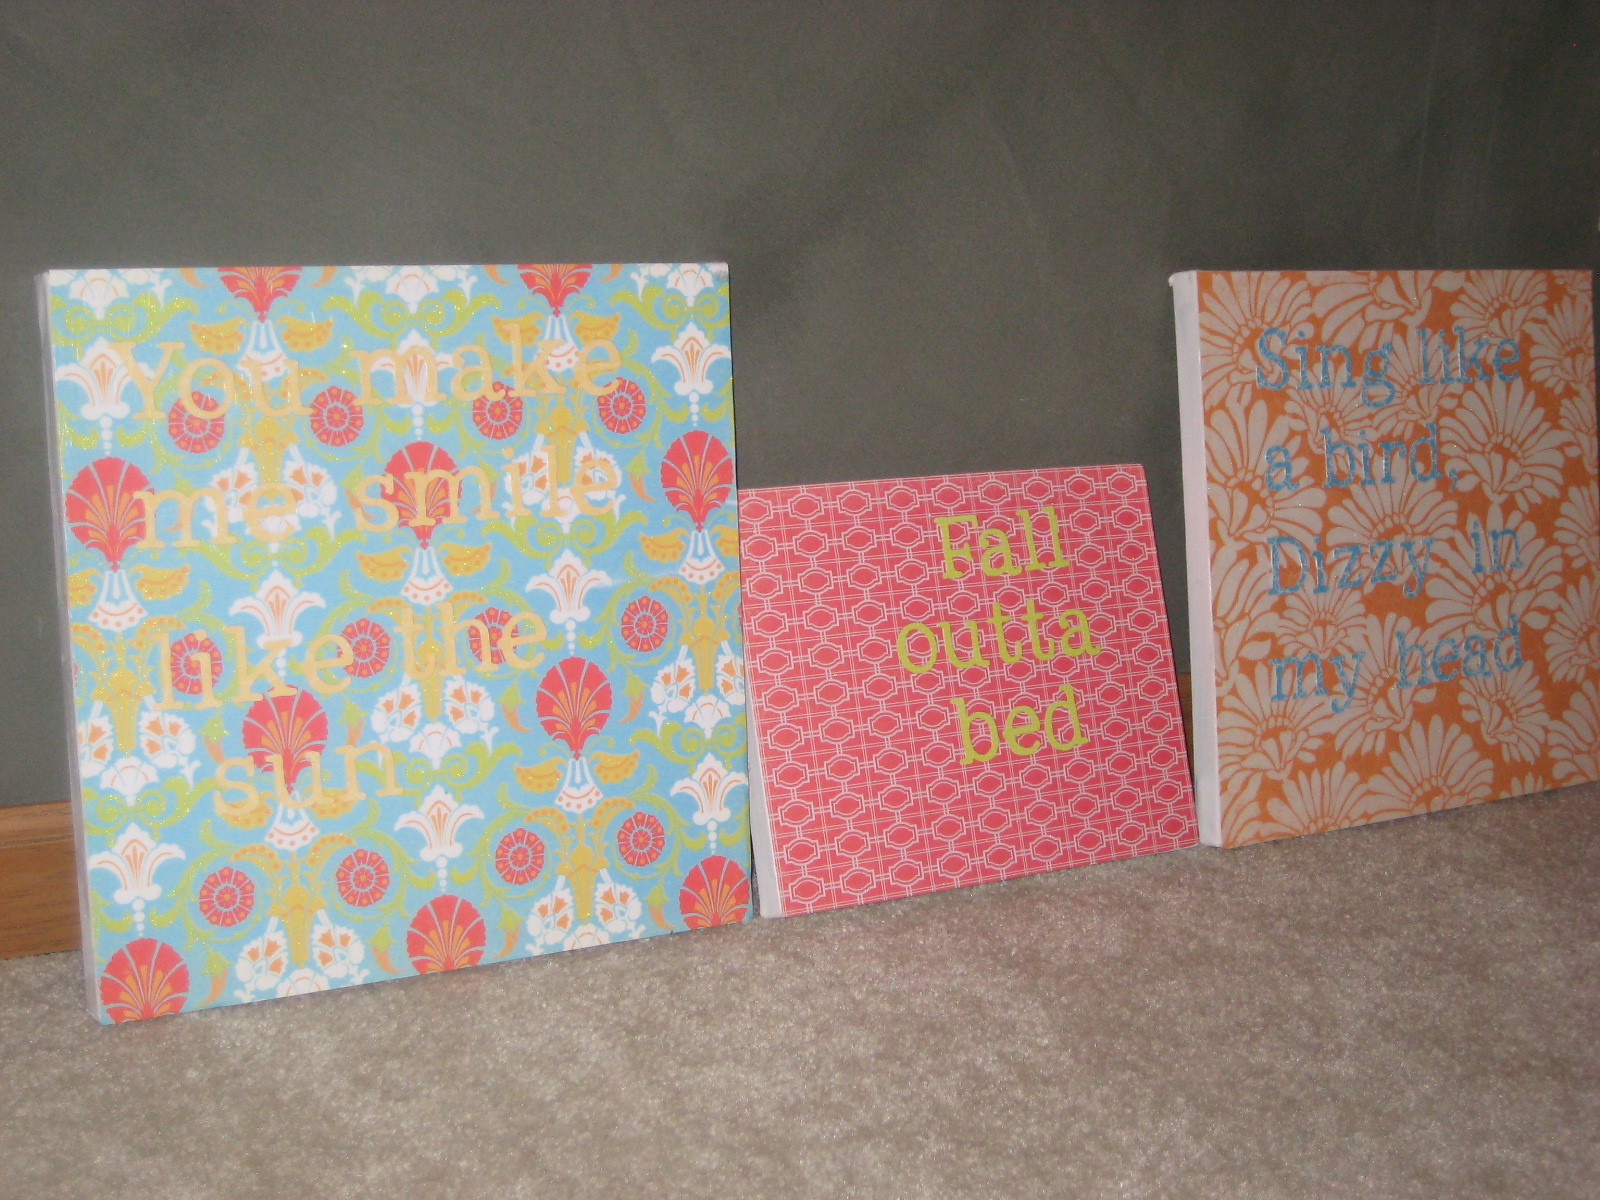
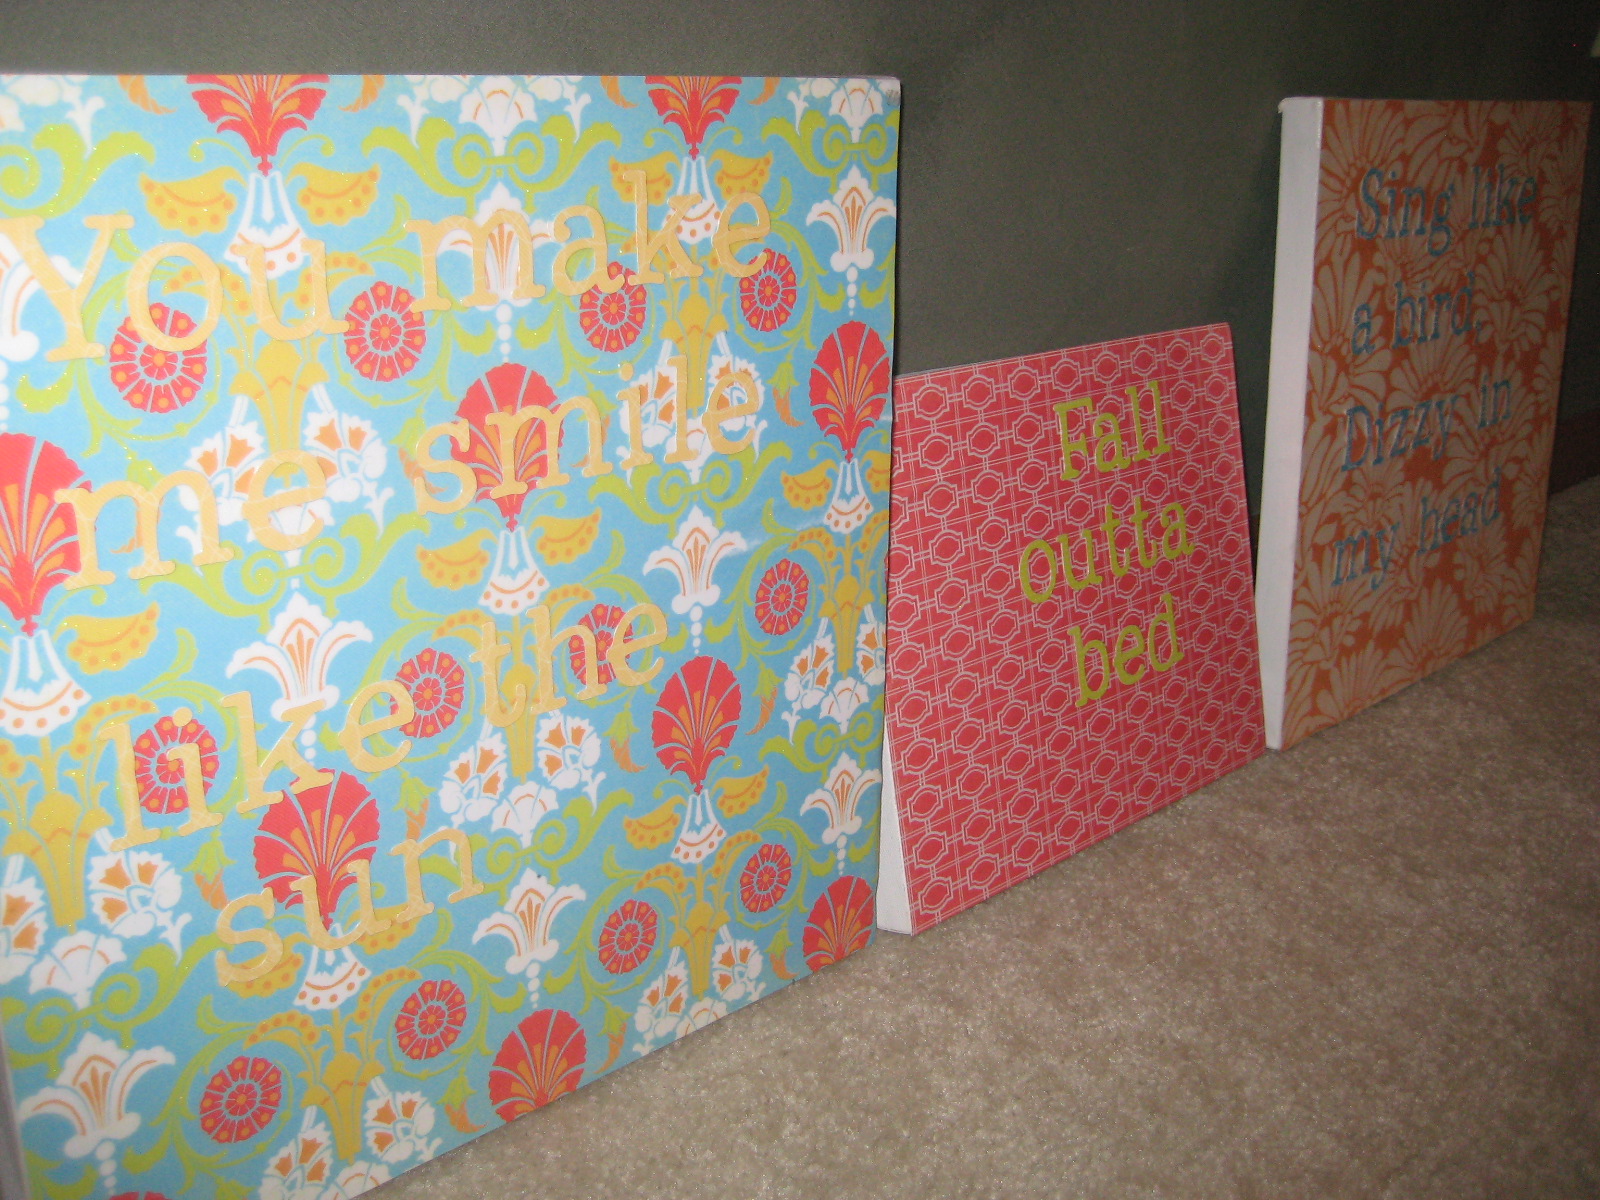
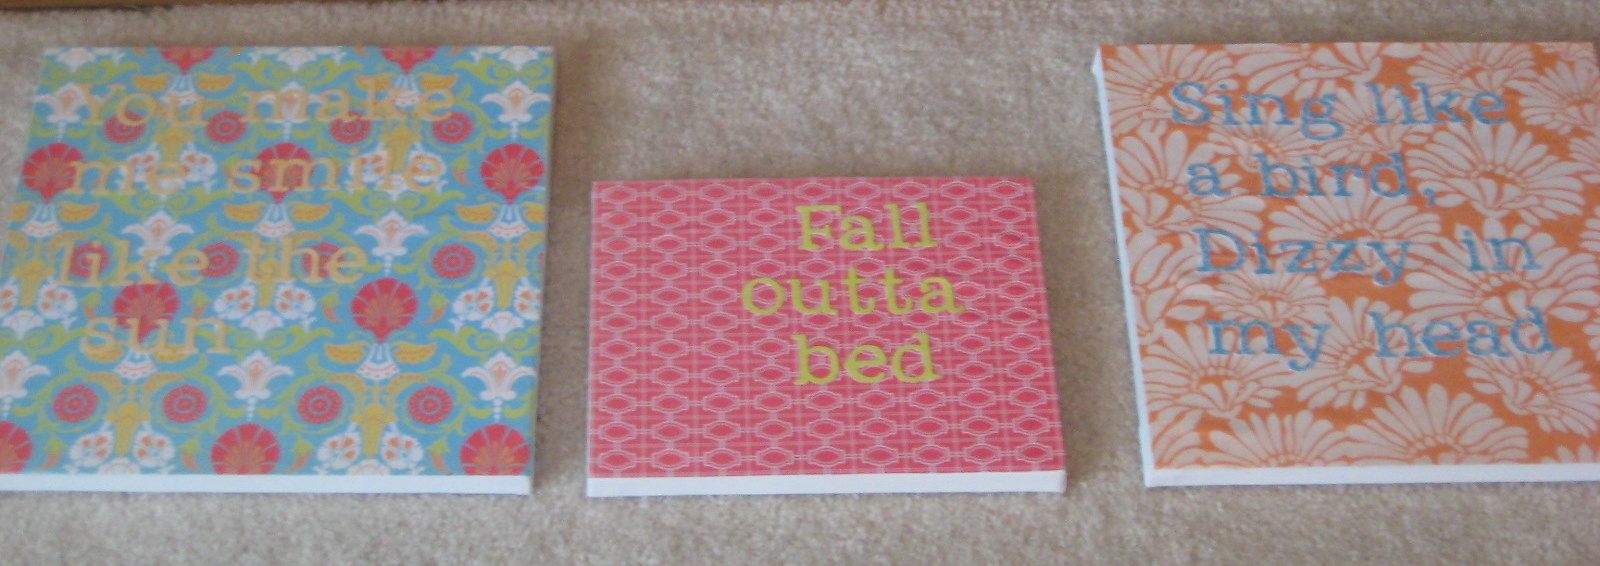
I’ve always liked the mod podged canvas tutorials, so I thought I’d take some canvas, scrapbook paper, and mod podge and create my very own “Smile” artwork. I looked up the lyrics to the song online and decided my favorite words were these:
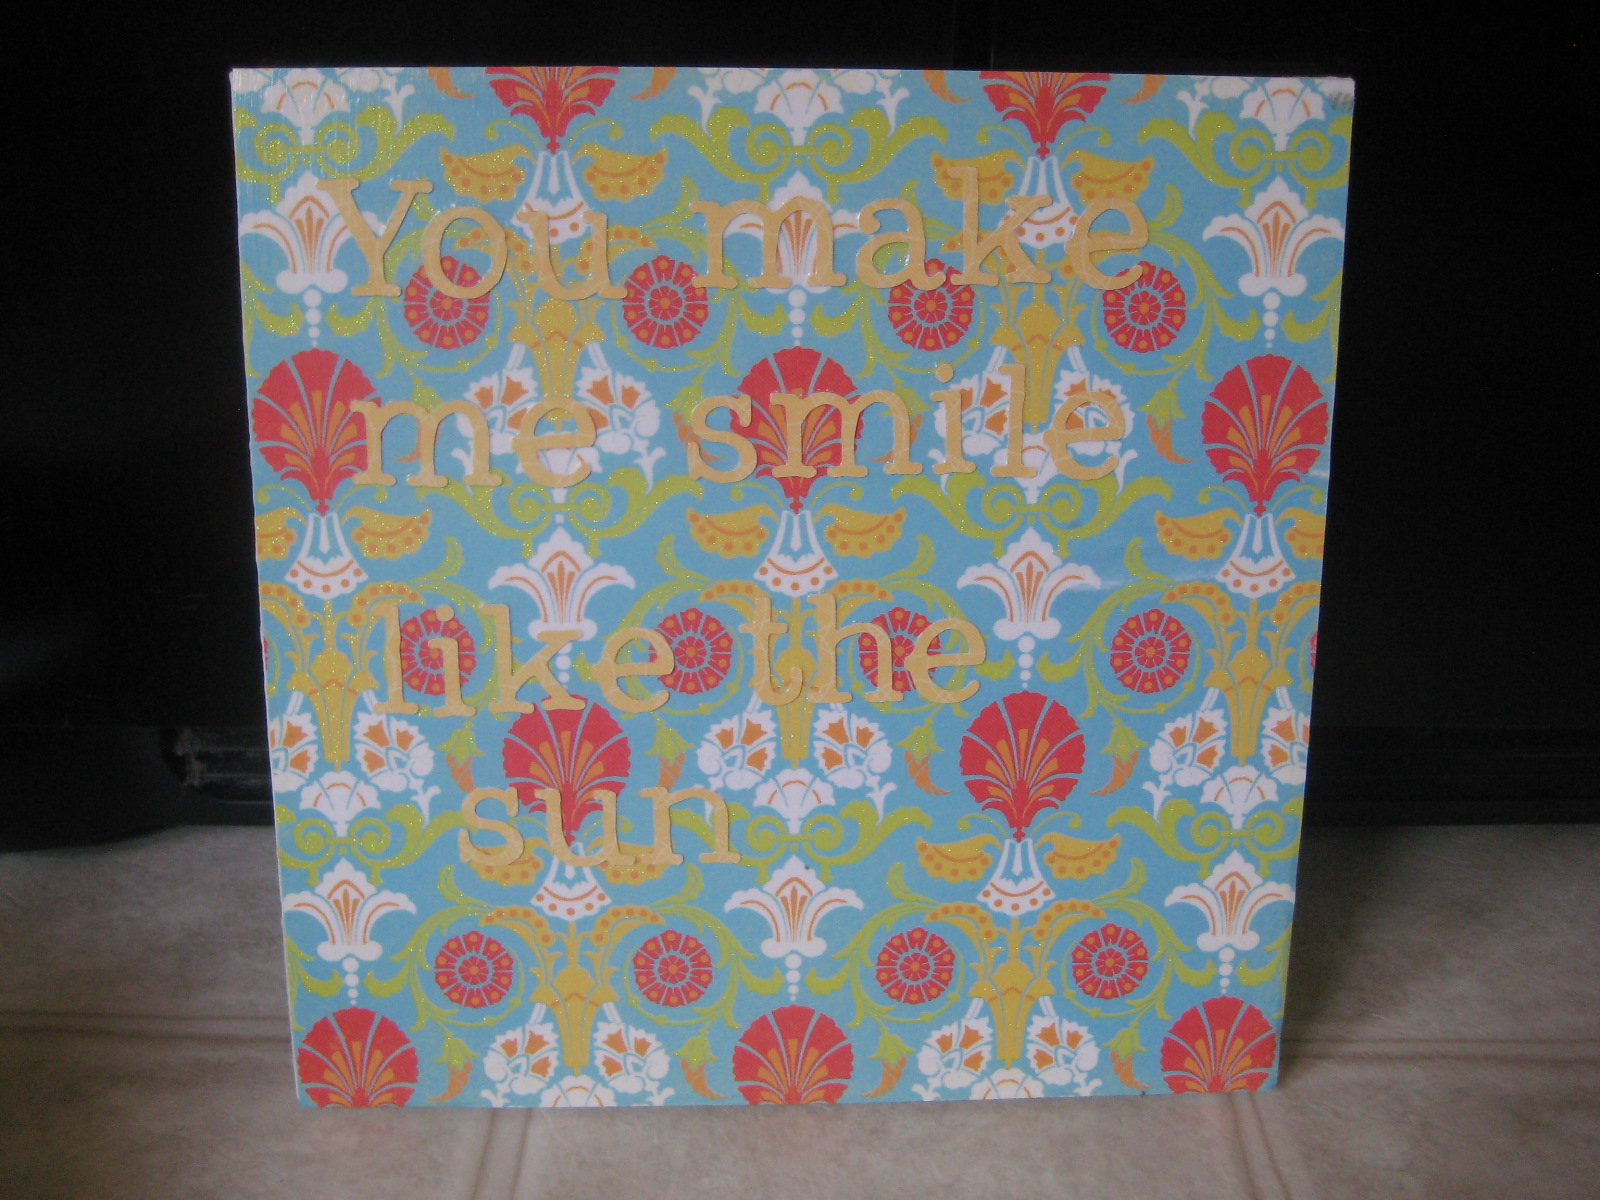
1. You make me smile like the sun
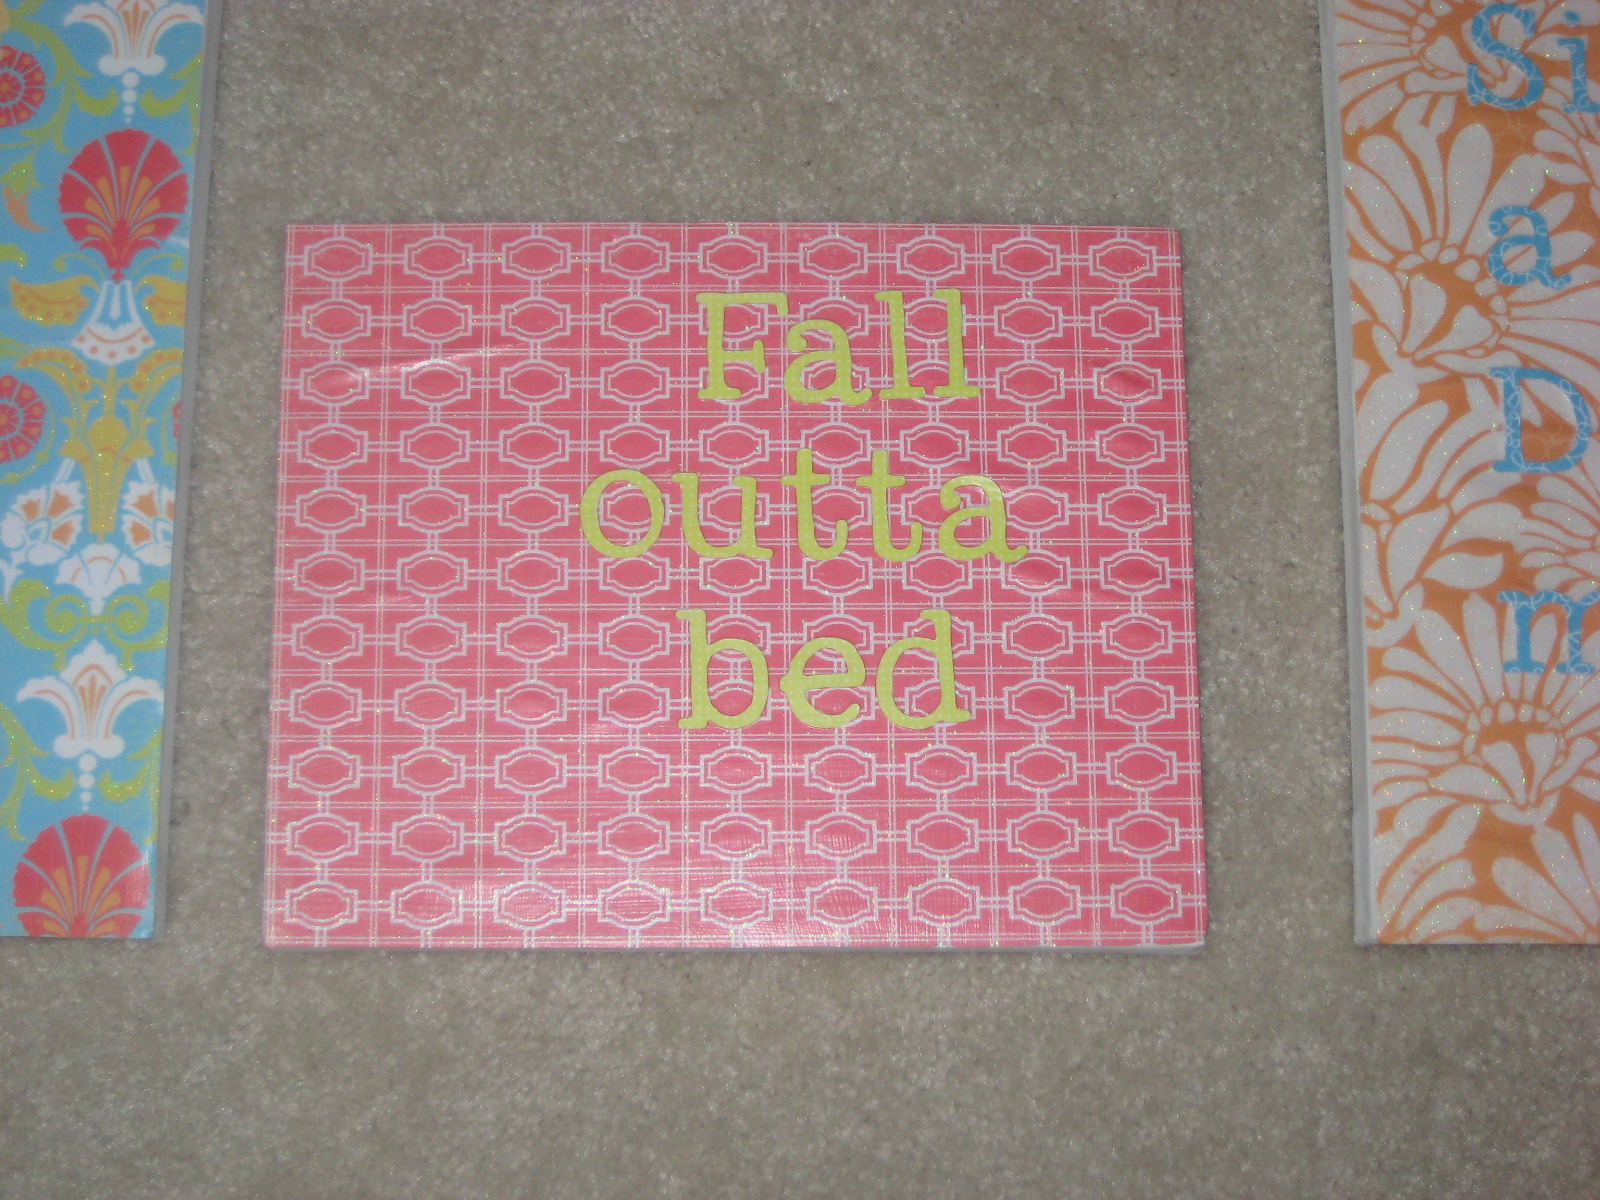
2. Fall outta bed
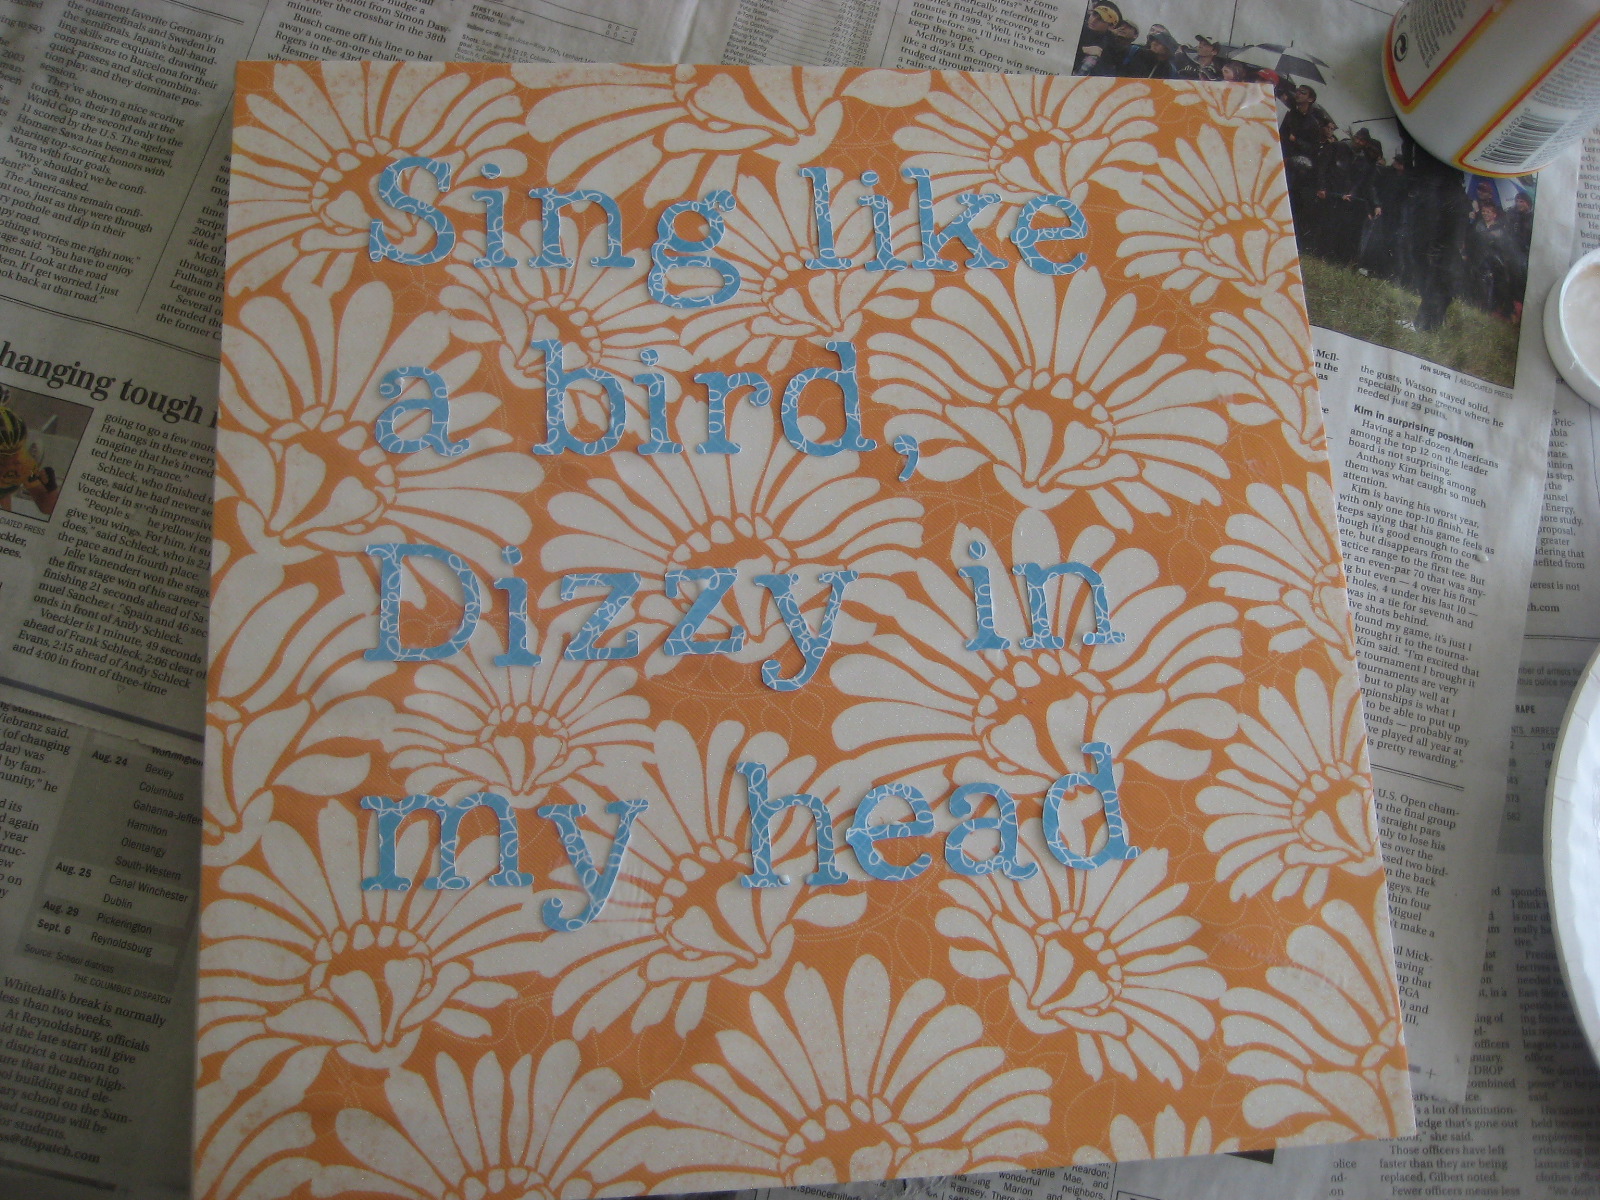
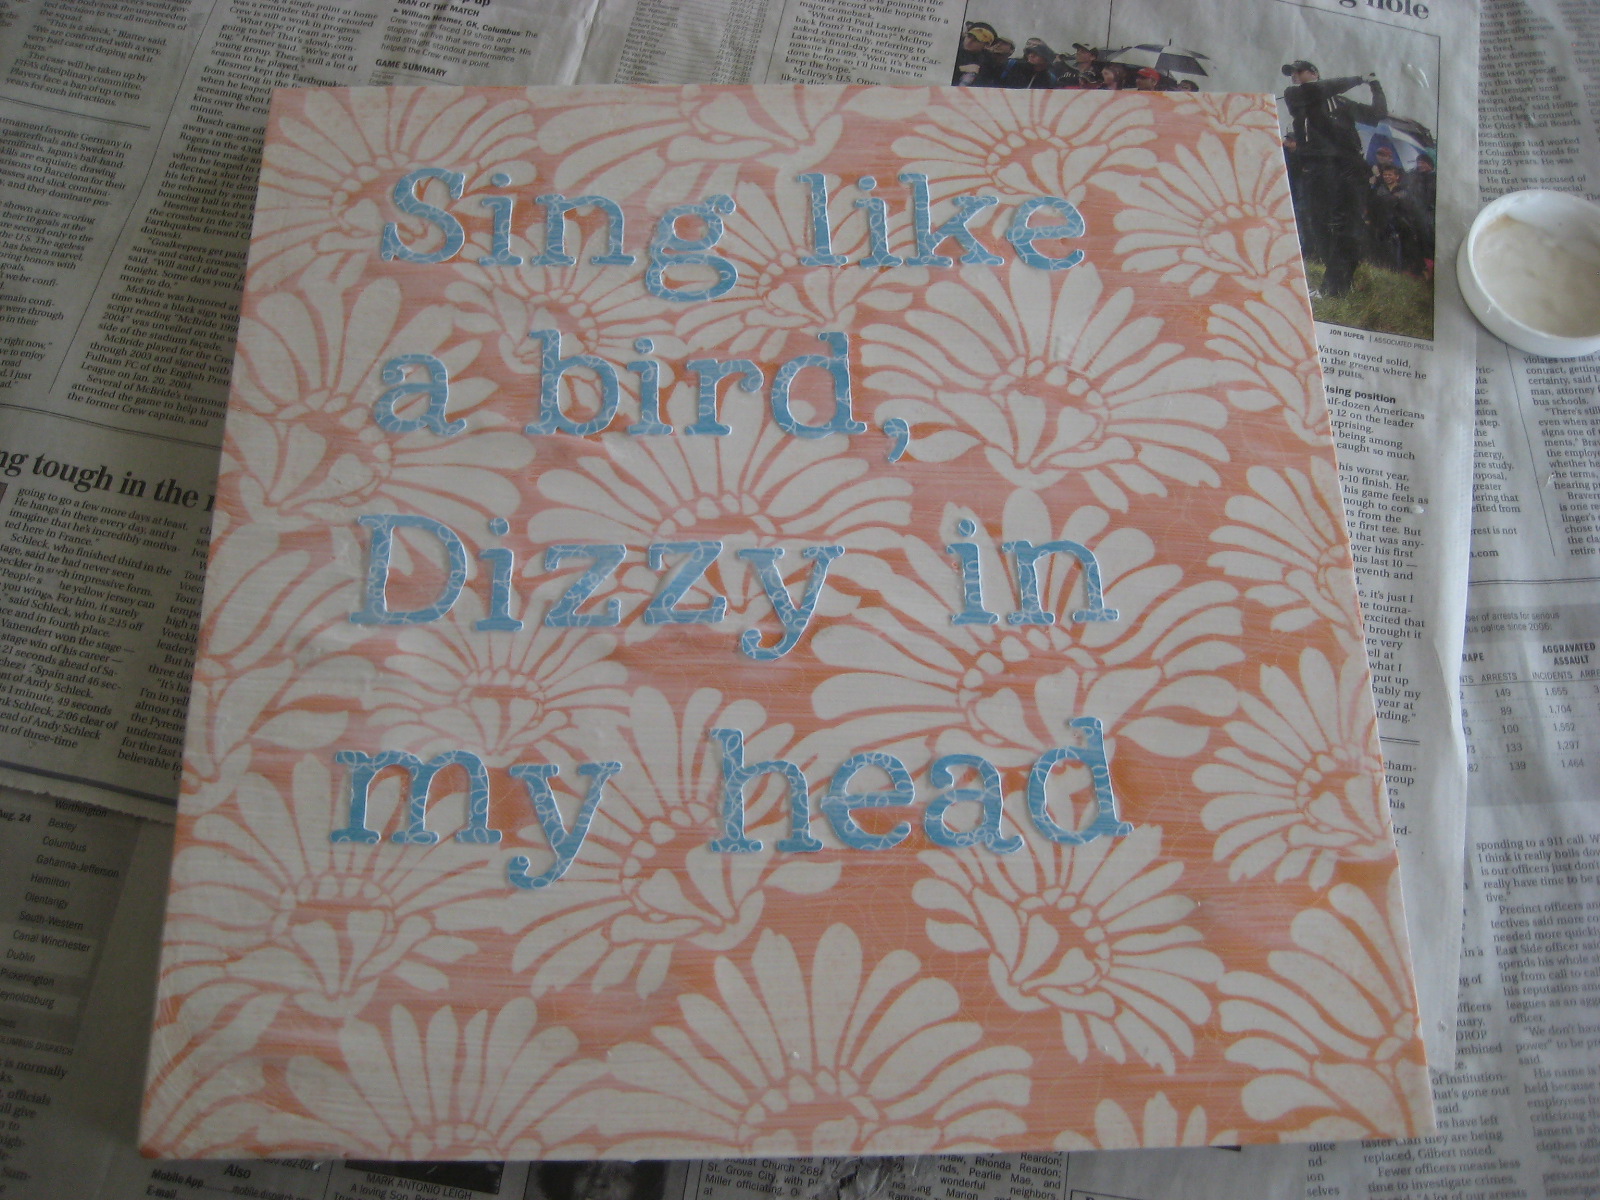
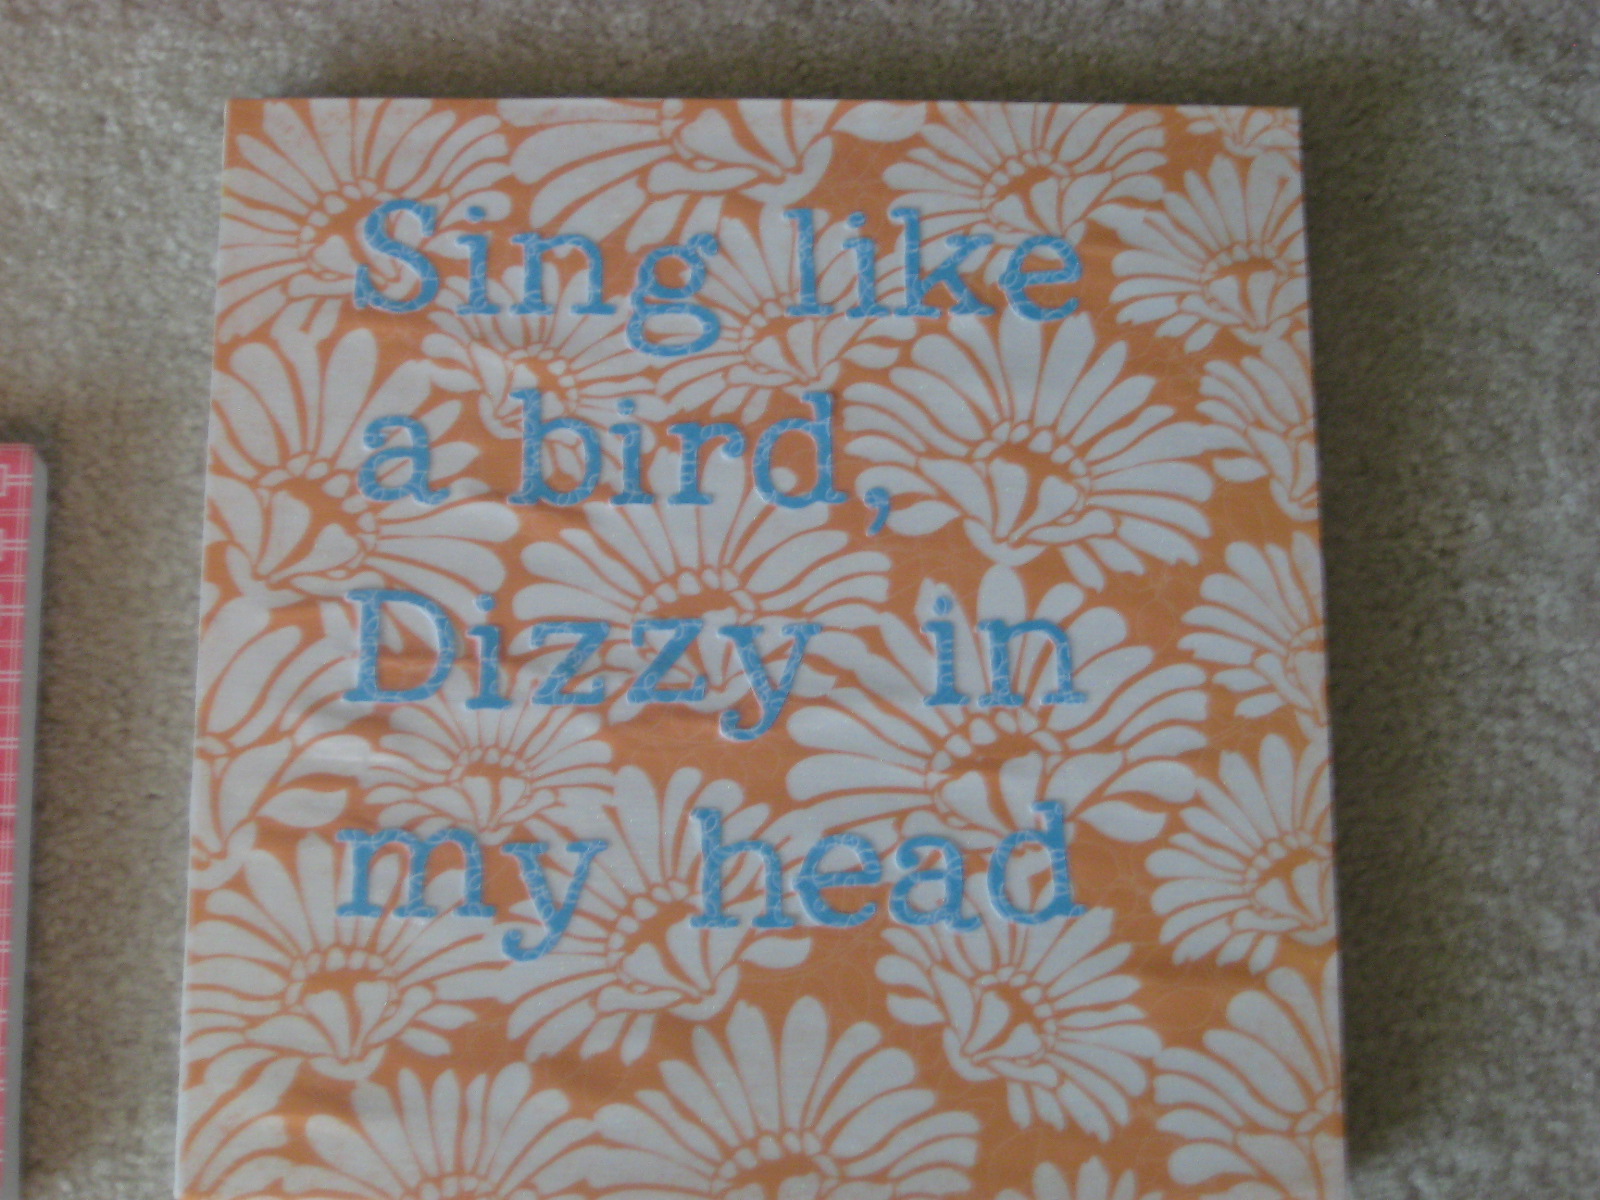
3. Sing like a bird, dizzy in my head
4. Spin like a record, crazy on a sunday night
5. You make me dance like a fool
6. Forget how to breath
7. Shine like gold, buzz like a bee
8. Just the thought of you can drive me wild
9. Oh, you make me smile.
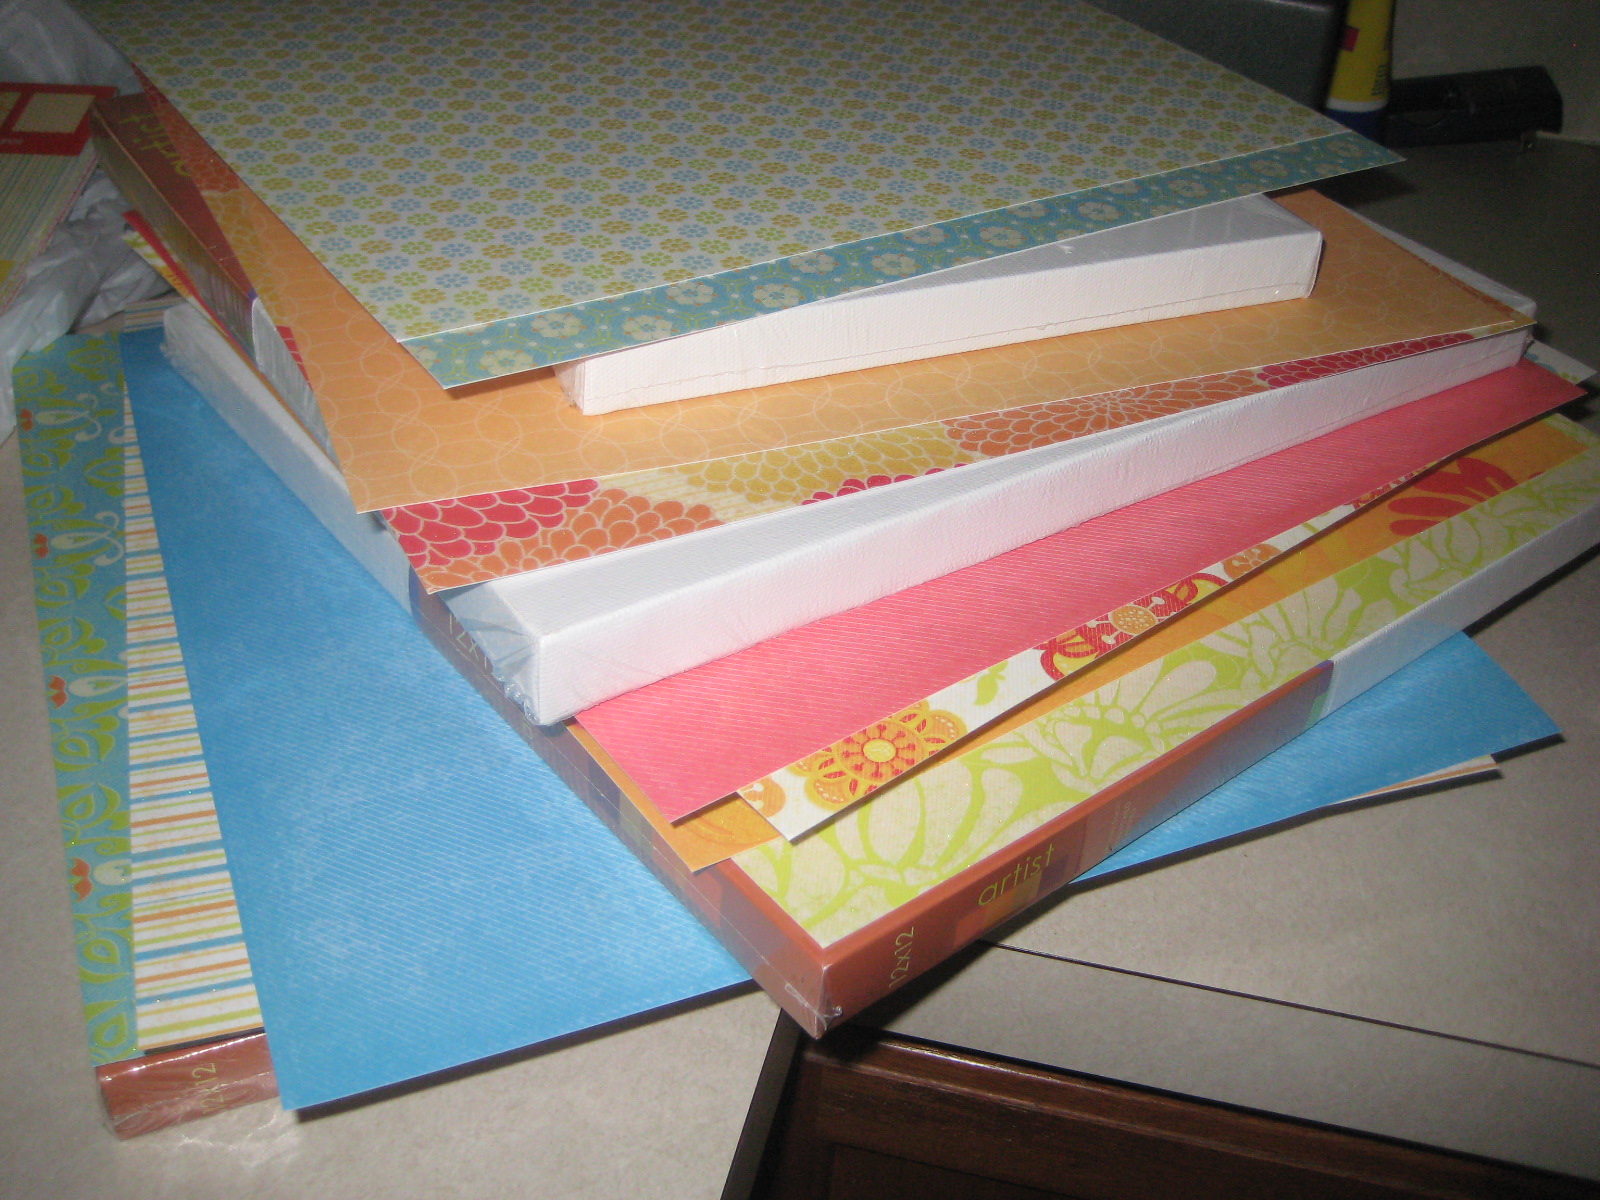
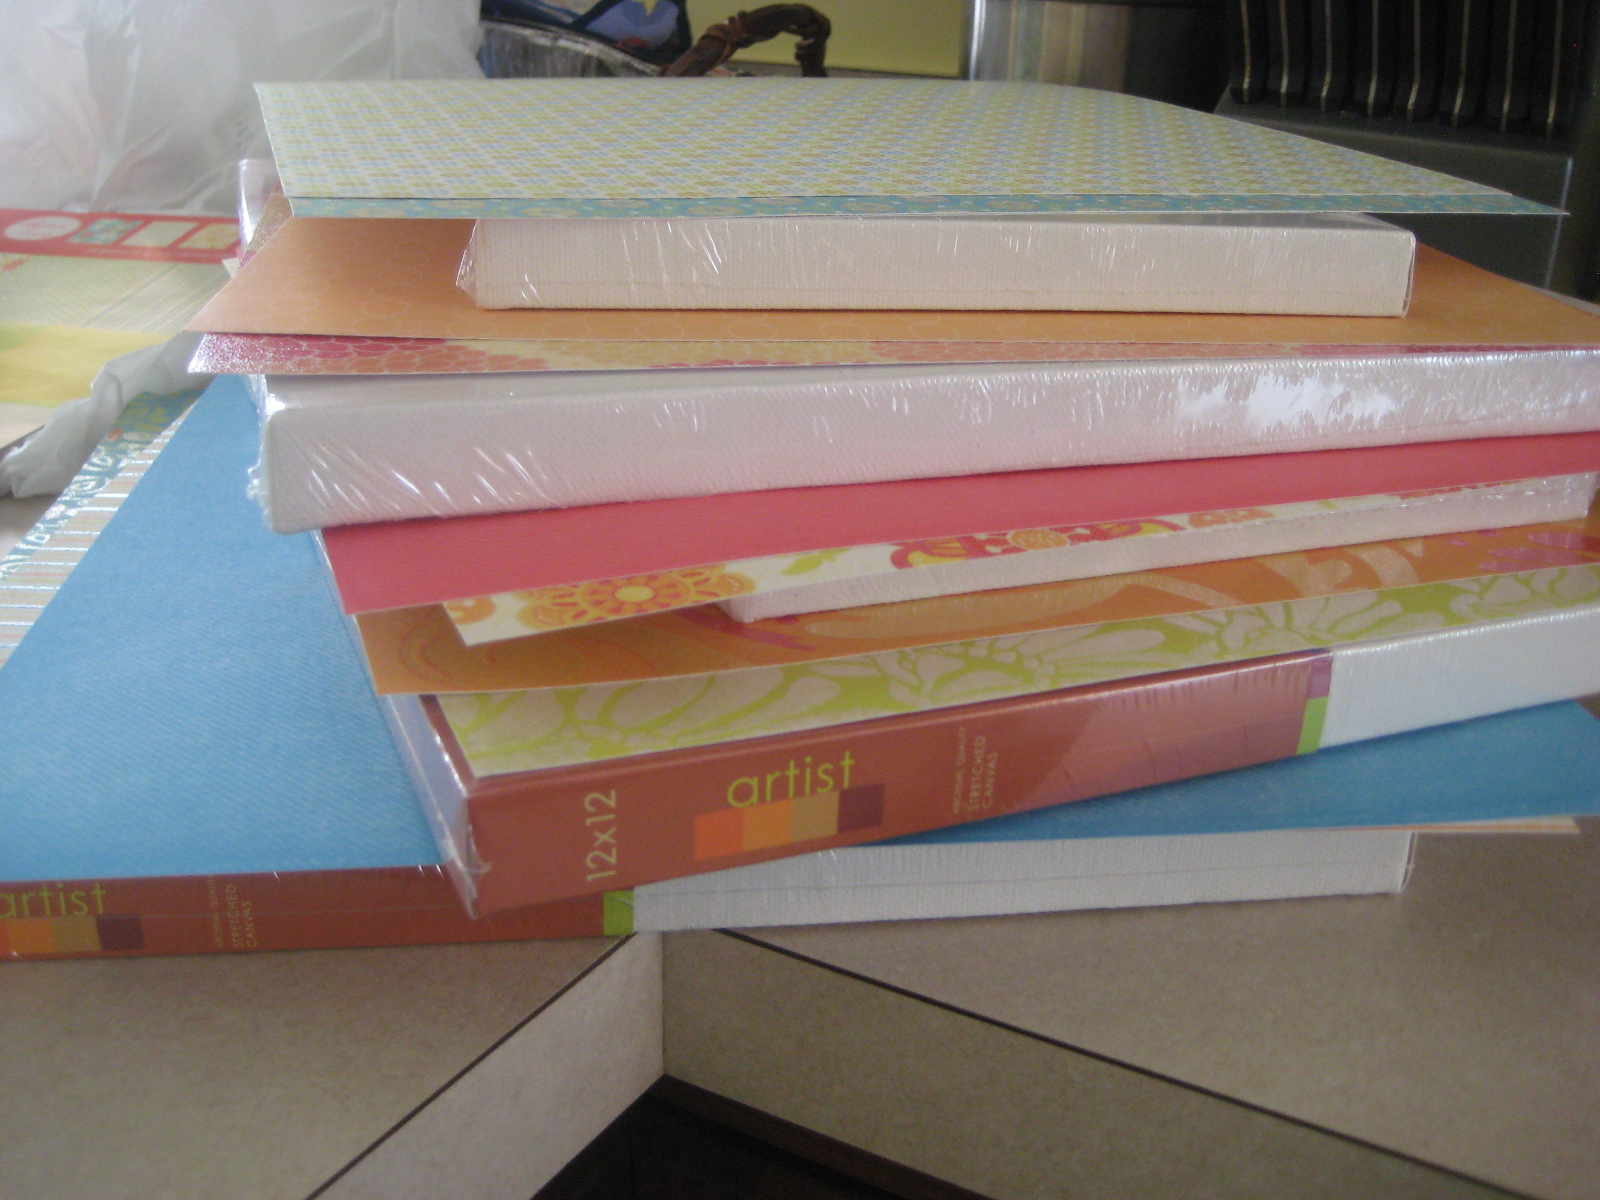
Count that…nine canvases. So I headed to JoAnn’s and purchased 9 canvases. I bought 5 12×12’s, and 4 8×10’s. They were on sale and I had coupons. Then I picked up some mod podge, sponge brushes, and scrapbook paper. I bought a pack of scrapbook papers called “Citrus Stack” in a pack of 48 12×12 sheets. So to recap, you need:
Canvas– you pick your sizes and amounts (mine will be in the form of a square)
Mod Podge (I used matte all purpose)
Sponge brushes
Cardstock
Silhouette machine or cricut or something else to cut out letters–or pre cut letters
And potentially a hair dryer if you want to speed up the drying process
Then I got home and got cracking!
1. First, I picked out my color combinations between the fonts and backgrounds for the canvases. I will say, I wish for my first one I had gone with darker lettering, but it still looks pretty–just harder to read.
2. I applied a thin coat of mod podge to the canvas and then to the back of the cardstock and laid the paper down on top of the canvas and tried to push out any air bubbles in the paper (which is impossible and you will get them no matter how hard you try not to).
3. I then let it dry and added another coat of mod podge on top of the paper, again trying to work out the air bubbles. I got a pin and poked small holes in the air pockets to help work it out.
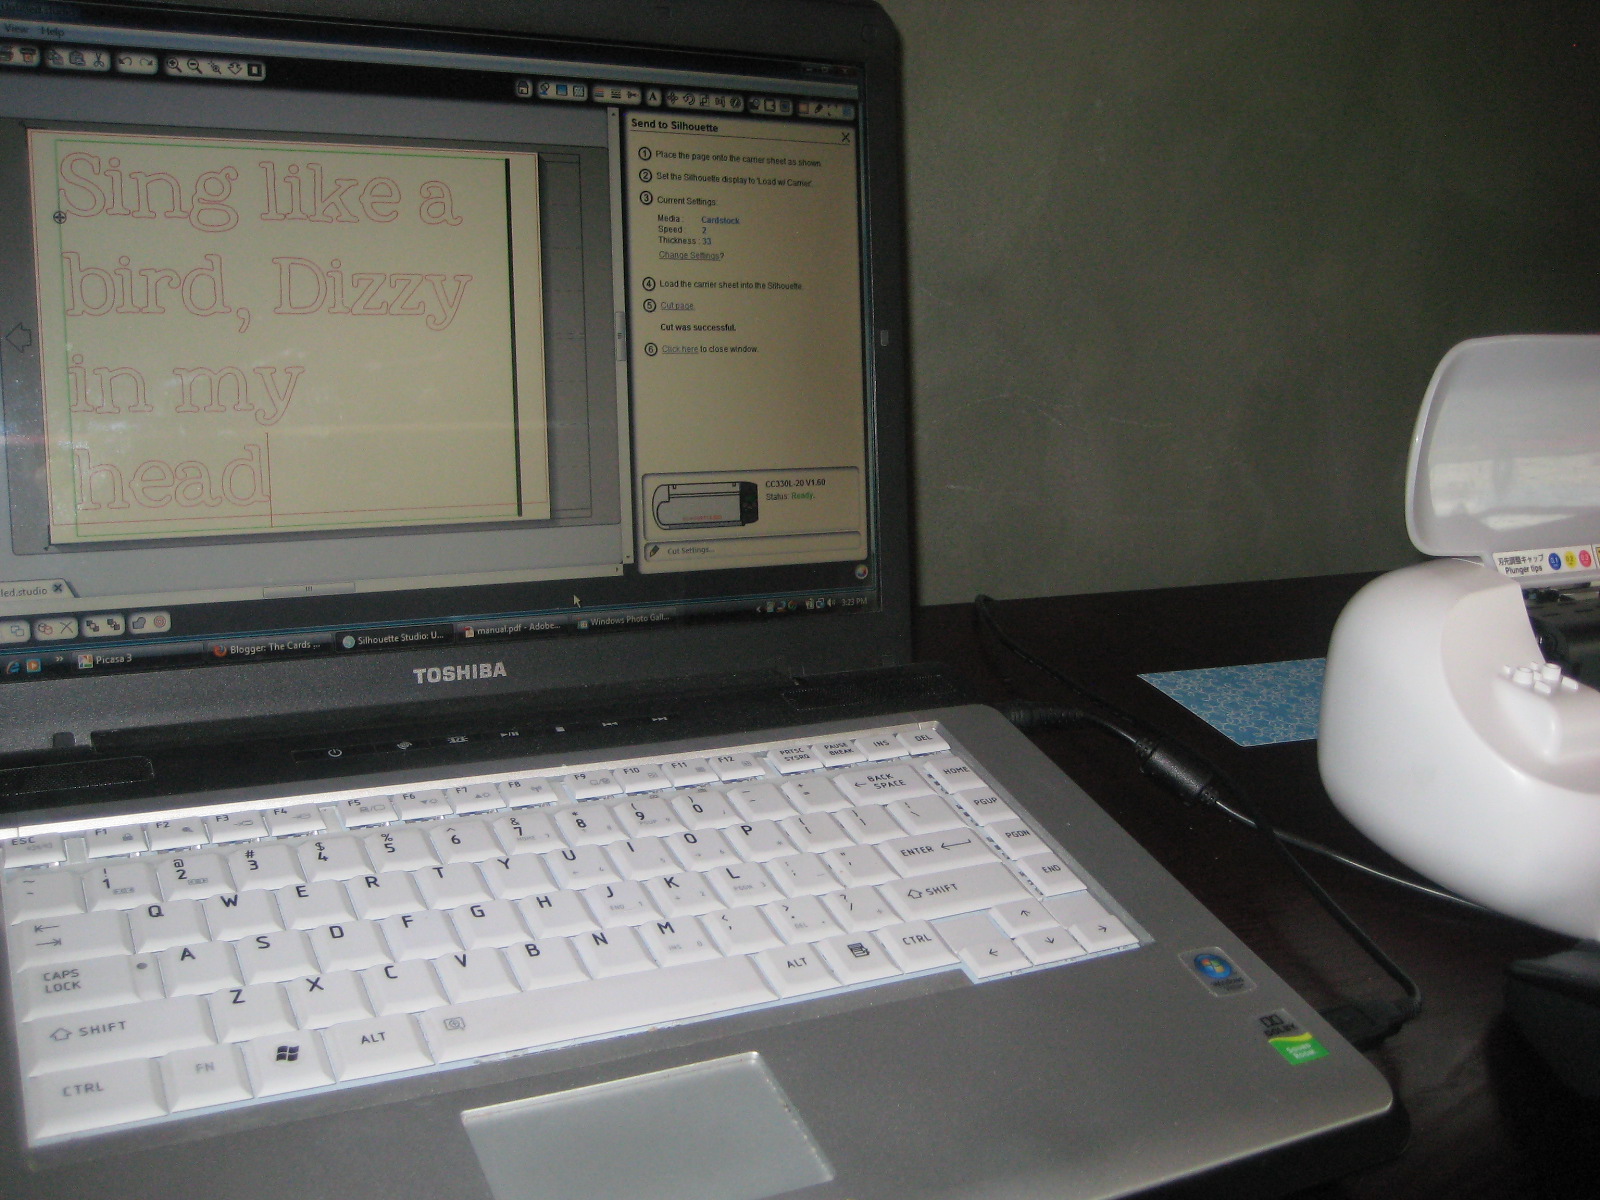
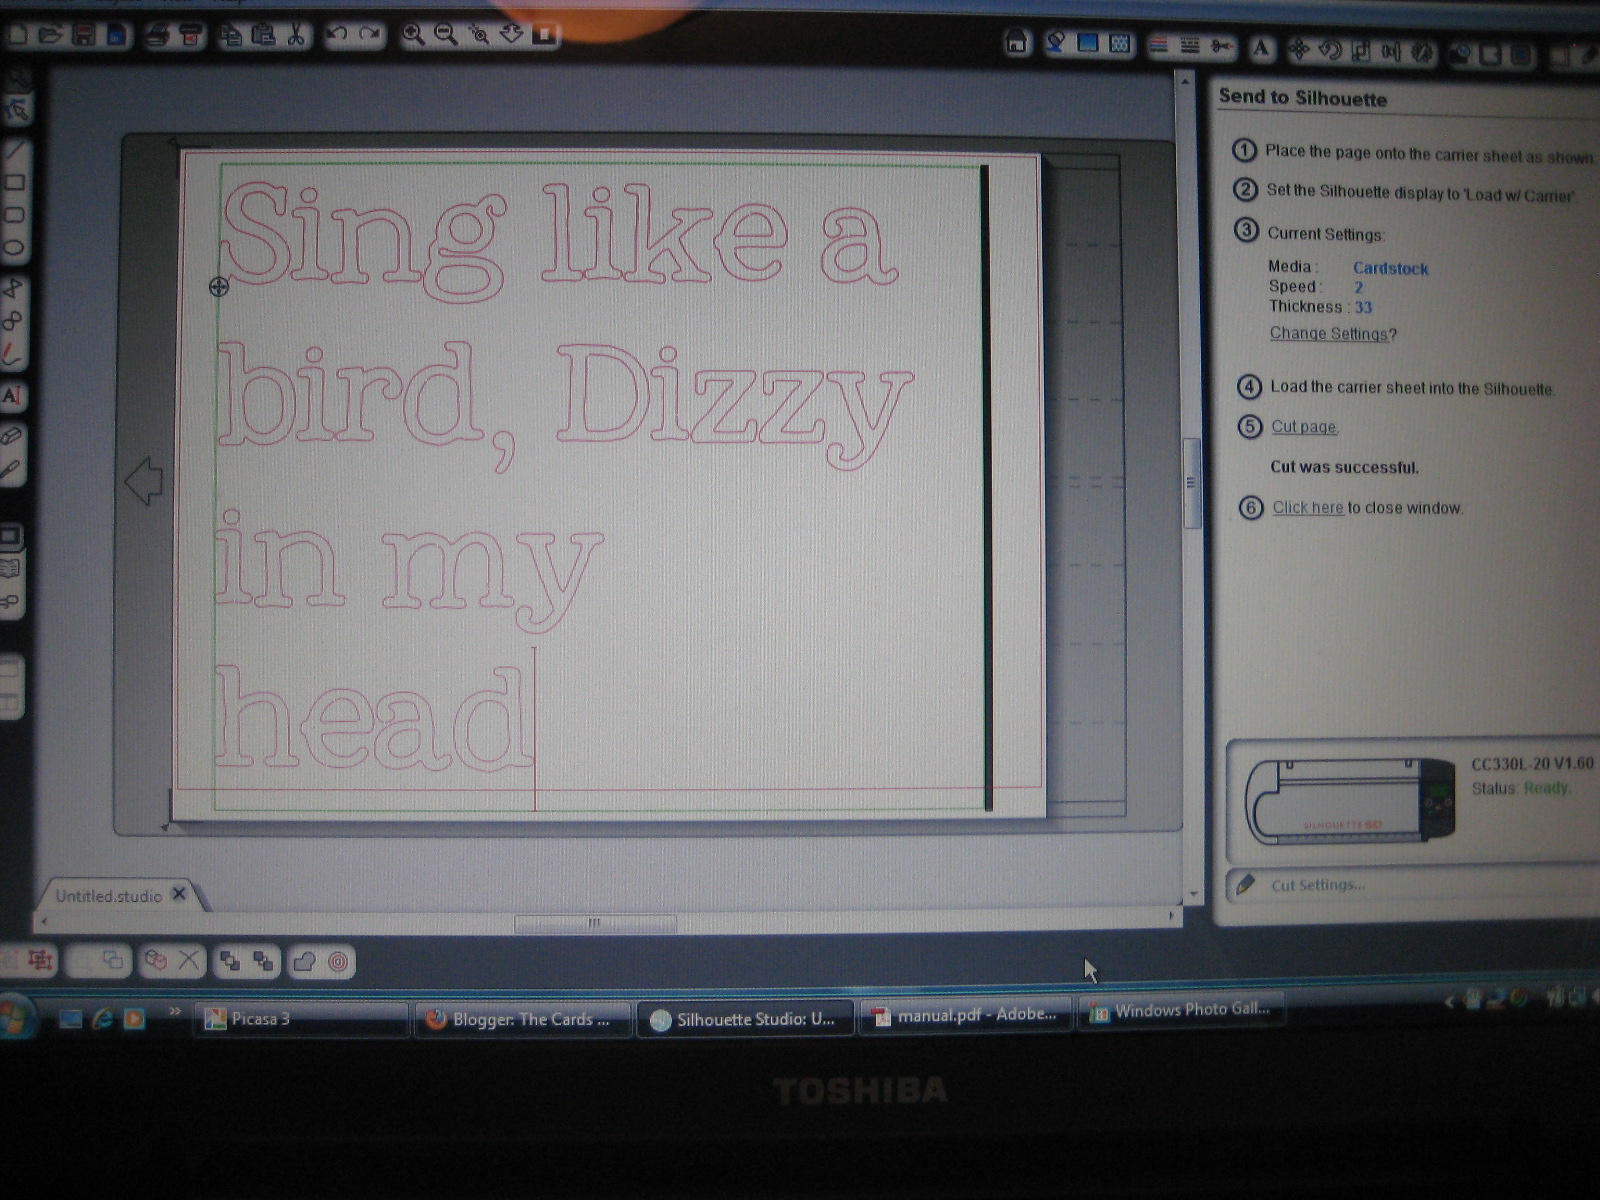
4. While it was drying, I got on my Silhouette and picked out the font I liked and got to work getting my lyrics printed out.I used the font “My Own Topher”, which is a special font I downloaded online a while back.
5. Once the mod podge is mostly dry, I put my letters down on my canvas and tack them down with a little dab of mod podge on the back of them. Once laid out the way I want, I add another coat of mod podge carefully to the top again. The mod podge will look very milky, but it will dry clear.

6. I wait for it to dry some more and continue on to my next canvas (3 already took a long time…and I have 6 more to do!!). Then…the kiddo wakes up from nap and mommy craft time needs to end–that’s him signing “more” in the background because he ran out of his leftover pizza from yesterday. 🙂


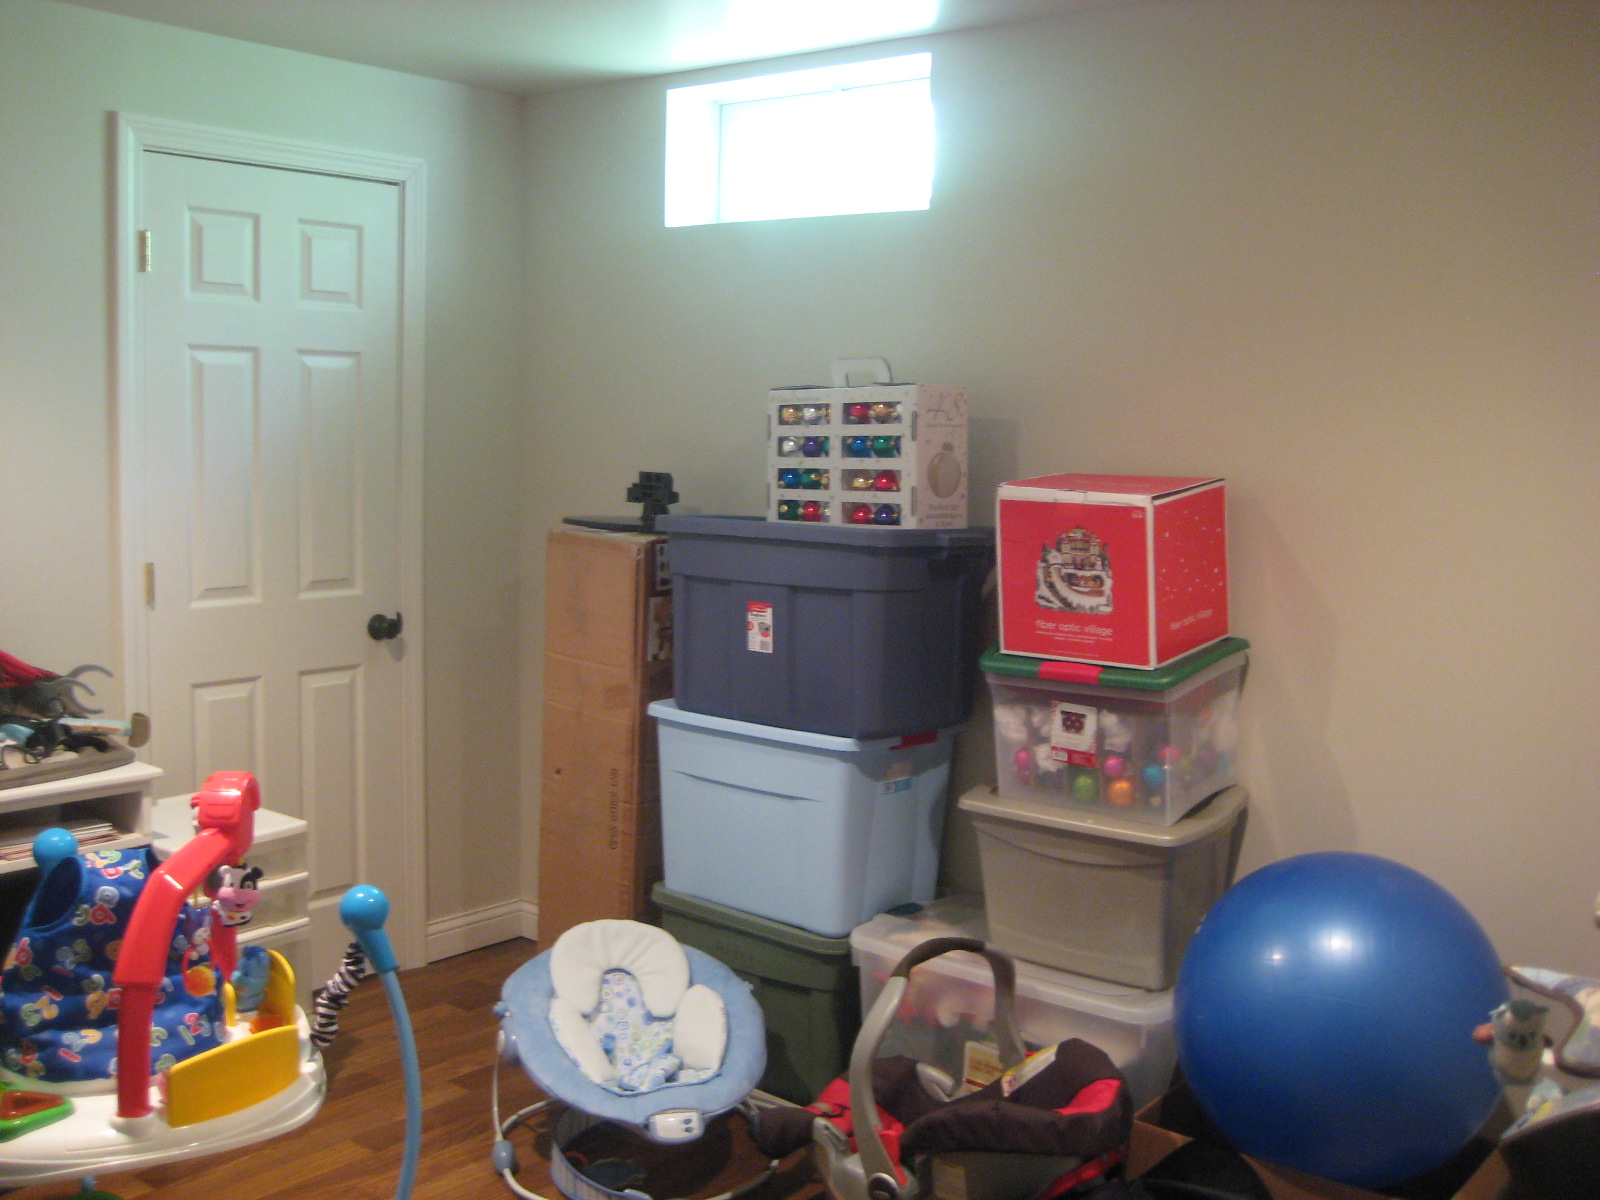
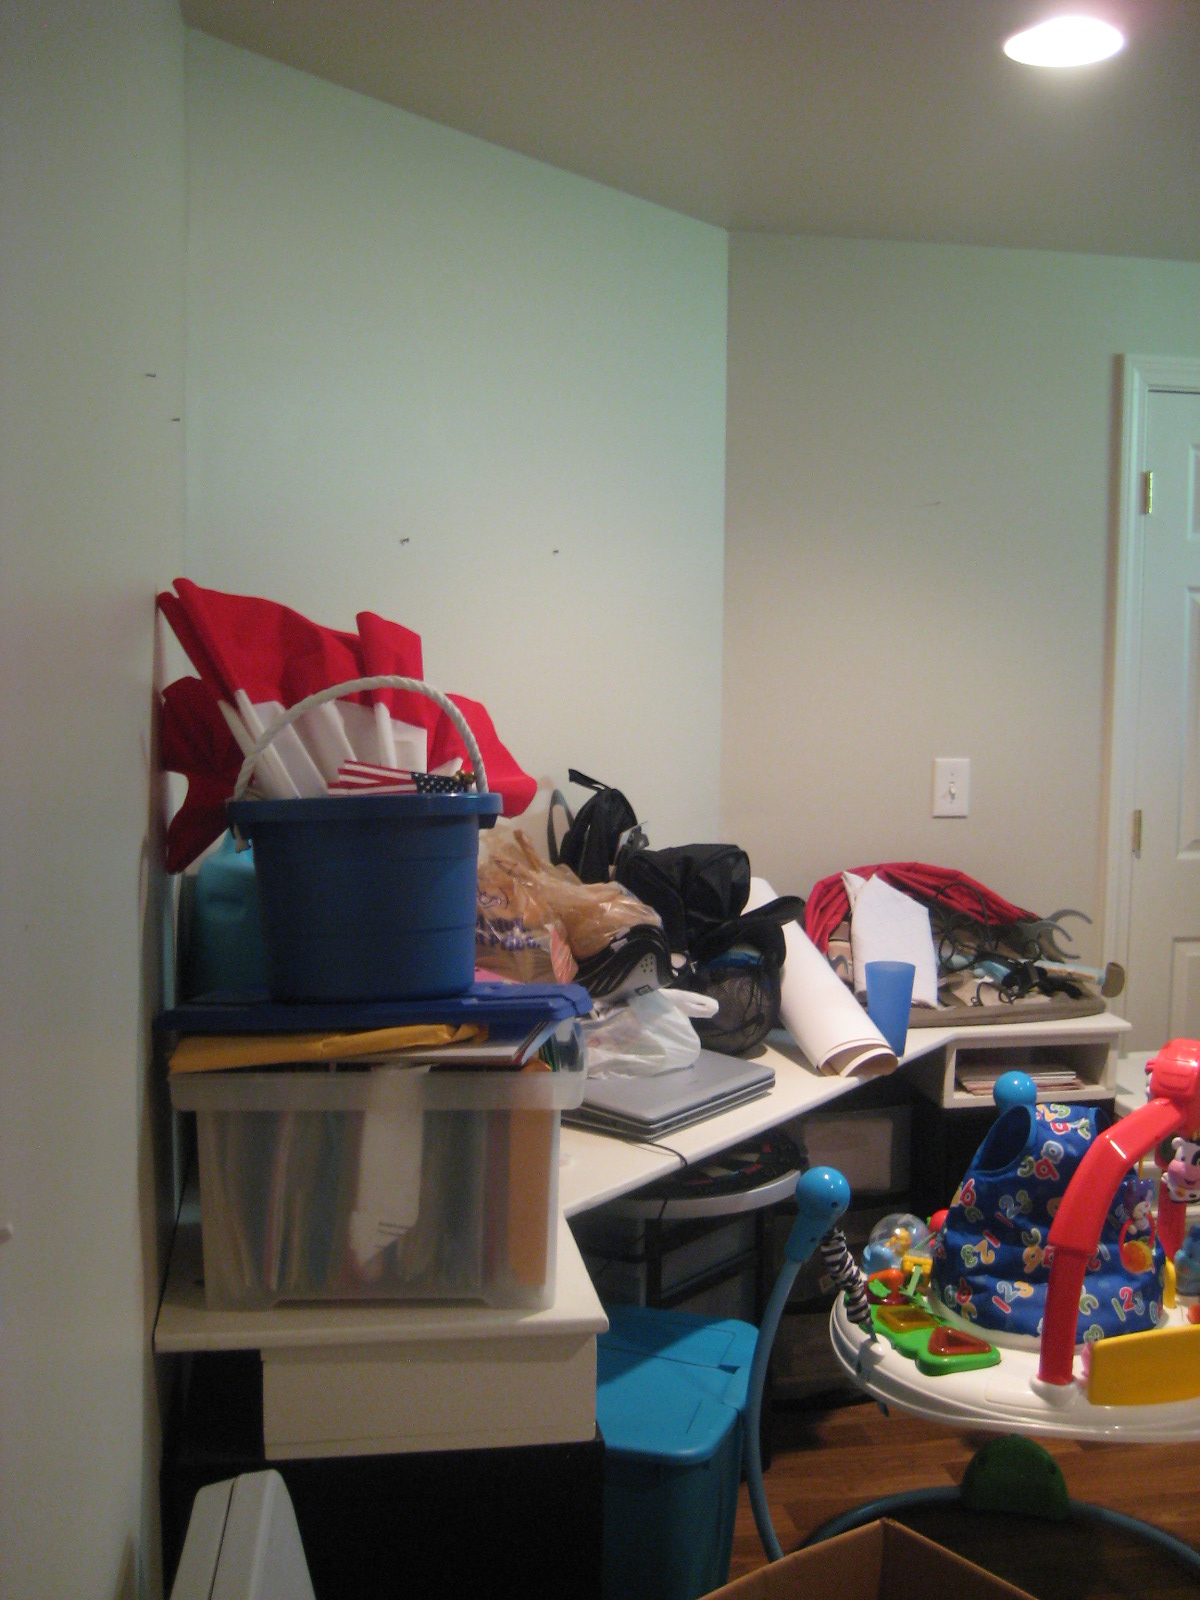
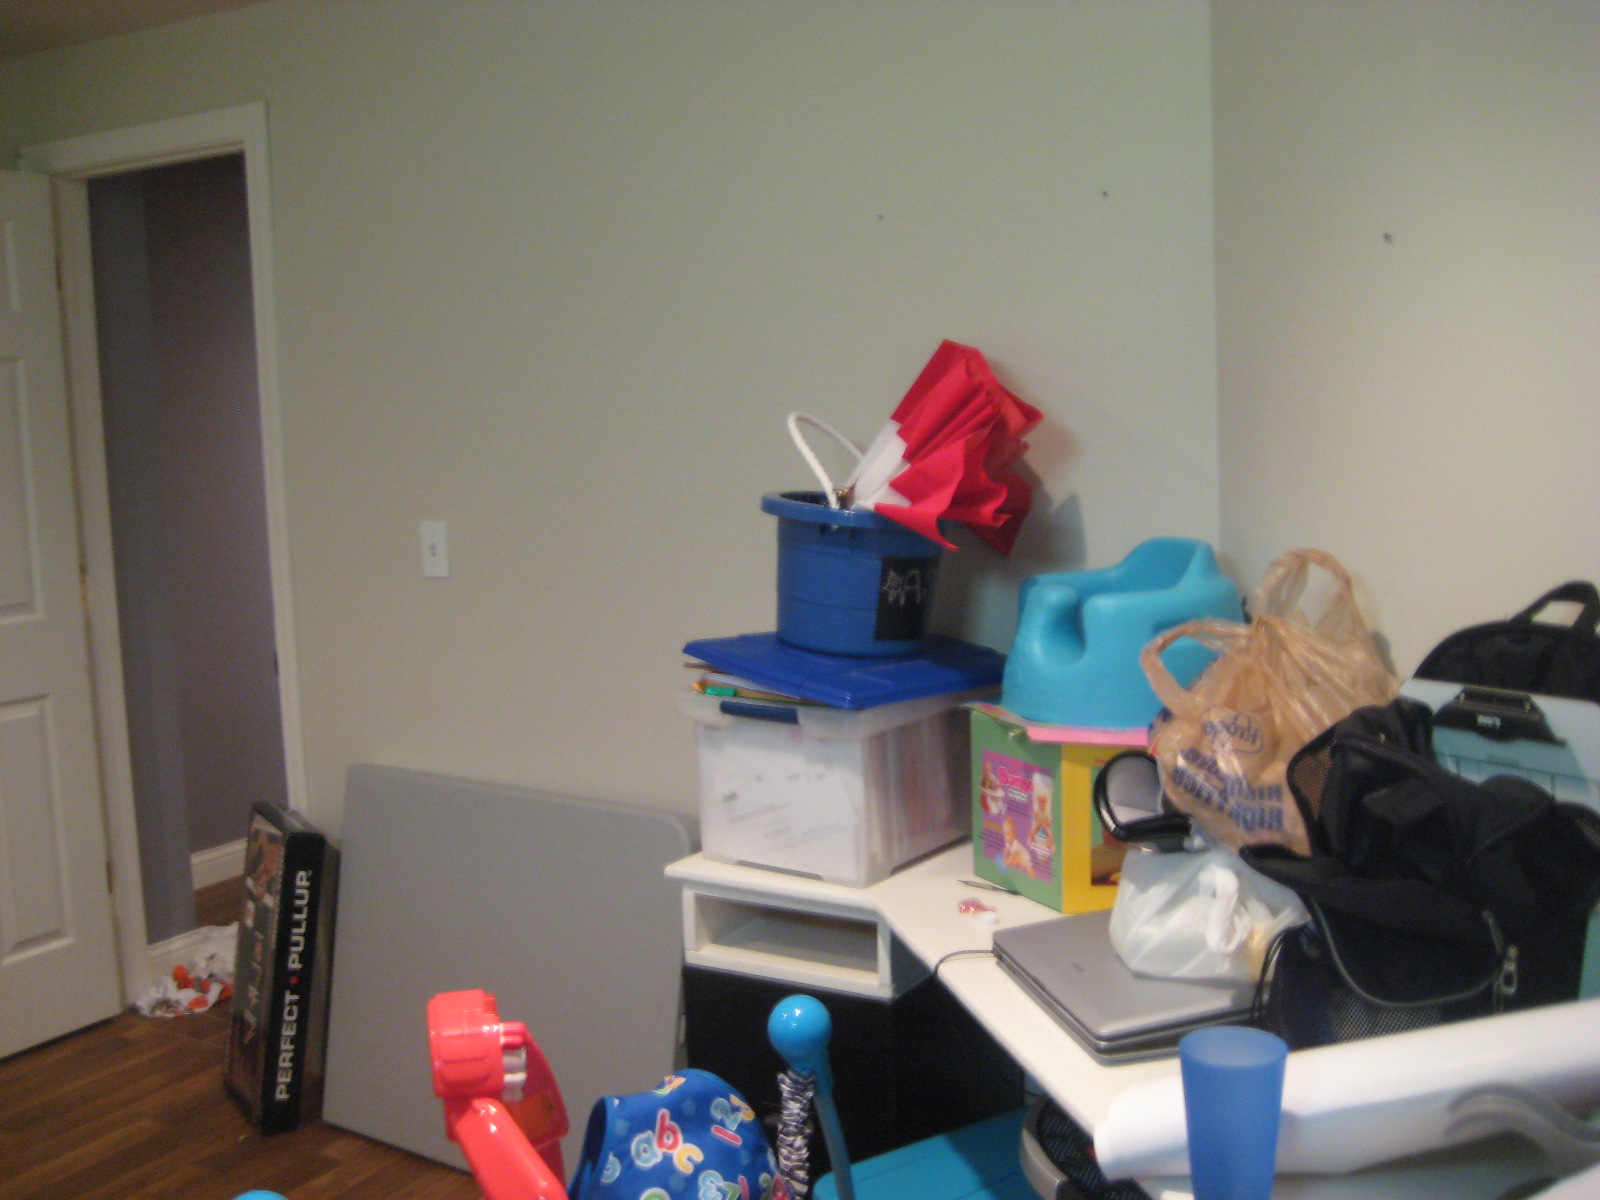
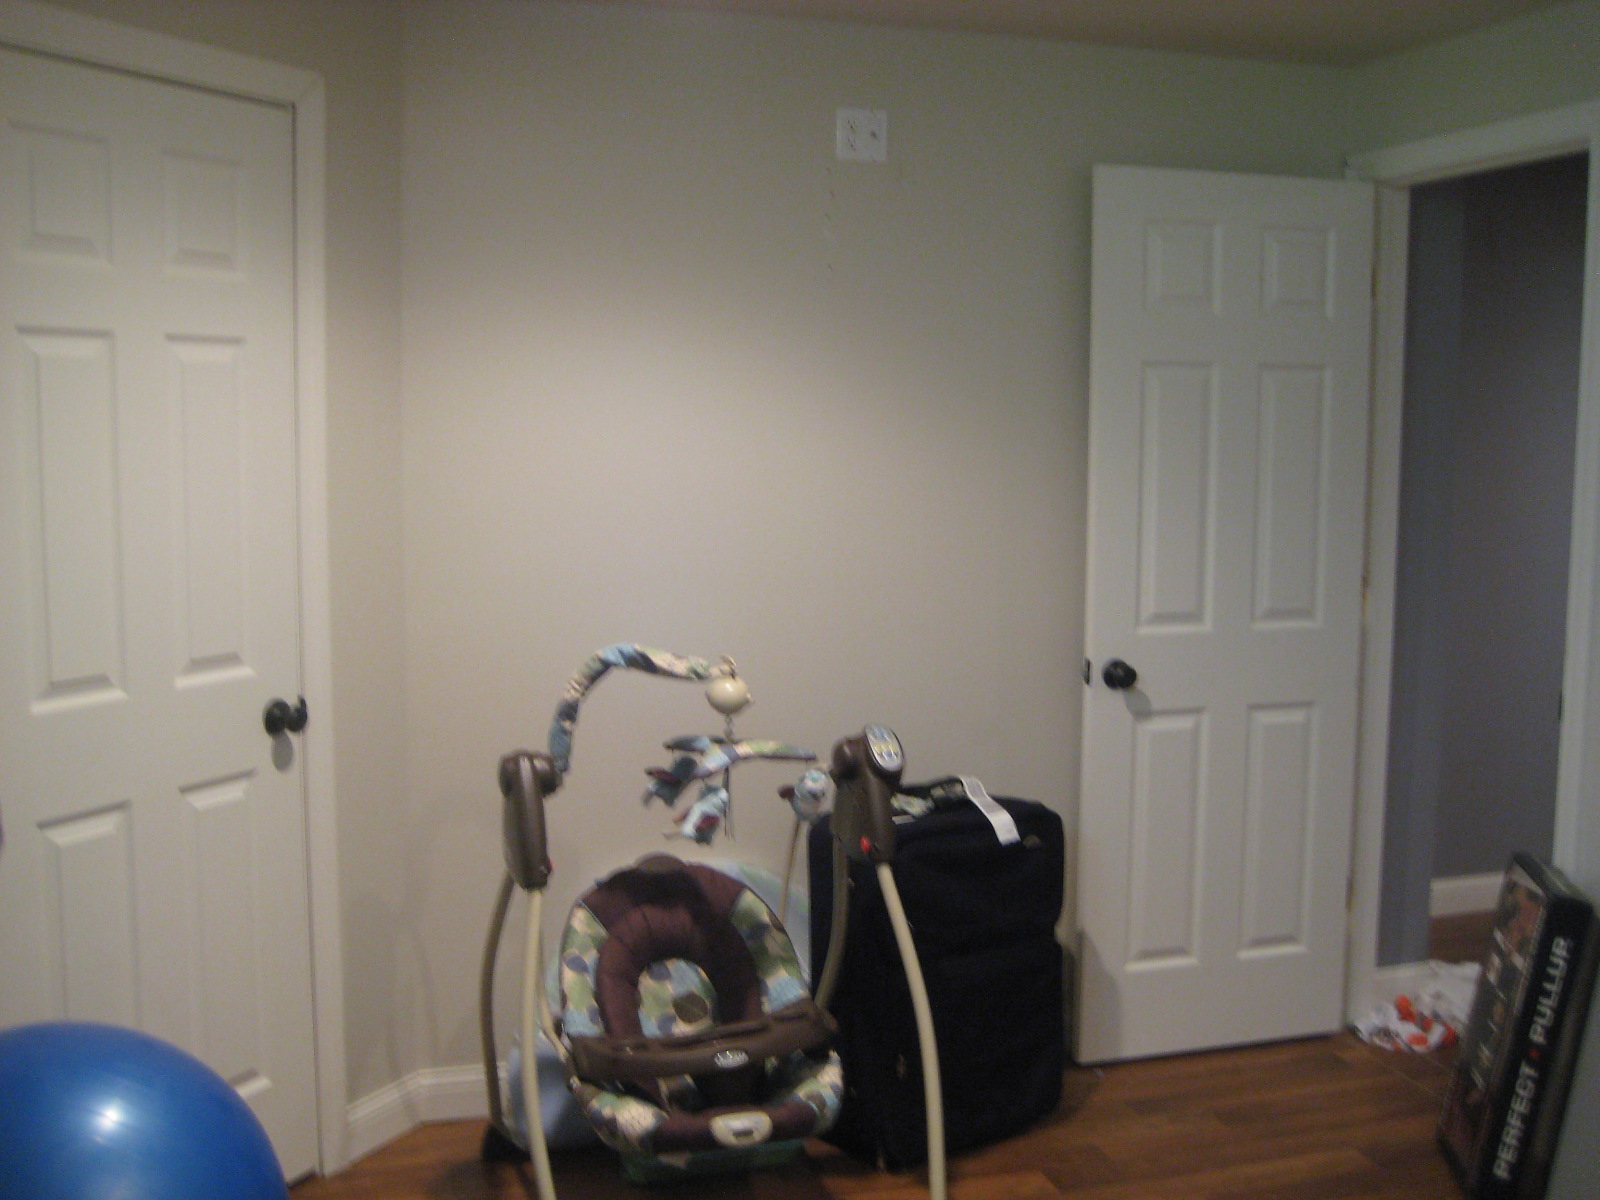
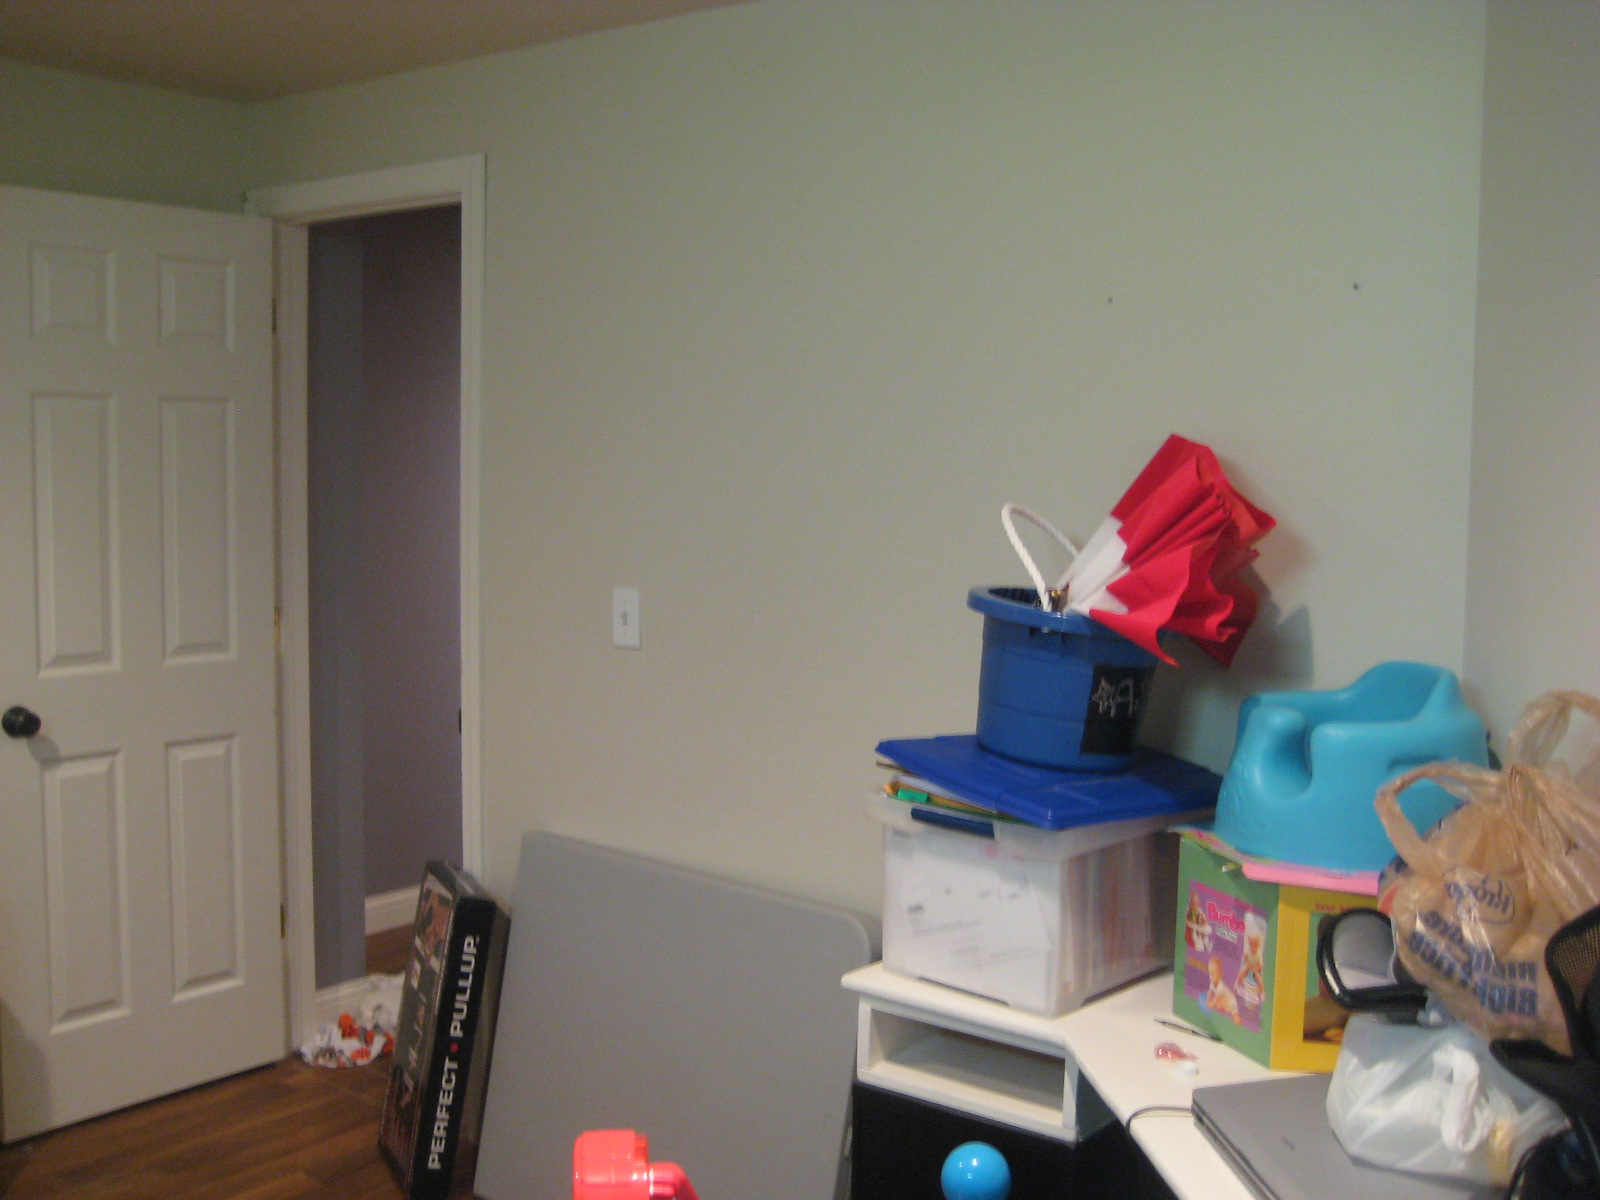
Definite work in progress. Here’s what I’m working with downstairs to give you an idea–


I am inviting you to join our linking parties going on every week starting on wednesdays at
https://www.passionatelyartistic.com/2011/07/flower-tutorial-with-linking-party-on.html
Have a fabulous week,
Maggie
https://passionatelyartistic.com
These are so cute and something I would do:)
rockpaperscissorscreate.blogspot.com
Those are so very adorable! Love them. I am glad I found your blog great inspiration.
Britney
http://www.jandmseyecandy.blogspot.com
Cute! Great message to display. I am a new follower from Tip Junkie. Blessings…
Saved By Love Creations
Love how they turned out! Mod Podge is so awesome!! The paper you chose is so pretty as well!! Great job:)