


It’s SO fun having a little girl these days…not only dressing them with the oodles of adorable clothing out there, but I can finally DECORATE for a little girl too. This year I decided to make mini Christmas trees for both of my children’s rooms. They’re both the same, but with different colored bulbs and garland. Our son’s tree is red, green, silver, and white and my little girl’s is pink, orange, teal, and green. The trees were very simple and fun, so I thought I’d make a cute little Reindeer sign for my daughter’s room next to her tree. I’m going to show you just how easy it was to make this Glittery Reindeer Girl’s Christmas decor!
And P.S. in case you haven’t seen yet…I’m giving away a Silhouette Portrait HERE.
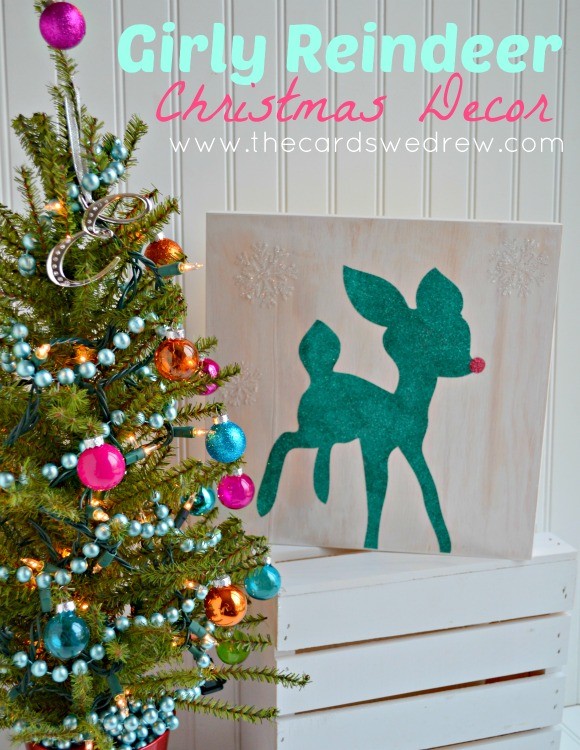
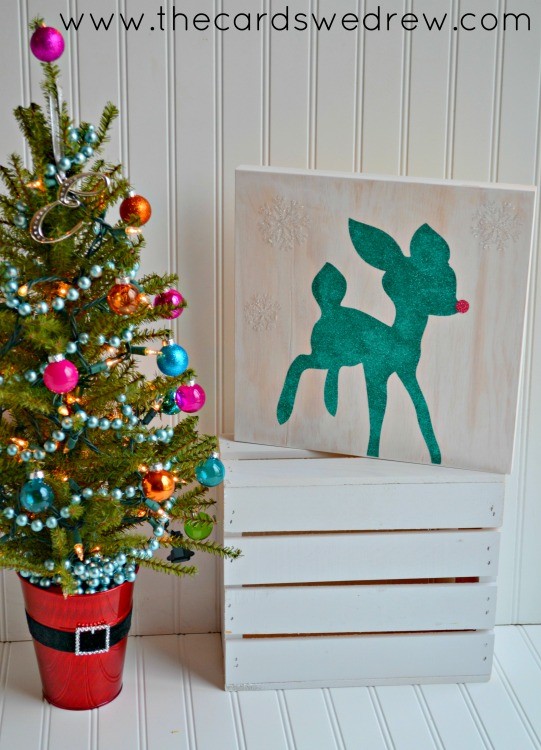
So you see the cute little tree with it’s light blue garland and pretty, girly bulbs…well, I went with that color scheme and made a glittery, girly reindeer to accompany it.
Here’s what you need:
12×12 Wood Panel (from Consumer Crafts)
White Chalk Paint and Brush
Silhouette Portrait or Cameo cutting Machine with Double Adhesive Paper
Reindeer Image (called “Baby Deer” – found in Silhouette store)
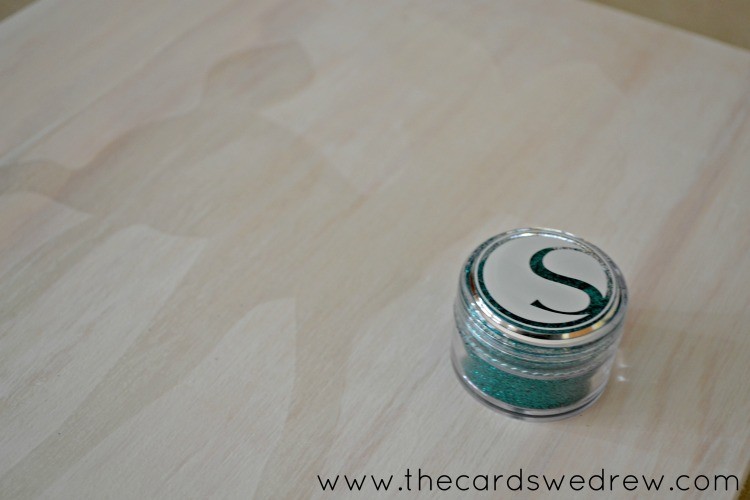
Silhouette Glitter in teal and pink and white
How to:
I started by taking my wood panel and gently painting it with white chalk paint. I didn’t want to coat the whole thing because I wanted to make it look whitewashed, so I took just a little paint and brushed back and forth the wood (going with the grain). The reason that chalk paint is better is because it dries faster and won’t coat as easily as regular craft paint…so it’s better to use to achieve that whitewashed look. If you don’t like that look, just use regular white paint.
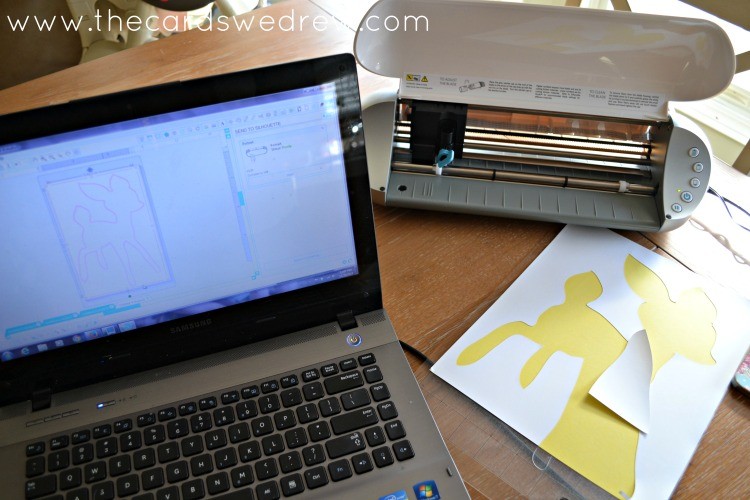
After I painted it, I went into my Silhouette store and used the Reindeer Image I downloaded last year (called Baby Deer) to make my cute little Reindeer Coasters. I made it the size I wanted to fit my board and then I cut it on Double Sided Adhesive Paper with a cutting mat.
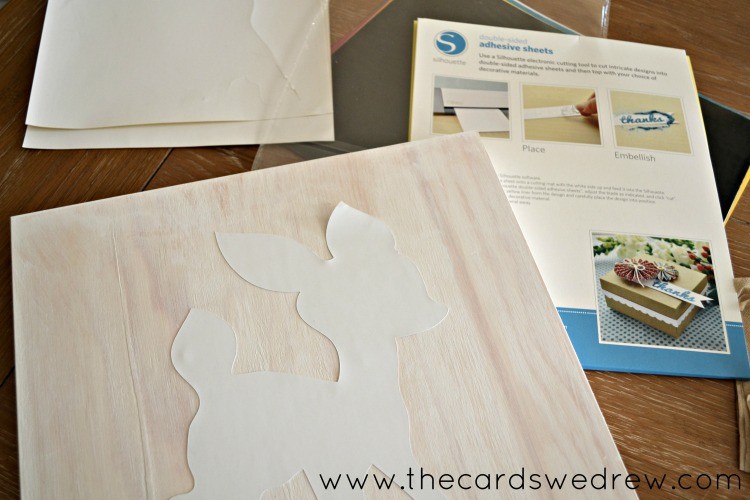
I pulled the bottom layer off, placed it on my board, and then pulled the top layer off to reveal the adhesive. It’s clear, so it’s hard to see.
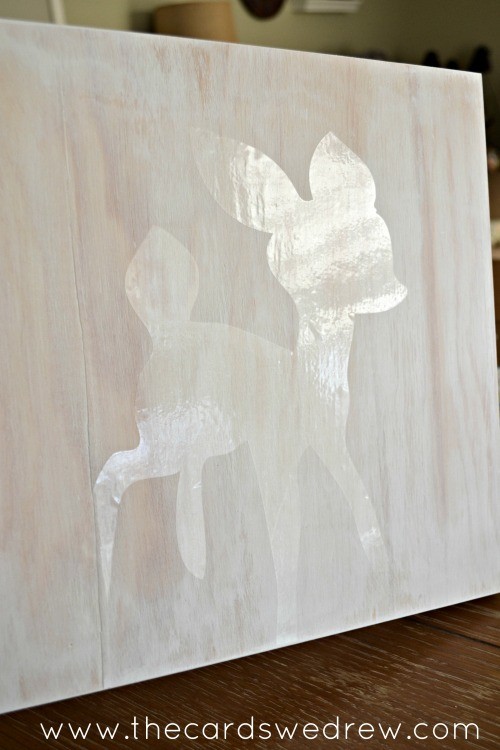
You can see that I still left a lot of the woodgrain showing on the sign. Once you have your adhesive carefully positioned, then you want to add your glitter. Silhouette makes great fine glitter in tons of different colors for this very purpose. So I started using the teal color.
Gently spread the glitter over your adhesive and use your finger to help spread it around a little.
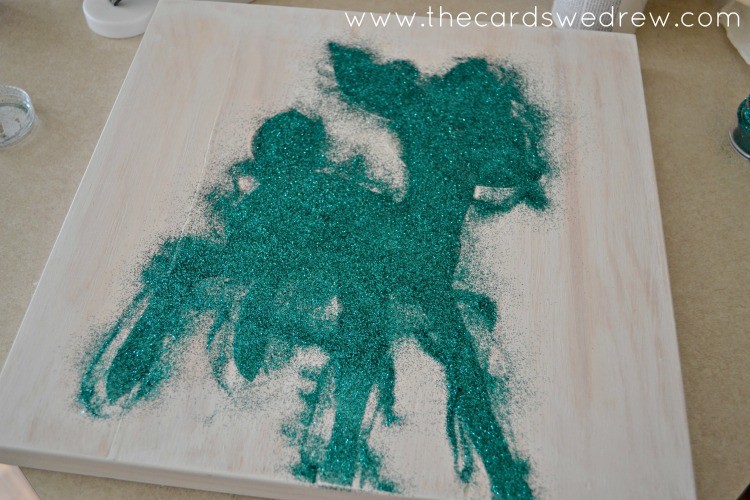
Once covered, gently tap off into a sink or trash can and touch up any areas that are sparse. Finally, I took a little round circle of the adhesive paper and cut out a nose with my Silhouette Portrait and used pink glitter on it to create a mini rudolph. It only seemed fitting to have a baby reindeer for my baby girl’s room!
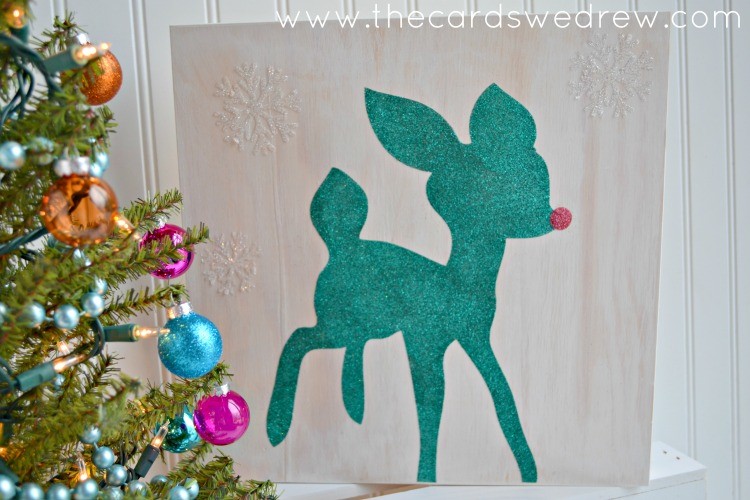
After I was done, I decided it needed something else, so I found a few snowflake designs I liked and repeated the same process on them using white glitter. They are harder to see, but they’re there.
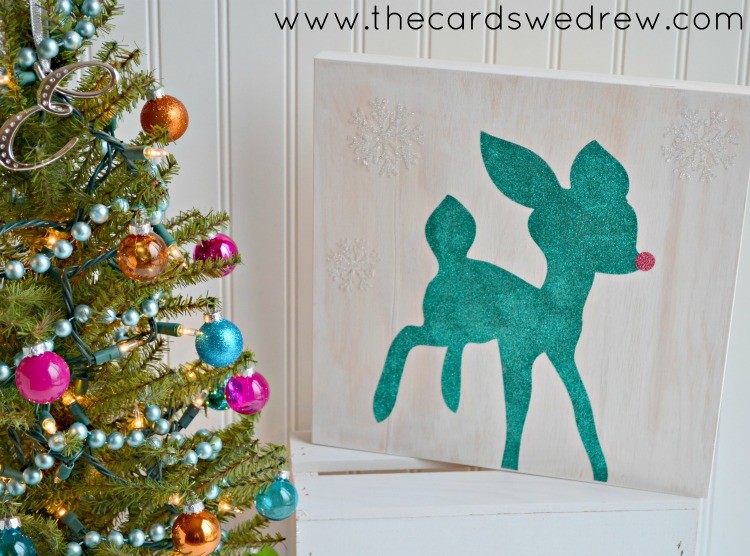
 I love how it all turned out. My kids LOVE their trees and I love that I can finally have a place to decorate outside the box with my baby girl’s Christmas decorations. The teal and pink and orange all go with her bedroom…so I can decorate for Christmas, but still keep in theme with her NURSERY. If you don’t remember her nursery check it out below….

And last year I used this same little deer to create Rudolph coasters!


So much Beautiful and easy.Looks wonderful..Thnaks
Oh my gosh! I want one of those machines!!!! Of course the kids would never see me, again! 😉