


I saw this great idea from Living with Lindsay a few months ago and sent it off to my dad for assistance. Being the perfectionist my dad is, he looked over how she originally did it and helped me make a few modifications to hopefully make it even better. Let’s see how it went, shall we??


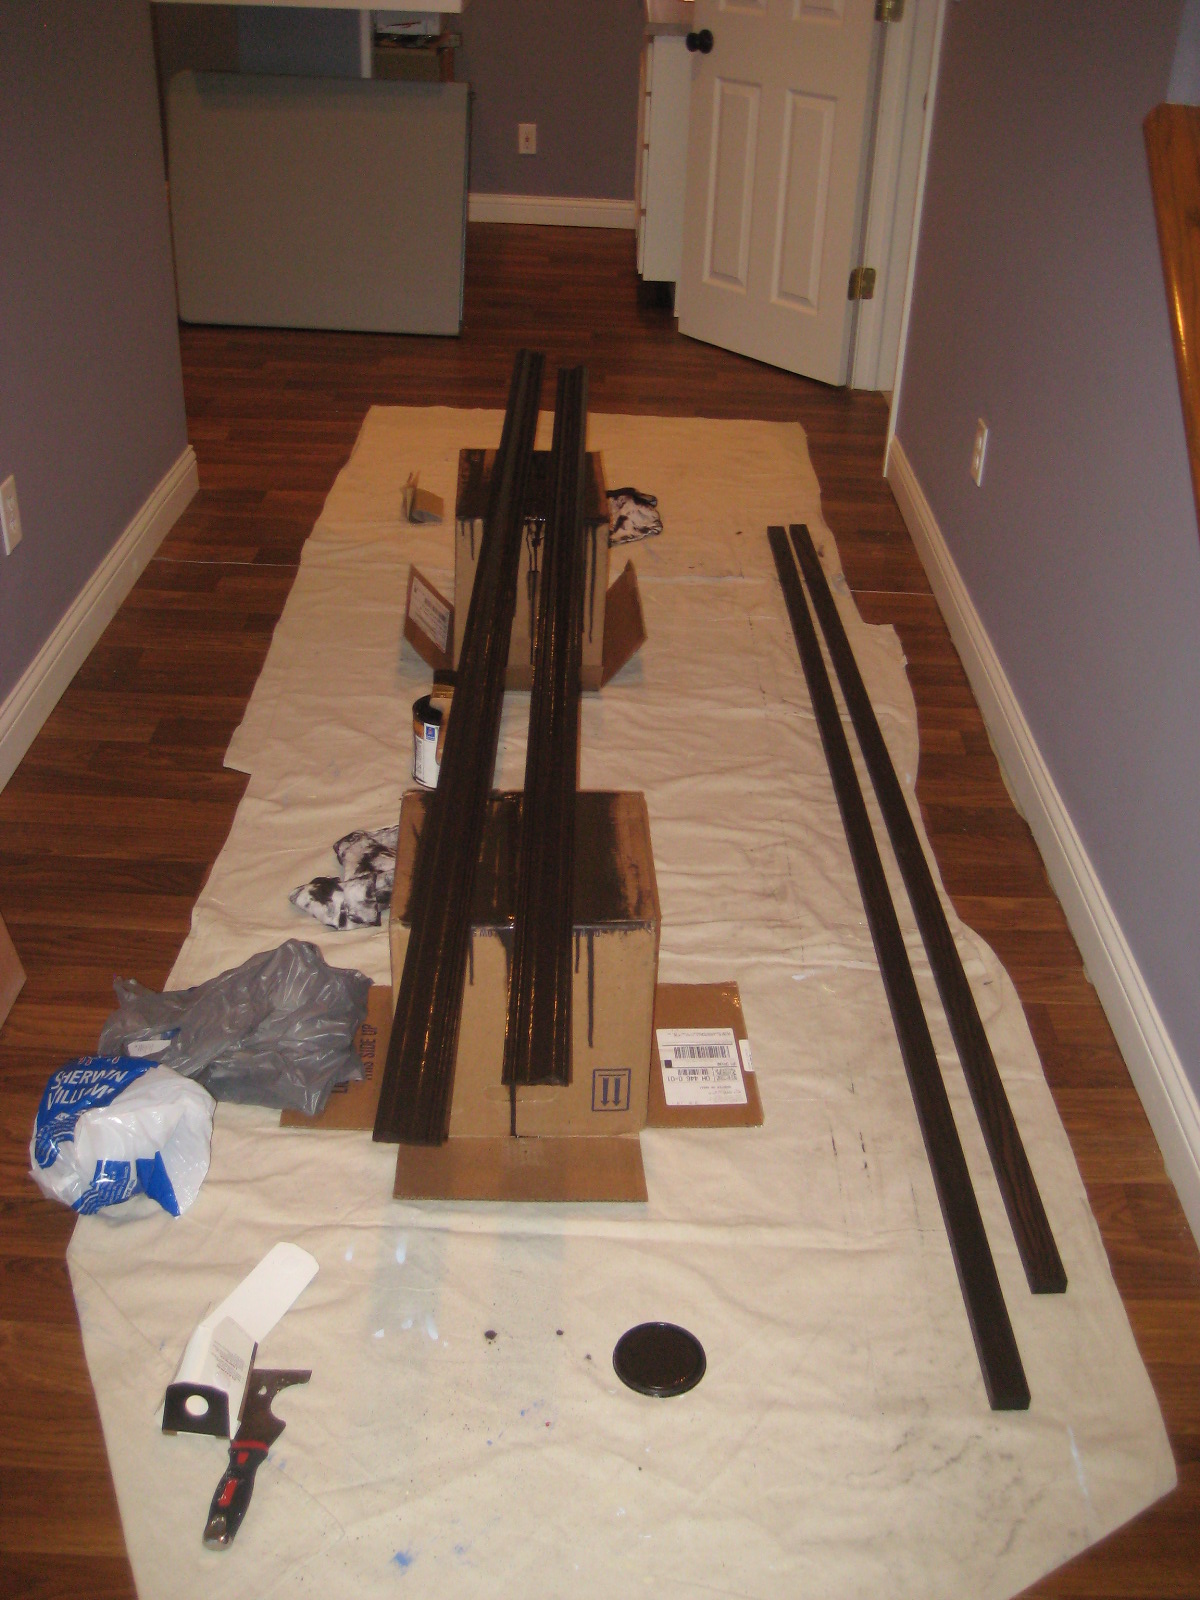
From there we had to wait a few weeks til we found some time to pick this project back up. This weekend my parents came down early Saturday morning and we got started once again. I picked up 2.5 yards worth of fabric from JoAnn’s. It was $35.99/yard, but it was 50% off. I also bought 2 yards worth of upholstery fabric batting. The total was $63. So I spent $75 at Lowe’s, $63 at JoAnn’s, and $15 at Sherwin Williams.
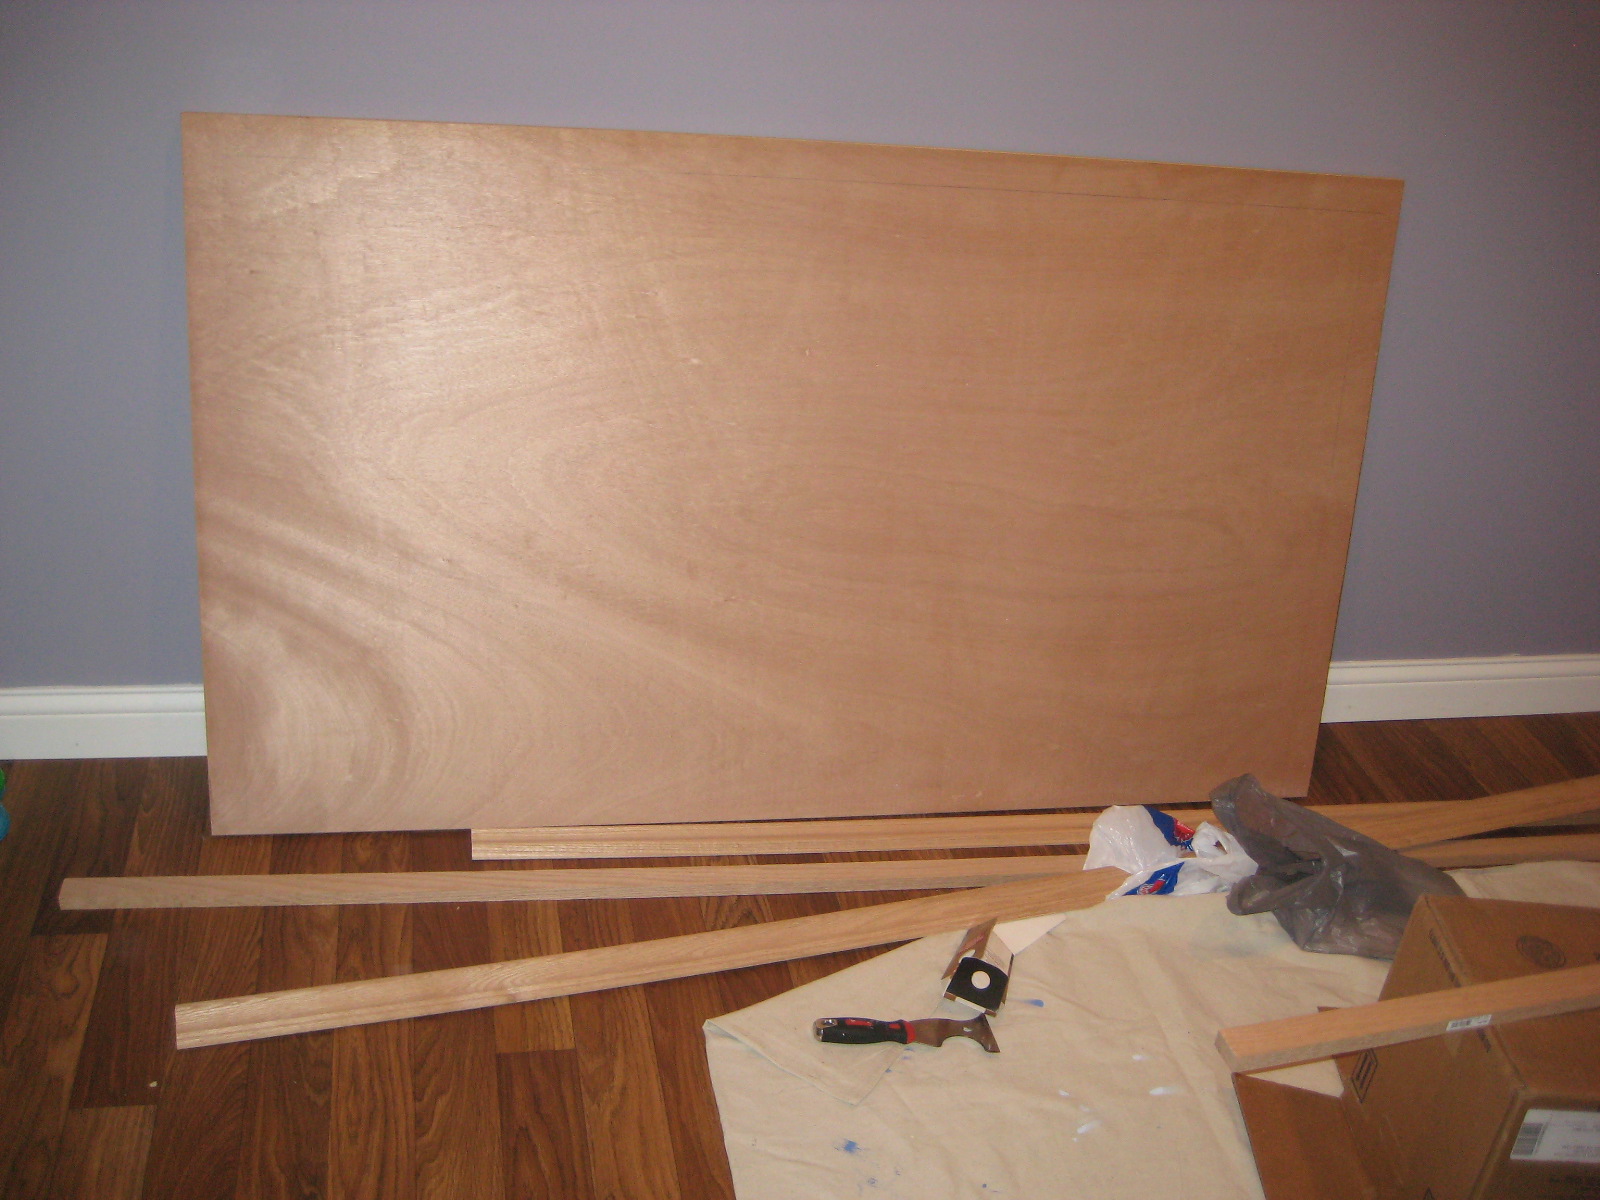
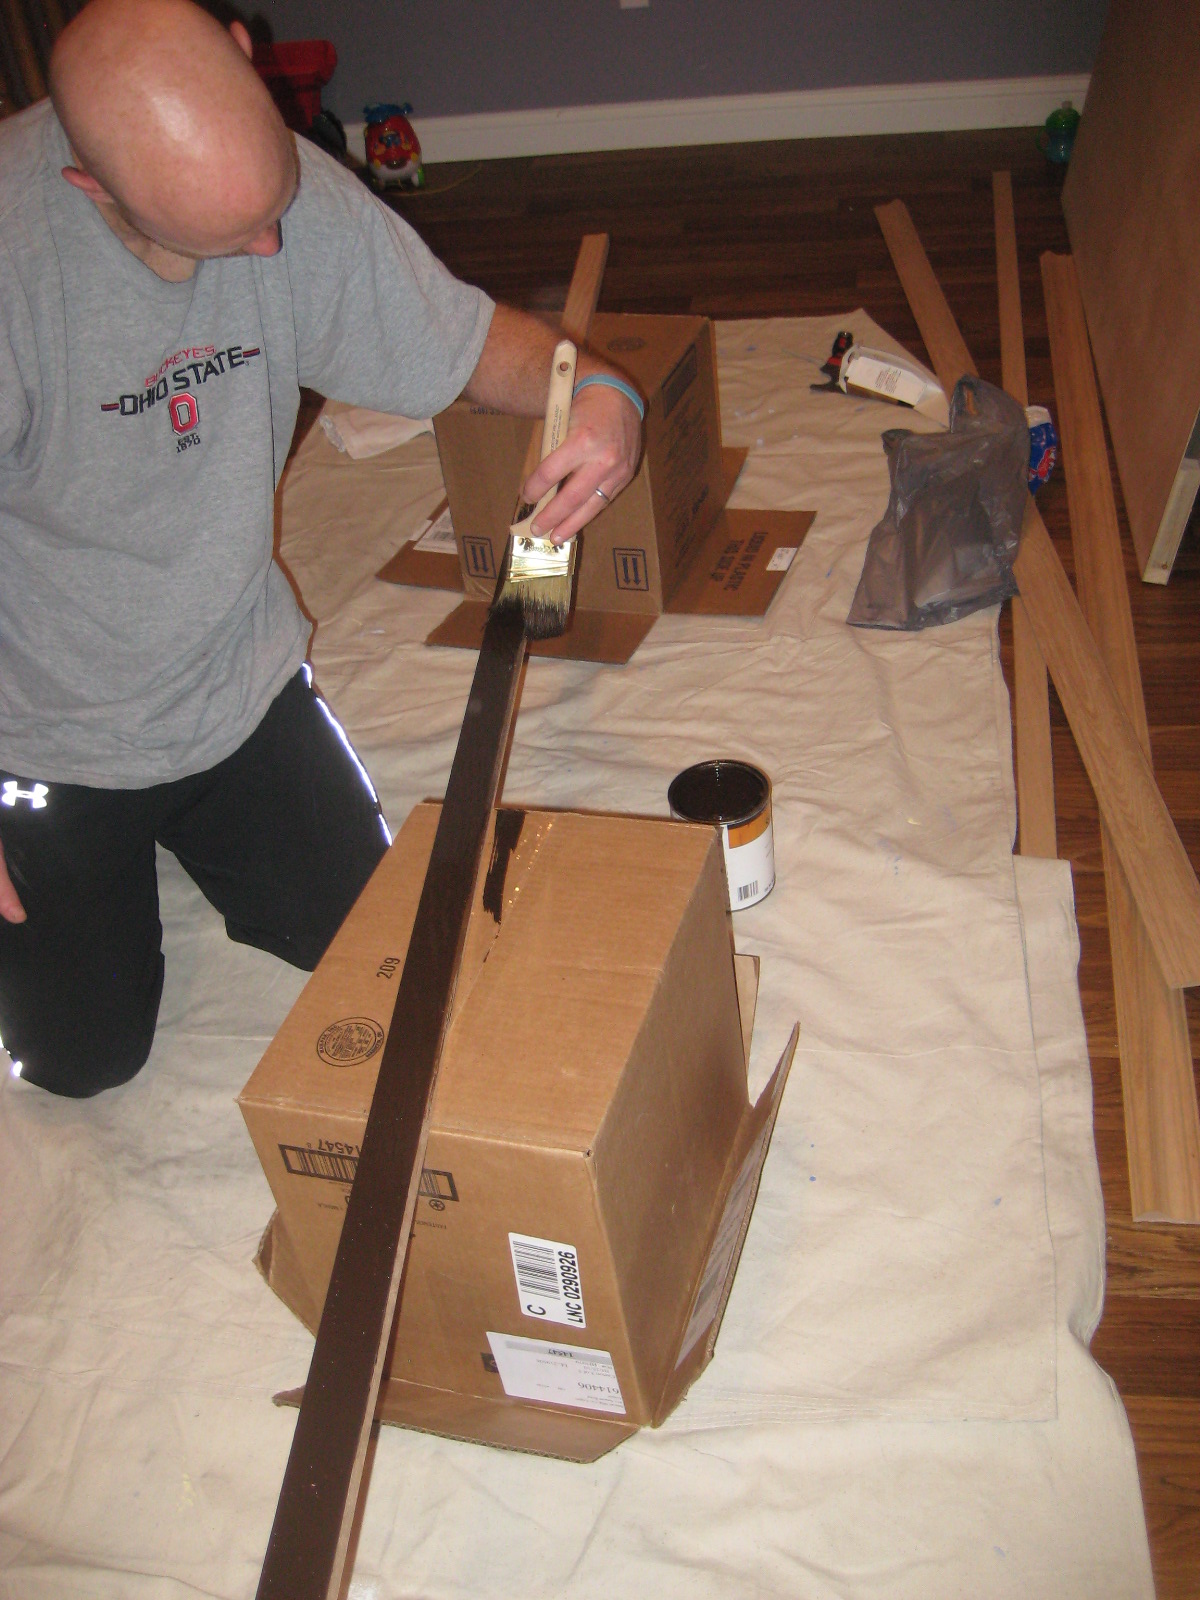
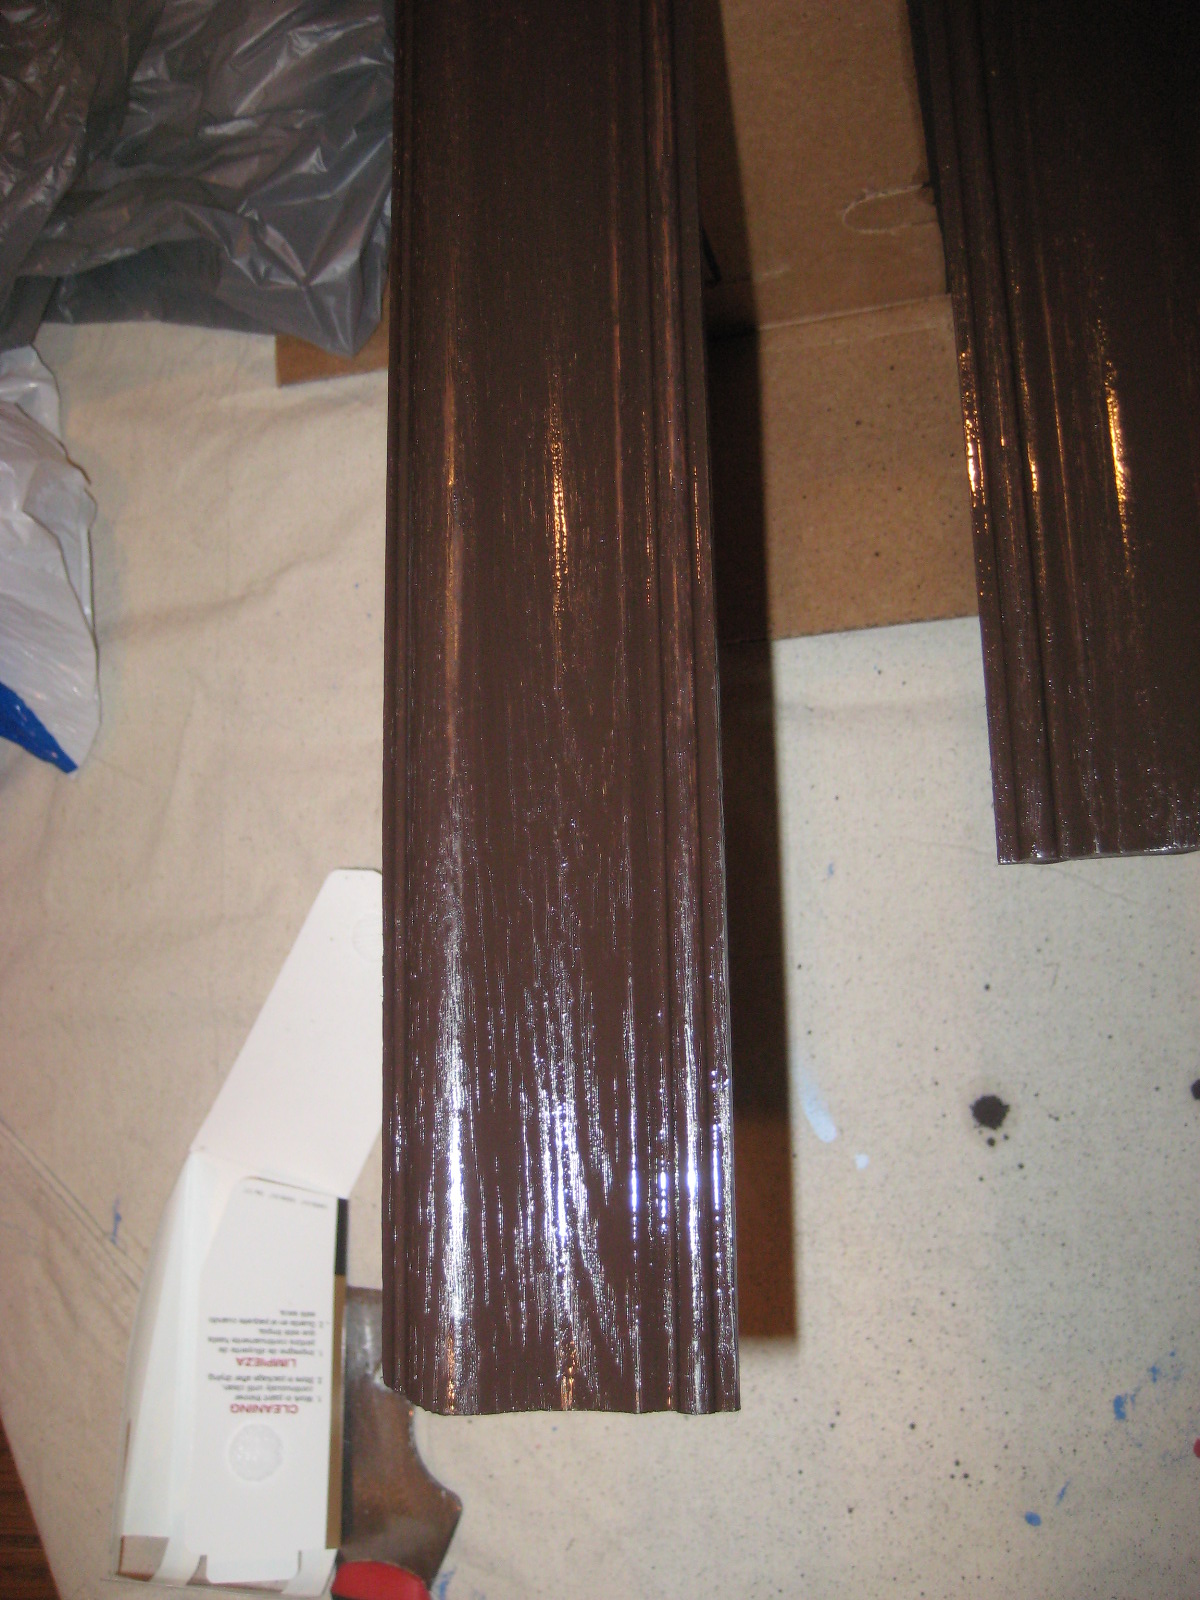
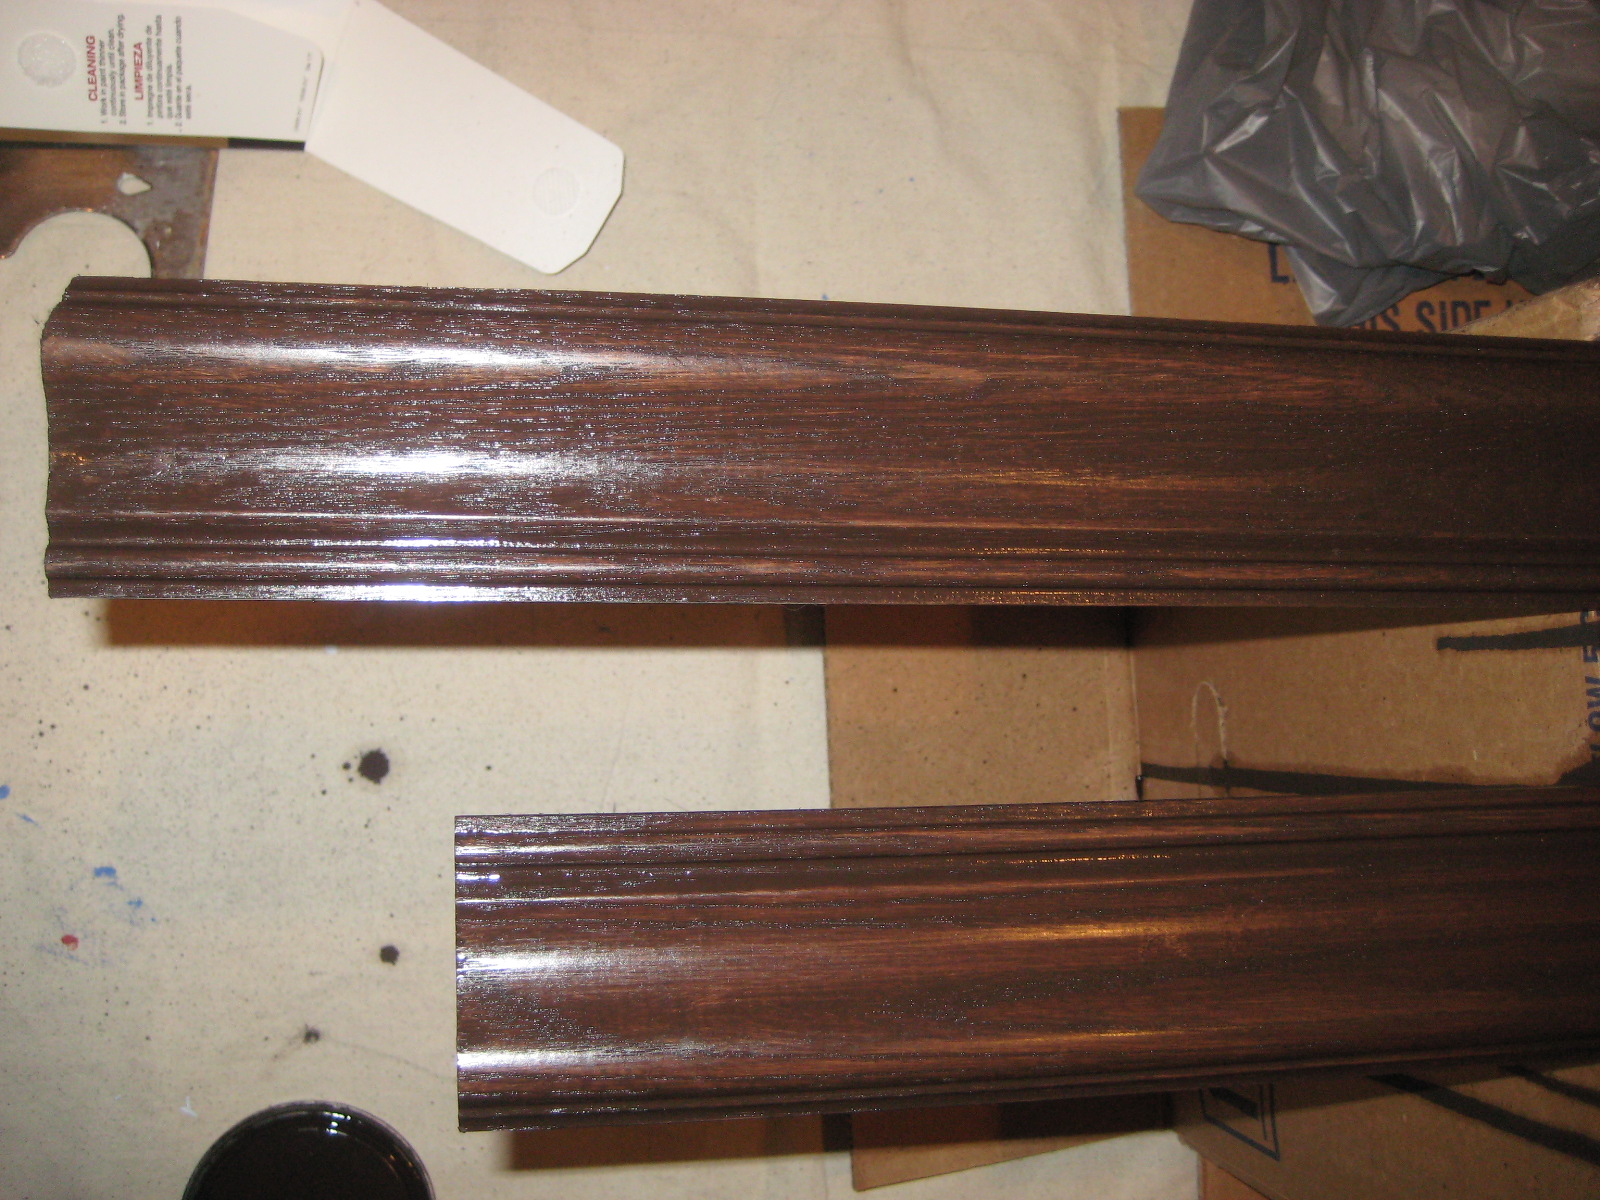
My dad applied two coats of varnish to the molding. We then stapled the batting to the door. Notice that we left room on the edges so that the batting didn’t create any issues with the crown molding sitting flush to the door. We stapled it on and cut off the excess. We then used the excess to build up the center of the headboard a bit more.
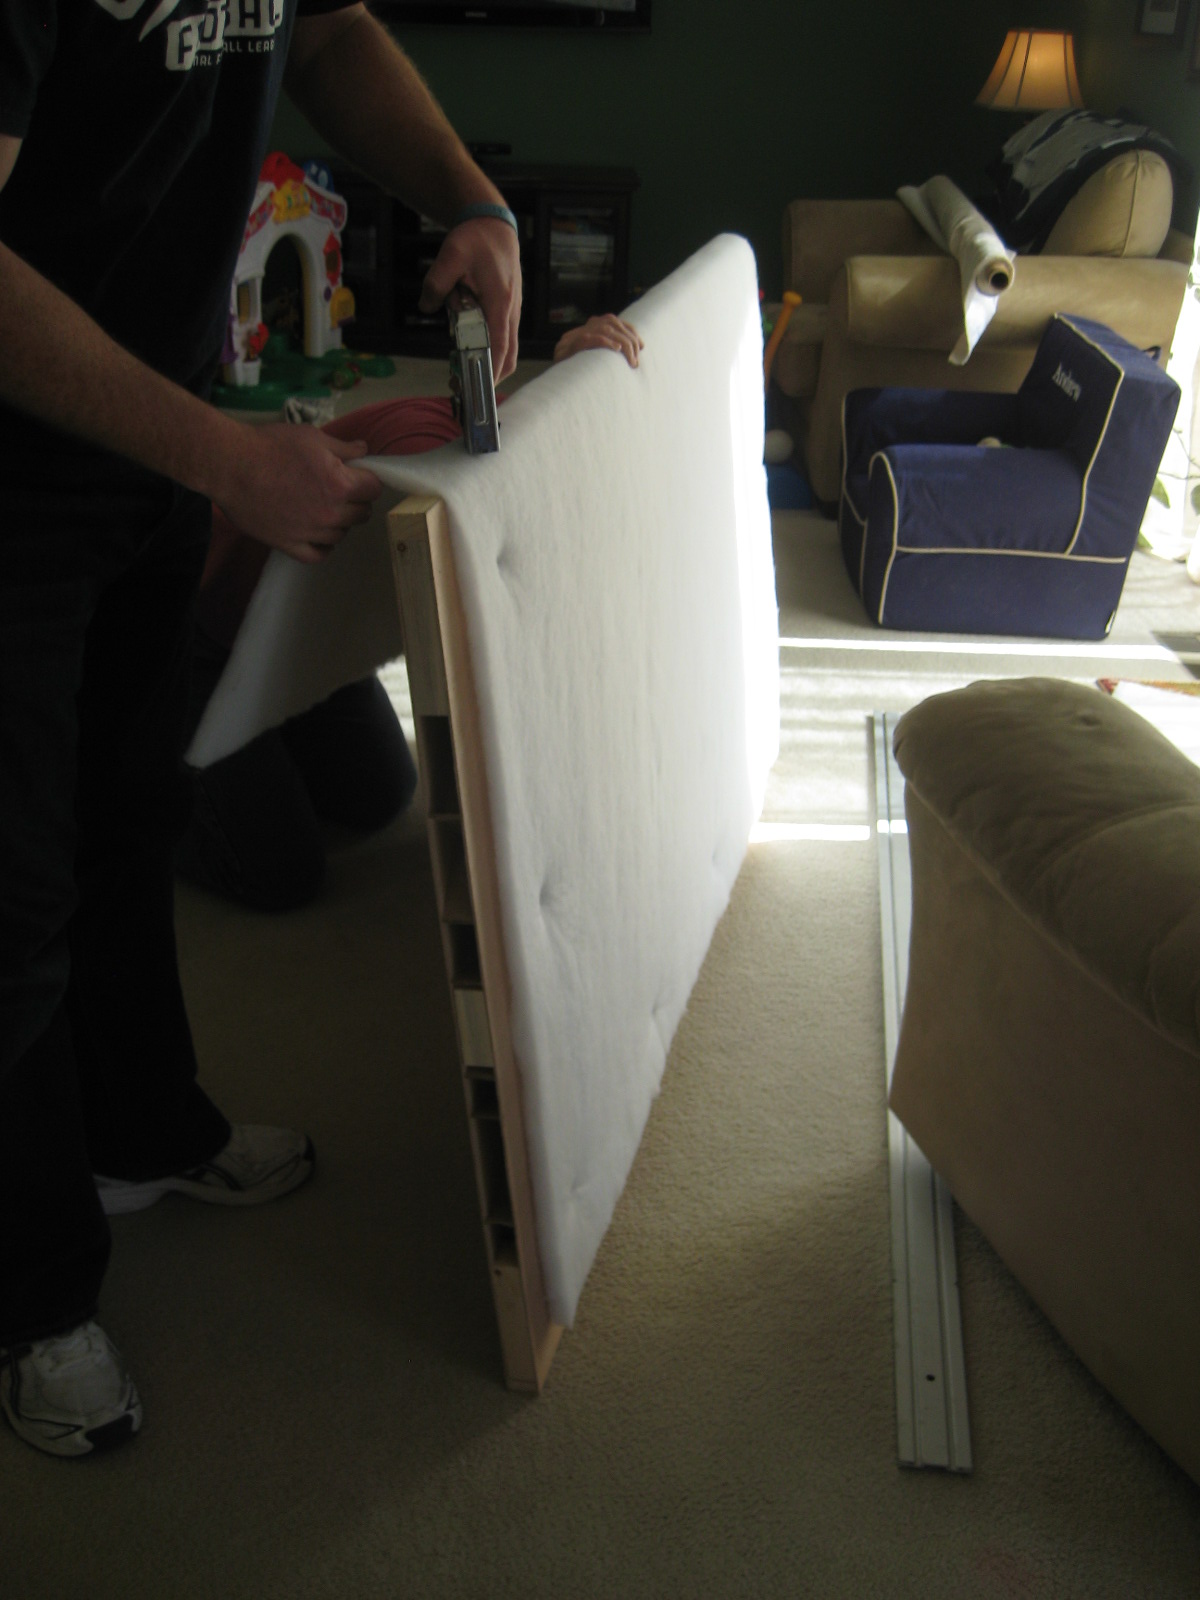

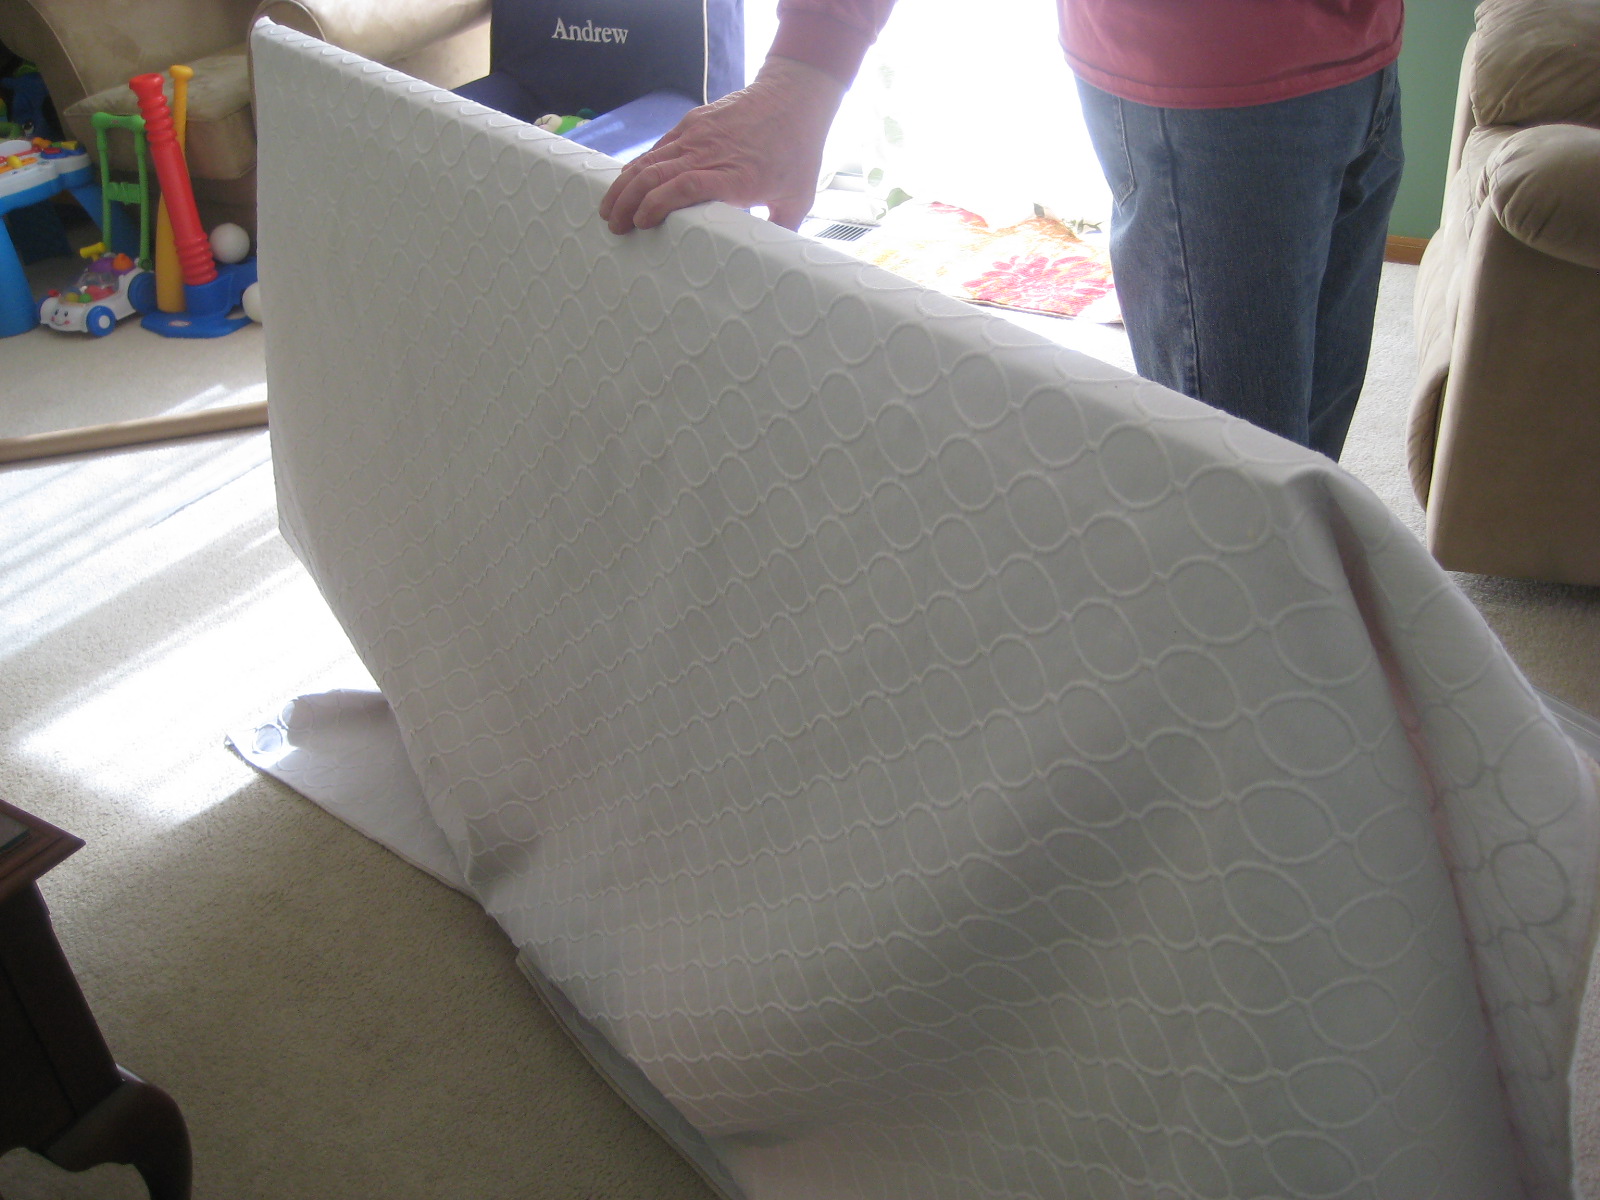
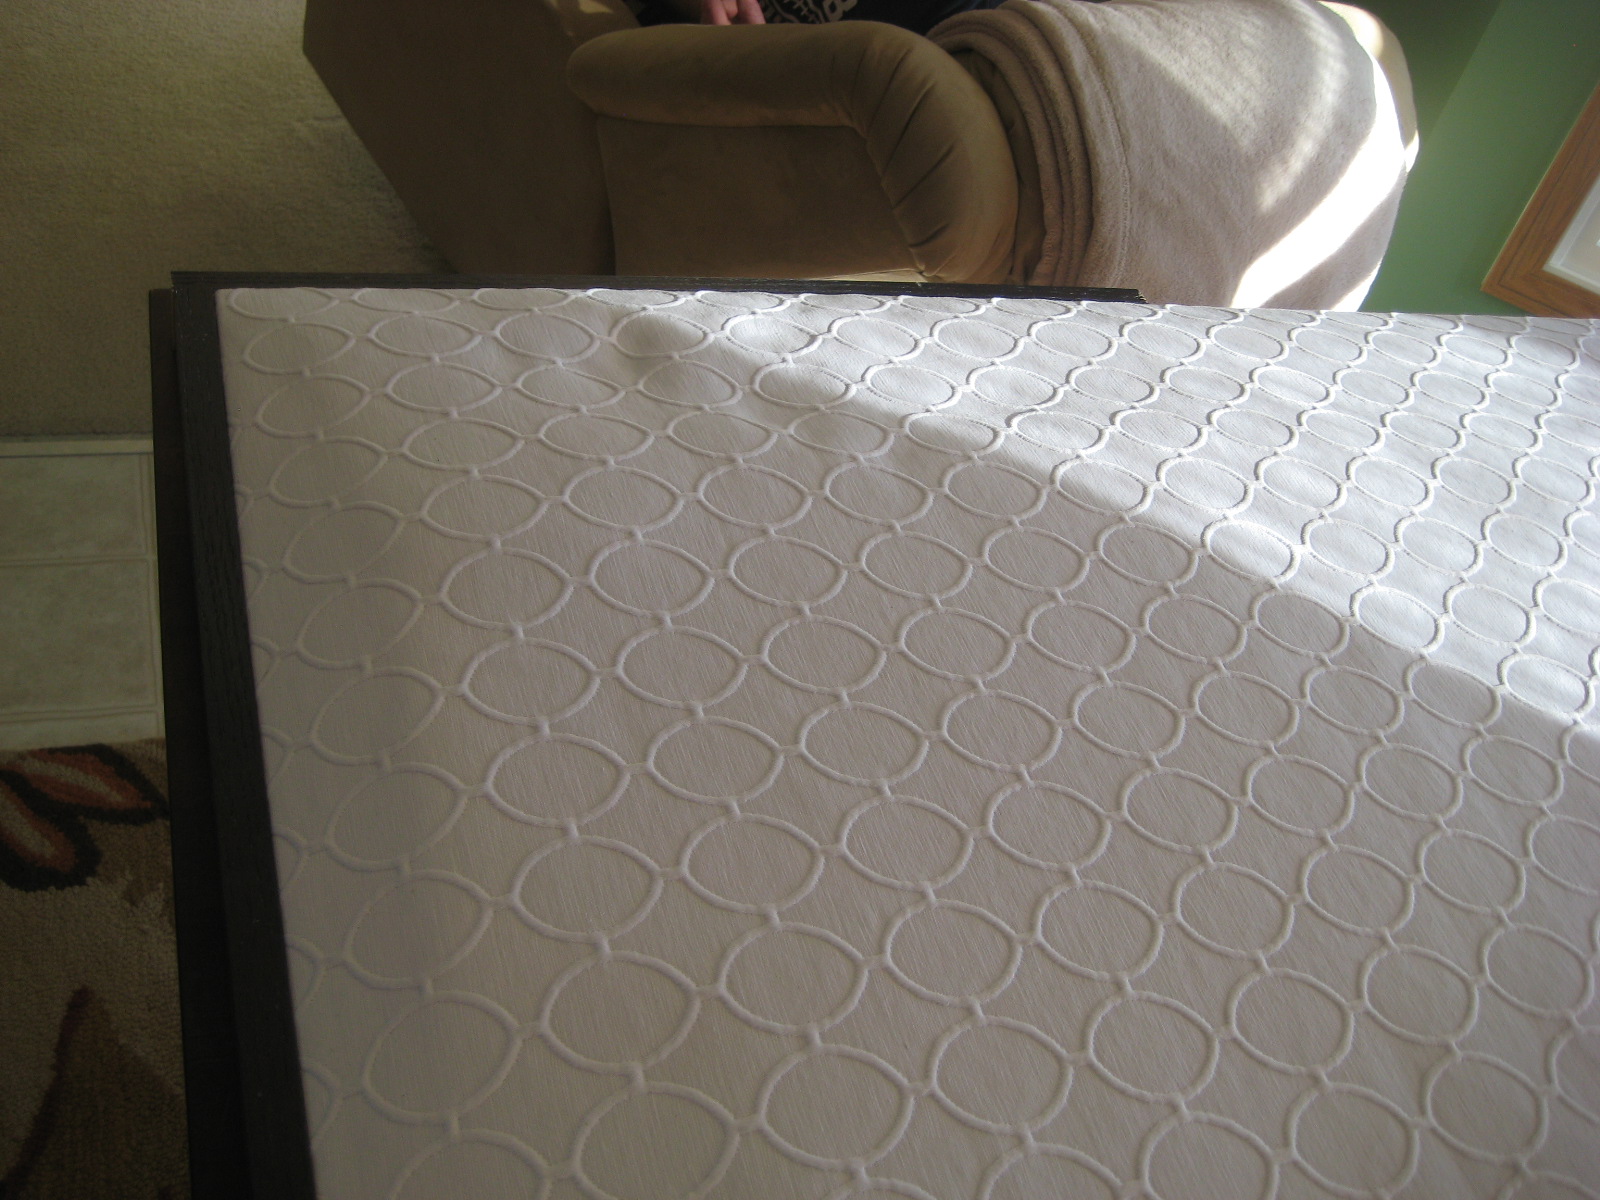
We then took the white fabric and covered it along all sides of the door and stapled it across the back of the headboard (the back won’t be seen anyways, so we didn’t take too much time making it look nice).


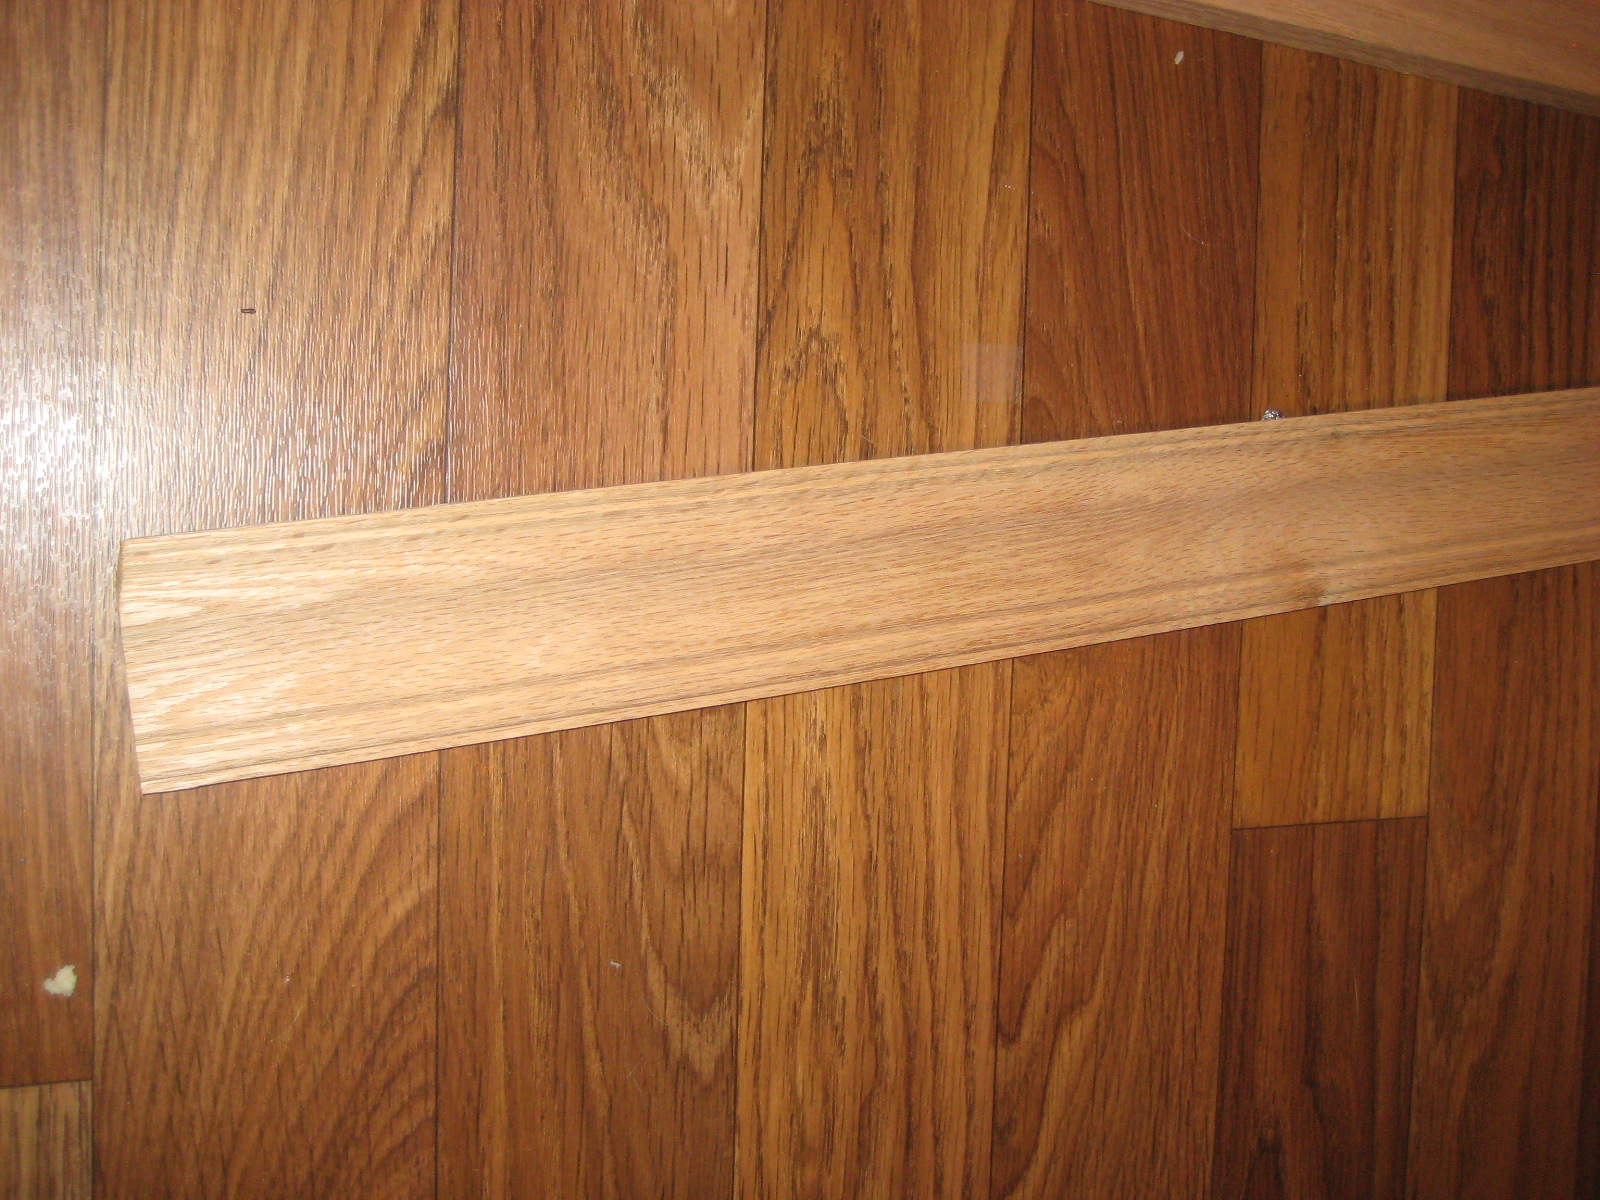
Here’s where the non-decorative molding is being applied to the sides of the door.
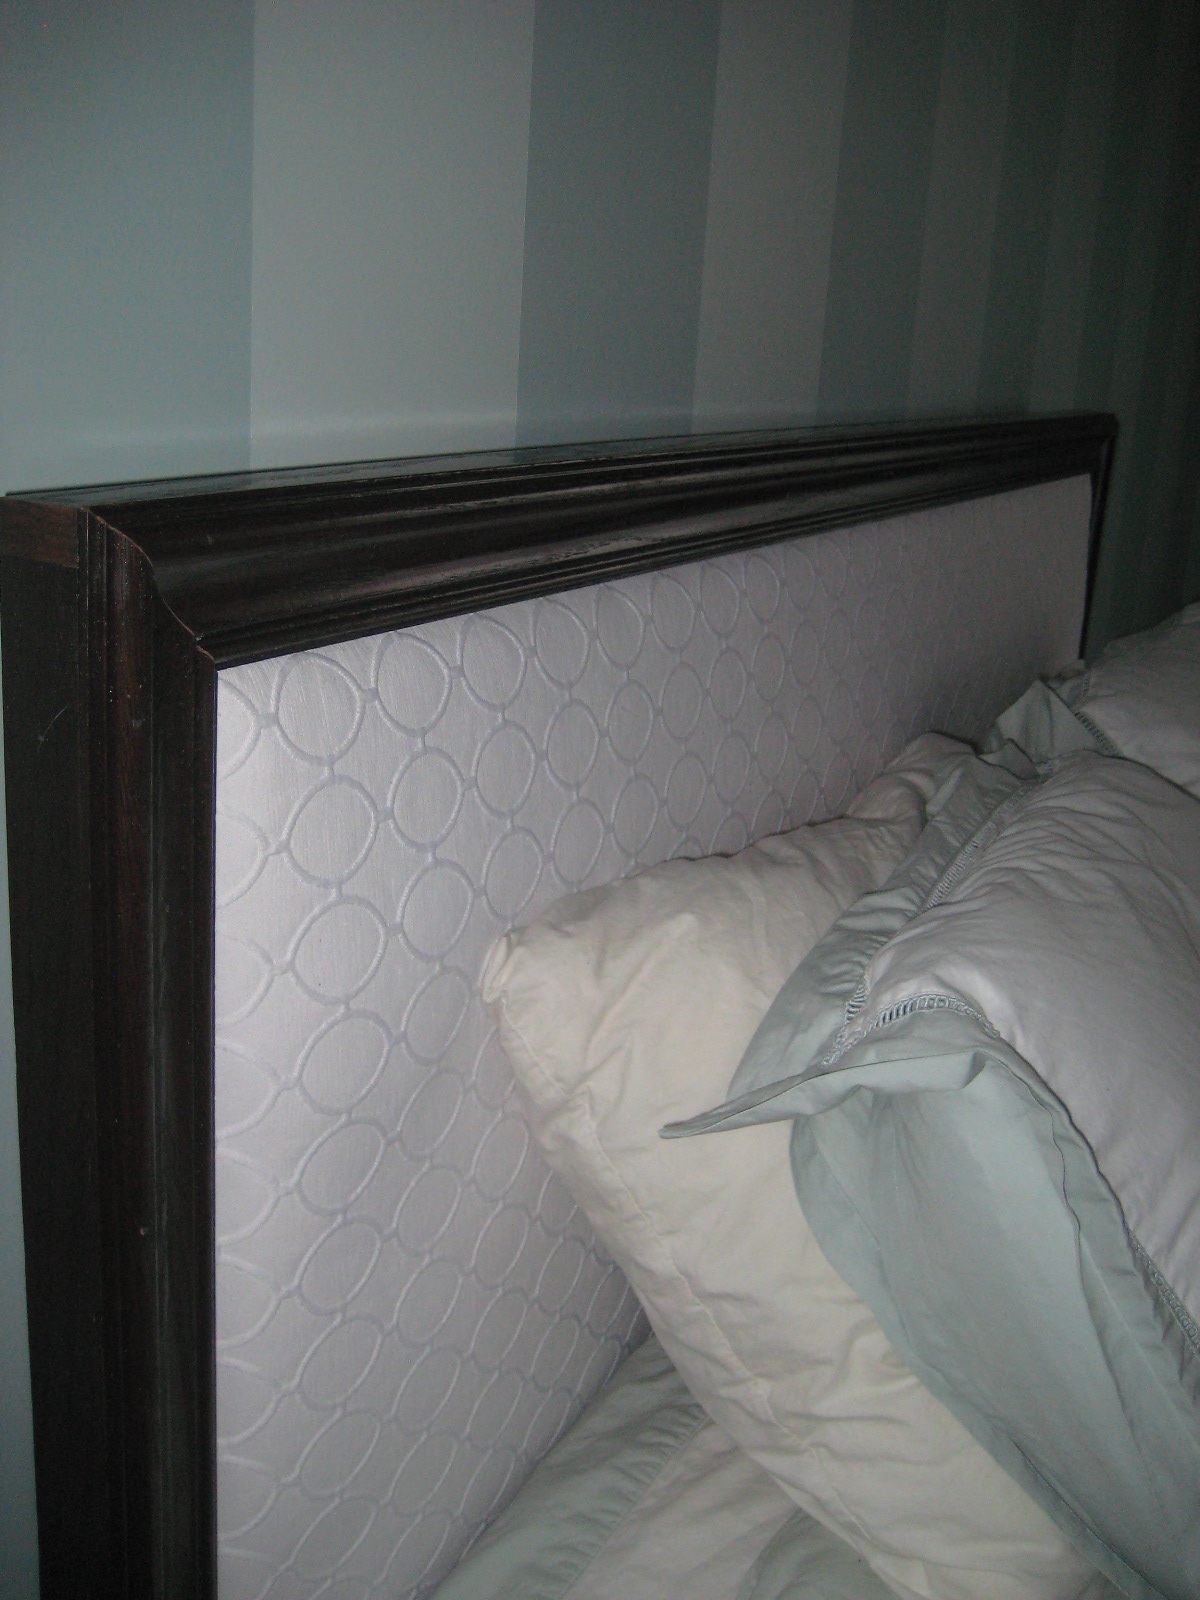
See how that worked? This way when you look at the headboard, there are no “raw” sides to it in view.

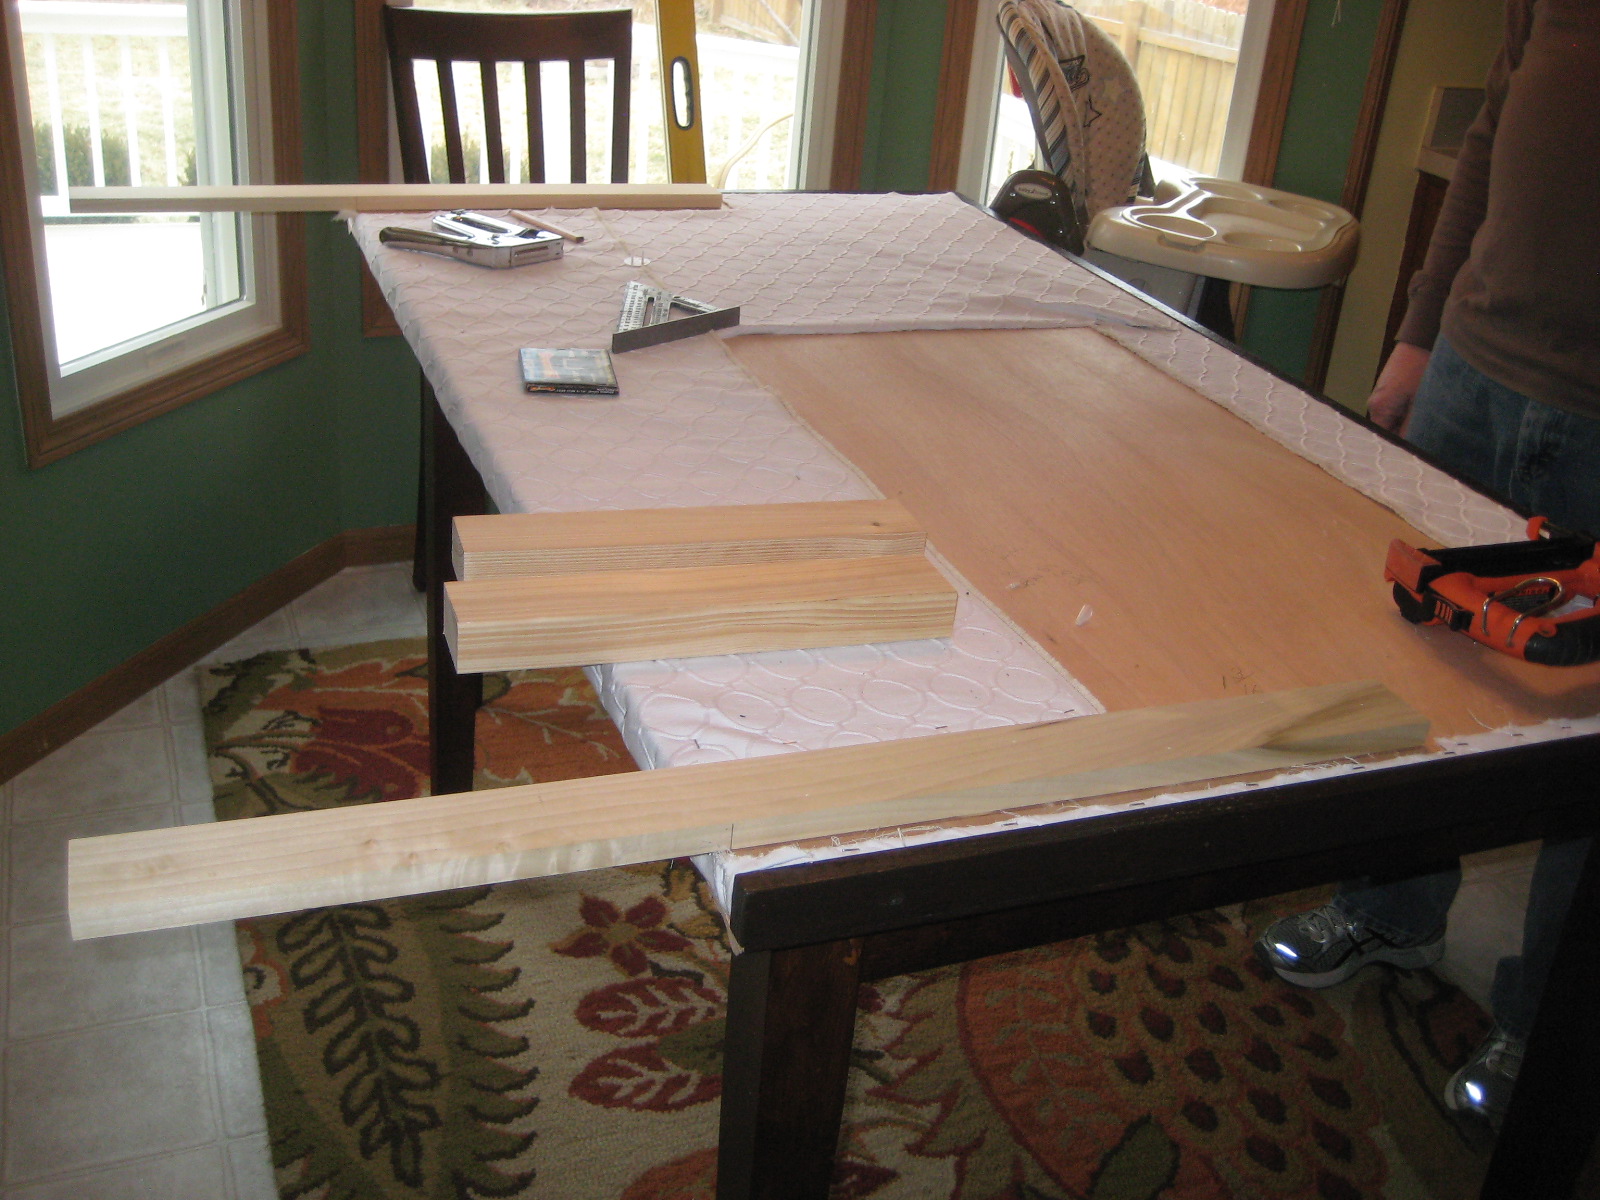
We then measured and nailed down the decorative molding to cover the front of the headboard and give it a nice finished look.
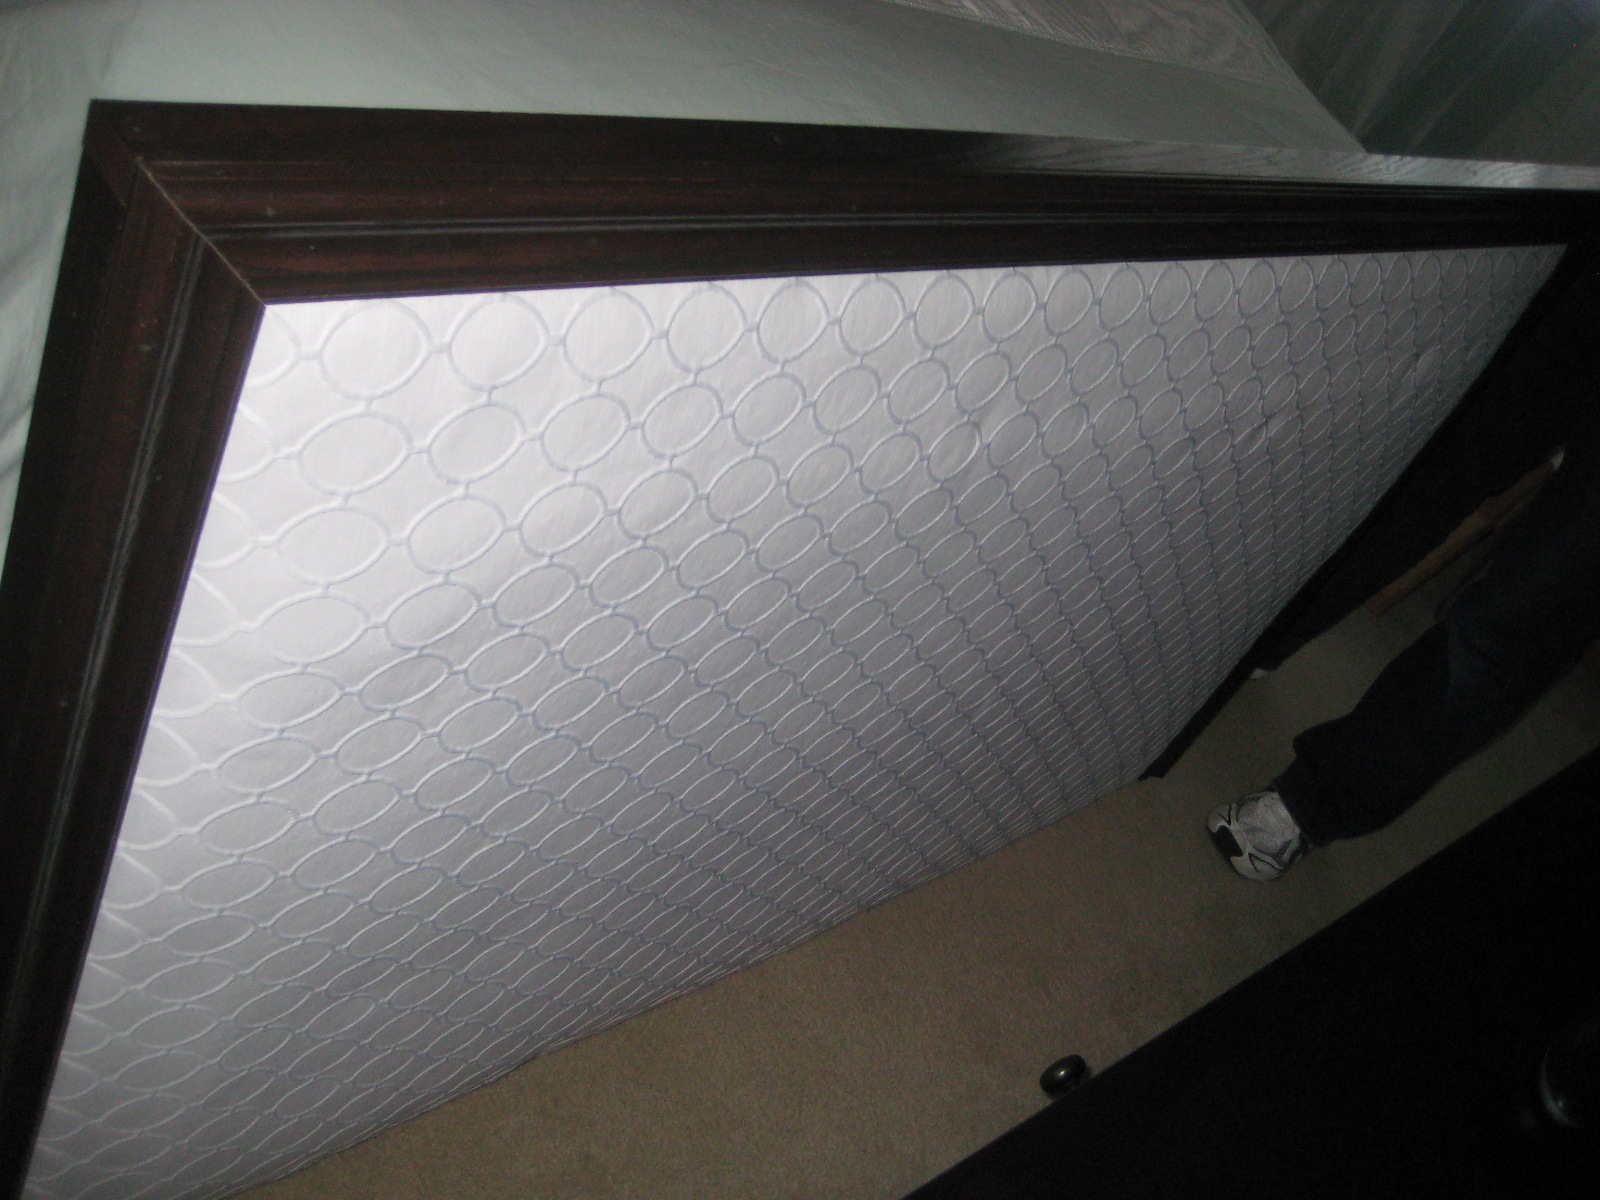
Here’s the finished product before we hung it or anything. Notice in the upper left corner of the picture how the top and sides of the headboard are covered. The non-decorative molding did this and then the decorative molding was laid over top and flush to it to cover the front of the headboard. I know this sounds repetitive, but I’m having a hard time explaining it 🙂
We waited 24 hours for the vanish to get less tacky, then we got to work on how to fix the headboard to the bed (we didn’t want it on the wall). We took scrap wood from our garage, measured how high we wanted the headboard, then cut it accordingly. My dad took the cut wood and used construction glue to first glue it down, then nail it afterwards. Because we used a hollow core door, we were concerned just nailing it wouldn’t hold.
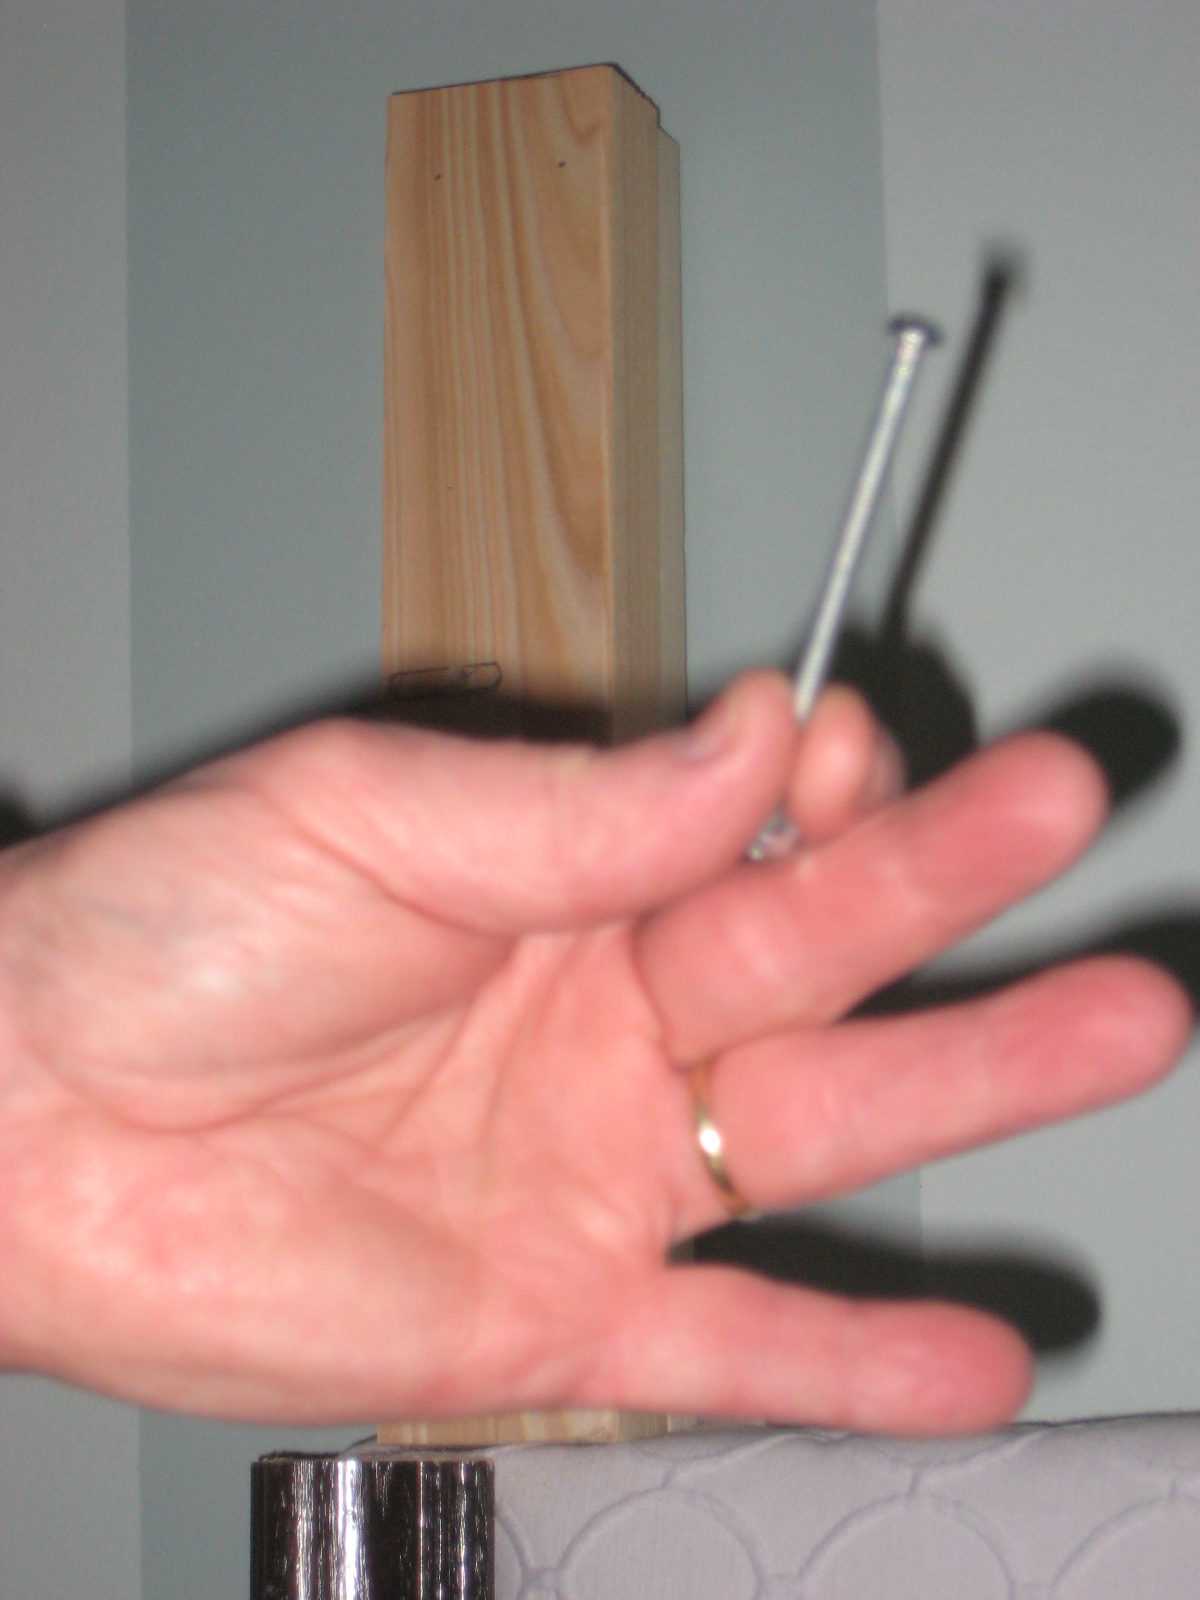
My dad measured where the holding in the bed frame were and used these giant screws to fix it to the bed frame.

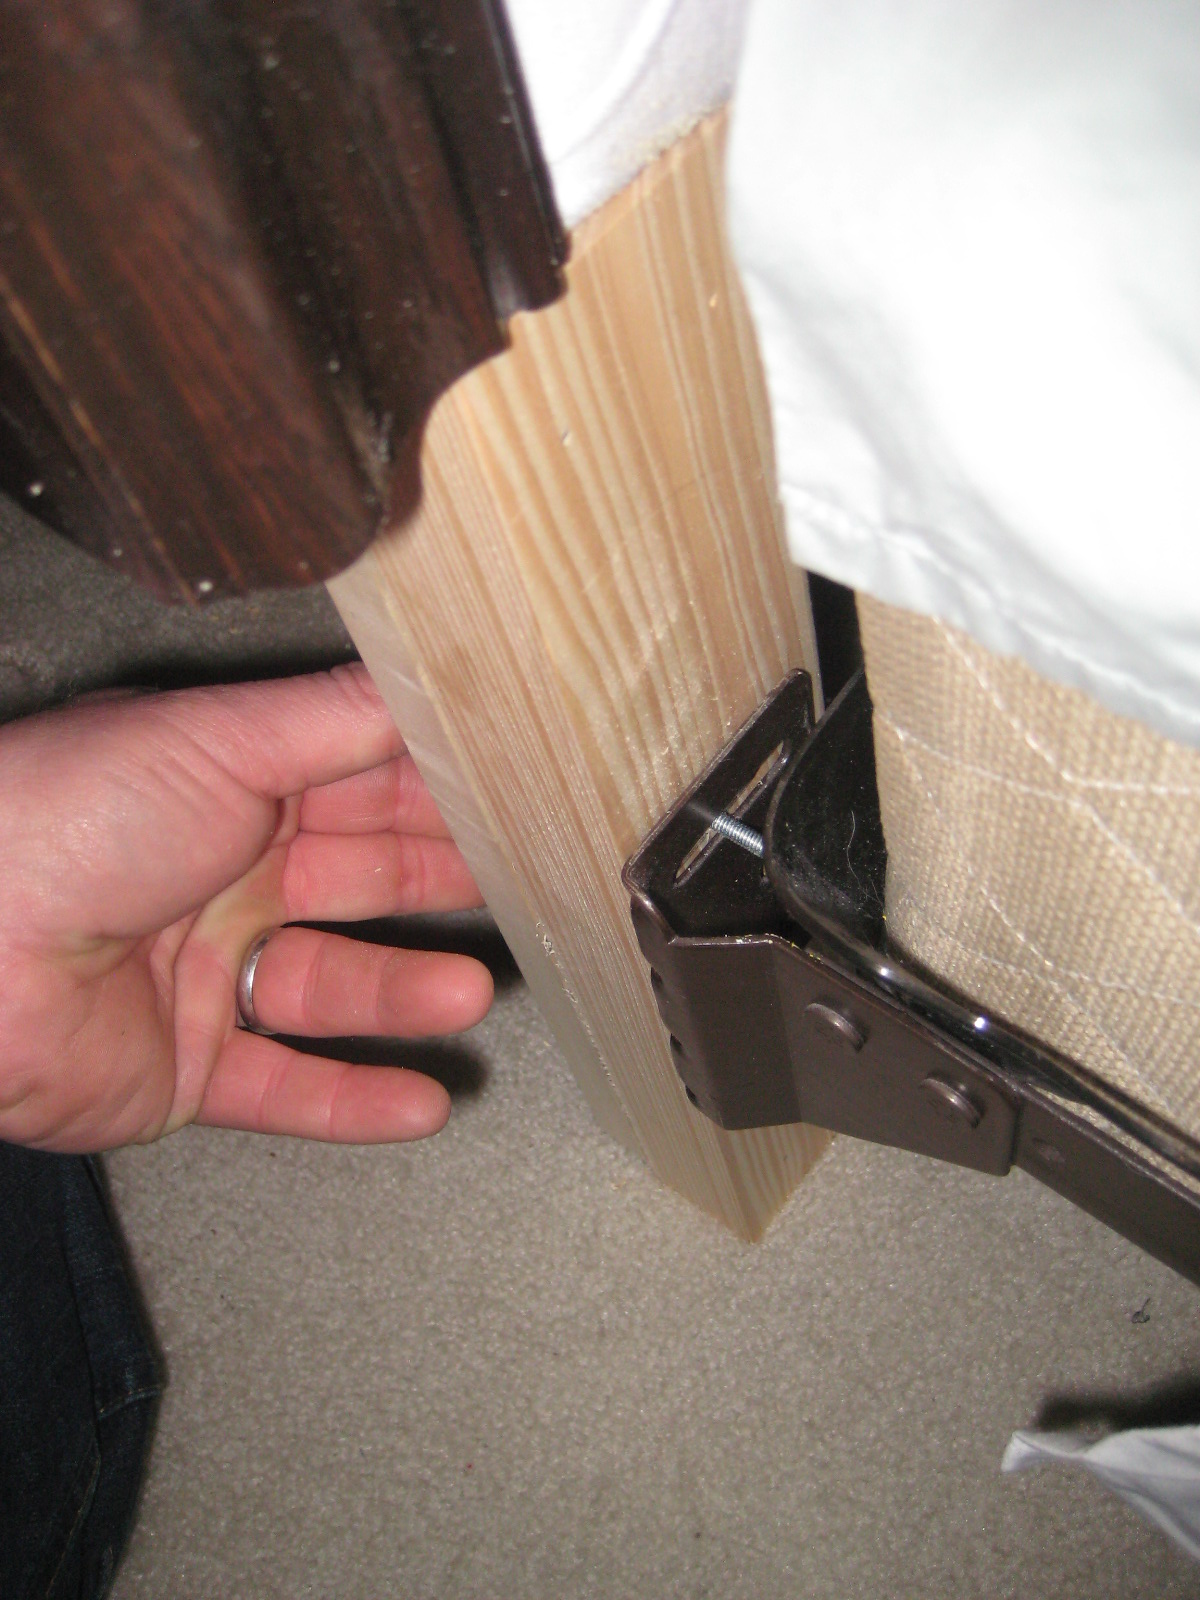
Here’s what the bottom of the headboard looks like being fixed onto the bed frame. If we were really picky we could have stained these pieces too, but what’s the point? No one will see them.
So here’s the finished product…I LOOOOOOOOOOOVE it.
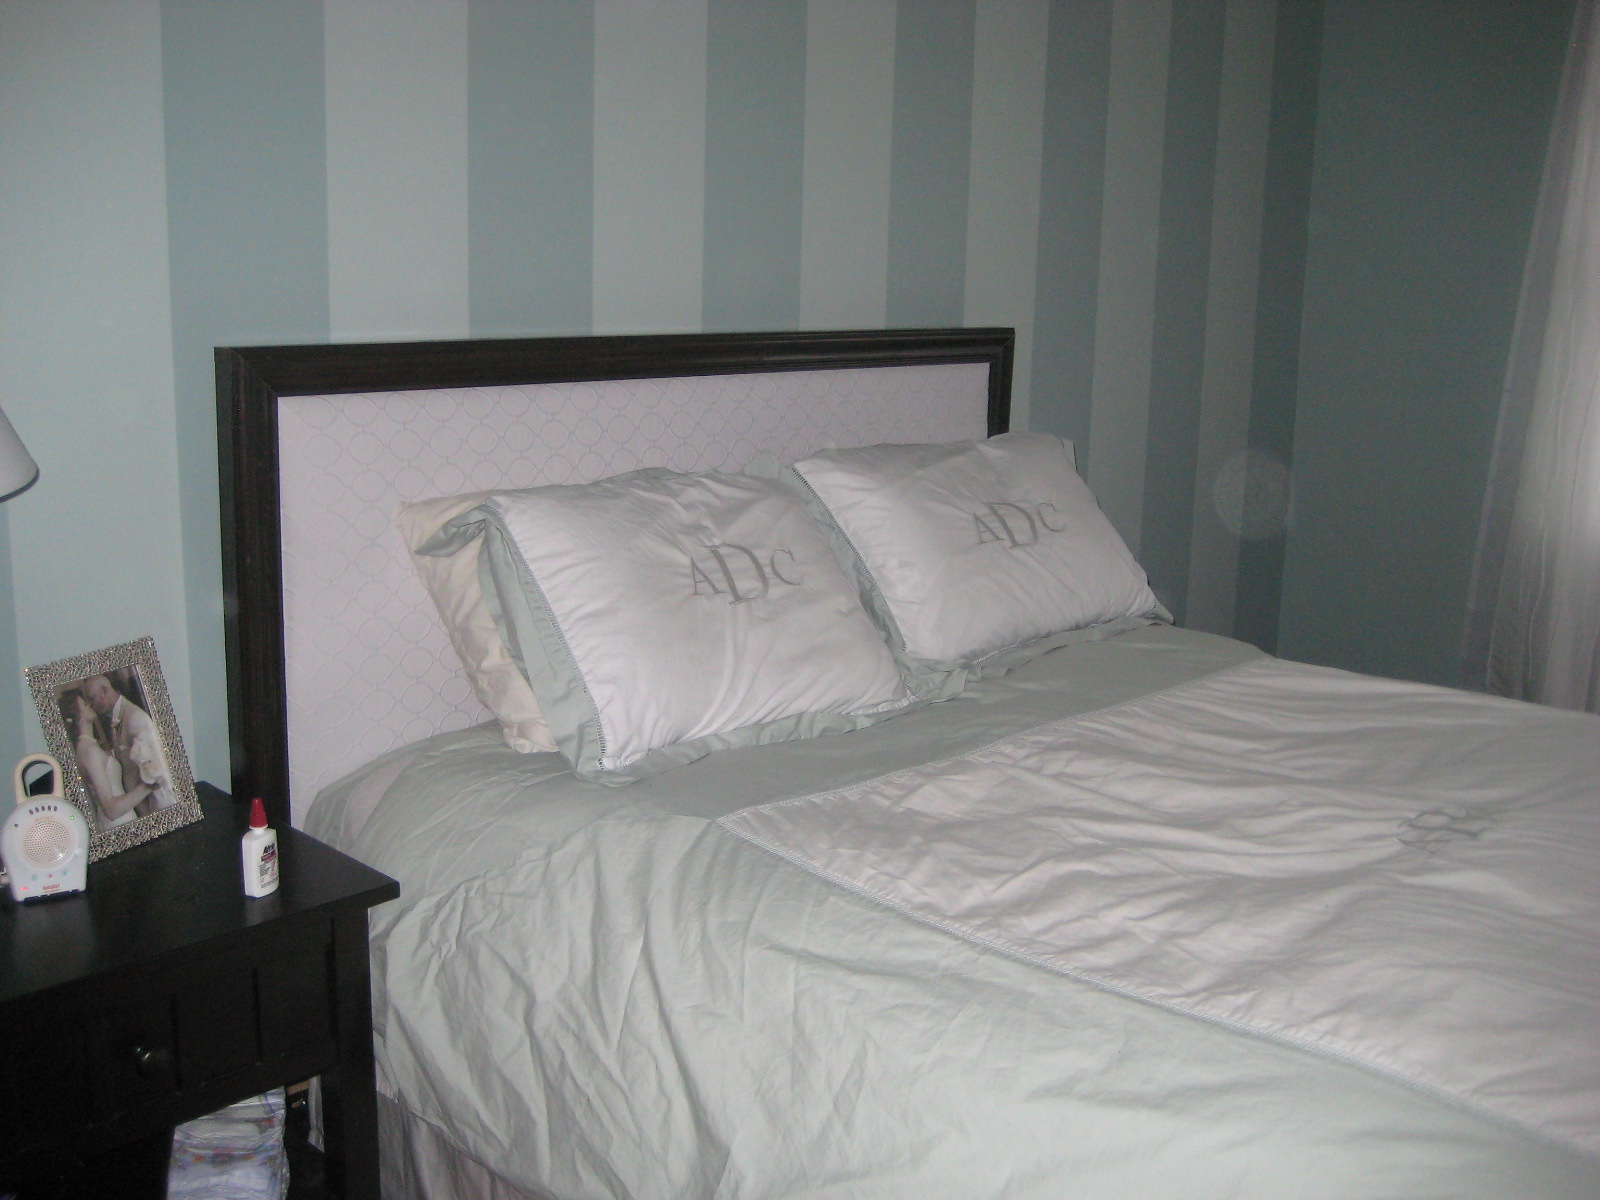


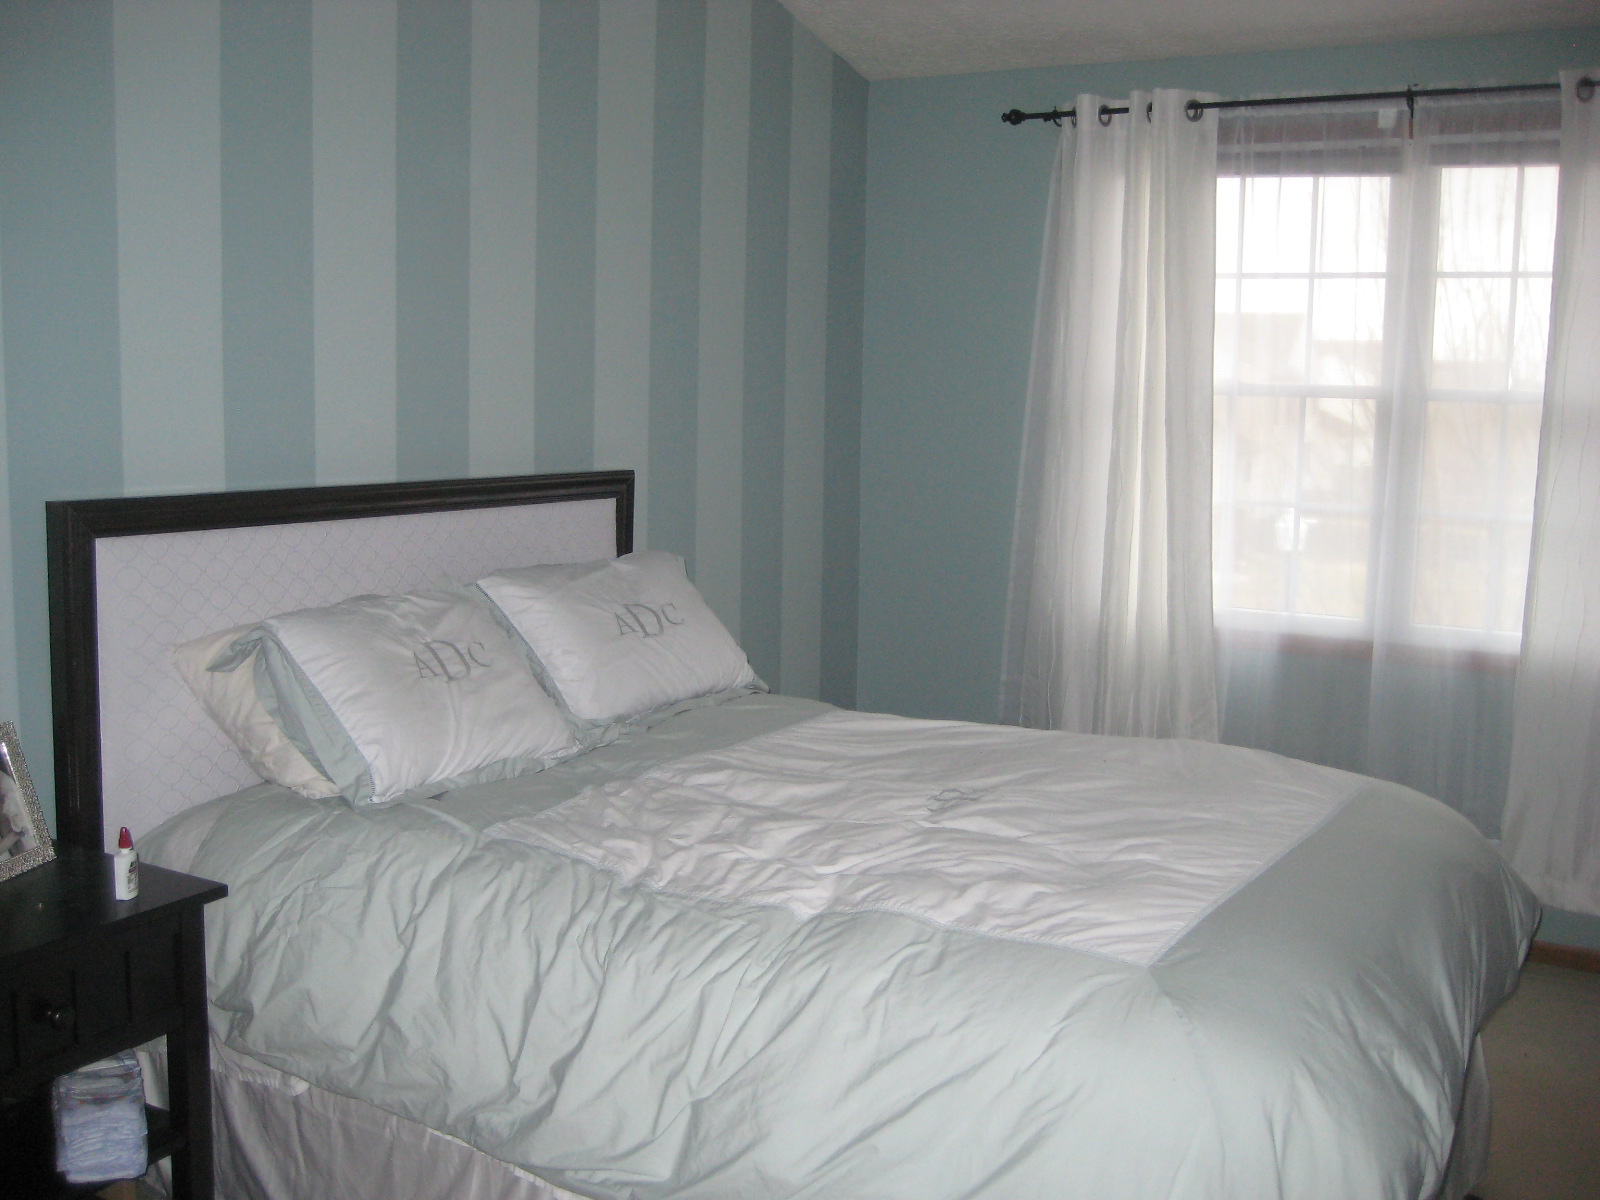
Our bedroom is so simple that I was really picky about what fabric to use, but this pattern is perfect. It’s simple in color, but the raised geometric pattern on it makes it interesting and adds some texture to the room that was missing before. I’m really really pleased with how it turned out. I plan on making matching box window valances using the same fabric for the closet window and bathroom window.
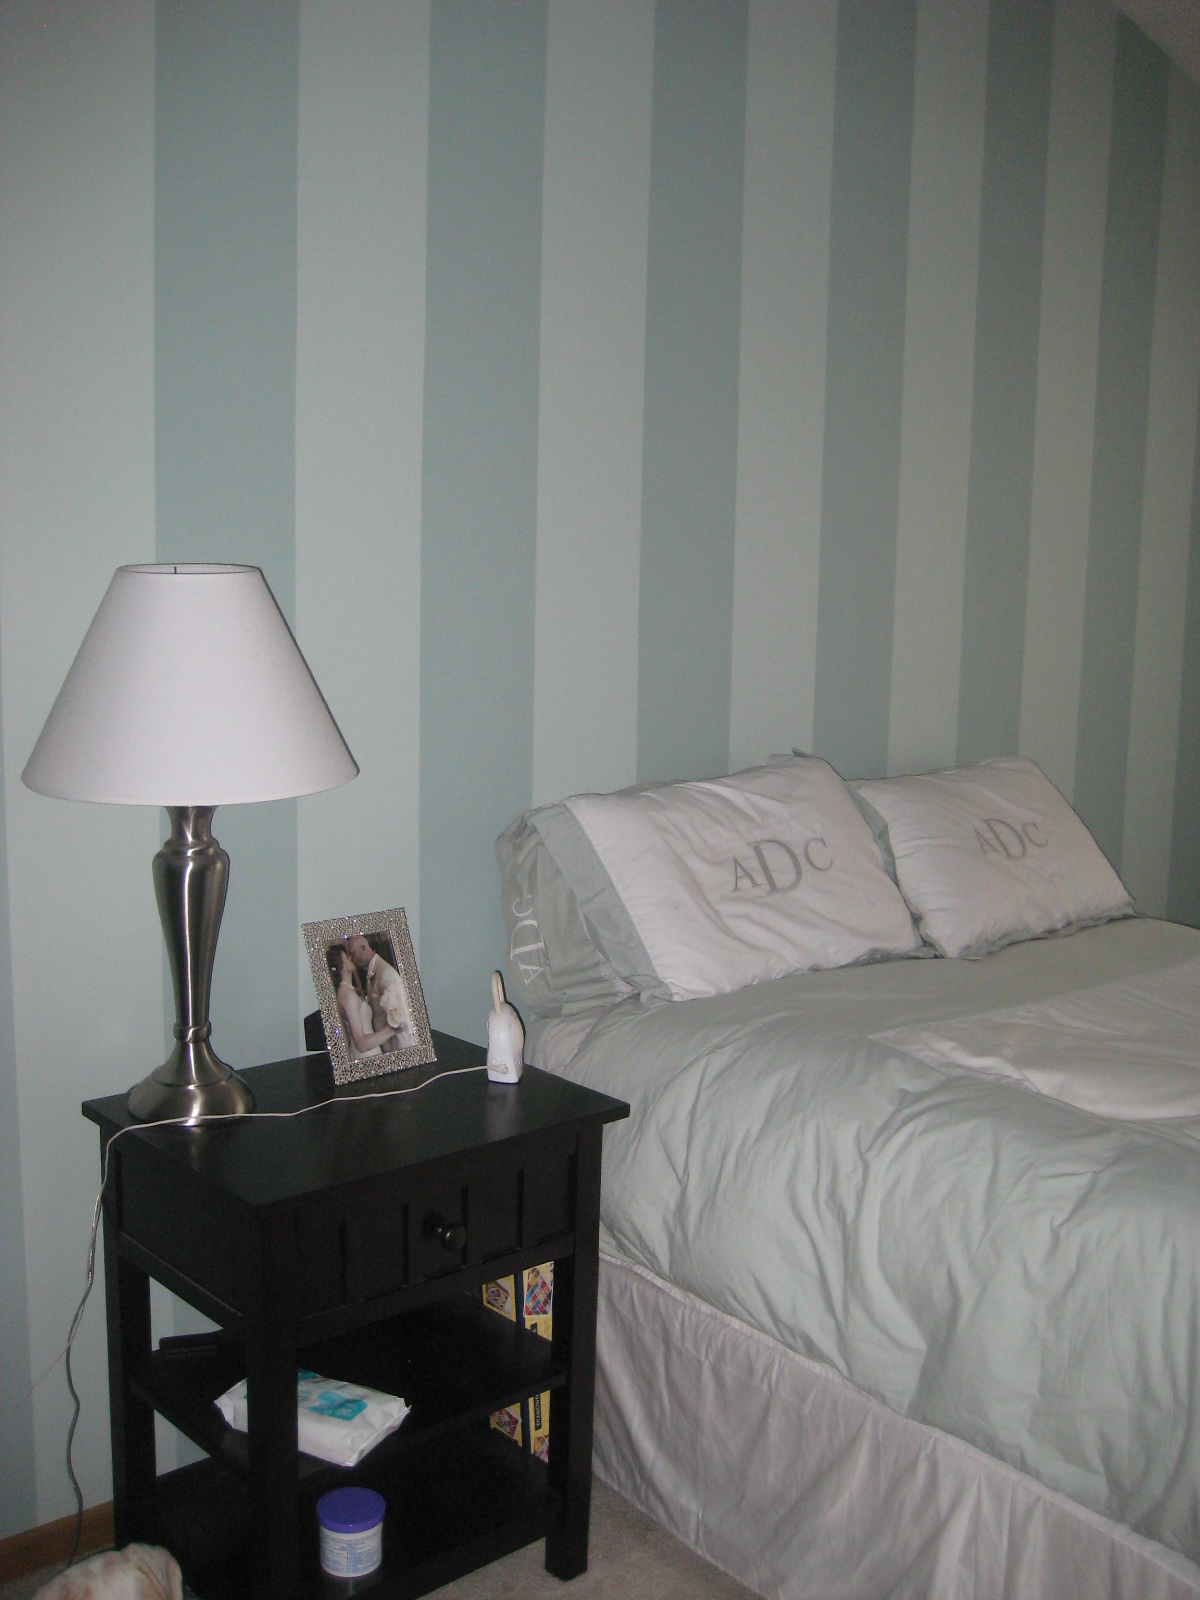
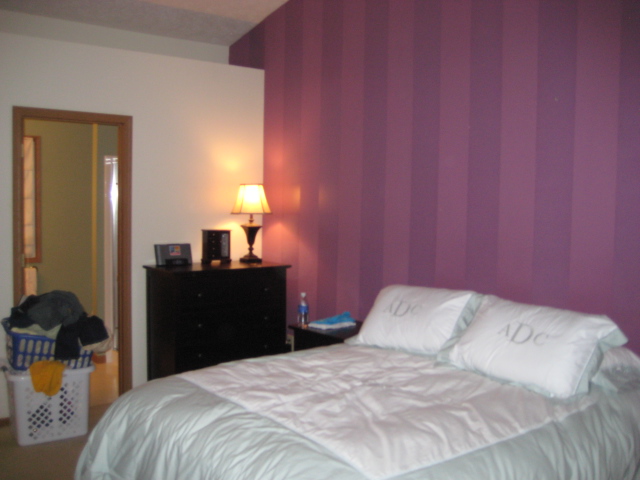
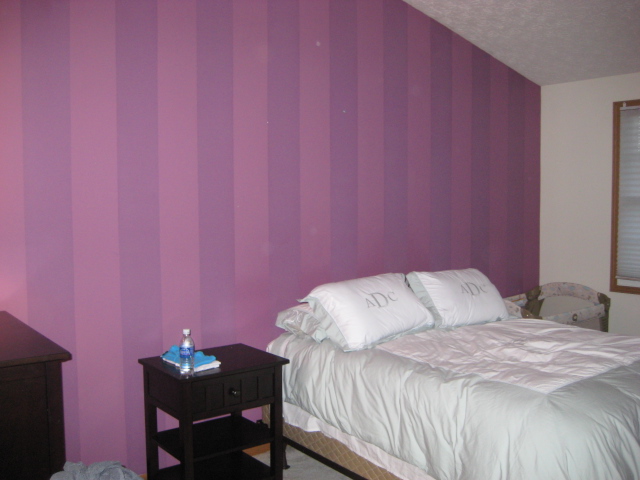
Here’s how our bedroom started when we moved in…check out the purple stripes!!

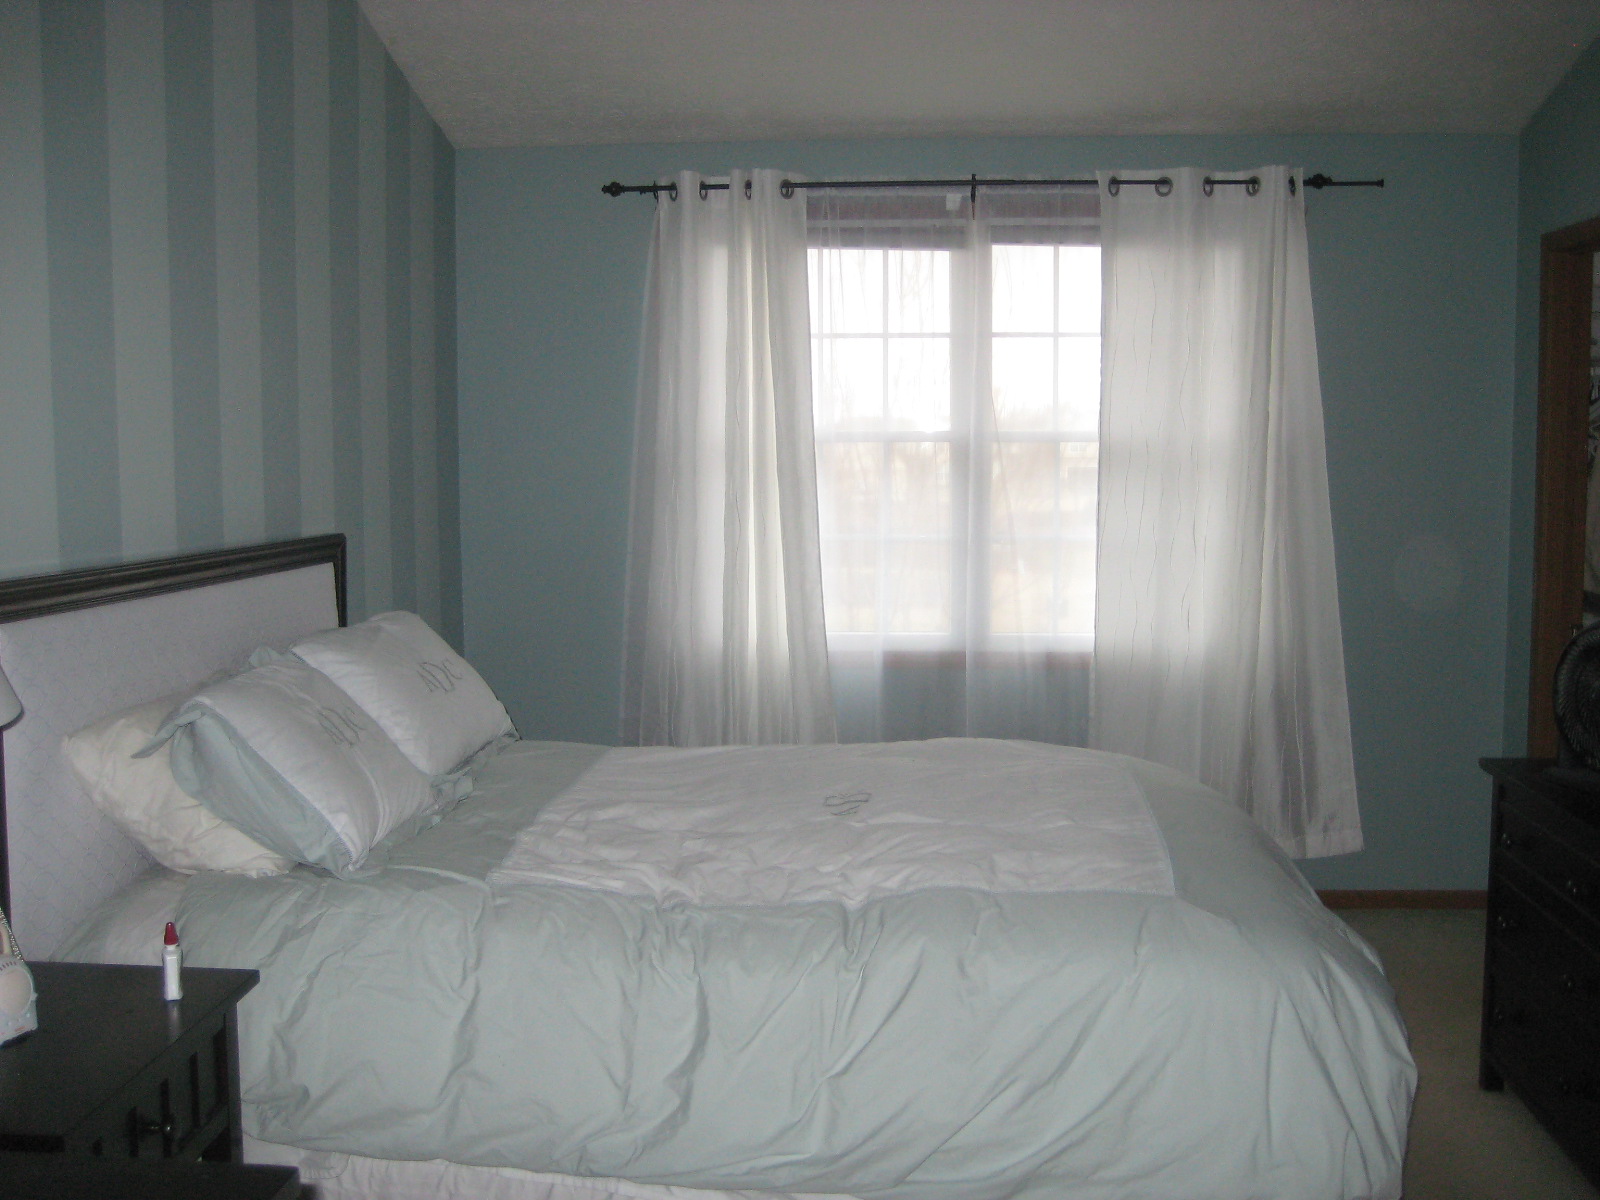
Here’s our bedroom again now:

And our room had another major transformation this weekend too! My husband put long shelves in the bottom of the closet for all our shoes. Thank GOD I don’t have any pictures to show you of it before…it was pathetic. The new shelving makes me heel collection look amazing though!!


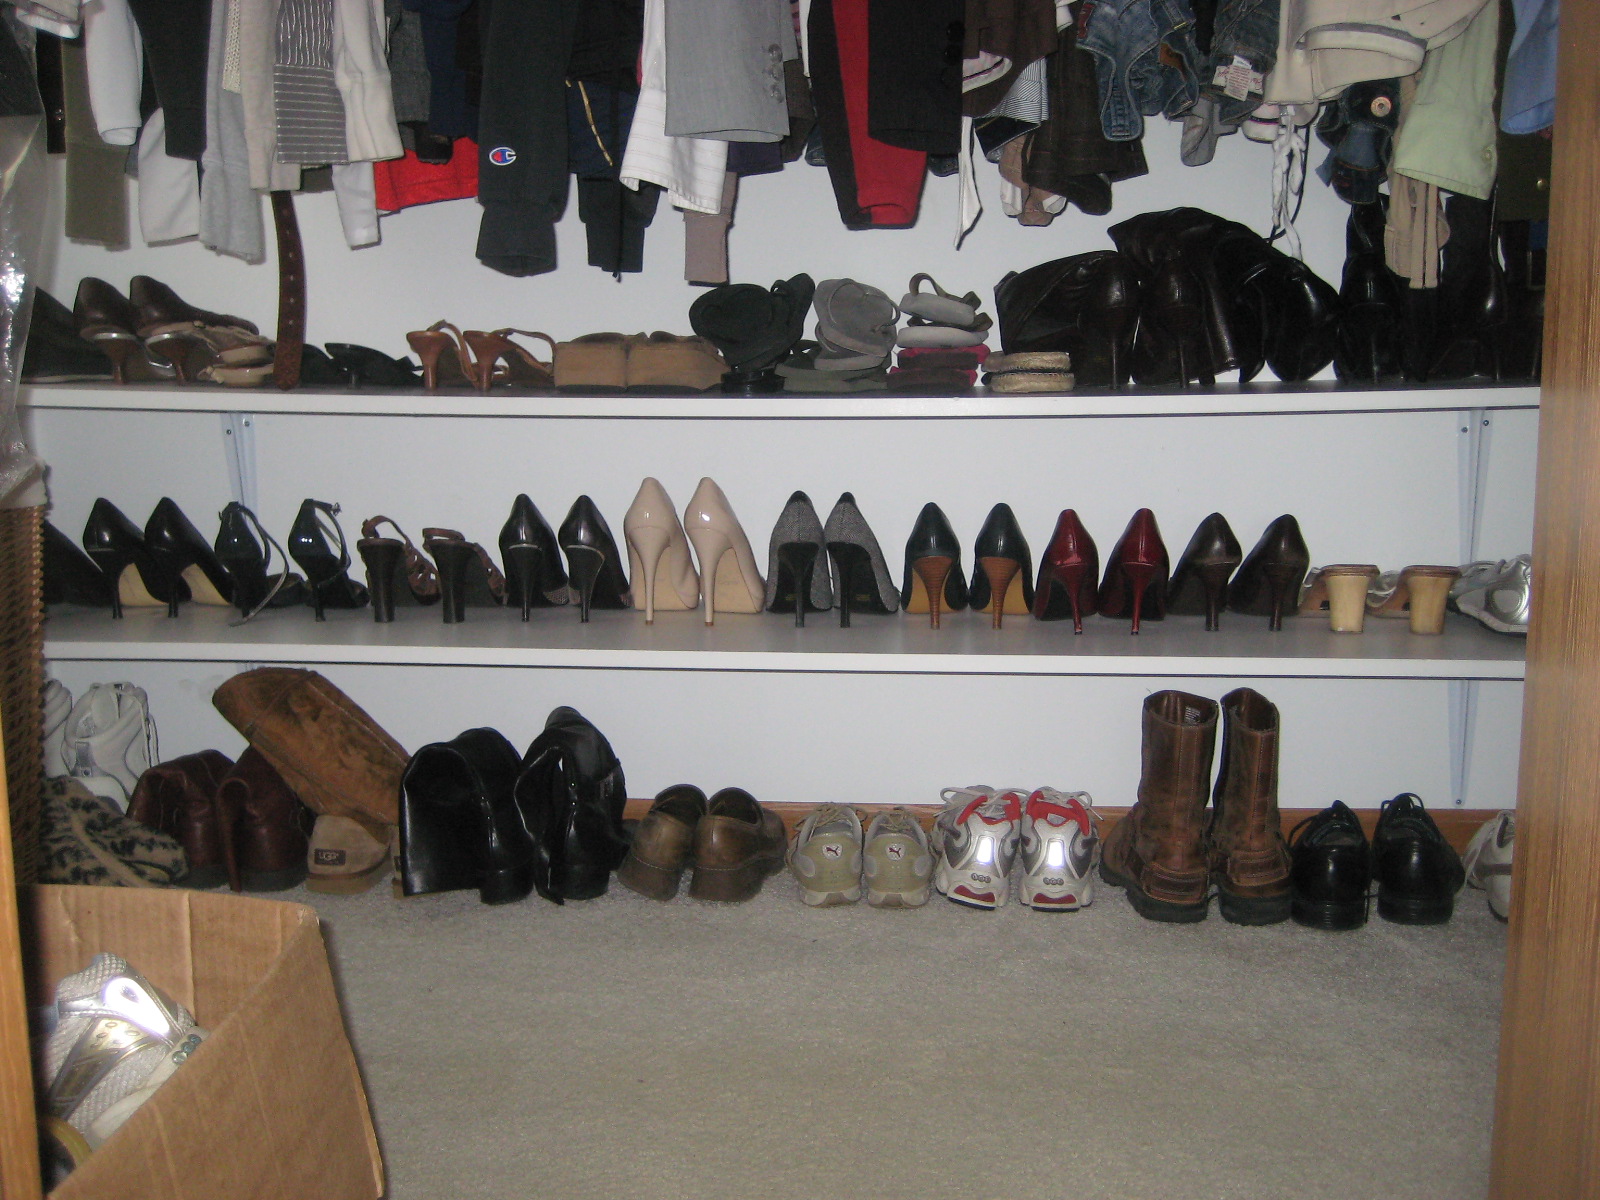

And after all that, we still have this box of shoes with no home!! All sports shoes (my soccer cleats and his baseball shoes). We’re working to put up some more shelves for this issue soon. It’s just nice to be able to walk in the closet and find the shoes we’re looking for. Plus, we’re 100% officially unpacked from moving into the house last May. LOL We have accomplished SO many projects this weekend. Later this week I’ll post my pantry makeover!!
My next projects? THIS and THIS.


Wow, that looks awesome! I’m featuring this over at womenwhodoitall.blogspot.com.
Jill
I’ve been looking for a way to make a headboard—I’m putting this on my project list.
Wow !! You guys are talented and did an awesome job! Your bedroom looks so pretty, the headboard really made it look complete. I wish I was creative like that…or should I say I wish I wanted to be…haha !! Great job !!
Wonderful and I need a headboard. Clarice
Love this! I’m actually planning to make a headboard with this exact same fabric! {waiting for another 50% off deal though}.
Great project, congrats!