


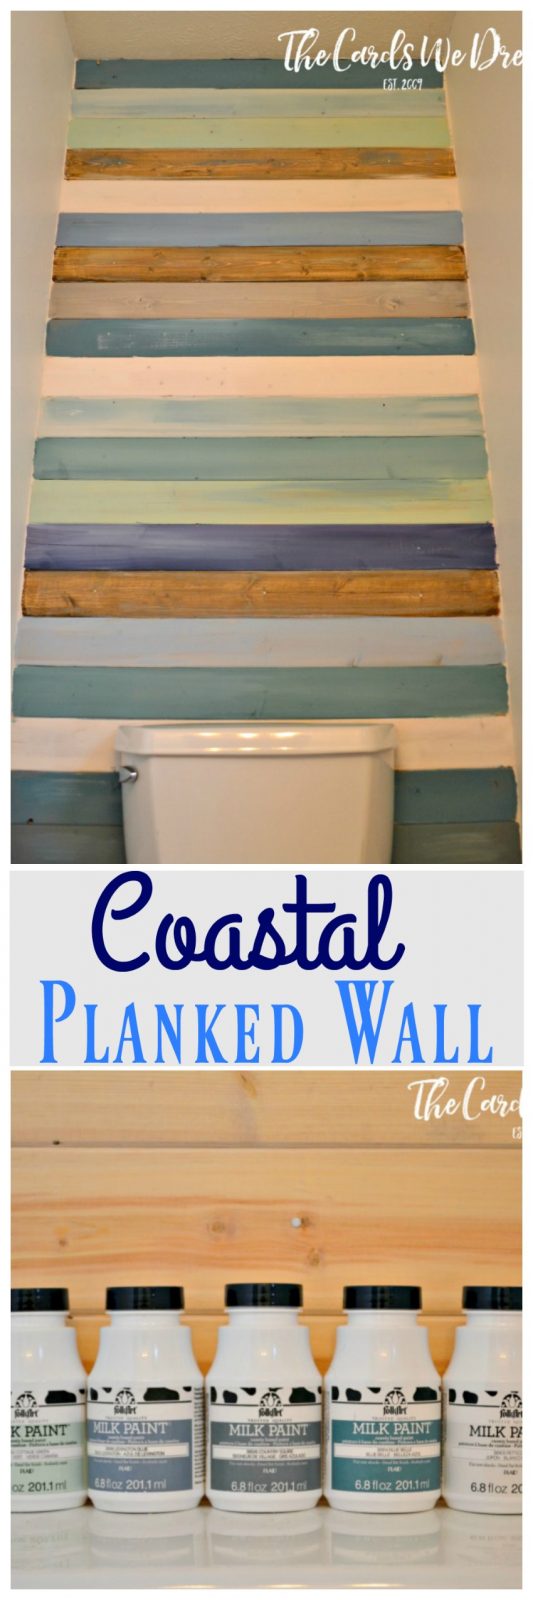
When we moved into our new house last year, we knew immediately that we had a lot of painting to do. The previous owners had painted the entire house a very dark, depressing tan. We’ve slowly been making our way through each room of the house to make updates and today I’m sharing with you the FIRST part of our half bathroom update and our Coastal Planked Wall we made using FolkArt Milk Paint. You may recall my post last year about FolkArt’s Milk Paint, so check it out HERE for more Milk Paint inspiration. But in the meantime, let’s check out my DIY Coastal Planked Wall as the first part of my Half Bath Update!

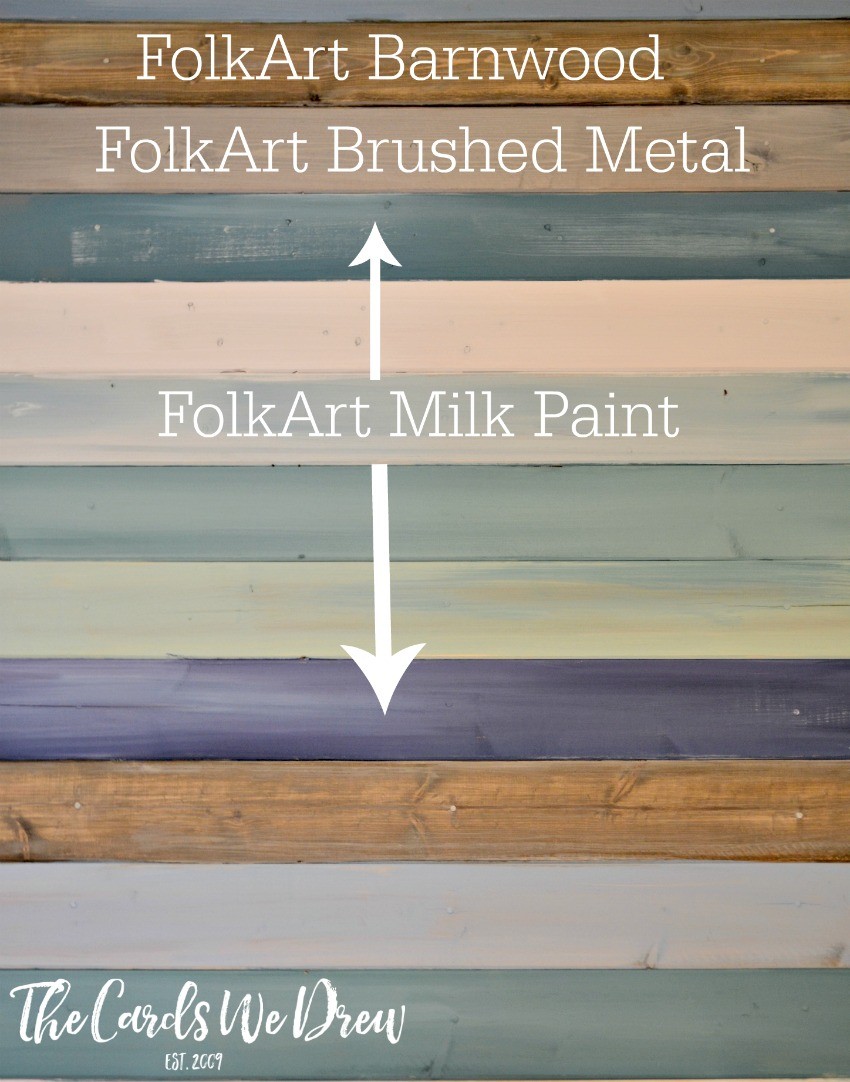
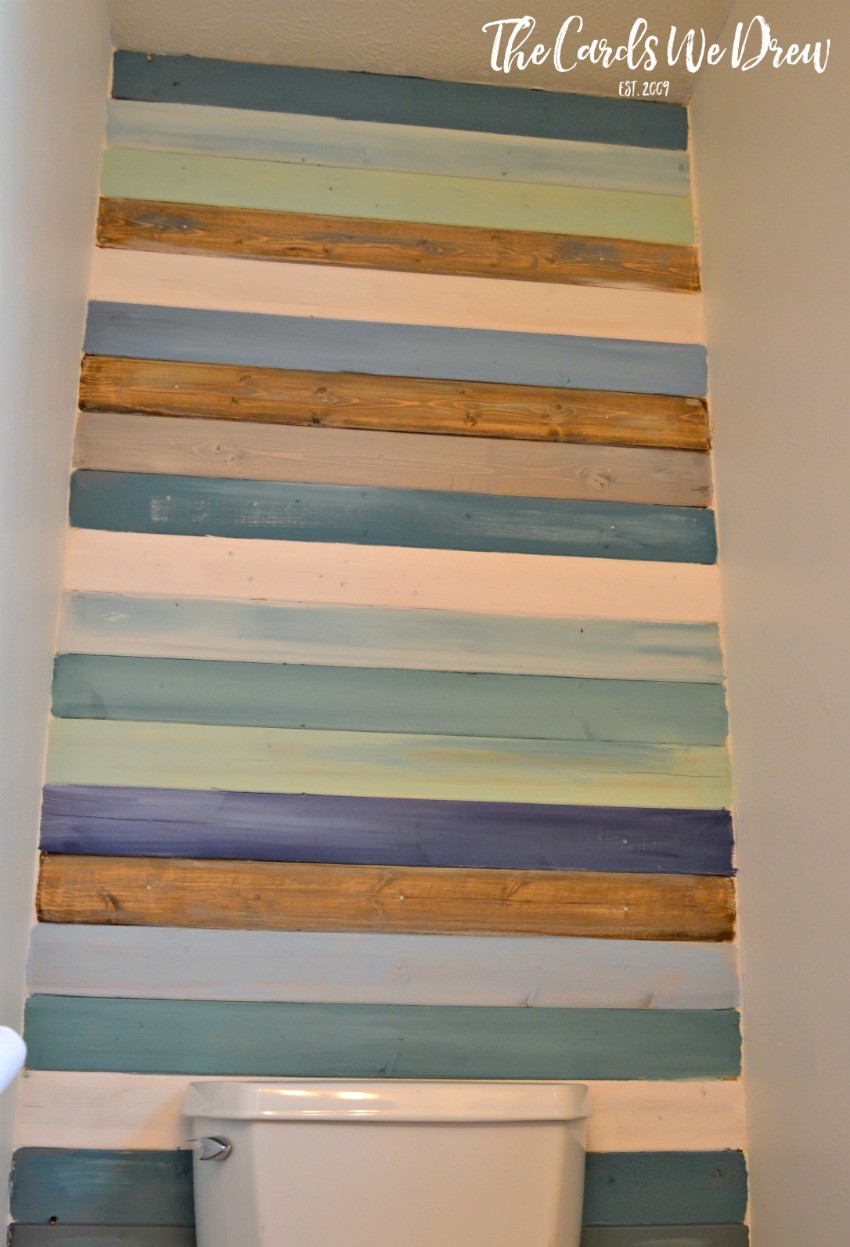
The first thing I did was to choose my colors for the wall. I ended up using a LOT of colors not shown in the photo above, but I sought out whites, grays, and blues of varying colors. I also used FolkArt’s Barnwood Painted Finish (see THIS post on the Barnwood) to add some fun elements to the wall, plus my husband LOVES the barnwood finish, so that was his favorite part of the wall.
Here’s what you’ll need for this post:
Wood Planks cut to height and/or width with saw
Nail Gun or Hammer and Wood Nails
Tape Measure
FolkArt Milk Paint in colors of your choice
FolkArt Barnwood Painted Finish with Wax
Caulk
Paint Brush(s) and containers
LOTS of paper towels or things to clean up with
How to:
I am not going to spend a ton of time focusing on the art of planking a wall because number one, we’re pretty novice at doing this and number two, there are TONS of planked wall tutorials on the web.
I’ll tell you this about our process…
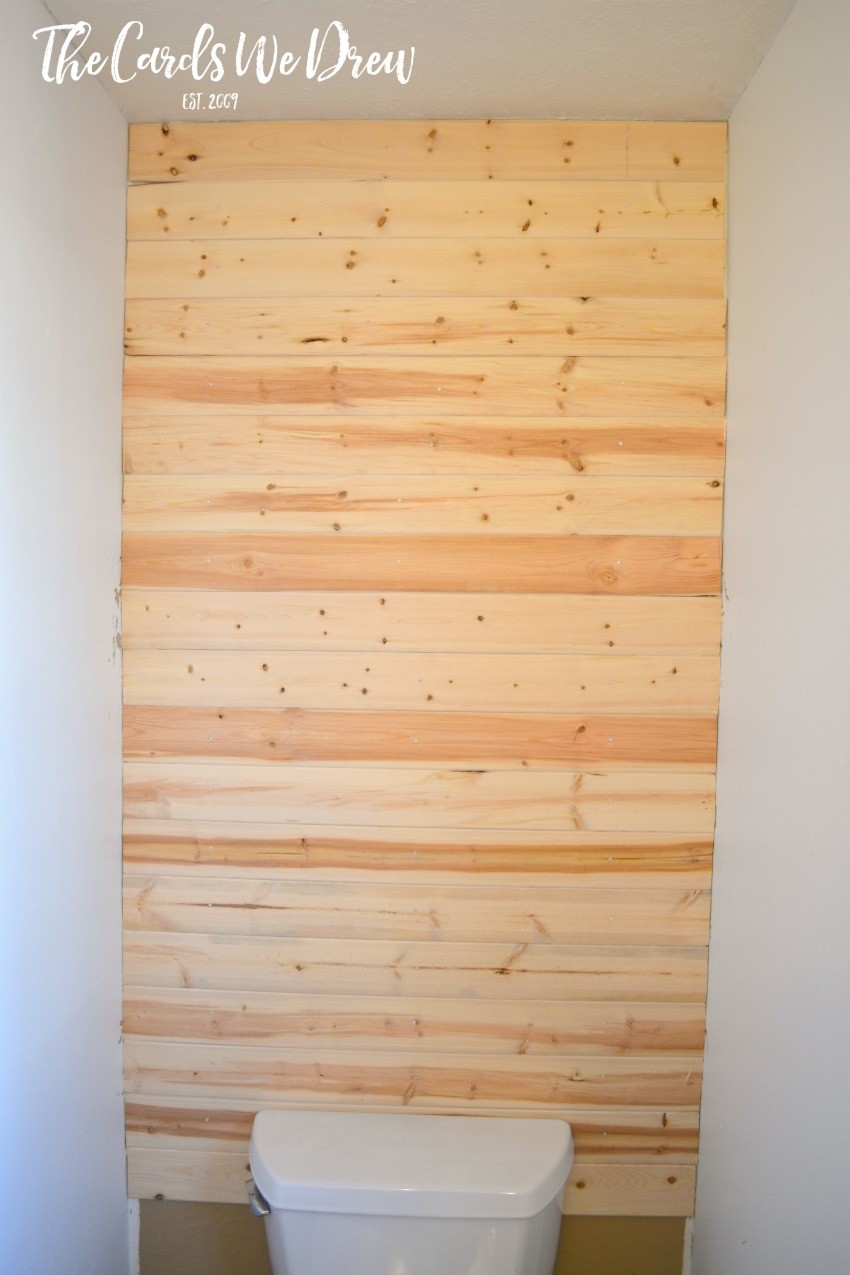
- We used tongue and groove wood planks, which really helped save us some time.
- We opted to cut all the planks the same length, which was 36″ wide. We could have staggered them or created a more varied look, but we honestly didn’t want to get too crazy since this was a weekend project.
- We used a good old fashioned hammer and nail and nailed them into studs. The tongue and groove also helps hold it all together.
- We had a few hiccups with getting them cut, so we used caulk around the edges to fill everything and keep it in place.
- We’re not 100% done yet! I still intend to paint the trim in this room and fix the unfinished look on the edges of my planking–it’s hard to paint the corners evenly. This is a work in progress still.
Let’s take a look at the before. My husband got to work painting the walls and cutting in before we did any hanging. We went with a simple Alabaster White paint for the walls since I knew we were getting a little crazy with the planked wall.
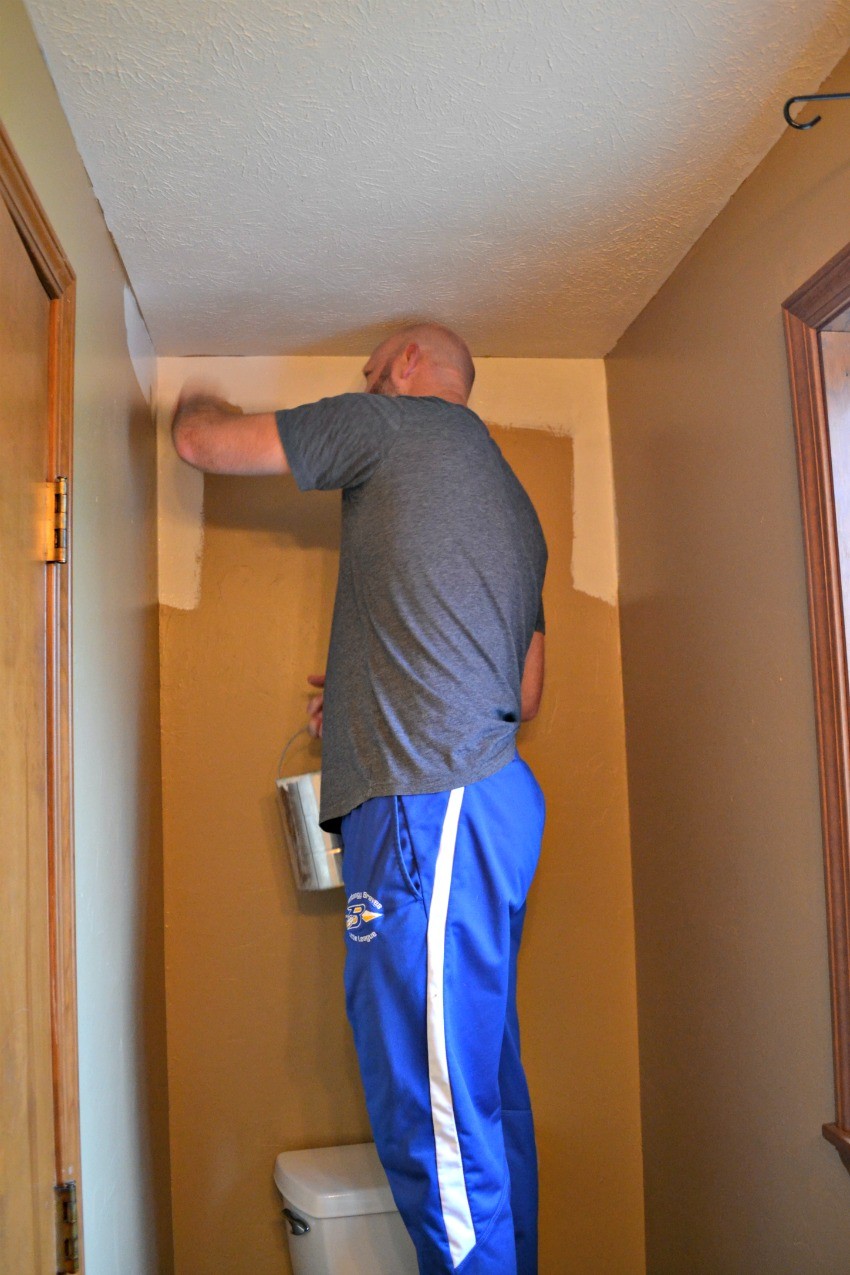
After the walls were painted, we got to planking. My husband made the mistake of cutting ONE board and trying to use it as the “model” for a bunch of other boards. This really didn’t work well and we had some issues. So I’d recommend measuring each part of your wall, cutting two or three, hanging them and then remeasuring and cutting again. Sometimes your walls aren’t perfectly square and cutting 10-12 boards in a row can open up a lot of room for error!
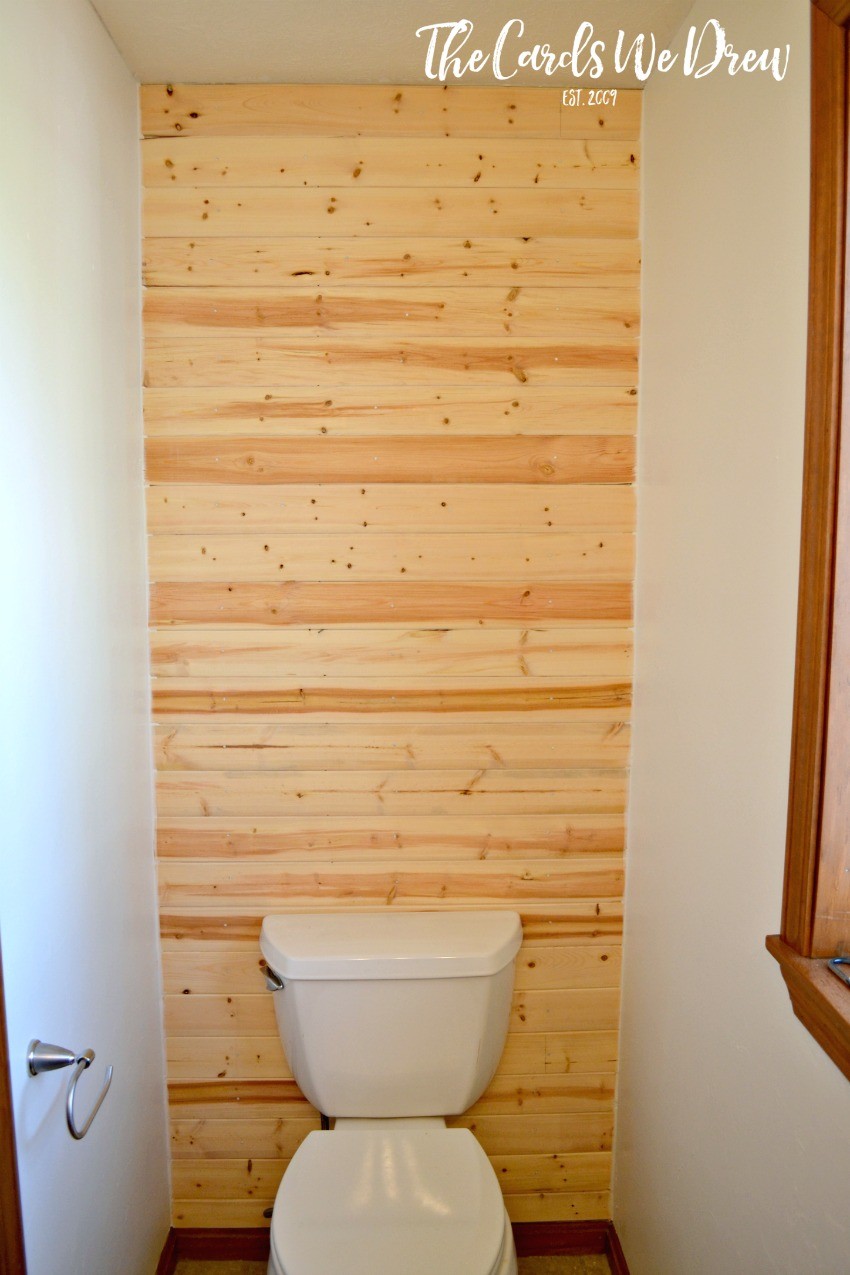
This room is REALLY hard to photograph, by the way, there is one northern facing window in the bathroom and no other natural light…and IT’S TINY!! So I apologize that the photos aren’t as wonderful as I’d like them to be.
You’ll see above that we planked the wall, carefully working around the toilet, and then my husband caulked it all in. Next up was me…I got to painting!
Here’s my tips for painting with FolkArt Milk Paint…and some other things to note about my Coastal Planked Wall:
- Have a few good paintbrushes on hand for this project, along with a few containers to hold paint.
- I wanted a really weathered look, so in some cases I combined paints OR I even just used all the paint I had in my container, then proceeded with the next plank WITHOUT cleaning the brush or container because it added some fun streaks in the paint and gave it a weathered look. So some of what you see is 2-3 colors kind of thrown together because I didn’t clean the brush.
- The barnwood look was one of my favorites and information about that process can be found via the link above in the this post.
- I also used a new product, the FolkArt Brushed Metal paint…I wanted to add a unique option to the wall and the metallic fit well.
- Another note–I wish that I had pre-painted the boards around the toilet before we attached them. Painting below the toilet got very hard…next time I’d paint them first and then hang them! Note to self. Another option would be to pre-finish ALL the boards and then nail them up.
Here’s a breakdown of some of the unique paints/techniques I used for the wood colors and variations…
So as you can see on the sides, we have some tidying up to do. We’re planning on putting two vertical trim pieces up the sides to cover up the uneven edges.
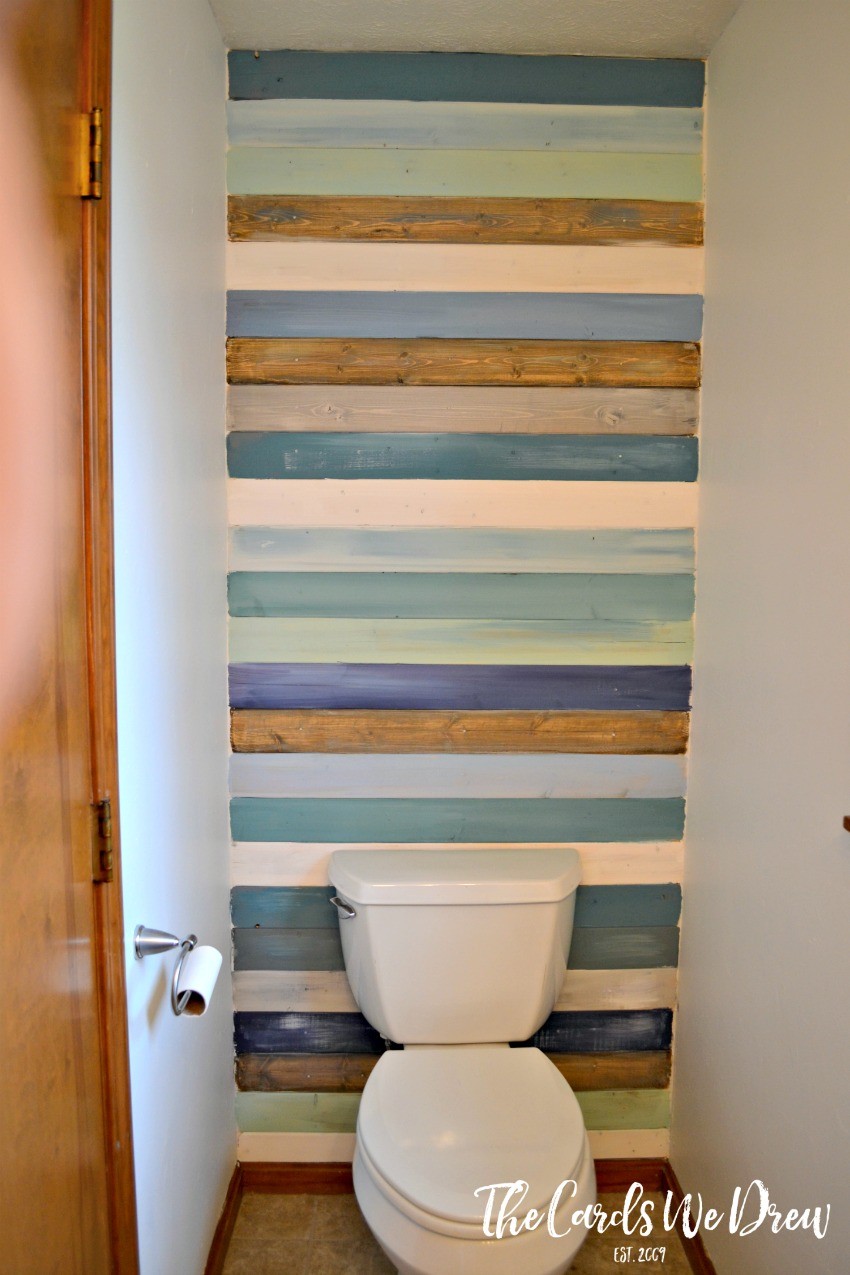
We also plan to paint the trim in the bathroom white…something we REALLY look forward to doing LOL.
And another look at the finished product!
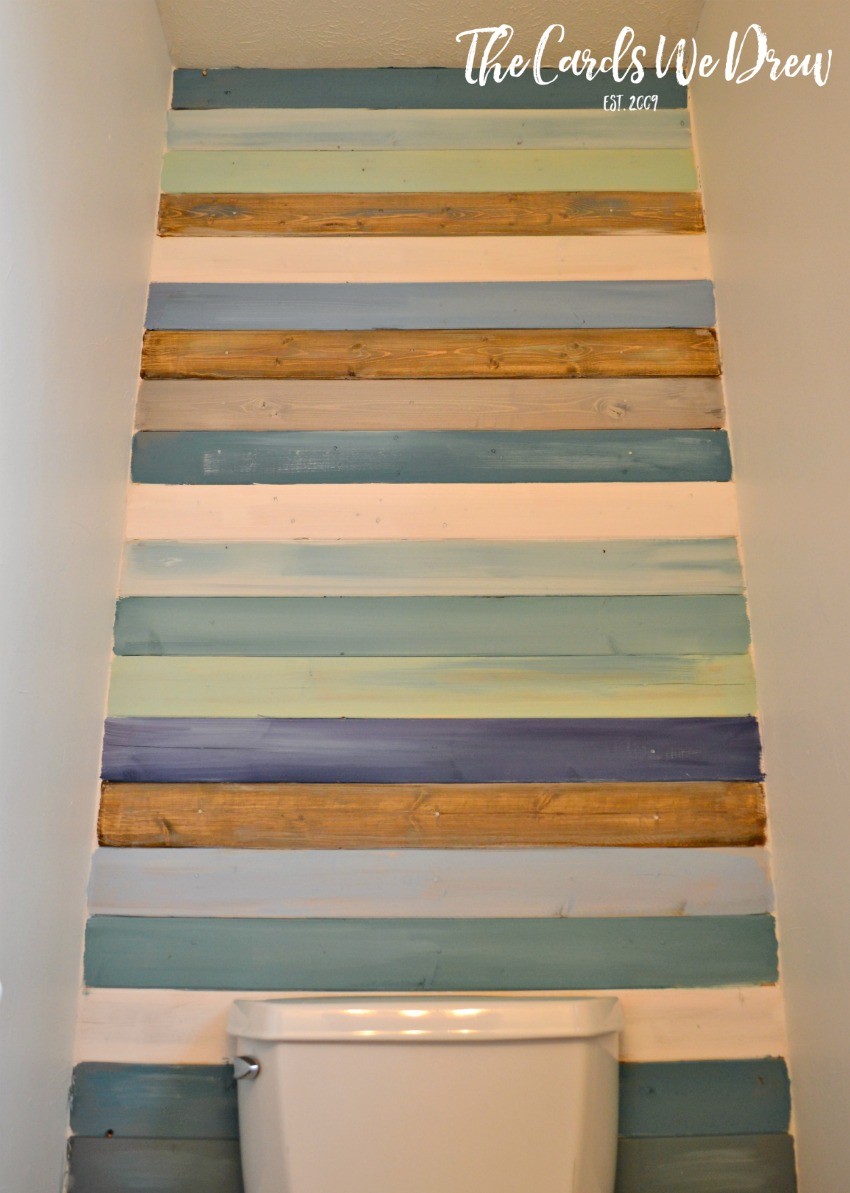
I’m really happy with the finished product and can’t wait to finish the WHOLE space to show you in a few weeks!
How many of you have planked walls in your home?
Plaid wants your opinions…fill out this survey and you’re entered to win a prize pack from Plaid!
Find more info about the products I used over at Plaid Crafts!
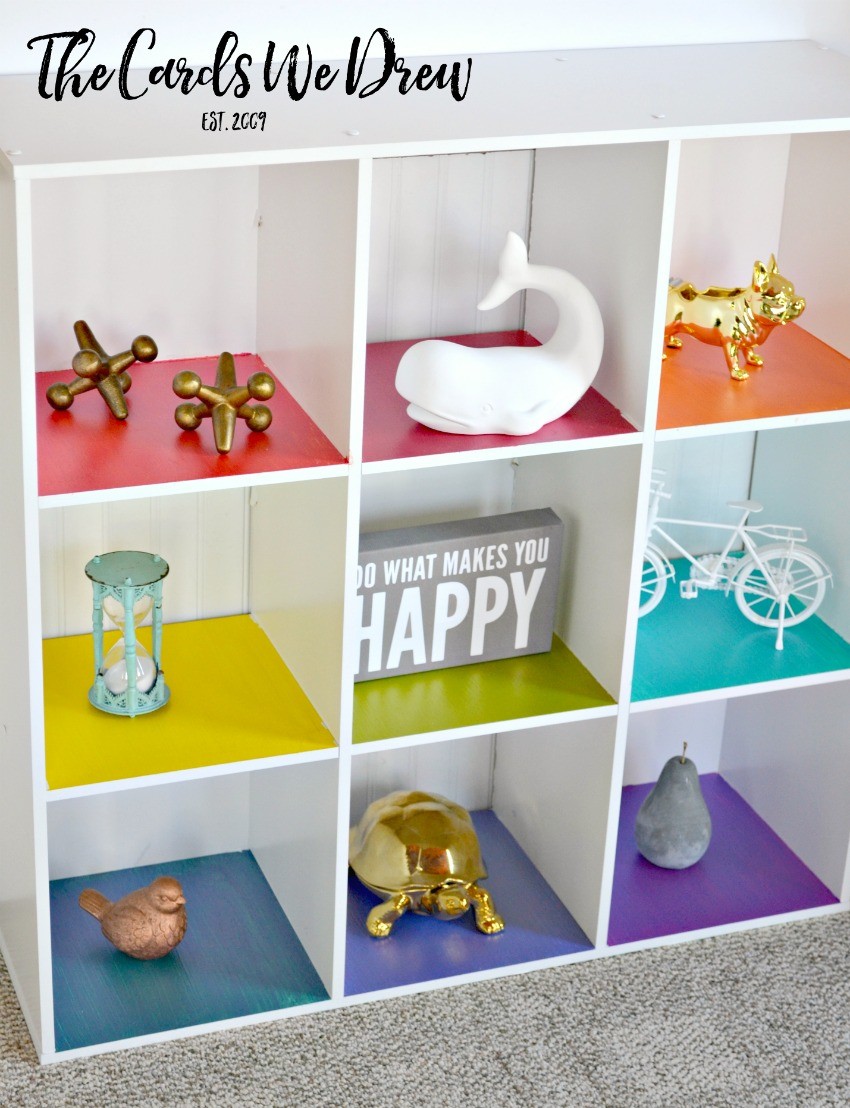
You’ll also want to check out my Rainbow Cubby Toy Organizer!
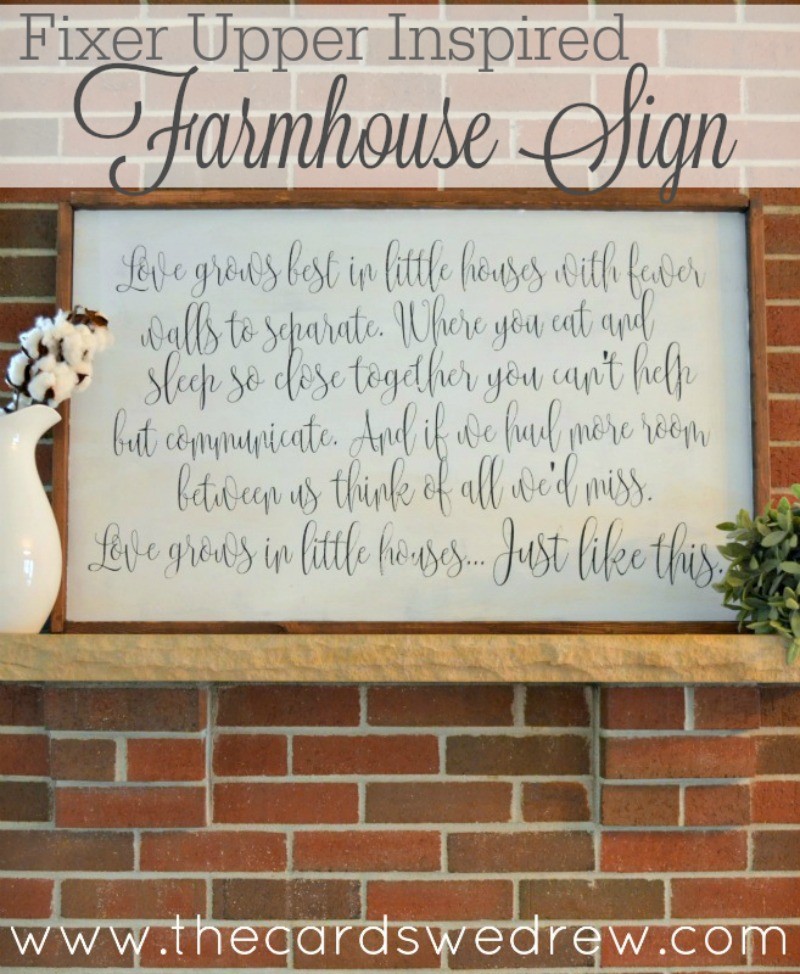
Or my Farmhouse Fixer Upper Sign!


Really like this idea. Looks great. We have a few areas in our home that we are going to do this to. Thanks for the idea and tips. With long winters here in Minnesota we have plenty of project time 🙂
Thanks, Nancy. I still have to finish the sides yet, but I appreciate the comment!
I’m in the process of painting our small hall bathroom. I painted it a latte color and was just thinking yesterday about putting a ship lap wall behind the shared toilet/ vanity wall. The mirror I have in the wall is silver with a slight tan glaze look. Wonder what colors I should use for ship lap? How does Tans, muted silver, grey and the latte color sound?
Absolutely LOVE this! Now you have me thinking . . . But I have no wall space left, darn. Saving for future reference. A+ Thank you so much!!!!!!
I love it, I think I would like to try it in the house we are going to buy. I hope I get to see the finished product.
I LOVE this look and your colour combinations, they remind me if sand and ocean. To make use if vertical space, maybe you can put some open shelves over the toilet and place ocean shells and nautical things to add a useful storage area and more interest! (extra t.p., hand towel, soaps, etc)?
The colors are PERFECT!!! Could you be so kind as to list them? i live in Ormond Beach & would love to use your colors for whatever strikes my fancy around the house, perhaps with wood bits i find on the beach.
Thank you very much for your imaginative talent and the inspiration!
Lookin’ forward…
joe galdo
I loves this project. I have a very small bathroom just like this. I wanted to know what you used to color the wood as well. I will use afrocentric colors. Thanks so much!!