


Hey guys! So most of you can tell, I’m not much of a seamstress. I don’t do a lot of sewing projects on my blog, BUT I happen to have a mother who is a decent seamstress! I was in a little boutique a few weeks back and saw these cute basic onesies with little skirts sewn onto them. When I picked one up they had a $32 price tag!!!! The owner of the boutique started telling me how they just cut the onesie in half, sewed fabric into the onesie, and then reattached it!! So I called my mom and asked her if she could possibly do something like that. She ended up making two really cute onesie dresses!! After she did the first one I asked her to make a little tutorial for you guys on how to make a skirted onesie! So welcome my mom, Tina!! She’s gonna share the step by step instructions on how she did this!
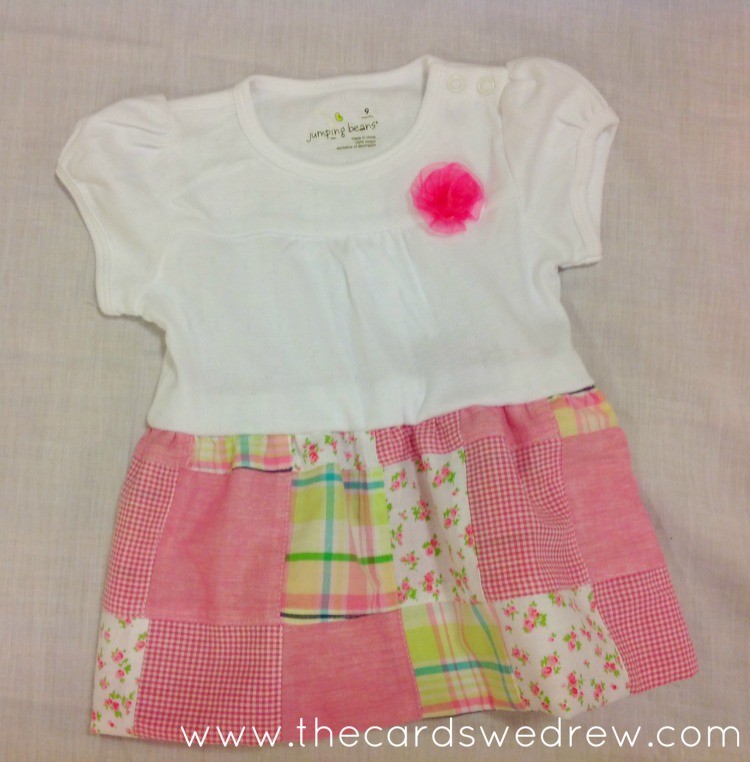
My mom started by picking up a simple onesie in my daughter’s size from Kohl’s. It came with a cute little flower on it and was about $5. She then picked out some pretty fabric from the fabric store…and she’s gonna take it from here!!
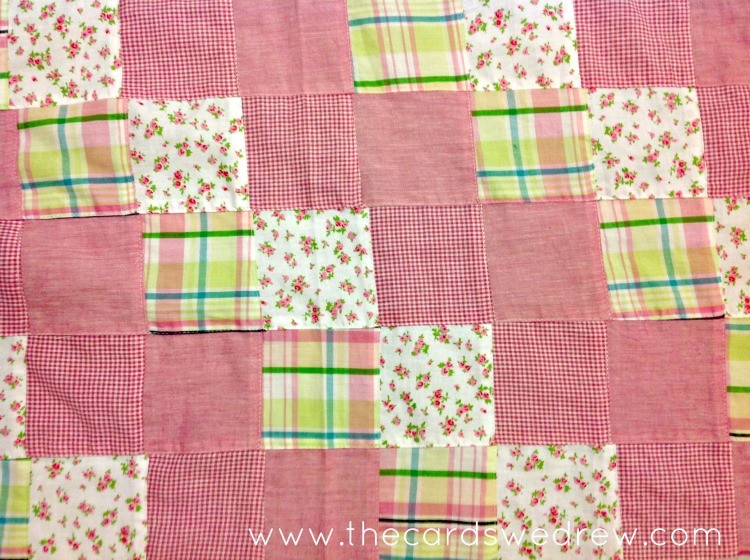
Here is the fabric I choose. I needed only 15 inches of it. I wanted the skirt to be about six inches long and printed on both the top and the underside, plus 5/8 inch seam allowances.
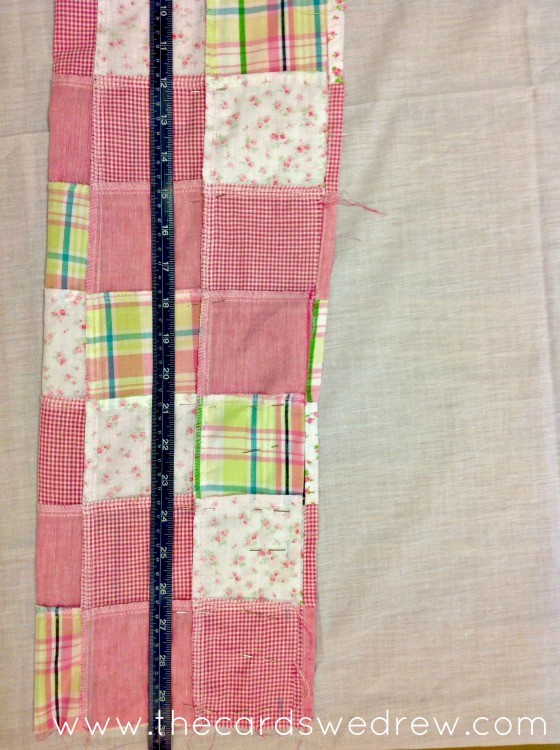
 For the width of the skirt, I measured the waist of the onesie ( 20 inches) and added another ten inches to be gathered for fullness. Here you see the fabric folded over 7 1/2 inches and cit 30 inches long.
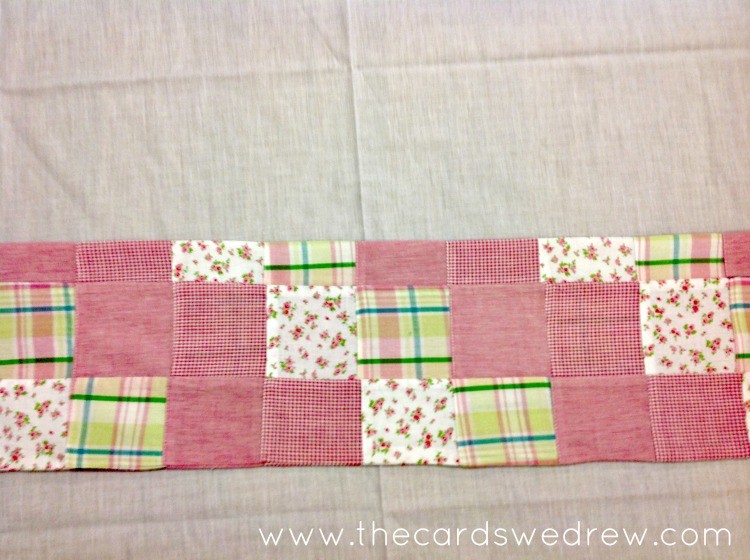
I pinned the fabric together on the wrong sides and ran a 5/8 inch seam down the uncut side, turned it right side out and pressed it.
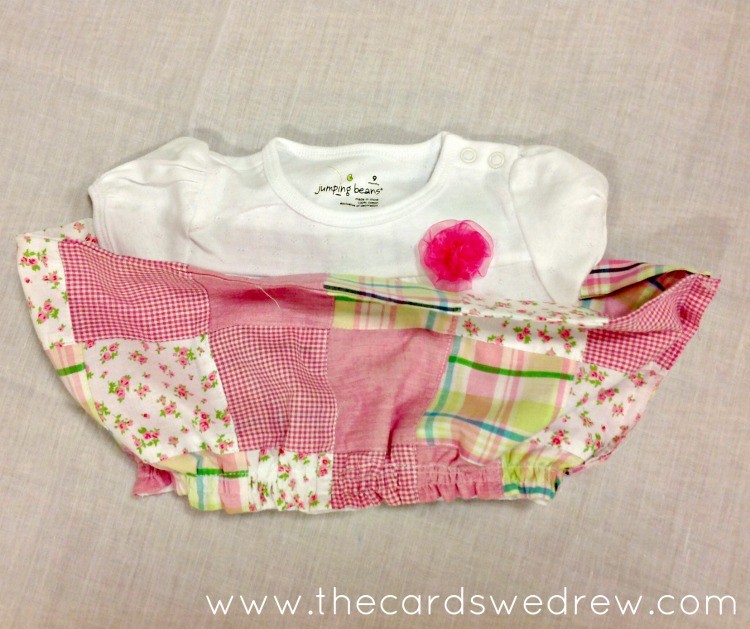
Then I ran two lines of gathering stitches across the top.

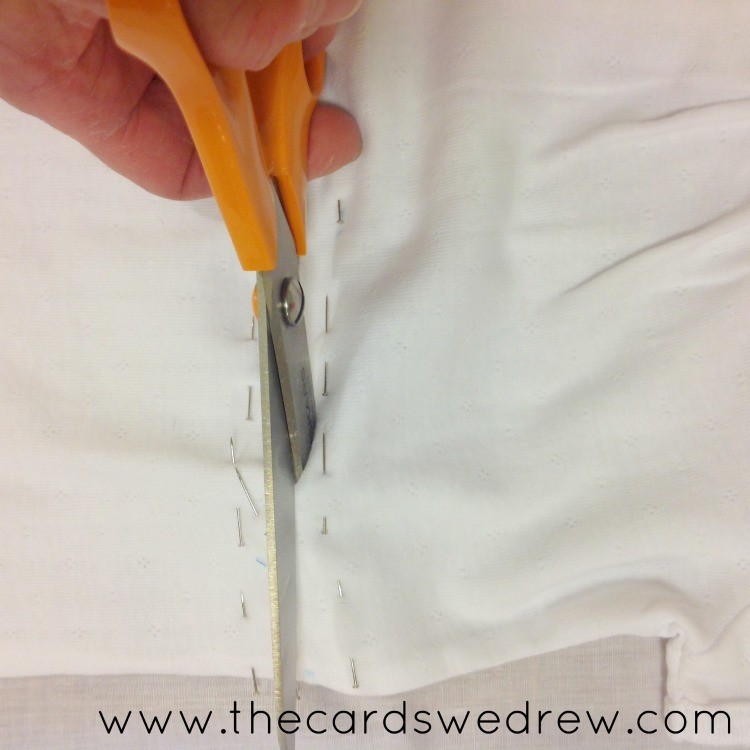
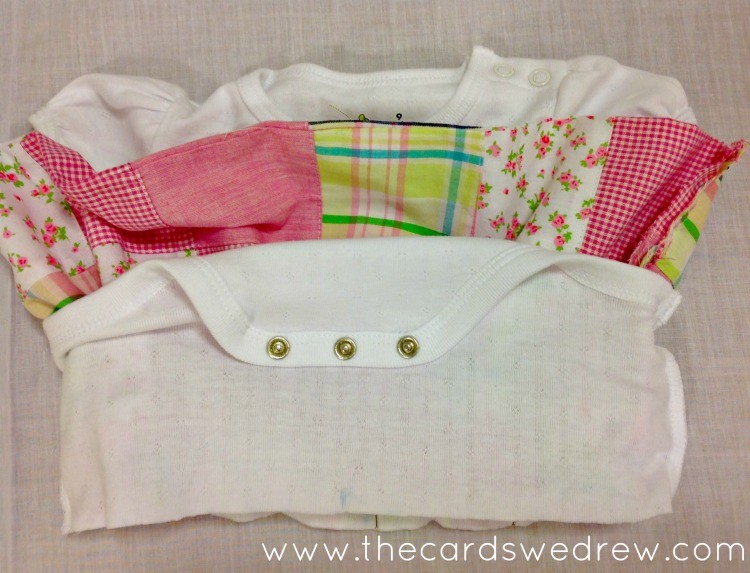
Preparing to cut the onesie was next. First I pinned it together above and below the approximate cutting line to make sure the fabric didn’t shift or stretch. Then I measured 5 1/2 inches down from the front yoke of the onesie, and marked across the entire front.

I repinned just below the cutting line to hold the fabric tight, then I cut it. Really sharp scissors are a MUST here!!
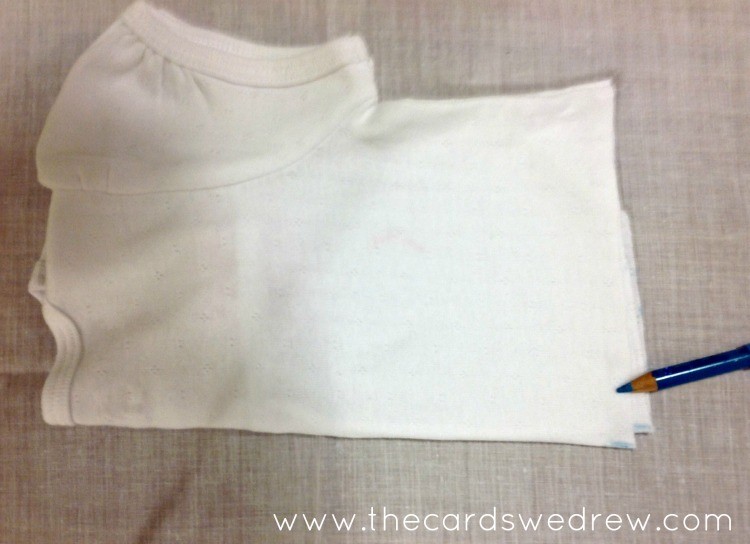
Fold the onesie in half, carefully matching shoulder and side seams, then mark the middle of the fabric on the front and back to use as guides when gathering. Do this to the bottom half of the onesie, too, marking it on the cut edge.
Back to the skirt. Pin the side ends together and sew with a 5/8 inch seam allowance. I pressed open the seam and finished the edges by running a straight stitch down each.
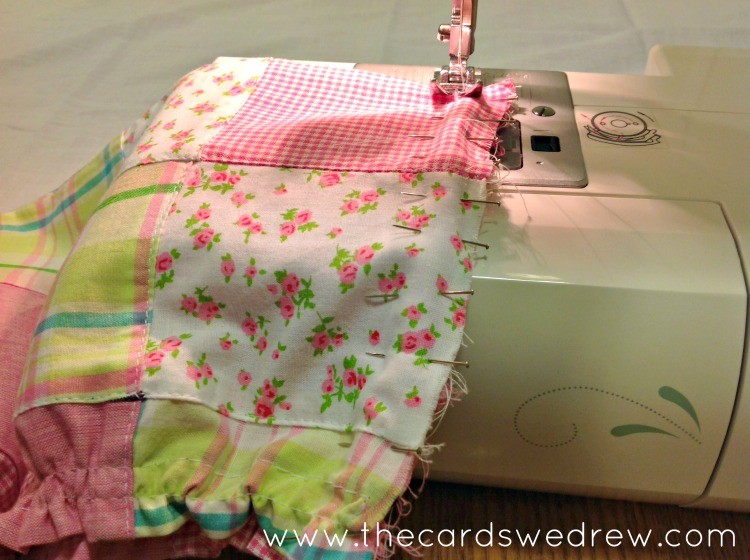
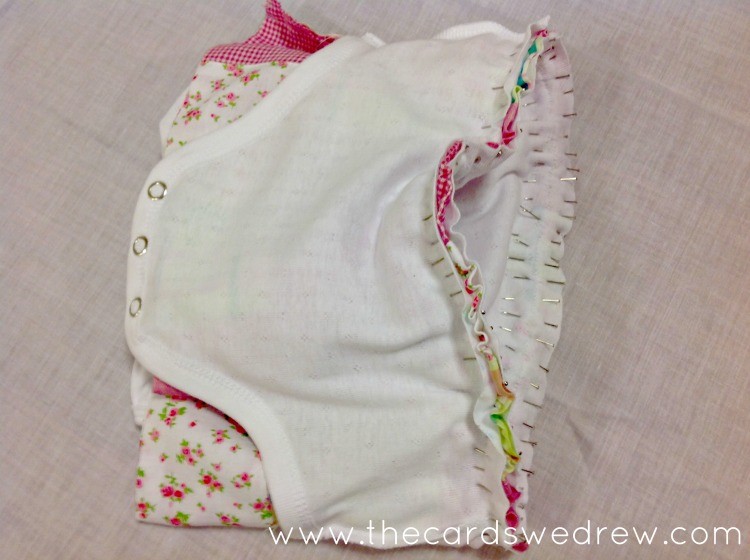
I gathered the skirt until it was the 20 inch width of the onesie, pinned the top of the onesie to the top of the skirt, right sides together. The seam of the skirt is in the middle back of the onesie where the mark was made. Match the front marks on onesie and the skirt, pin at the side seams of the onesie. The even out the gathers and ease in the fullness using LOTS of pins. (I had to look up how to do gathering in a sewing book to refresh my memory.)
Finally, I sewed the pieces together using my machines’ stretch stitch. Here’s the result.
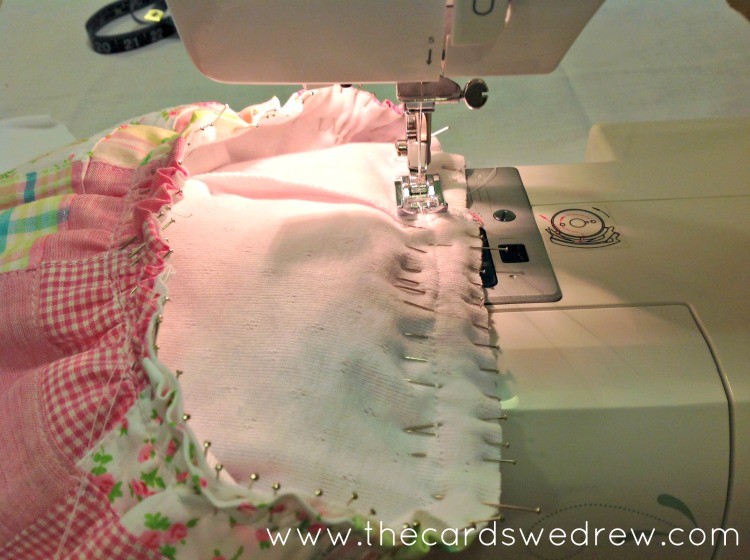
Flip the skirt up, as shown, and prepare to pin the bottom half of the onesie in place. The right side of the onesie should be against the underside of the skirt. BE SURE the FRONTS are together! Pin together, matching front markings on both pieces and matching side seams. Sew together, using a stretch stitch again. Finish the seam by running plain straight stitch closer to the cut edges.
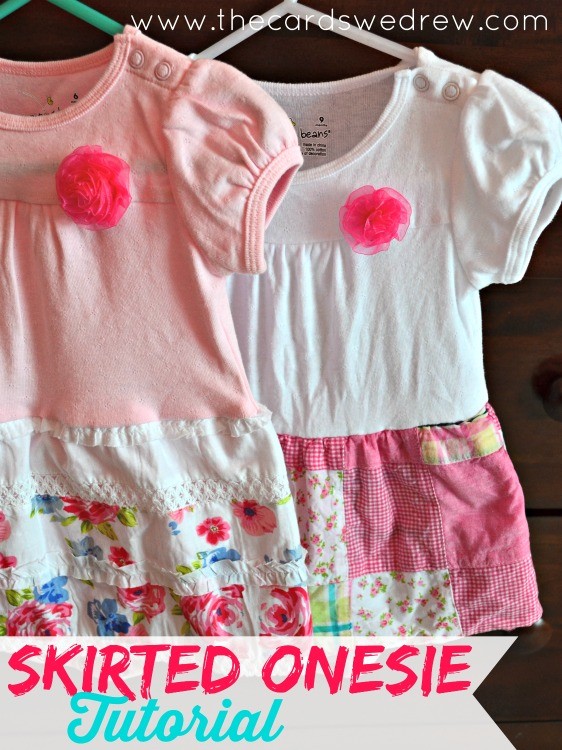
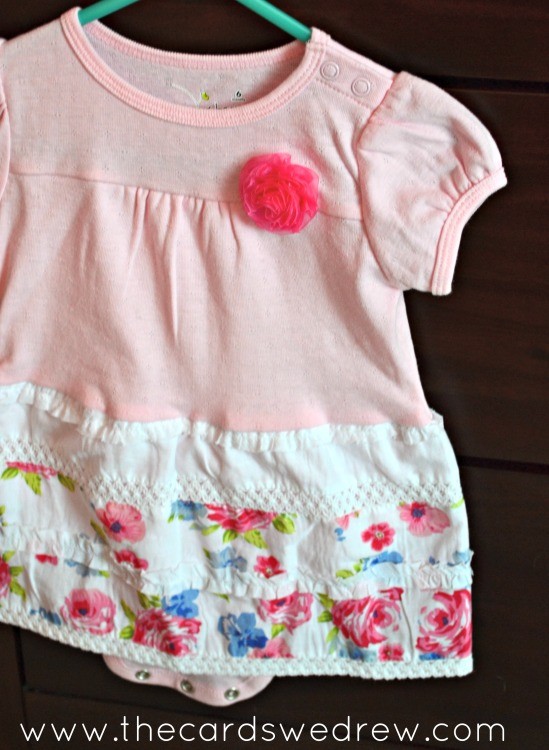
Once the bottom was sewn on the whole skirted onesie was done!! Check out the two that were made!!

Of course, my daughter already stained this one with a “poop up the back” incident, but we also have this cute one my mom made first…
For about $10-$15 (depending on the fabric you choose to purchase), you can make this cute little onesie for your little girl! I keep thinking of all the fun ways I could make them for different holidays and occasions!! Halloween?! Christmas!? And they would make really fun baby gift ideas too!
Thanks to my mom for all her hard work on putting this together! She’s the best, huh!?


Sooooo adorable! LOVE these!
Oh my cuteness!! Love this idea, Abbey! 🙂
I love how these are made! I made them for my girls when they were little but never thought to keep the bottom part as well – just attached a skirt to a cut onsie and used shorts or pants under. Genius! My first had a few poop up the back episodes, and I found spray and wash, 5 minutes prior to tossing in the wash worked really well for most things.
Cute!!! I love the patchwork fabric.
Navy Wifey Peters @ The Submarine Sunday Link Party!
So, I know this isn’t a super new post, but if you wash that garment in cold water and then dry it in the sunlight, that stain your daughter left will disappear without damaging any of the remaining fabric. It’s a trick I learned when I first started cloth diapering my oldest! And it works with most food/body fluid stains. Super cute tutorial, by the way.
Good to know!! Thanks!! 🙂
I am excited to make a couple of these for my newest granddaughter!
I hope you don’t think this is a dumb question, but, why cut the onesie in half then sew back together? Is it just easier than trying to sew the skirt on to the complete onesie?
Thanks for your blog.