


This post is sponsored by Plaid Crafts, all thoughts, words and opinions are my own.
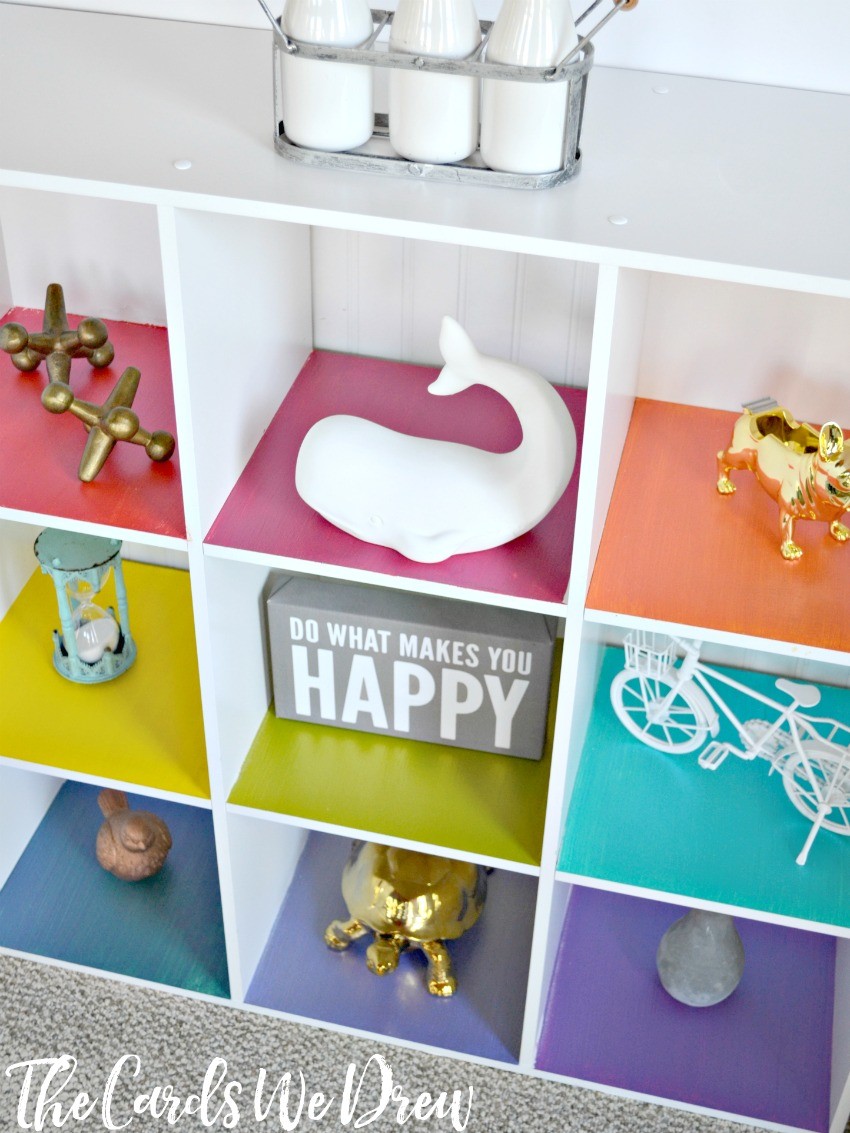
When we made over my daughter’s room last year, one thing I knew I needed was a place for toy storage. Our son has two cube organizers, but our daughter has none. This weekend I got to work and decided to have some fun with the project by making this Rainbow Cubby Toy Organizer with the new FolkArt Color Shift™ paint! Today I thought I’d walk you through this easy and fun project and why I love the new Color Shift™ paint so much!
How to Make a Painted Rainbow Cubby
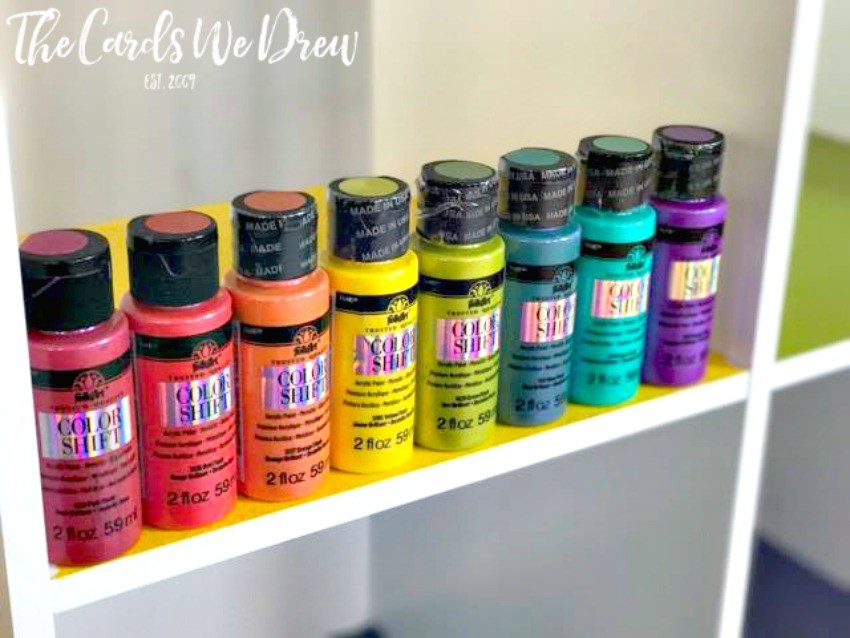
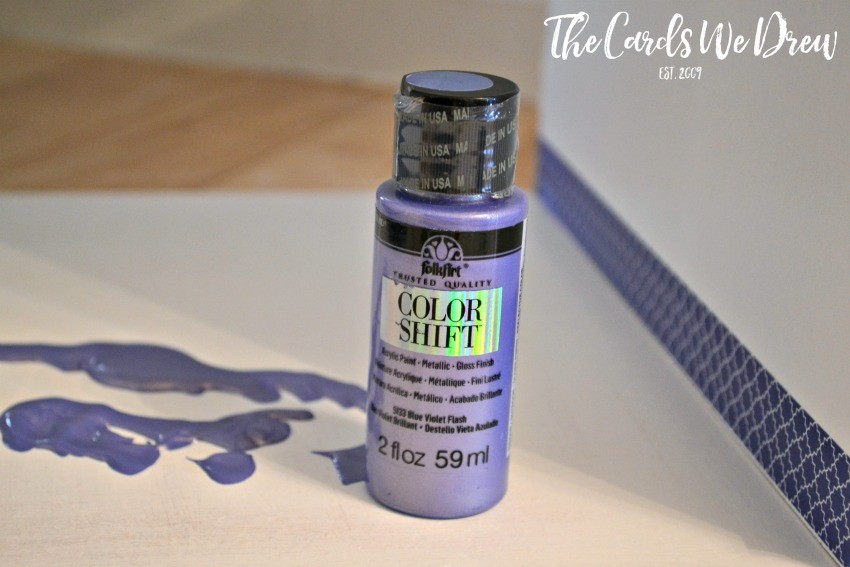
Folk Art Color Shift™ paint is one of the hot new products from FolkArt this year…it creates luster with colors that shift in the changing light. It’s water based and non-toxic and is made in the USA. I love the gorgeous on trend colors and how bright and happy they are and this project let me use ALL of them!
Here’s what you’ll need for this project:
sand paper
Towel and wet cloth
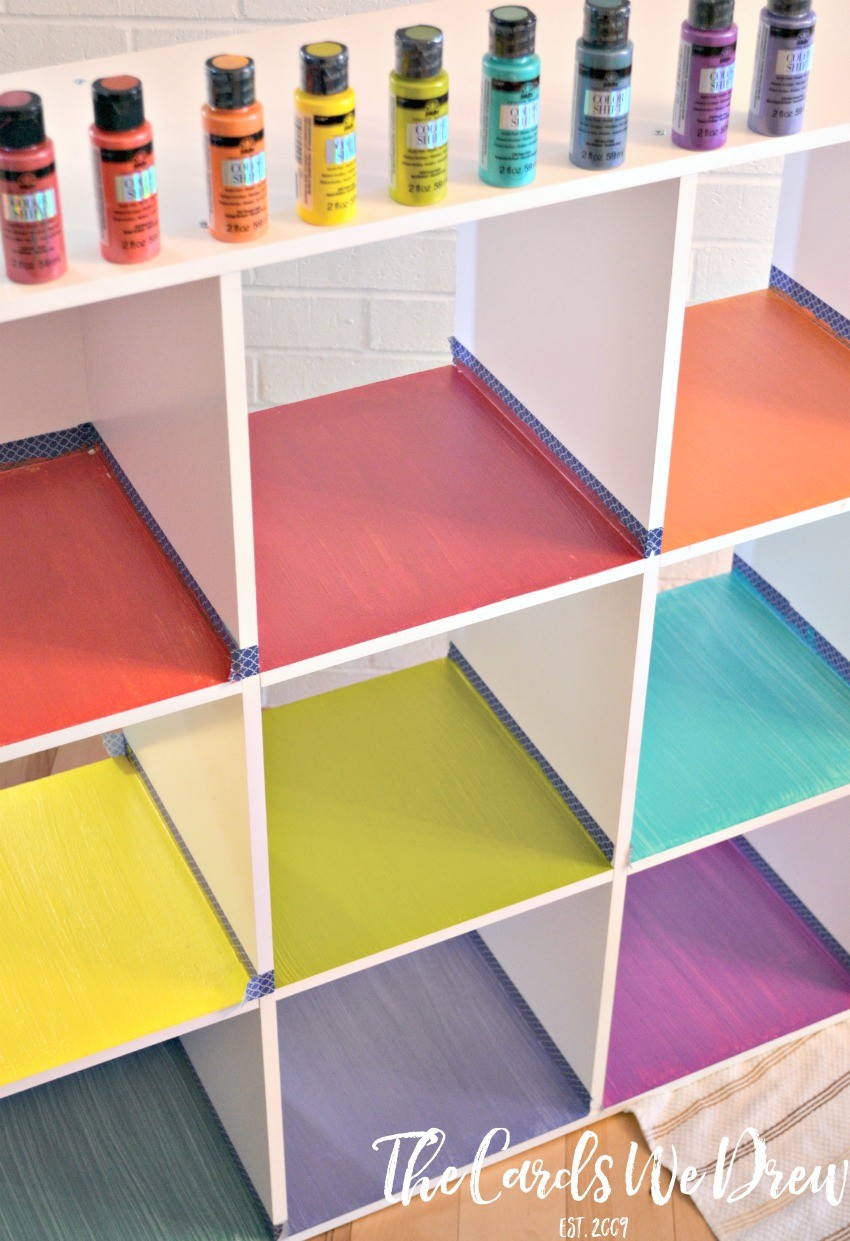
Folk Art Color Shift™ paint in select colors (comes in 2 oz or 4 oz sizes–I used 4 oz bottles)
Paint Brush
Painter’s Tape
How to:
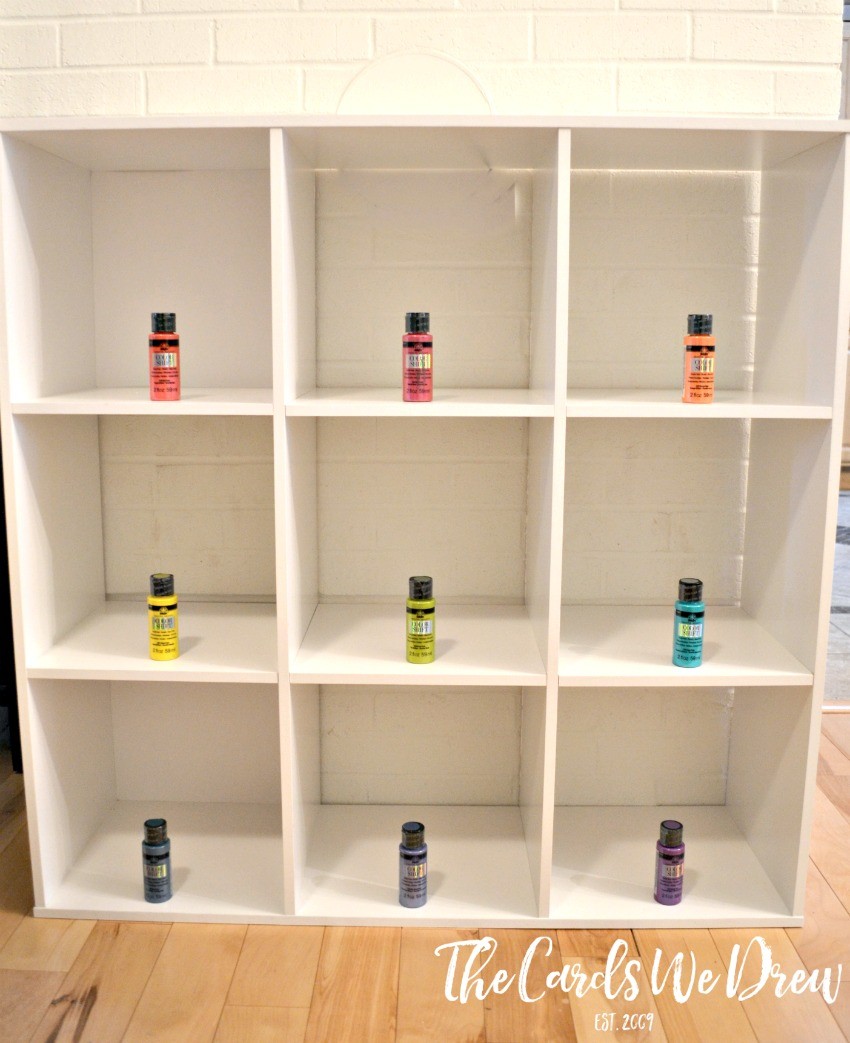
Start by assembling your cube as per the instructions, but leave off the back pieces that create the finished look. It’s much easier to paint without those pieces on.
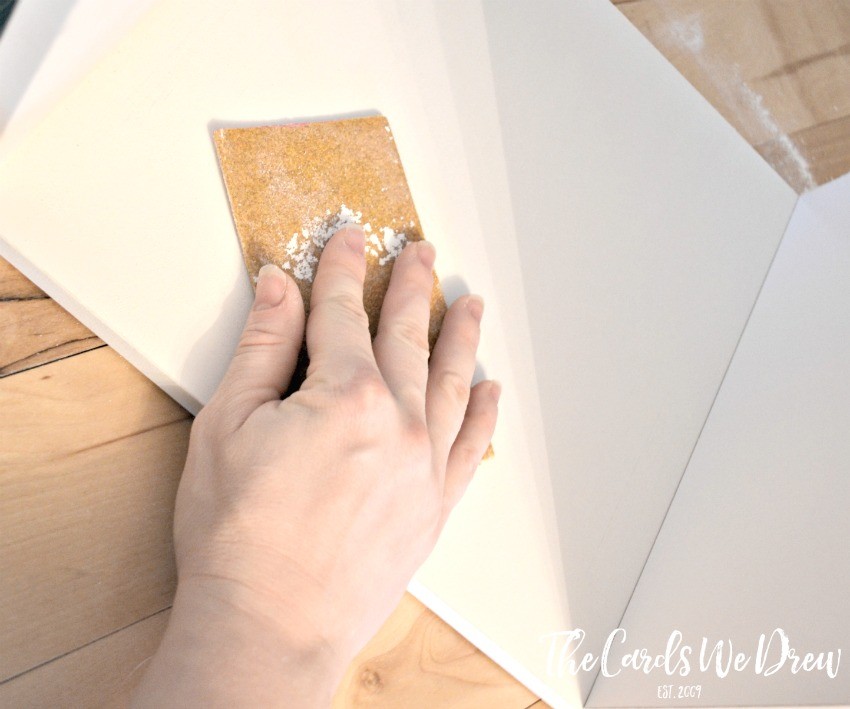
Once assembled, start sanding the bottom of each cubby area with sandpaper. I sanded gently until I could feel some of the board coming through. The paint WILL NOT adhere to the finish on the cubby without sanding (trust me, I learned this quickly), so don’t skip this step.
After sanding, I used a wet cloth and wiped off all the excess paint I sanded from the cubby, then I used a towel to wipe it dry. se
Next up, the taping. Tape off your cubbies on the sides, this will make painting much easier.
Finally, let’s get painting! I ordered my paints in rainbow order and painted each cubby base with one coat of paint.I allowed to dry completely for a few hours, then added a second coat. Depending on the color, you’ll find that some of the cubbies have paint that goes on easier than others, but don’t be afraid to be liberal with your paint use for this project.
Once the two coats had dried, I added the final cardboard pieces to the back of the cubby and got it all set up. I’m going to fill it up with dolls and books here soon, but let’s pretend that it looks like this everyday, shall we? 🙂
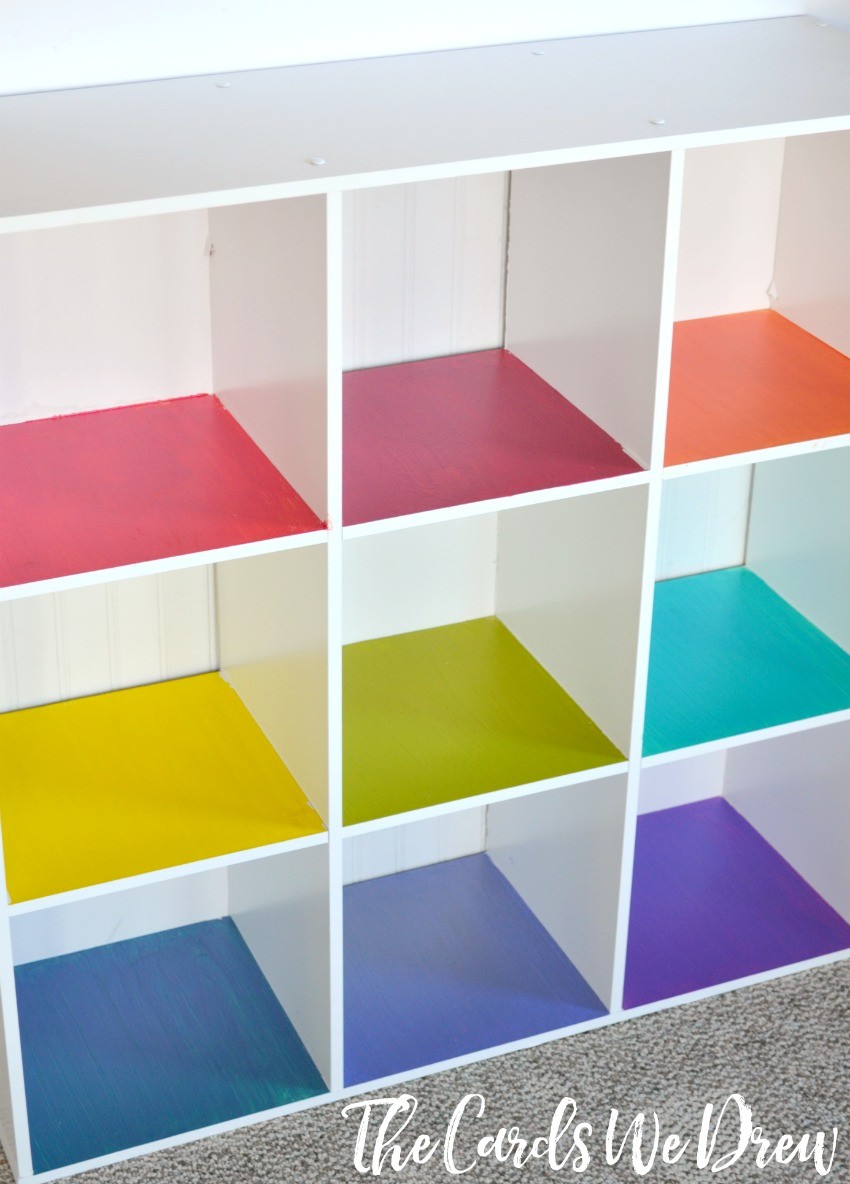
And that’s it! The Folk Art Color Shift™ paint shifts color throughout the day and from different angles, so it’s really fun to have the cube organizer shifting in color! And best part? The paint is for indoor or outdoor use…so think of all the fun outdoor projects you can do this spring!!
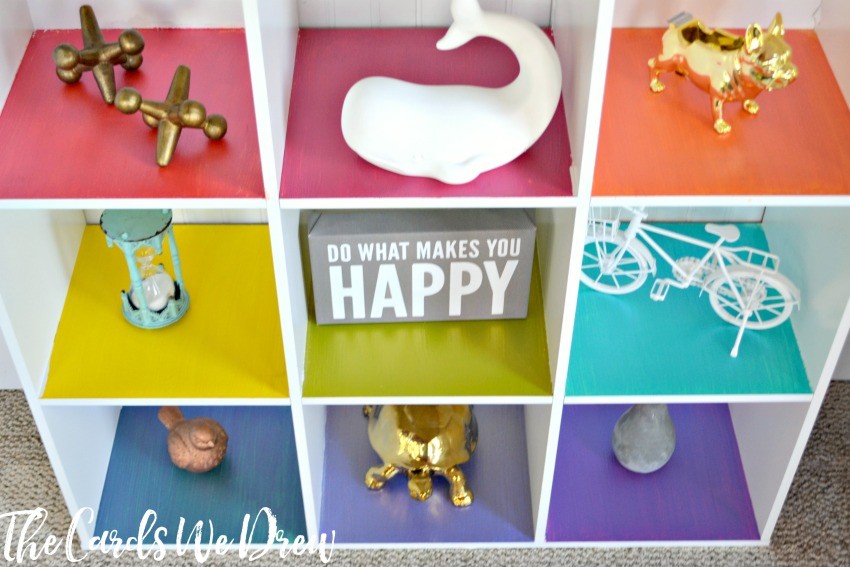
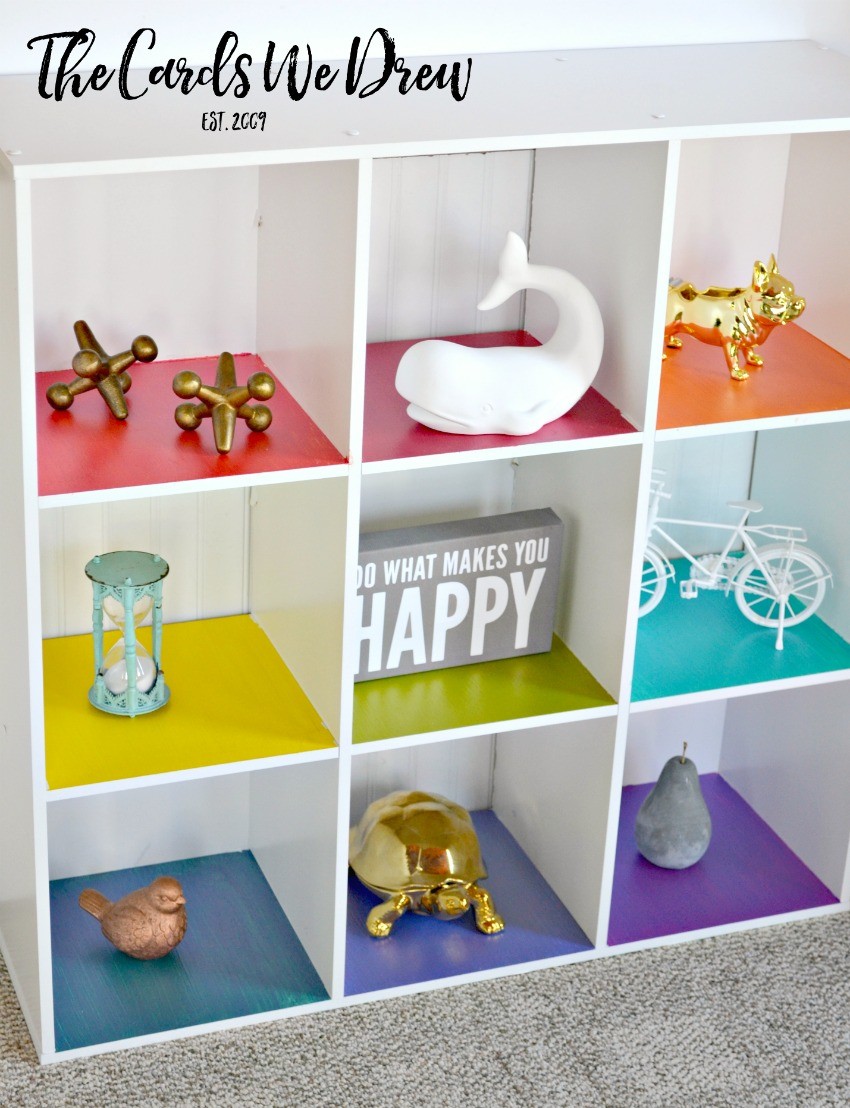
How fun and happy is my little Toy Storage Cubby?! 🙂


I looooove this! I totally want to make one now! So colorful and fun!
Thanks, Amy!
I love the colors you chose! I’m wondering; if you are going to fill it with toys and books won’t most of the color disappear? Would it have been easier to paint the backing in a grid pattern and then allow more color to show?
Hi Donna, valid point for sure. I thought about doing the backing, however they only provide 5 backings instead of 9. So it just depends on what you’re willing to do. I filled it up with toys this weekend and it still shows through. I didn’t put the standard little bins in it though otherwise, you’re absolutely right, it wouldn’t show at all. 🙂 Good idea though on your part, I’m sure either way would look great!
This looks great, nice and colourful for the kids, although for sure with my daughter it would end up crammed with toys of all shapes and sizes, maybe this will help her get organised.. nice job..