


 Hello! My name is Ashley and I blog over at My Craftily Ever After. I share a combination of recipes, easy crafts and knock offs! I also co-host a link party on Tuesdays and I would love for you to share your projects with me! I was so excited when Abbey asked if I would come over here and share a project while she was spending time with that cute little bundle of love she has.
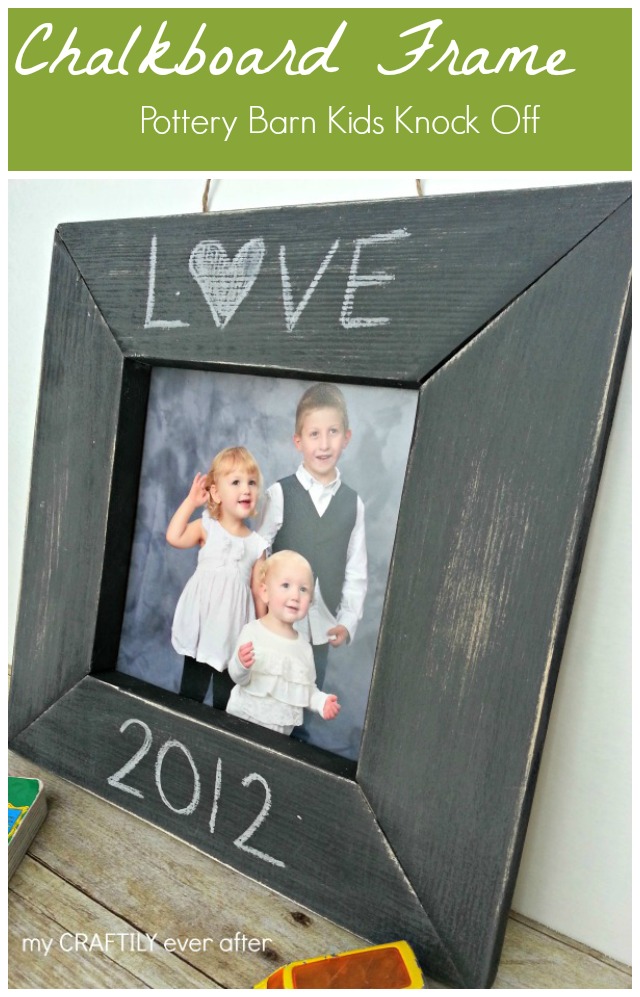
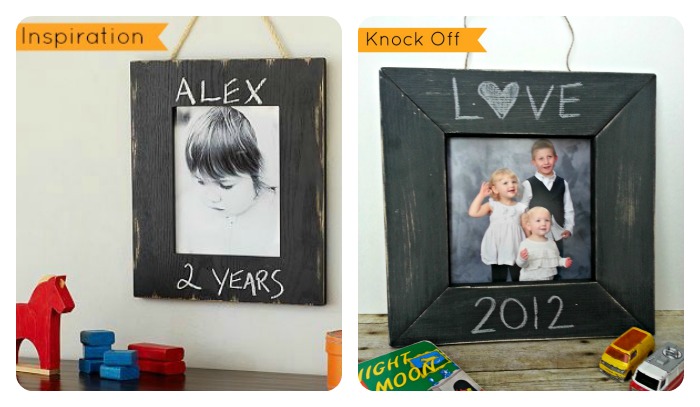
Today’s knock off is such an easy one that I almost feel bad sharing it! I love to skim through the pottery barn catalog and website looking for inspiration and ideas. A while back I saw this cute little frame. I loved the idea of having a chalkboard frame to write cute little notes or doodles, but with a $40 price tag I knew I could make one myself for far less!
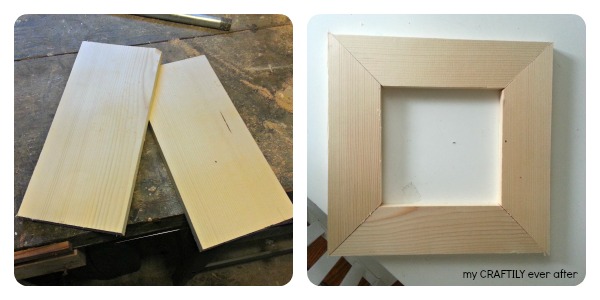
I am all about using what I’ve got so this project started off as two 12″ x 5.5″ boards that were left over from my planked headboard. I started by marking the middle of each board the long way and cutting it down with our chop saw…maybe not the ideal tool for the job, but hey, it worked! Once that was done I cut each of the ends at 45* angle and lined them all up to make sure they all matched up. I spread some glue along the cut edges and then used a couple of finishing nails in each corner to secure the boards to one another.
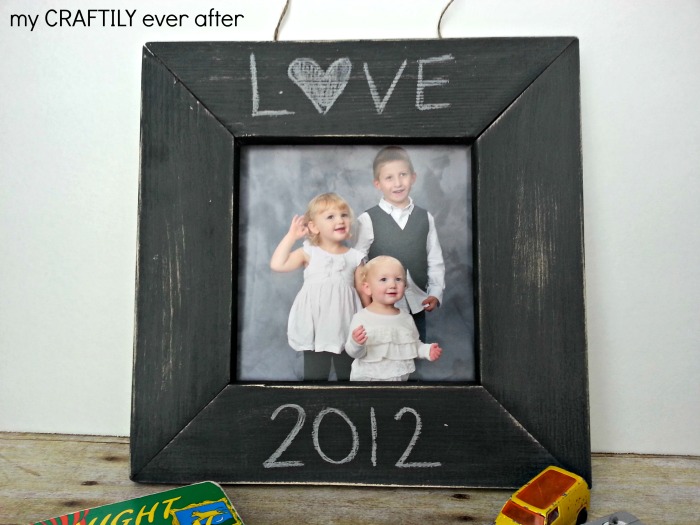
I let that dry for a couple of hours and then went back and gave the whole thing a light sanding. I brushed off the sawdust and laid it out to give it a couple of coats of chalkboard paint. I ended up doing two coats to make sure it would be a nice writing surface for the chalk. After letting that dry completely, I went back over it with some sandpaper on the edges to lightly distress it and give it some more character. I added a piece of twine for hanging by tying little knots in each end of the twine and the attaching it to the back of the frame with a couple of staples. The knots keep the twine from sliding under the staples, causing the frame to fall. The pottery barn frame used a piece of Plexiglas in the opening, but I didn’t have any of that lying around so I just skipped it. Instead I taped my photo to the back of the wood to hold it in place. I figure this makes it super easy to change it out anyway!

So there you have it! I happened to have all the supplies for this project on hand so it didn’t cost me anything! Take that Pottery Barn! Have you ever knocked off a project you saw in a magazine or catalog? What was it? How did it turn out? If you want to see more fun knock off come check out my blog every Wednesday! You can also follow me on Facebook, Instagram, Twitter and Pinterest!


Comments 1