


This is a sponsored post written by me on behalf of Glad for IZEA. All opinions are 100% mine.
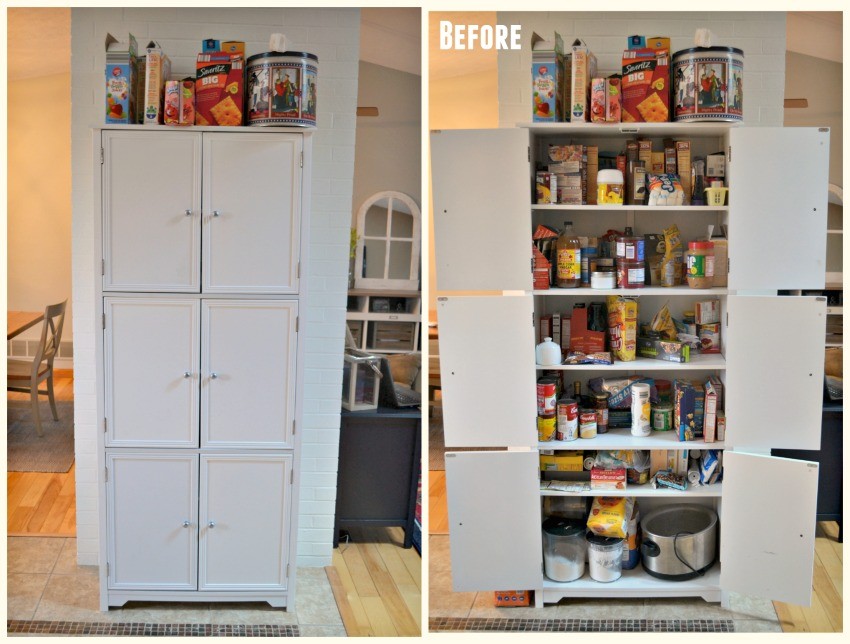
A few weeks ago I shared how I got down and dirty with my fridge and cleaned it out from top to very bottom. Today I’m tackling our pantry, which is a much simpler job, but nonetheless it can be a lot of work if you don’t stay on top of it. Pantry organization is critical for us because when we moved into an older home last year, we suddenly became pantry-less. In an effort to free up cabinet space, I purchased a free standing cabinet pantry last year that has taken over the majority of our dry goods in our kitchen. Today I want to share a few simple ideas and tips for Pantry Organization and how you can tackle your mess and keep it clean!
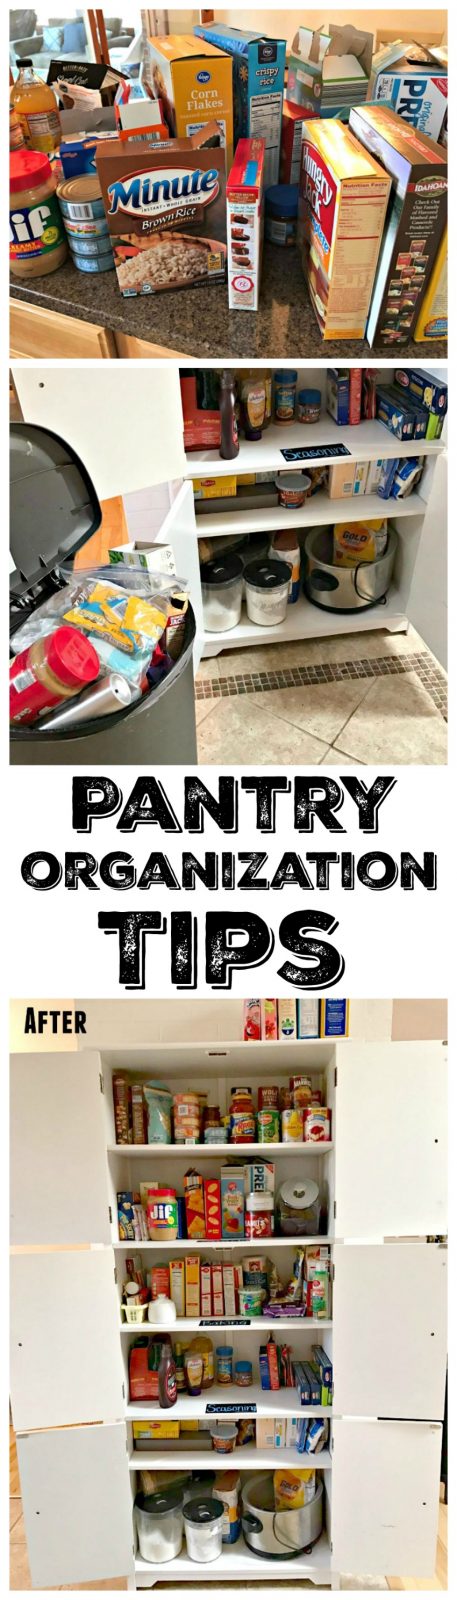
1. Purge.
Pull everything out of your pantry so you can see what you have. Start from the top and work your way down. This is helpful because all too often we find items that have slipped between the cracks or that are expired or no longer needed.

Look over EACH AND EVERY item in your pantry and group like items together. For example: canned goods, cereals (hot and cold), seasoning packets, snacks, bread items, side dishes, and more.
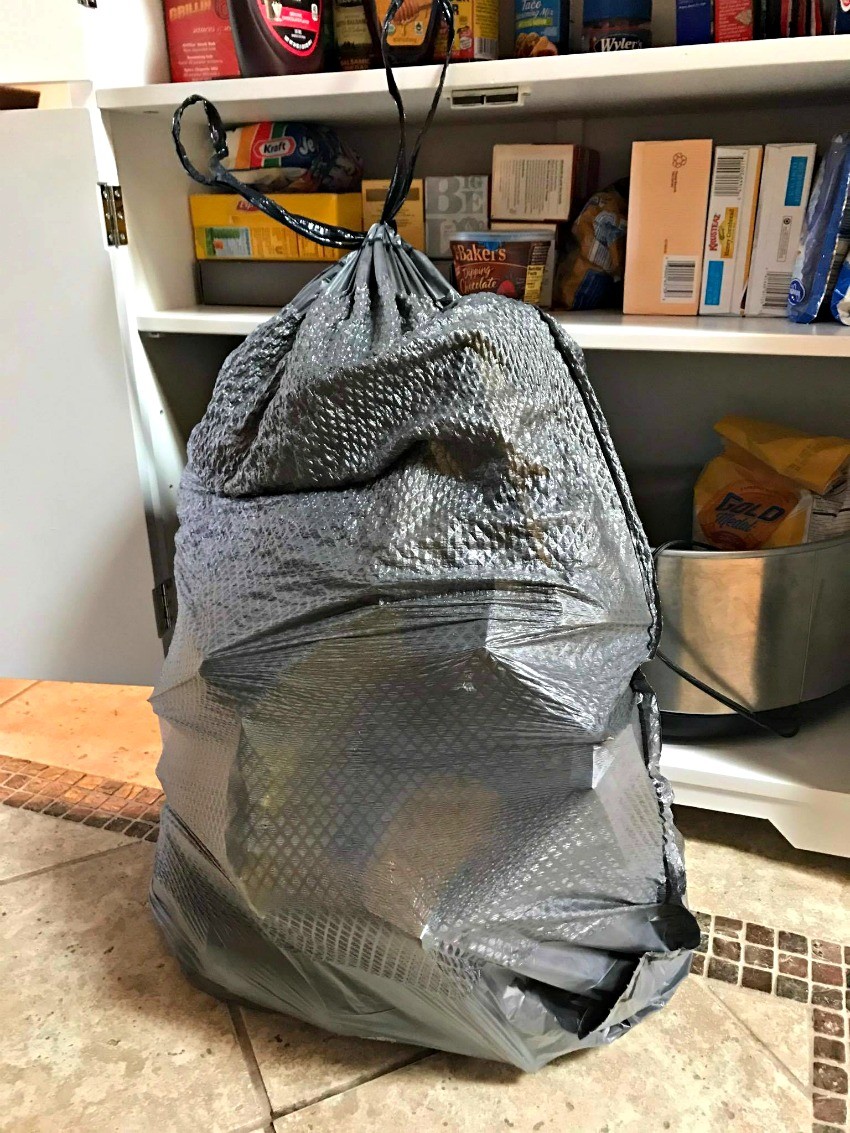
Check dates on everything and throw out anything out of date! And when I’m tackling large jobs like this, it’s important to have a strong trash bag on hand because you guys…NOTHING is worse than cleaning your pantry or fridge of old food and then having the trash bag RIP and spill your contents all over the floor!
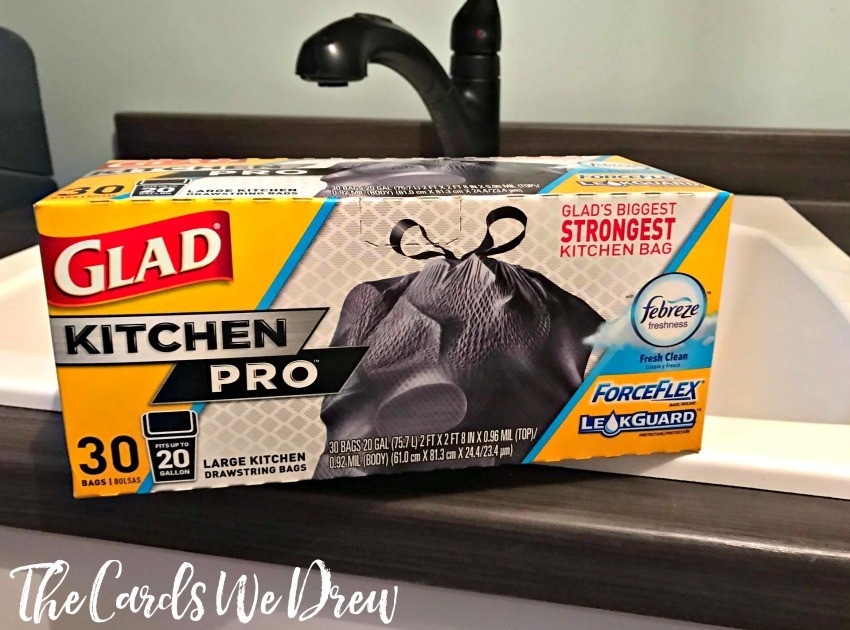
I rely on the new Glad KitchenPro trash bags. They have the same great protection as kitchen bags with the capacity and strength of an outdoor black bag–so they’re perfect for this project. And with added leak protection they provide double bag protection for big projects like this. And most importantly, they neutralize bad odors with the help of Febreze. You can find Glad KitchenPro trash bags available at Target .

2. Label and get organized.
Now that you have purged and inventoried your items and throw away the old food items, it’s time to get organized.
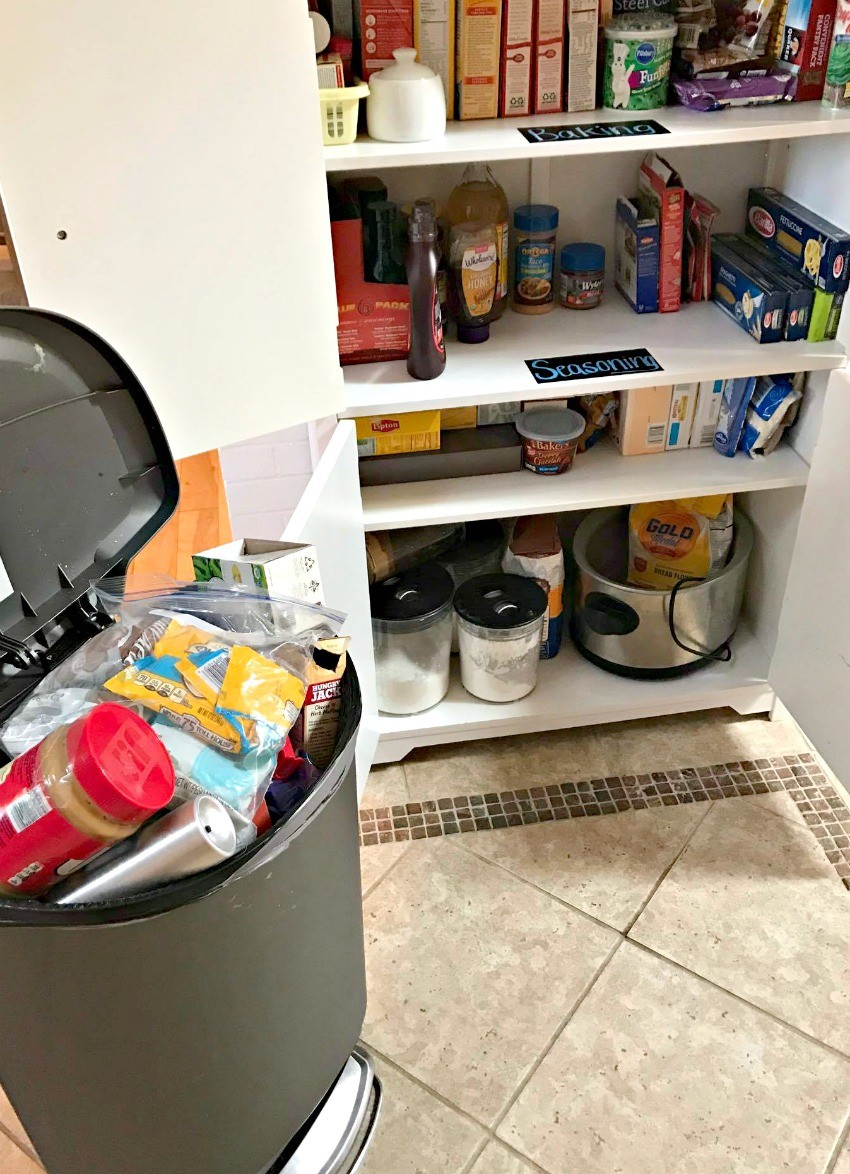
Wipe out your pantry with a washcloth and dry it off nicely. Then start labeling. I purchased chalkboard contact paper for this job and used chalkboard markers to label the different areas of the pantry. The chalkboard was nice because you can erase them and re-use them as time goes on and things move around!!
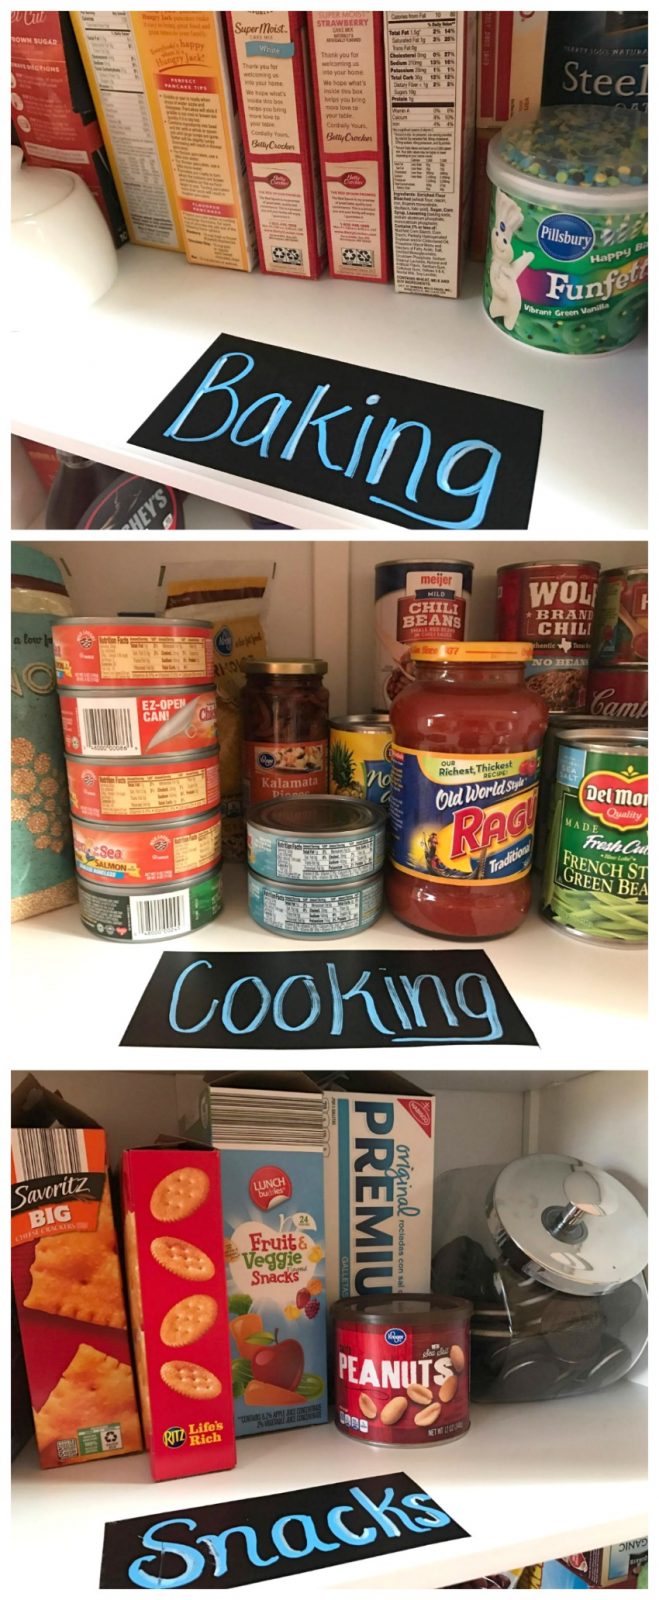
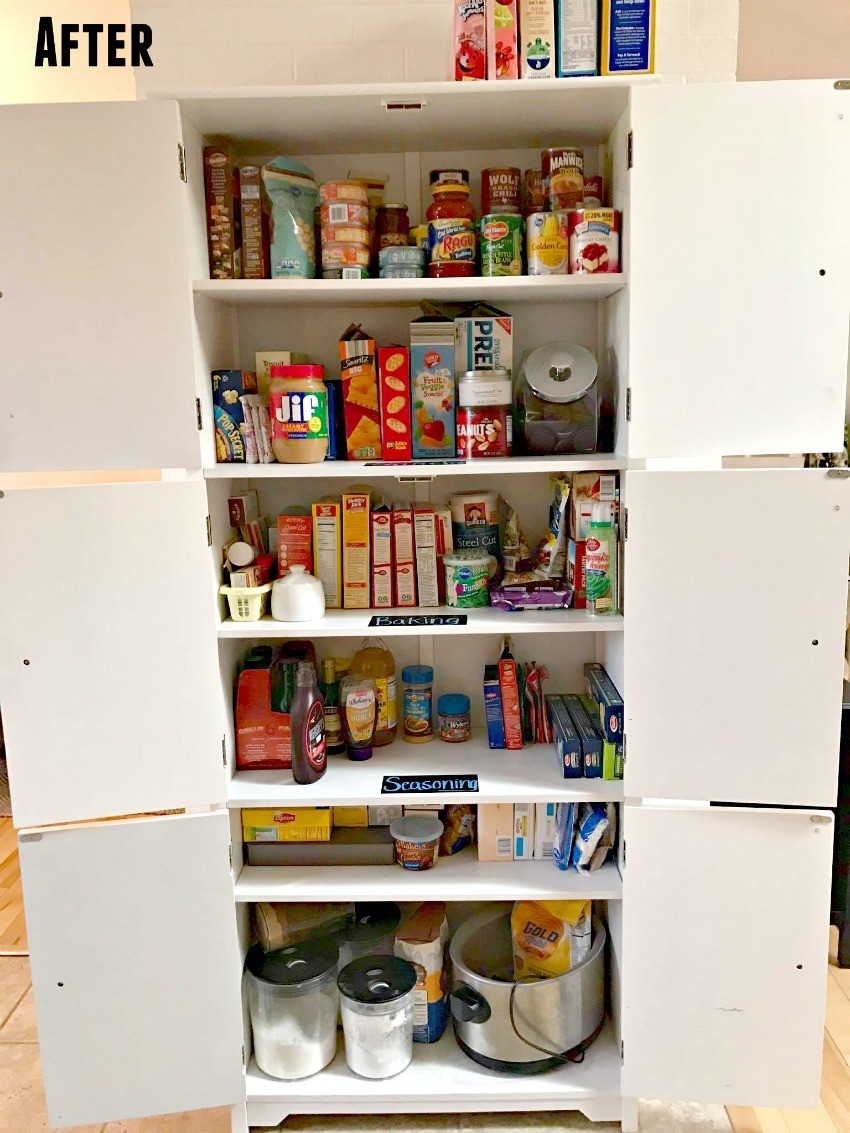
Once you’ve labeled, carefully put everything back inside. Take note of things like turning everything in the same direction, grouping brands or products that are the same, and even making use of storage containers and organizers if your budget allows.
3. Stay diligent.
Finally, stay diligent. It’s REALLY easy to get disorganized again, especially if you have kids. So try to go in once a month or two and make sure that you are rotating your food items so the oldest are in front and the newest in the back. This will help you constantly remember to use old food first.
And there you have it! It took me about 1 hour to get my pantry organized and cleaned up so my family and I can find things more easily.
What are your favorite tips for cleaning and organizing your pantry!?


