


This post is sponsored by Plaid Crafts, but all thoughts, words, and opinions are my own.
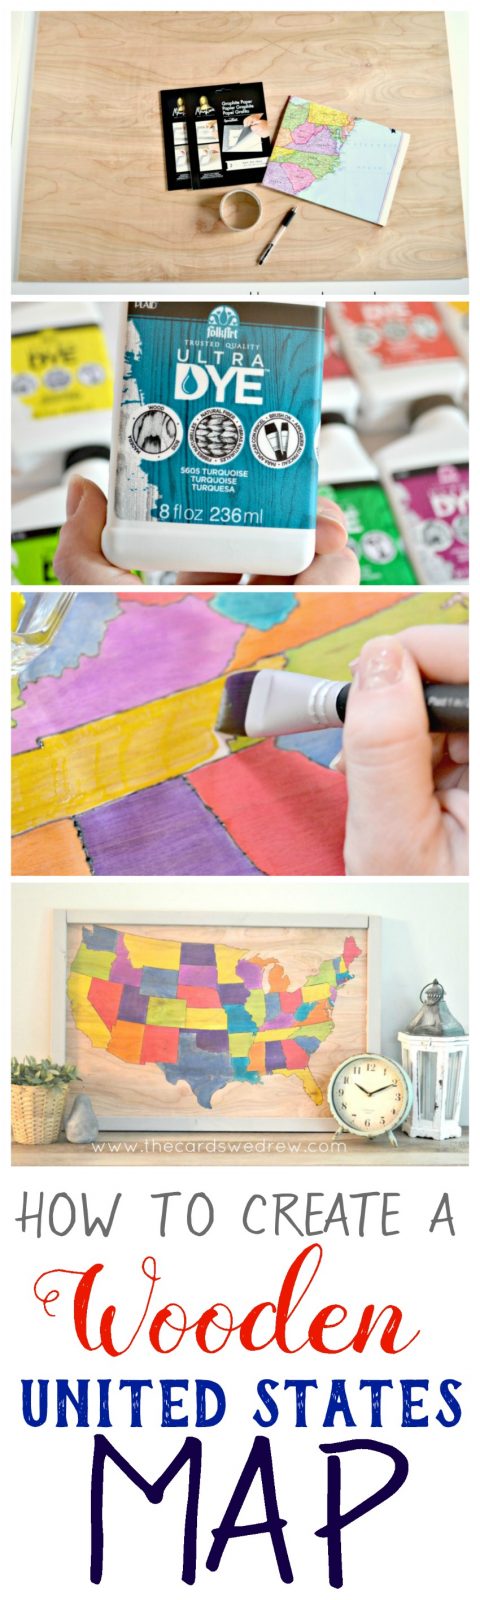
Just last week I shared with you my Geometric Wall Planters using Plaid’s newest line of Milk Paint. This week I’m excited to debut their next AWESOME line of FolkArt Ultra Dye Paint!! This paint is SOOO fun and I got to play with it at the Plaid headquarters in March. The dye almost acts like a stain and comes in the most fun, vibrant colors!! I’ve been looking for a unique idea for my son’s room and I really wanted something educational where we could put pushpins to places we had been, so I decided to use the FolkArt Ultra Dye to create a DIY United States Map!
Since I know not everyone has access to cutting machines, I decided to forego the typical vinyl cut out I would do for a post like this and try a new approach.
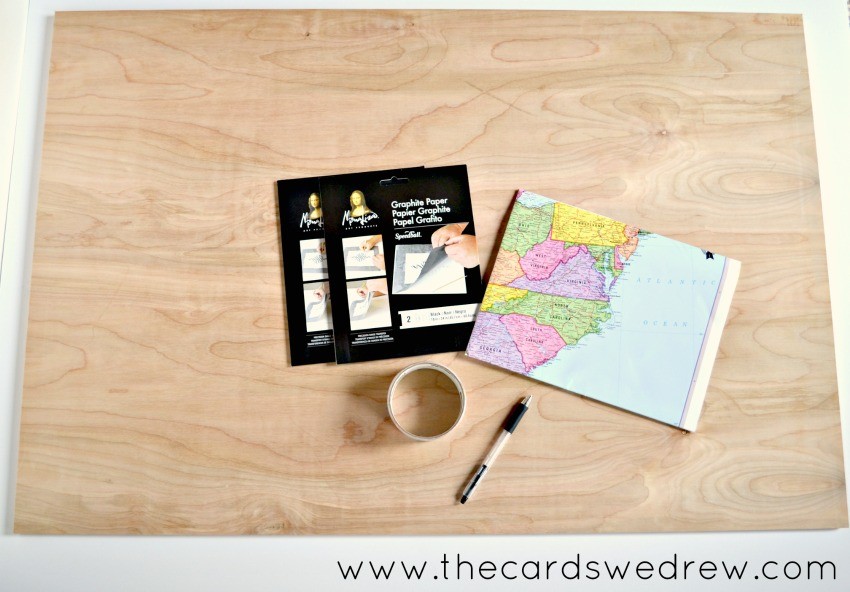
Here’s what you need for this post:
36″ x 24″ piece of cedar plywood cut at local hardware store
2 – 24″ pieces of trim for sides
2 – 33 1/4″ pieces of trim for sides
wood glue for trim
FolkArt Milk Paint in Monument Gray for trim
FolkArt Ultra Dye Satin Varnish
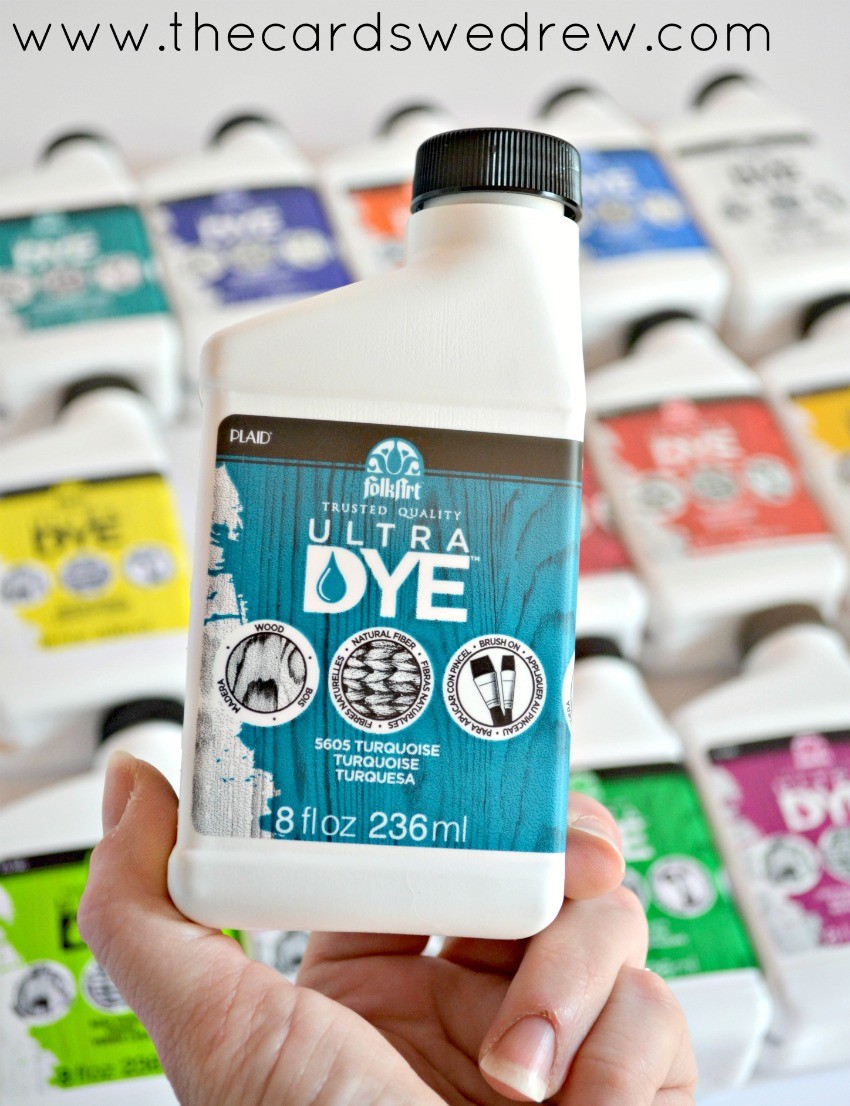
FolkArt Ultra Dye in colors of choice (or ALL of them for lots of color)
2 – Jumbo Sheets of Graphite Paper (for tracing)
pencil and tape
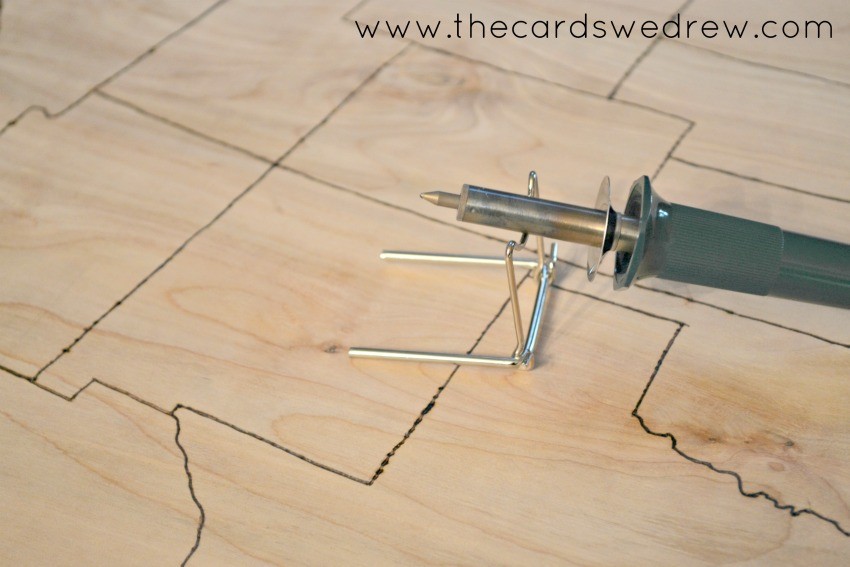
Plaid’s Wood Burning Tool (optional, but creates more depth on the map)
How to:
First, I had my 36″ x 24″ piece of cedar plywood cut at the local hardware store. I gently sanded it and all it’s edges and wiped it clean.
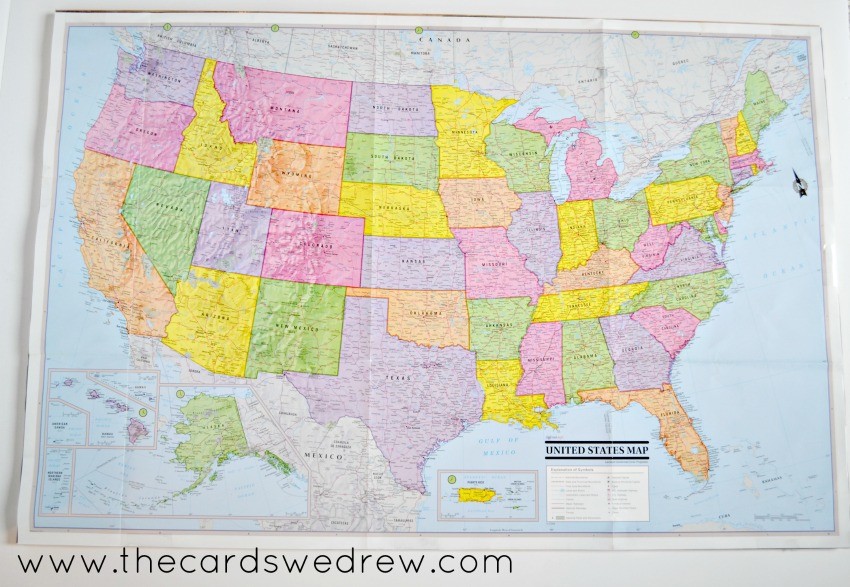
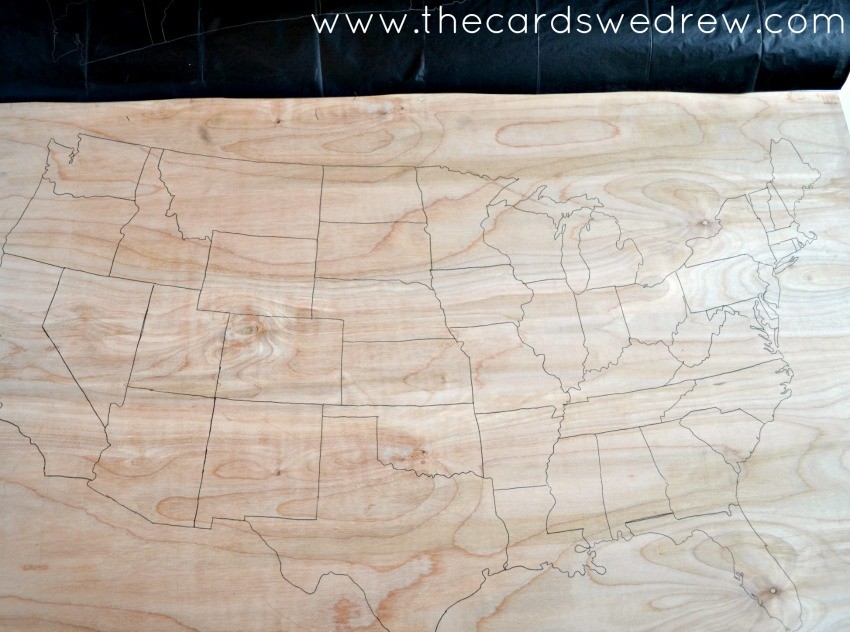
Next, I taped my two sheets of graphite paper securely onto the wood, then layered the map over top of it again with tape being sure it was held in place tightly.
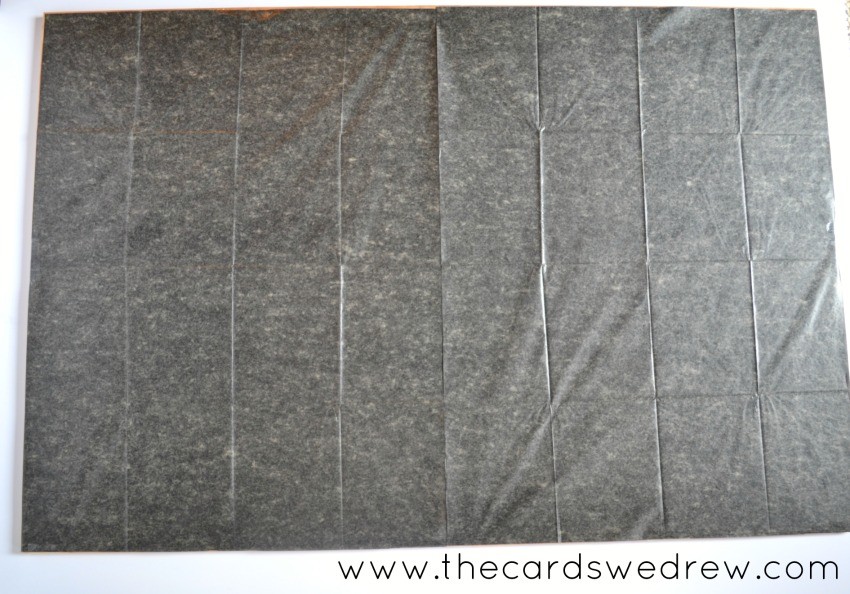
Then I began tracing all the states with a pencil so that the image would transfer onto the wood.

Once it was traced, I removed the graphite paper and the map from the bottom and sides to see how things turned out. I suggest leaving it taped to the top of your board so that if you have any issues, you can easily flip it back down and re-trace your original points.
Next, I started the process of using the wood burner to burn the image onto the wood. This took a bit of time and you need to go slowly to make sure you don’t mess it up. I felt like this step was needed to make sure that the paint didn’t overlap or run into each other too much and it gives the map more definition.
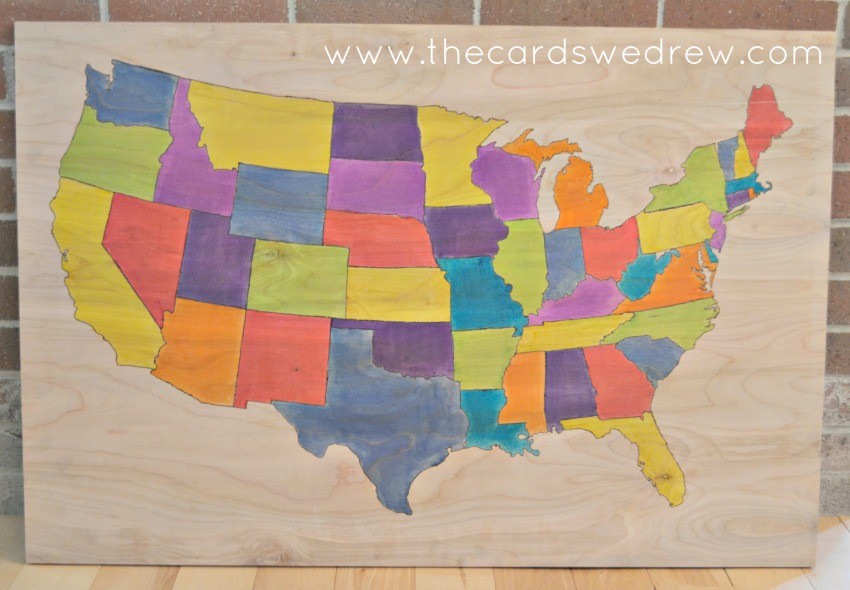
After the image was burnt onto the wood, the fun part started and I chose my colors of FolkArt Ultra Dye paint and painted each state individually. FolkArt Ultra Dye is a new product just recently released…it is used for dyeing porous surfaces such as unfinished wood, baskets, burlap and natural fibers.

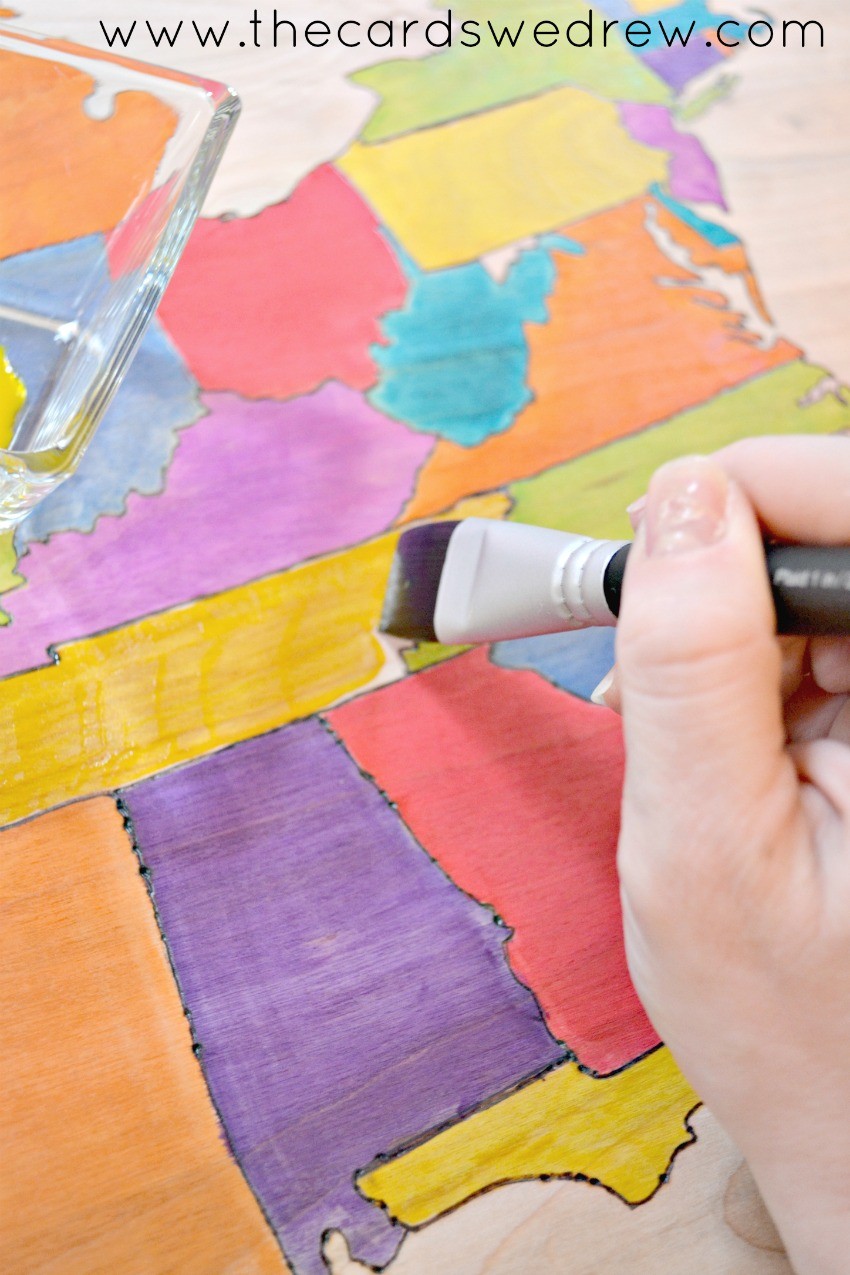 When I got my FolkArt Ultra Dye brush out, I was concerned it would be too big for the small spaces I was painting, but I’m pleased to report it was PERFECT for my project and for all the states, big or small. The brush got into all the nooks and crannies with ease and didn’t spill over onto the sides.
I will add that the wood burning really helped keep the dye in place and kept everything from combining together. Don’t be intimidated by woodburning, it didn’t take long and I think it really made a big difference!
 Finally, I applied FolkArt Ultra Dye Satin Varnish to my creation to add a layer of protection, then I added my finishing pieces onto the sides of the wood. I really wanted something neutral, so I used FolkArt’s Milk Paint in Monument Gray to paint the trim and then I glued it in place (I’ll nail it in place once I’m able to get a hold of my dad’s nail gun).
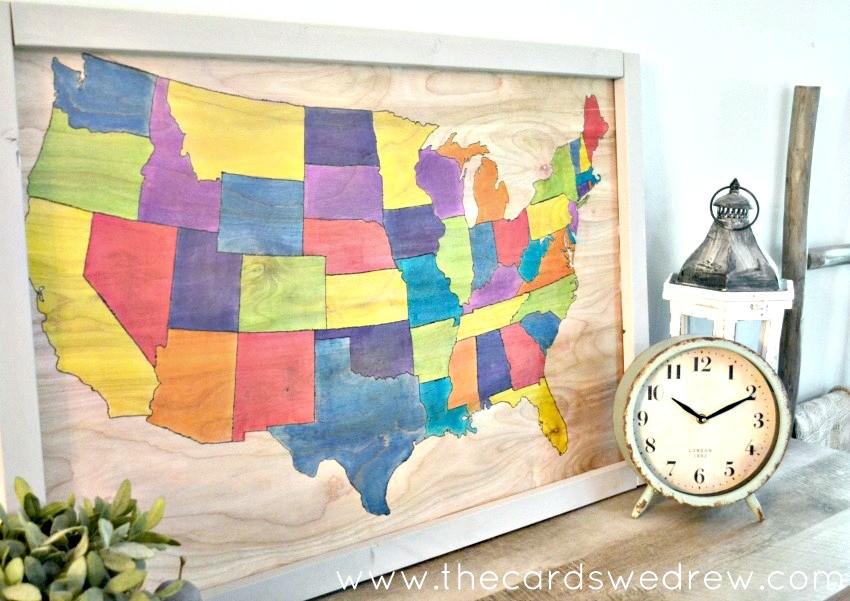
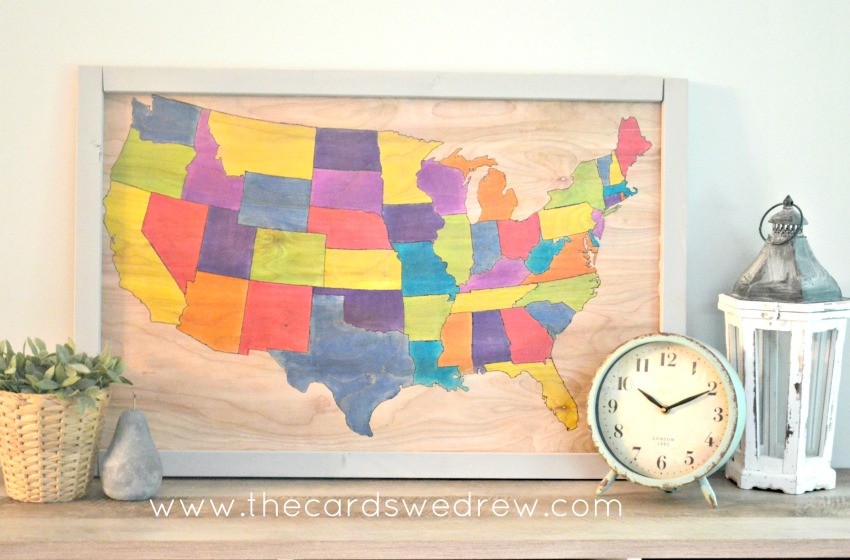 We now have a really pretty and unique piece of artwork for our son to mark down all the locations in the U.S. he has visited, as well as the ones we still need to visit!
I highly encourage you to check out Plaid online to see all the fun new products coming out soon and what all my fellow Plaid Creators are making with these new products!! On Instagram search hashtag #plaidcreators to see all the fun stuff we’ve been up to!


So cool Abbey!
Such a creative idea, and it turned out SO great! Wow! Love it, Abbey!
This is such a great idea! Thank you for sharing.
Thanks Alicia!