


This is a guest post from our monthly contributor, Noelle Juday. You can find more from Noelle at NBrynn, where she blogs regularly about celebrating life and the power of storytelling.

You’re in for a treat – truly! I came up with these chocolate & peanut butter rice krispy treat pops for my sister-in-laws Black & Gold Bridal Shower a few weeks ago, and they were such a hit, I cannot wait to share the recipe with you today. These taste delicious, are easy to make and look great…can it get any better?!
Here’s what you’ll need to buy:
INGREDIENTS:
6 cups mini marshmallows
3 Tbs. Butter
6 cups Rice Krispy Cereal
Peanut Butter Cups
1/3 cup peanut butter (not crunchy)
1/3 cup dark melting chocolate (I used Ghiardelli’s)
Lollipop sticks (from local craft store)
Small cellophane bags (if packaging)
Here’s what you’ll need to do:
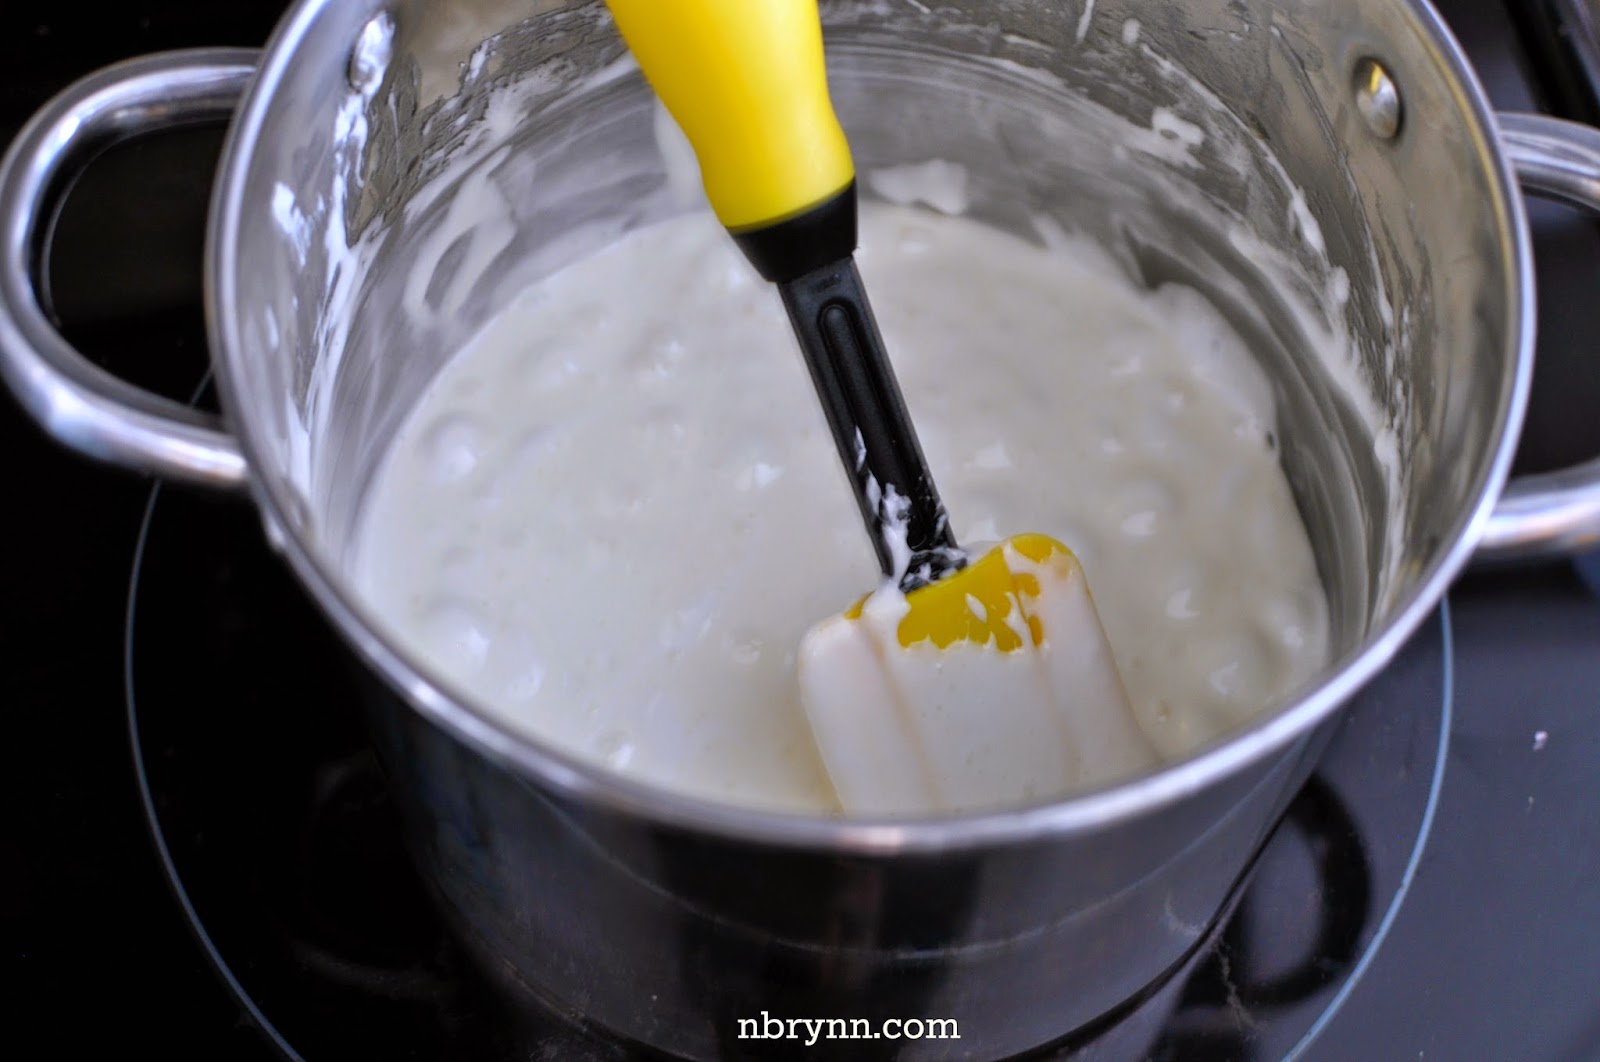
1) Follow the instructions on your cereal box or marshmallow bag for making Rice Krispy Treats. I made mine by melting the marshmallows and butter over low heat, stirring constantly until fully melted. This takes several minutes, so just keep stirring until the consistency is smooth and creamy. 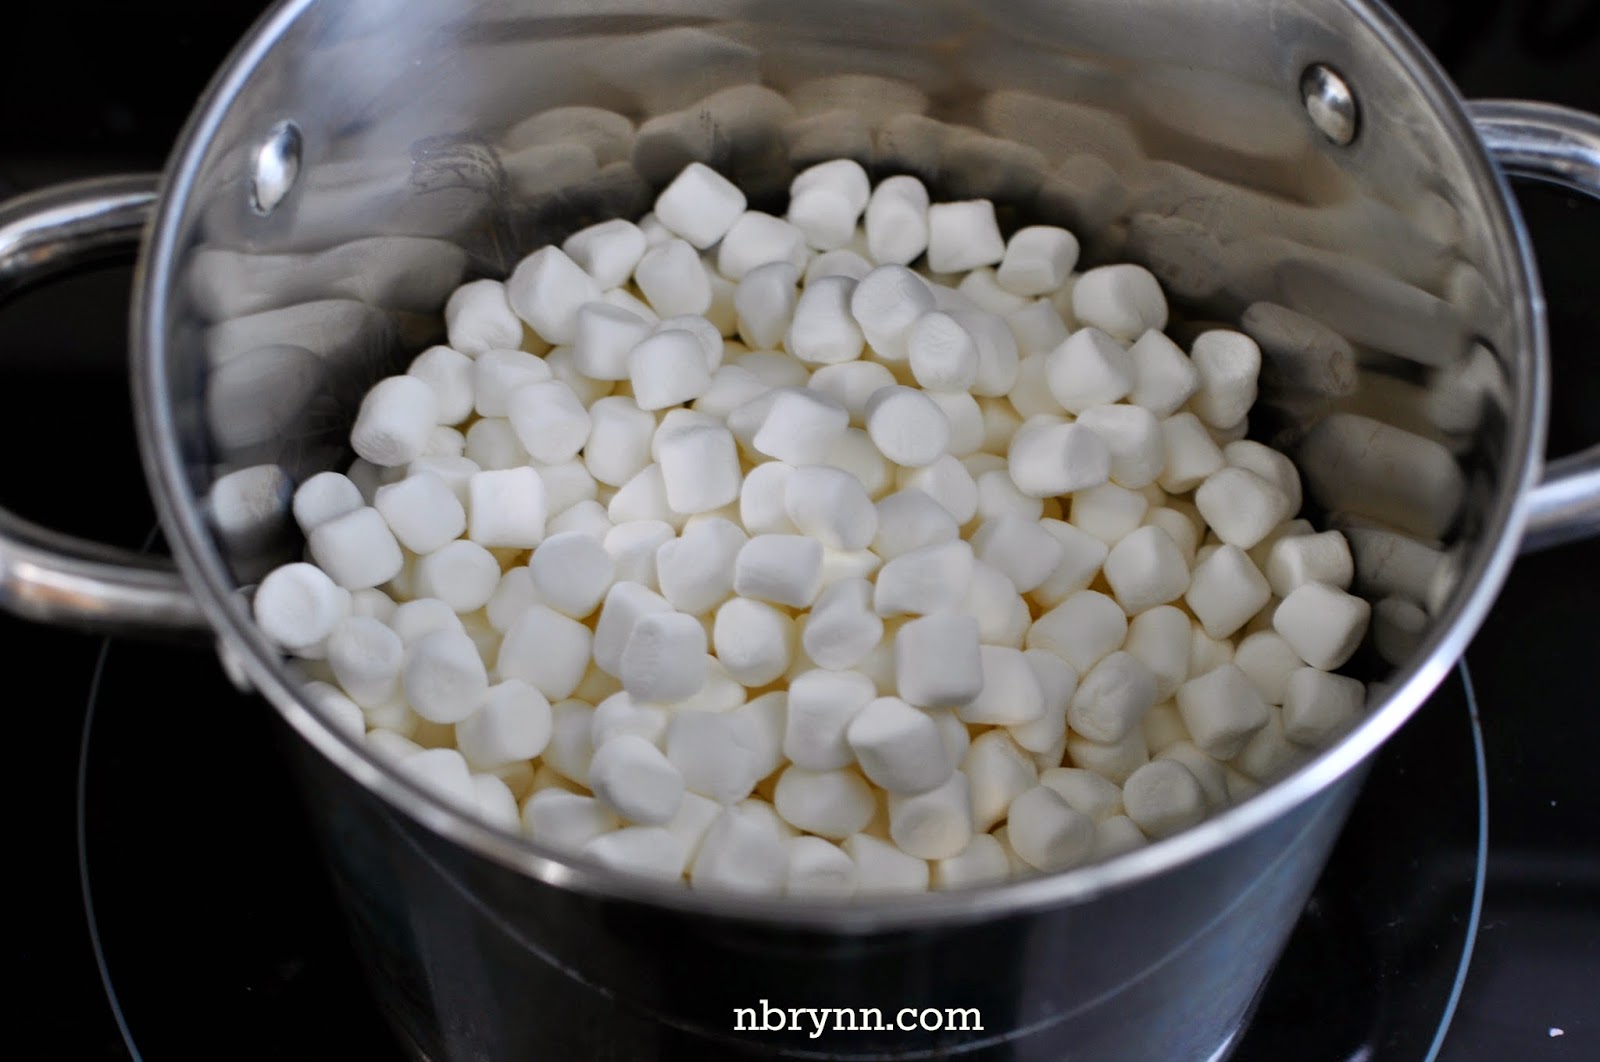

2) Once your marshmallow/butter mixture is melted, remove from heat and mix cereal right into pot. Stir well until all cereal is evenly coated.
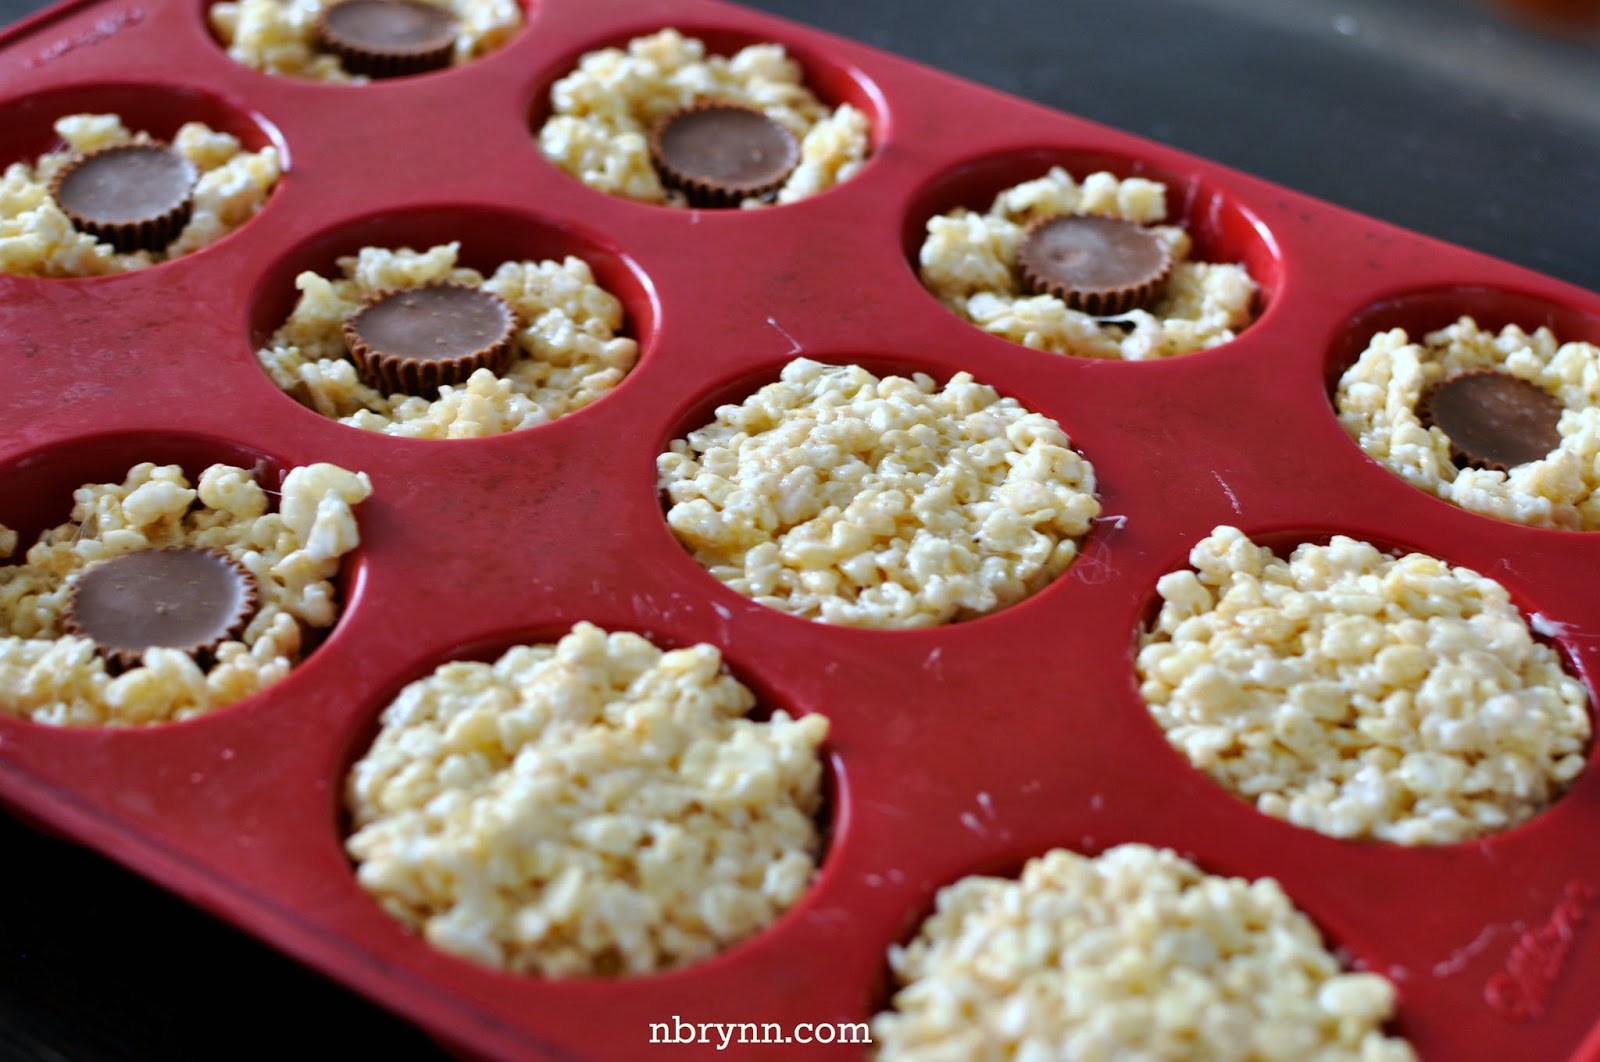
3) I used my Wilton silicone cupcake pans, because their flexibility makes things really easy when it’s time to take the Rice Krispy Treats out of the pan. You’ll be able to just bend and pop each treat right out! Lightly spray bottoms and sides of pan with cooking oil, then fill each section about 2/3 full.
NOTE: When the mixture is still warm, things are going to be very sticky. I kept some butter handy in order to coat the tips of my fingers, which made transferring the treats a bit easier.
4) Push a peanut butter cup down into the center of each treat, being sure that there is plenty of rice krispy treat on the bottom to keep the peanut butter cup from showing through the front.
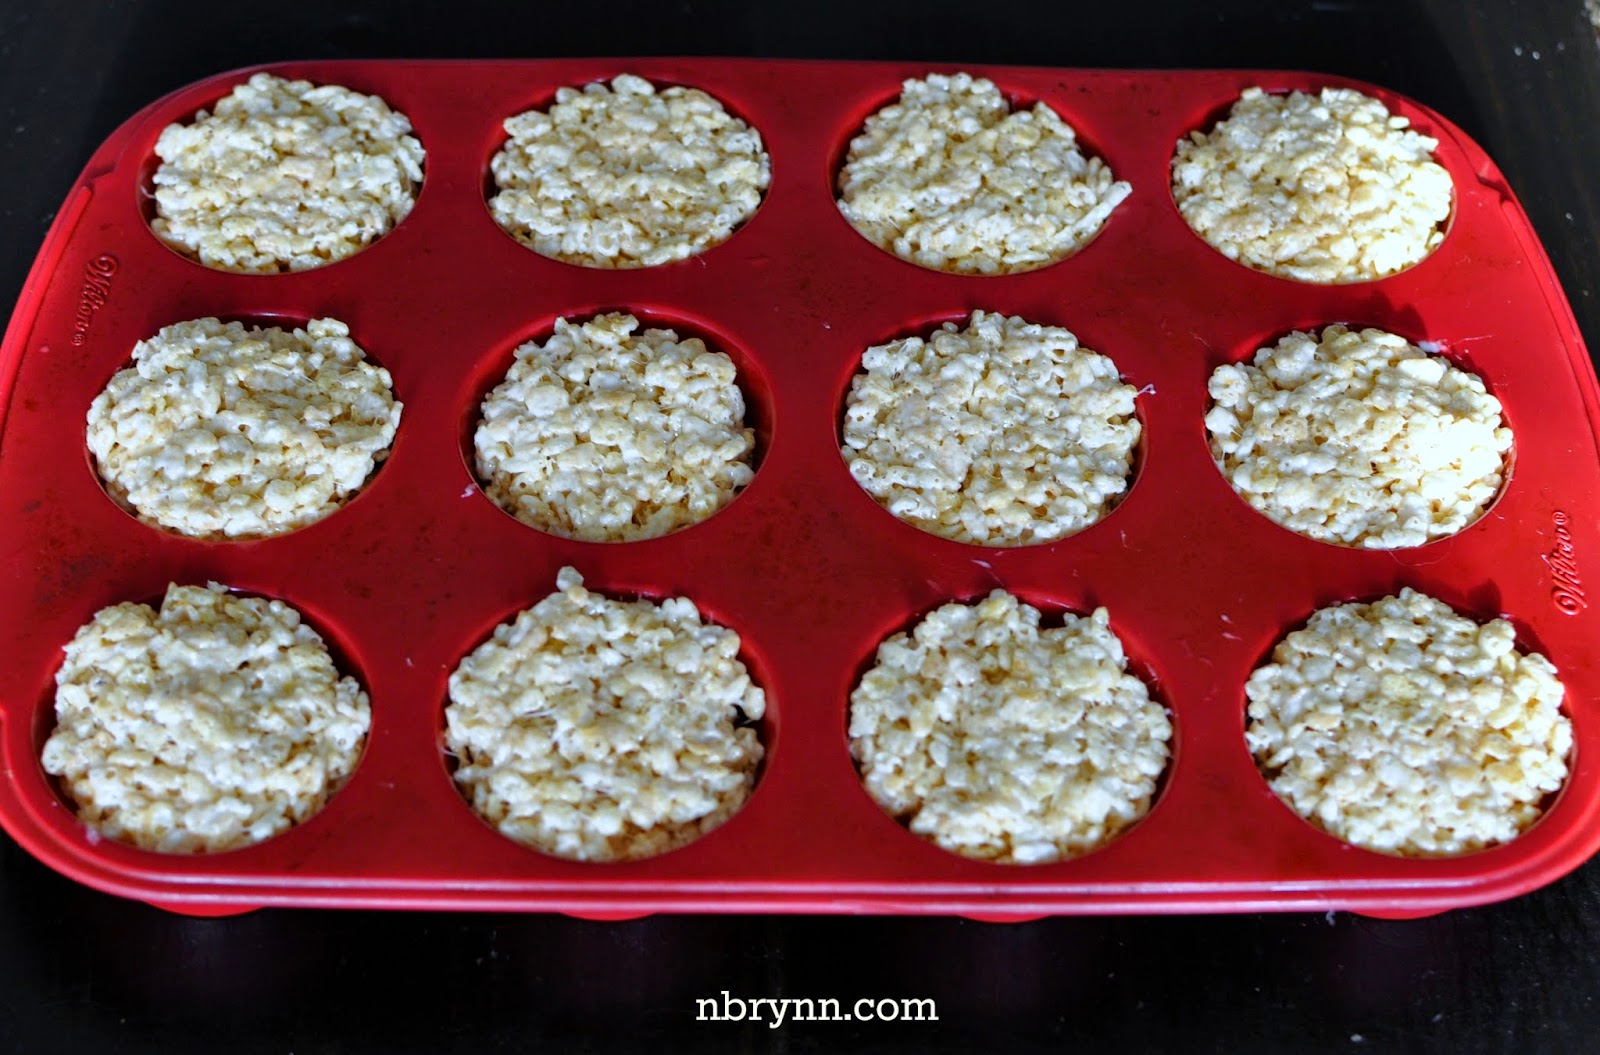
5) After adding a peanut butter cup to each treat, finish filling each section with the remaining rice krispy treat mixture, being sure to press down firmly. Then set aside and let cool for an hour or so.
NOTE: These will hold up best if you really pack the treats tightly into each section!
6) Once your treats are totally cool and hardened, remove from pan and place face up on a cookie sheet. Microwave peanut butter on 50% power at 30 second intervals, until melted and creamy. Using a fork, drizzle melted peanut butter across tops of Rice Krispy Treats.
NOTE: I found that waving the fork quickly and smoothly above the treats produced the neatest striping effect.

7) Repeat step 6, now using the dark chocolate. Melt, then stripe all treats!
8) Let the peanut butter and chocolate cool and harden, then insert a lollipop stick into the center of each treat. The sticks will hold best if you can anchor them into the peanut butter cup inside.

I packaged mine in small cellophane bags and then added a ribbon to tie off the bottoms. These make such a cute dessert table addition! See my full Black & Gold dessert table here.

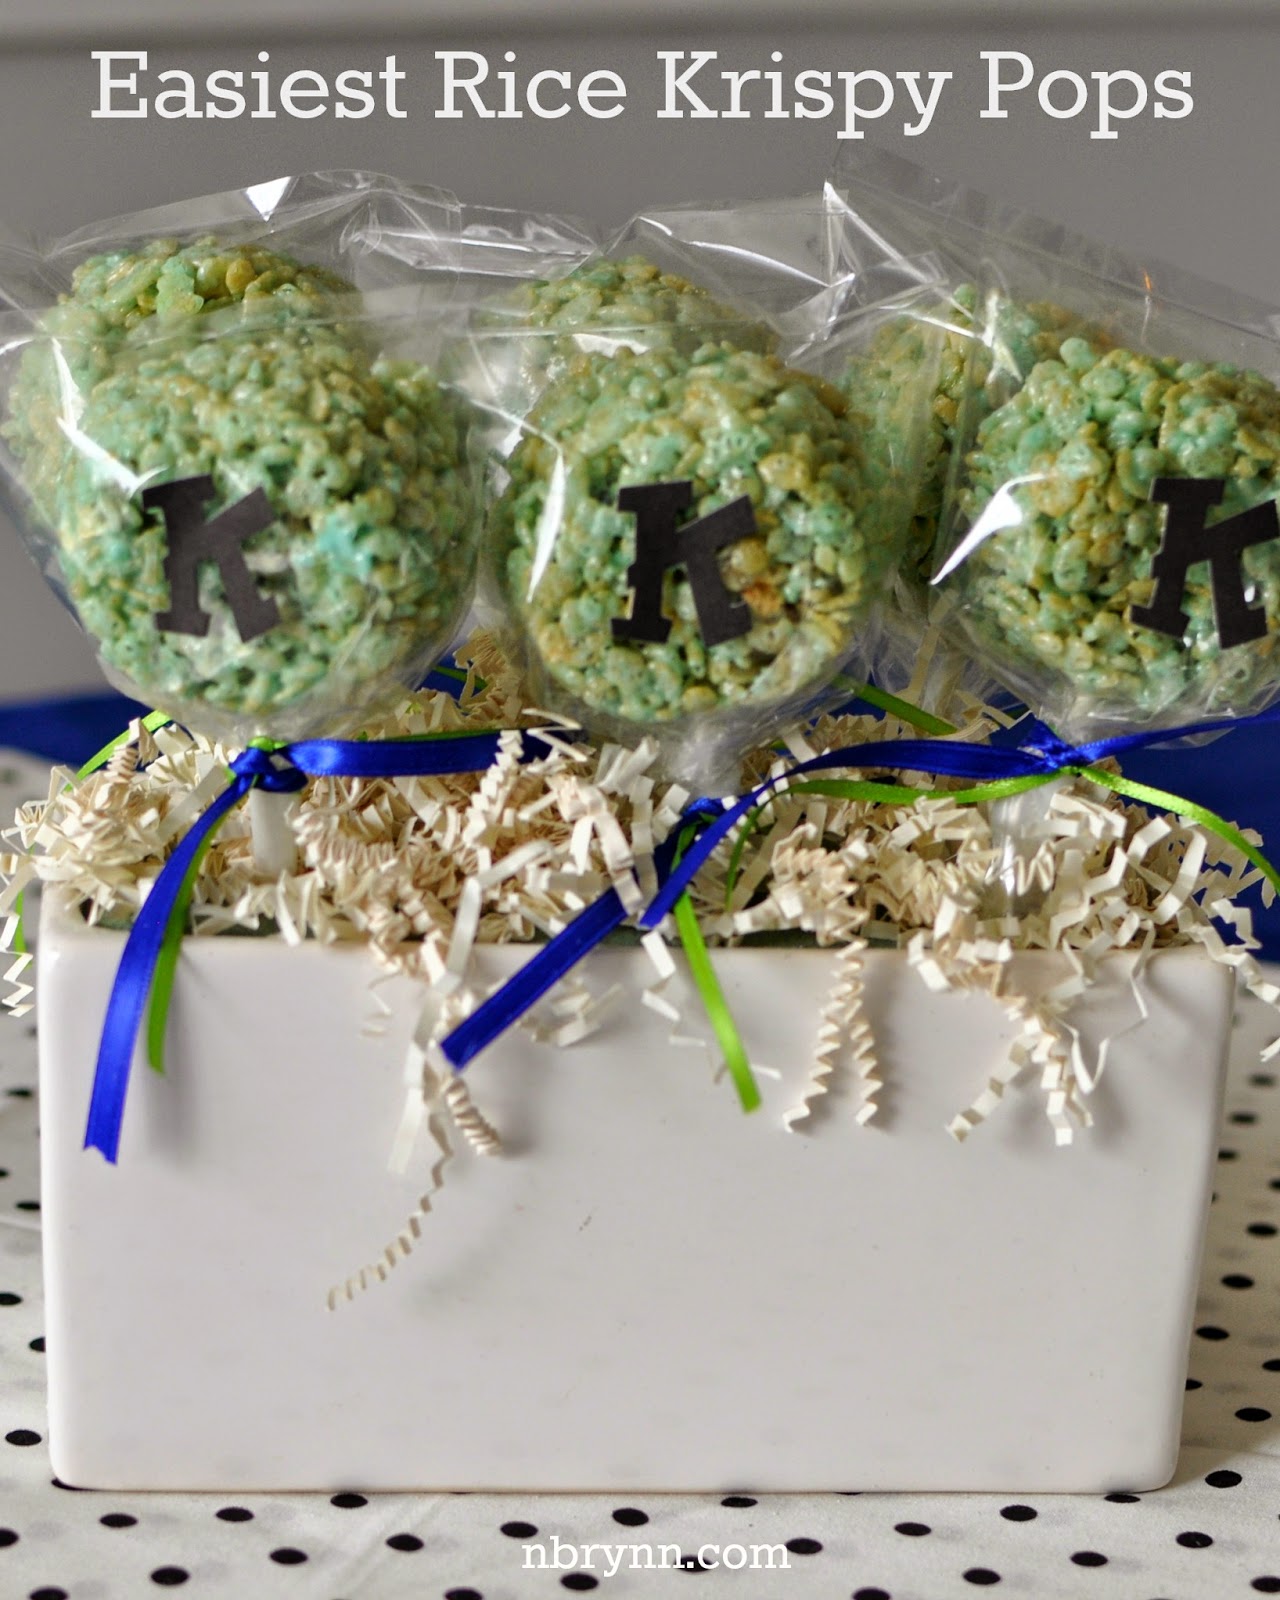
I also made a less-fancy version of these Rice Krispy Pops for my son’s Glow in the Dark Party, substituting all the peanut butter and chocolate for some good ‘ole green food coloring. So easy, so cute! Enjoy!
Interested in more from NBrynn? Check out these recent posts:


It’s All About Me: On Choosing to be a Stay-at-home Mom


